

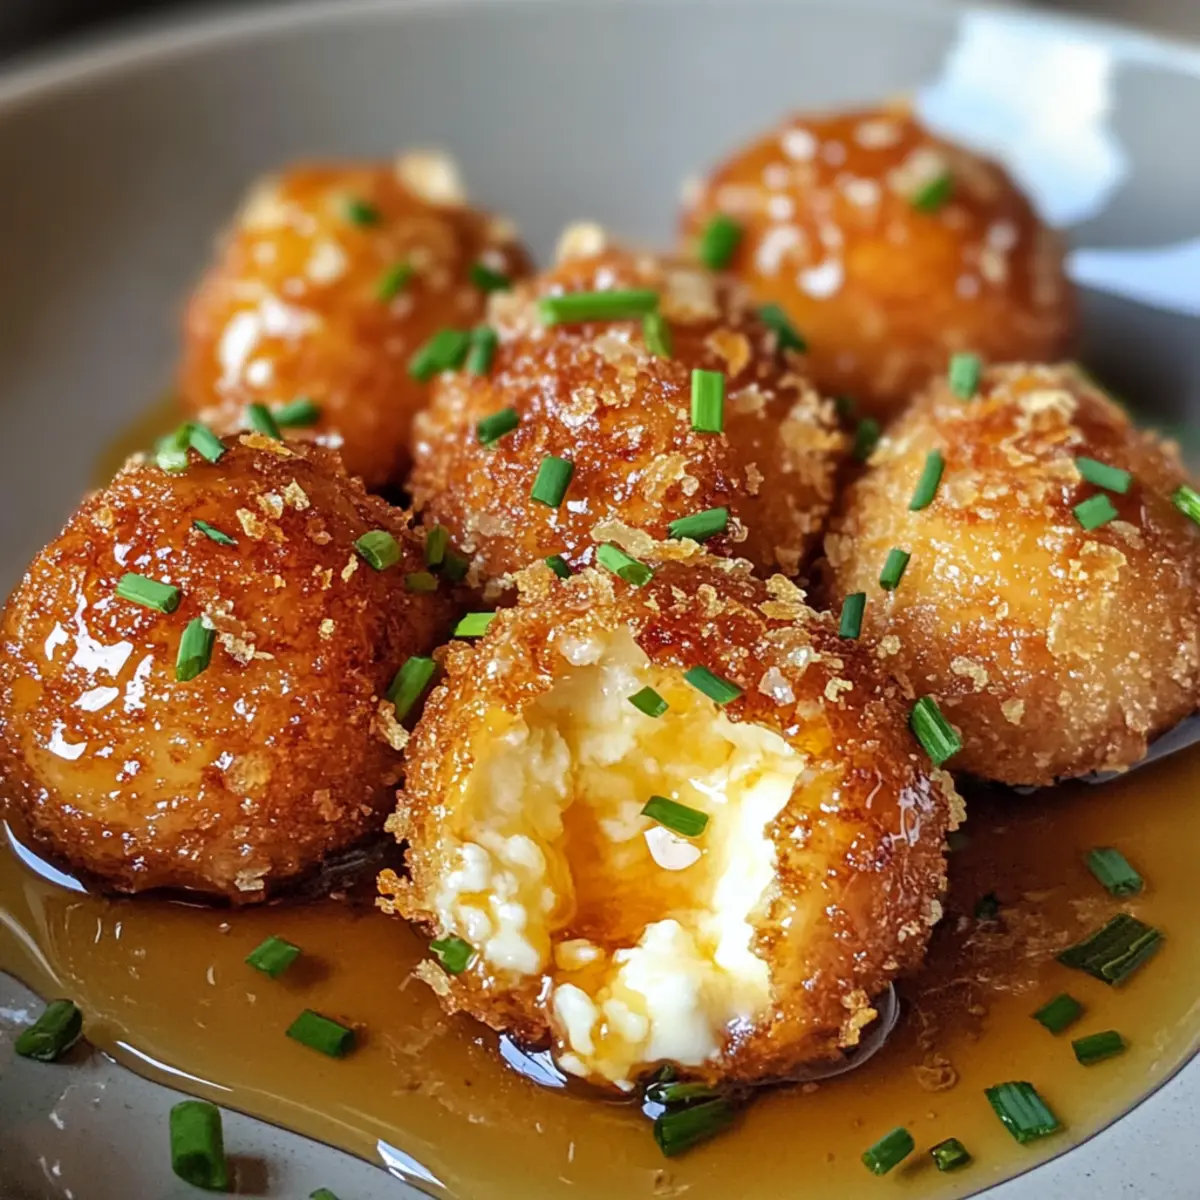
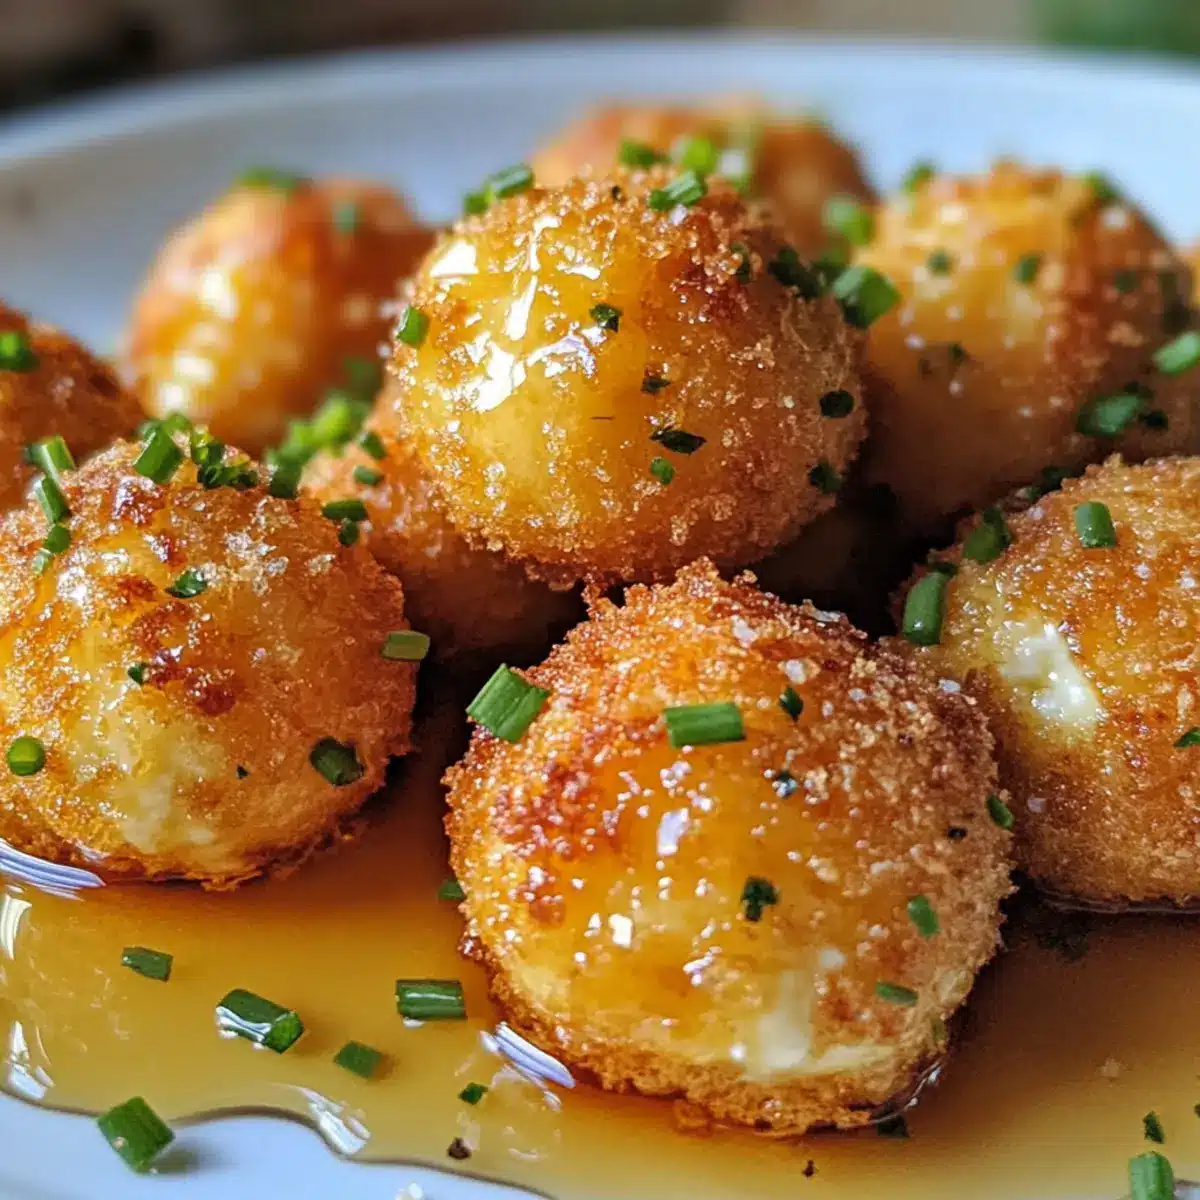
There’s nothing quite like the satisfying crunch of a perfectly fried appetizer that warms the soul! These Crispy Goat Cheese Poppers with Honey are my favorite go-to when I want to impress guests or treat myself after a long day. Imagine tender, creamy bites of goat cheese enveloped in a golden, crisp coating, elegantly drizzled with sweet honey and topped with fresh chives. Not only are they deceptively easy to whip up, but they’re also a delightful party pleaser that adds that gourmet touch to any gathering. Plus, you can prep them ahead of time and pop them in the freezer, ensuring you’re always ready to serve up something special. Are you ready to dive into this mouthwatering adventure?
Why are These Poppers a Must-Try?
Crowd-Pleasing Delight: These Crispy Goat Cheese Poppers are guaranteed to impress! You’ll love their crispy exterior giving way to creamy, flavorful cheese.
Simple Preparation: With only a few straightforward steps, you won’t need any gourmet skills to create these appetizers. They’re perfect for novice cooks and seasoned chefs alike!
Versatile Snacking: Whether at a party or a cozy night in, these poppers blend beautifully with a variety of dishes. Serve them alongside your favorite salads or as part of an inviting cheese platter.
Make Ahead Magic: You can easily prep and freeze these poppers! This makes it a breeze to whip them out whenever you want something special, all without the last-minute fuss.
Elegant Flavor Pairing: Drizzled with honey and garnished with chives, each bite strikes the perfect balance between sweet and savory. Don’t be surprised if they vanish quickly at your next gathering!
For more mouthwatering ideas, try my other recipes like Stuffed Chicken Cheese or Brisket Grilled Cheese for a culinary experience everyone will adore!
Crispy Goat Cheese Poppers Ingredients
For the Coating
- All-Purpose Flour – Provides structure for the coating; can substitute with gluten-free flour if needed.
- Black Pepper – Adds seasoning and enhances the flavor profile.
- Large Egg – Acts as a binding agent to help the coating stick.
- Kosher Salt – Enhances the overall flavor of the dish.
- Panko Breadcrumbs – Creates a light and crispy texture; regular breadcrumbs could be substituted, though the texture may vary.
For the Filling
- Soft Goat Cheese Log (11 oz.) – The star ingredient; creamy and flavorful; can also be swapped with feta or cream cheese for a different taste profile.
For Frying
- Oil (Grapeseed, Canola, or Vegetable) – Essential for frying these poppers; choose based on personal preference and what’s available.
For the Garnish
- Honey – Adds the perfect touch of sweetness; best drizzled just before serving for maximum flavor. No direct substitute, but maple syrup offers a delicious variation.
- Fresh Chives (minced) – A fresh and colorful garnish; green onions can be used as an alternative.
Step‑by‑Step Instructions for Crispy Goat Cheese Poppers with Honey
Step 1: Prepare the Coating Mixtures
In a medium bowl, combine ½ cup of all-purpose flour and a pinch of black pepper, mixing well. In a separate bowl, whisk one large egg with ¼ teaspoon of kosher salt and 2 tablespoons of water until fully blended. Place panko breadcrumbs into a third bowl for the final coating. This three-step setup creates a smooth assembly line for your Crispy Goat Cheese Poppers.
Step 2: Shape the Goat Cheese
Using a softened 11 oz. goat cheese log, roll the cheese into 24 equal-sized balls, each about one tablespoon in size. As you shape the cheese, ensure that your hands are slightly damp to prevent sticking. Once all the balls are formed, arrange them on a parchment-lined baking sheet for easy access during the coating process.
Step 3: Coat the Cheese Balls
Start the coating process by gently rolling each goat cheese ball in the flour mixture, ensuring it gets a light, even covering. Next, dip the floured cheese into the egg mixture, allowing any excess to drip off. Finally, roll the cheese bites in the panko breadcrumbs until fully coated, achieving that coveted crunch for your Crispy Goat Cheese Poppers.
Step 4: Freeze for Firmness
Once all the cheese balls are coated, place them back on the baking sheet and freeze for about 20 minutes. This step helps the cheese poppers firm up, ensuring they maintain their shape during frying. The rigidity achieved from freezing is critical to achieving a perfectly crispy exterior when enjoying your delicious poppers.
Step 5: Heat the Oil
In a deep saucepan, heat about 2 inches of grapeseed, canola, or vegetable oil until it reaches a temperature of 350°F (175°C). Use a thermometer to monitor the heat, as proper oil temperature is crucial; too low will result in sogginess, while too high can burn the coating. Once heated, it’s time to fry your delightful goat cheese poppers!
Step 6: Fry the Goat Cheese Poppers
Carefully drop a few frozen goat cheese balls into the hot oil, making sure not to overcrowd the pan. Fry them in batches for about 1 to 2 minutes, or until they turn golden brown and crispy. Use a slotted spoon to gently turn them, ensuring even cooking. The visual cue of a deep golden color means they are ready to be removed from the oil.
Step 7: Drain and Cool
Once the Crispy Goat Cheese Poppers are golden, use a slotted spoon to transfer them to a plate lined with paper towels. This step allows excess oil to drain off while helping to maintain that crunchy coating. Let them cool slightly while you prepare for serving, getting ready to indulge in these irresistible bites.
Step 8: Serve with a Touch of Sweetness
To serve, arrange your warm goat cheese poppers on a platter. Drizzle generously with honey for the perfect touch of sweetness and sprinkle with minced chives for freshness and color. The contrast of flavors will elevate your Crispy Goat Cheese Poppers with Honey to a delightful culinary experience that you and your guests will adore.

What to Serve with Crispy Goat Cheese Poppers with Honey
These delightful bites deserve the perfect companions to create a wholesome meal that tantalizes the senses!
-
Fresh Arugula Salad: The peppery greens provide a bright contrast to the rich creaminess of the poppers, enhancing the overall flavor profile. Toss with a light lemon vinaigrette for a refreshing touch.
-
Savory Sweet Potato Wedges: The natural sweetness and soft texture of roasted sweet potato wedges pair wonderfully with the crispy texture of the poppers. Sprinkle with sea salt and paprika for a flavorful bite.
-
Classic Tomato Soup: A warm, velvety tomato soup offers a delightful dip that complements the salty, cheesy poppers. It’s a nostalgic combo reminiscent of childhood comfort food.
-
Charcuterie Board: Create an impressive platter with cured meats, olives, and assorted cheeses to accompany your Crispy Goat Cheese Poppers. This variety dazzles the palate and invites socialization.
-
Sparkling Wine or Prosecco: A crisp, bubbly drink elevates the dining experience, balancing the richness of the cheese with refreshing effervescence. Sip and savor for a celebratory touch!
-
Lemon Garlic Hummus: The creamy, zesty dip adds a flavorful contrast, and can be spread on the poppers for an extra layer of deliciousness. Pairing it with crunchy veggies creates a delightful contrast in textures.
These pairings will elevate your dish to a memorable meal that’ll have everyone coming back for seconds!
How to Store and Freeze Crispy Goat Cheese Poppers
Fridge: Store leftover Crispy Goat Cheese Poppers in an airtight container for up to 3 days. Reheat them in the oven for optimal crispiness.
Freezer: You can freeze the coated but uncooked poppers for up to 2 months. Line them on a baking sheet, freeze until solid, and then transfer to a zip-top bag.
Reheating: When ready to enjoy, fry the frozen poppers directly from the freezer, but increase frying time by 1-2 minutes to ensure they’re heated through.
Preparation: For meal prep, complete the coating steps in advance and freeze. This allows you to have a delicious appetizer ready to fry whenever the craving strikes!
Crispy Goat Cheese Poppers with Honey Variations
Feel free to unleash your culinary creativity with these delightful twists that will tantalize your taste buds!
-
Herb-Infused: Mix in dried herbs like thyme or oregano into the flour for a fragrant flavor boost. This simple addition enriches the taste and makes every bite pop with freshness!
-
Cheese Swap: Swap goat cheese with brie or creamy blue cheese for completely different profiles. Brie will bring a buttery richness, while blue cheese adds a bold, tangy kick that die-hard cheese lovers will appreciate.
-
Nut-Crusted: For added texture, incorporate finely chopped nuts like pistachios or almonds into the panko mixture. This adds a delightful crunch and earthy note to your poppers, enhancing both flavor and appearance.
-
Spicy Kick: Add a pinch of cayenne pepper or red pepper flakes to the flour for a fiery touch. The heat balances perfectly with the sweetness of honey, creating an exciting contrast that will wake up your palate!
-
Sweet Alternative: Instead of honey, drizzle with fig or balsamic glaze for a more complex sweet tang. It elevates the dish to a gourmet level that’s sure to impress even your most discerning guests.
-
Savory Dipping Sauce: Serve with a honey-mustard or spicy aioli for an irresistible dipping experience. Pairing this condiment will tantalize those taste buds and invite everyone to come back for more.
-
Mini Versions: Roll smaller balls to make bite-sized poppers, perfect for finger food at gatherings. These little nuggets make for adorable appetizers that guests won’t be able to resist!
Want to explore even more delicious recipes? Try my Oreo Cheesecake Indulge or savory Smashed Cheeseburger Tacos for delightful takes on comfort food!
Expert Tips for Crispy Goat Cheese Poppers
-
Oil Temperature: Ensure the oil is heated to 350°F (175°C) before frying. This prevents soggy poppers and achieves that perfect golden crisp.
-
Batch Frying: Fry in small batches to maintain the oil temperature. Overcrowding will lower the temperature, leading to greasy poppers.
-
Proper Coating: Make sure every ball is evenly coated in flour, egg, and panko. An uneven coating can result in parts that don’t fry properly.
-
Chill Before Frying: Freezing the coated cheese balls for 20 minutes is vital. It helps them hold their shape during frying, ensuring you get the ideal Crispy Goat Cheese Poppers.
-
Flavor Enhancements: For a flavor boost, consider adding garlic powder or herbs like thyme to the flour mixture. This adds depth to your poppers.
Make Ahead Options
These Crispy Goat Cheese Poppers with Honey are perfect for meal prep, allowing busy home cooks to save time while still serving up deliciousness! You can prepare and freeze the coated cheese balls up to 3 days in advance. Simply follow the coating instructions, then place the formed balls onto a parchment-lined baking sheet and freeze until solid. Once frozen, store them in an airtight container or freezer bag. When you’re ready to enjoy, fry them directly from the freezer; just add a minute to the frying time to ensure they cook through properly. This method guarantees that your poppers will maintain their crispy exterior and creamy interior just as delightful as fresh.

Crispy Goat Cheese Poppers with Honey Recipe FAQs
How do I choose the right goat cheese for this recipe?
Absolutely! Look for a soft goat cheese log that’s creamy and smooth. Freshness is key, so pick one that feels slightly firm but not hard and has a bright white color without dark spots. If you’re in a pinch, creamy feta or cream cheese is a lovely substitute!
What’s the best way to store leftover Crispy Goat Cheese Poppers?
Very straightforward! Store your leftover poppers in an airtight container in the fridge for up to 3 days. When you’re ready to eat, pop them in a preheated oven at 350°F (175°C) for about 10-15 minutes to regain their crispiness.
Can I freeze the poppers before cooking them?
Absolutely! Prepare the poppers up to the frying step. Line them on a baking sheet and freeze until solid, around 1-2 hours. Once solid, transfer them to a zip-top bag for up to 2 months. When ready to cook, fry them straight from frozen, adding an extra 1-2 minutes to the frying time.
What should I do if my poppers aren’t crispy after frying?
If your poppers turn out soggy, it may be due to the oil temperature being too low during frying. Make sure your oil hits 350°F (175°C) before adding the poppers, and fry in small batches to maintain the temperature. Consider a gentle shake of the basket to ensure even cooking!
Are these Goat Cheese Poppers safe for gluten-free diets?
Yes, they can be! Simply substitute the all-purpose flour with a gluten-free flour mix when coating your poppers. Just make sure to use gluten-free breadcrumbs as well. This way, everyone can enjoy the deliciousness without worry!
Crispy Goat Cheese Poppers with Honey: Irresistible Bites!
Ingredients
Equipment
Method
- In a medium bowl, combine flour and black pepper. In a separate bowl, whisk egg, kosher salt, and water. Place panko breadcrumbs in a third bowl.
- Roll goat cheese into 24 equal-sized balls and arrange on a parchment-lined baking sheet.
- Coat each cheese ball in flour, dip in egg mixture, and roll in panko until fully coated.
- Freeze the coated cheese balls for about 20 minutes to firm up.
- Heat oil in a deep saucepan to 350°F (175°C).
- Fry the cheese balls in batches for 1 to 2 minutes, or until golden brown.
- Transfer fried poppers to a plate lined with paper towels to drain excess oil.
- Serve warm, drizzled with honey and sprinkled with minced chives.