

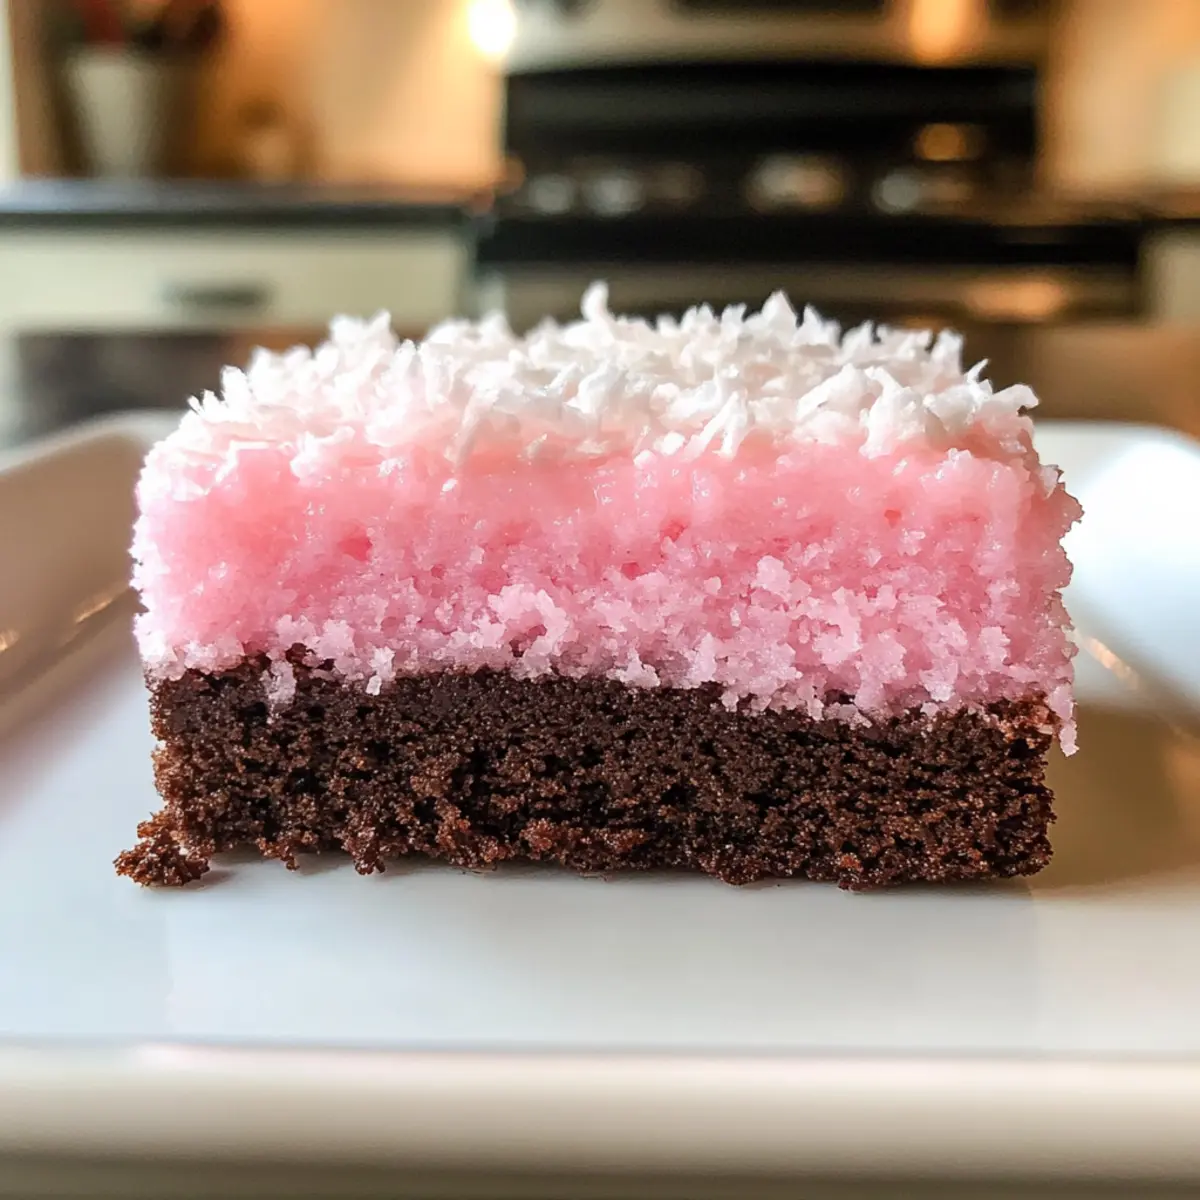
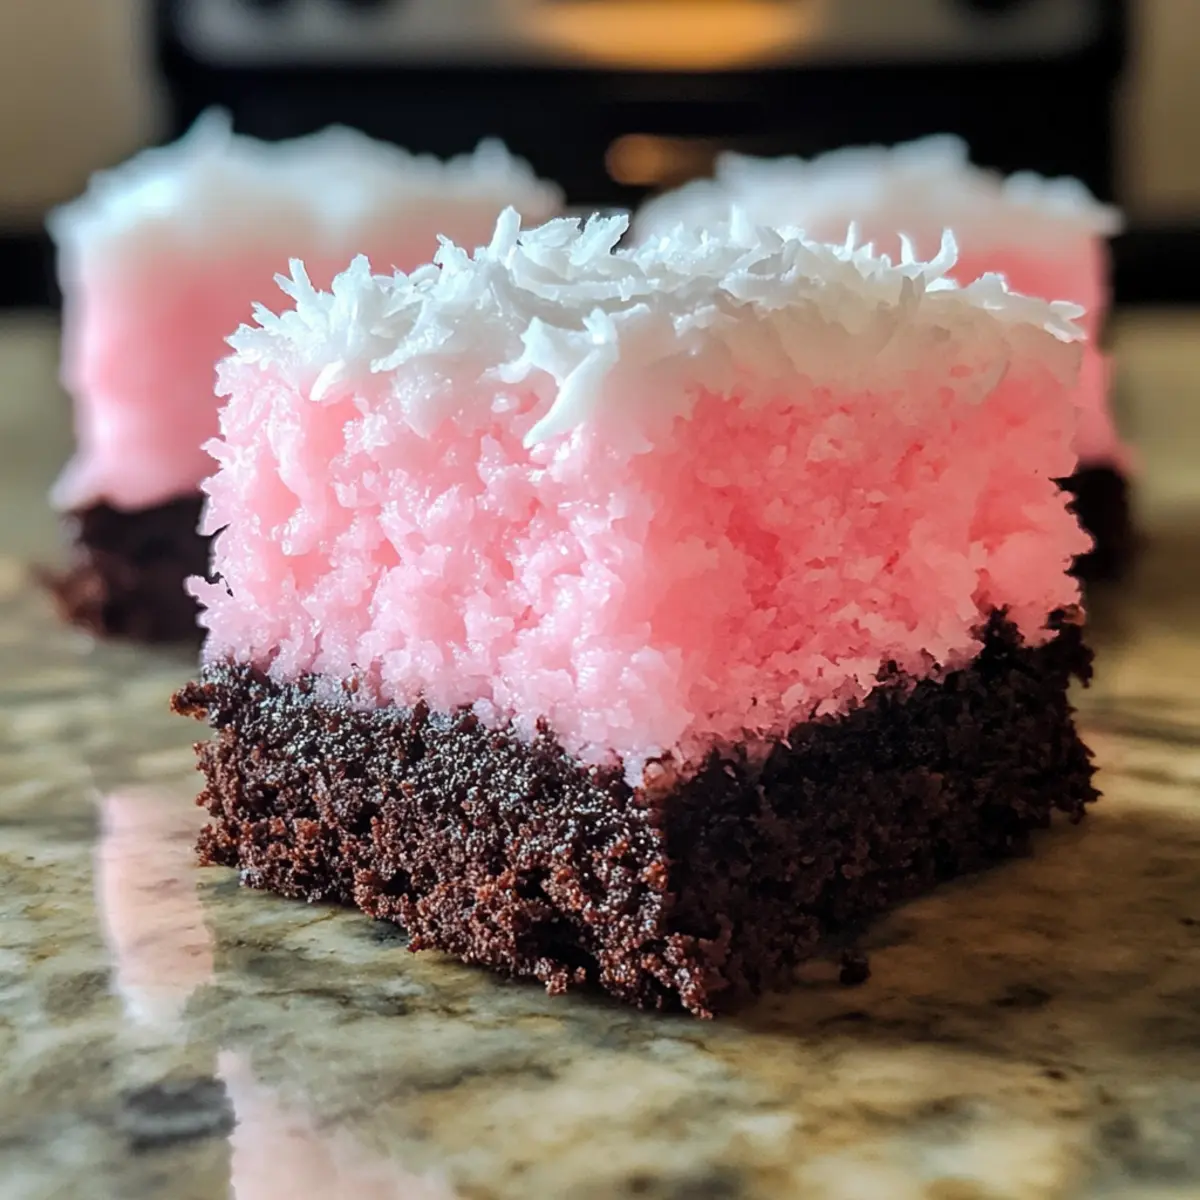
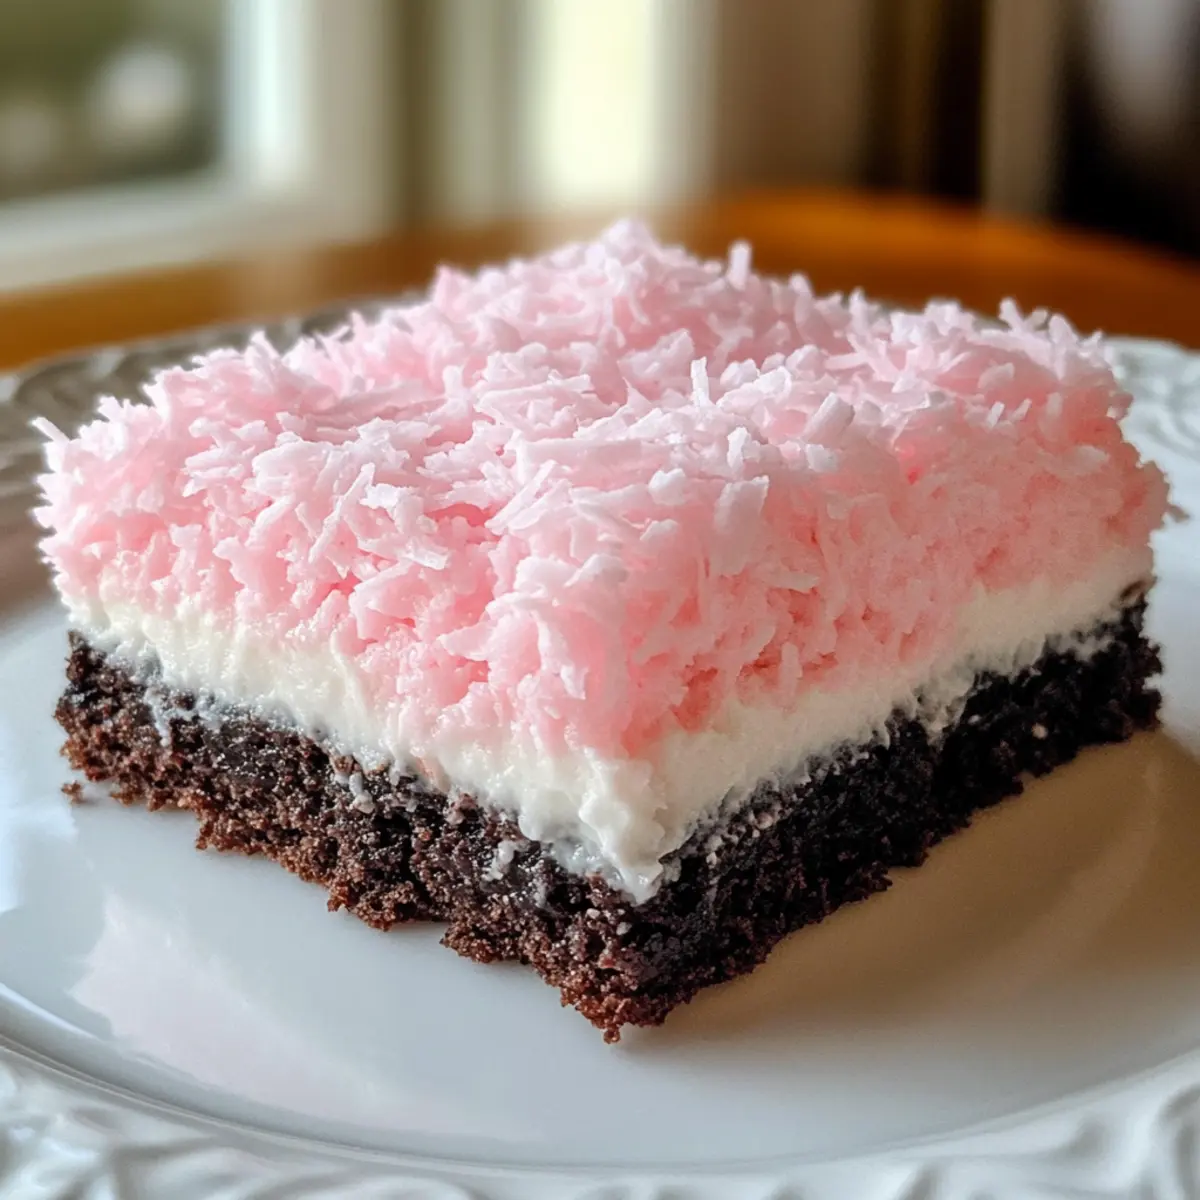
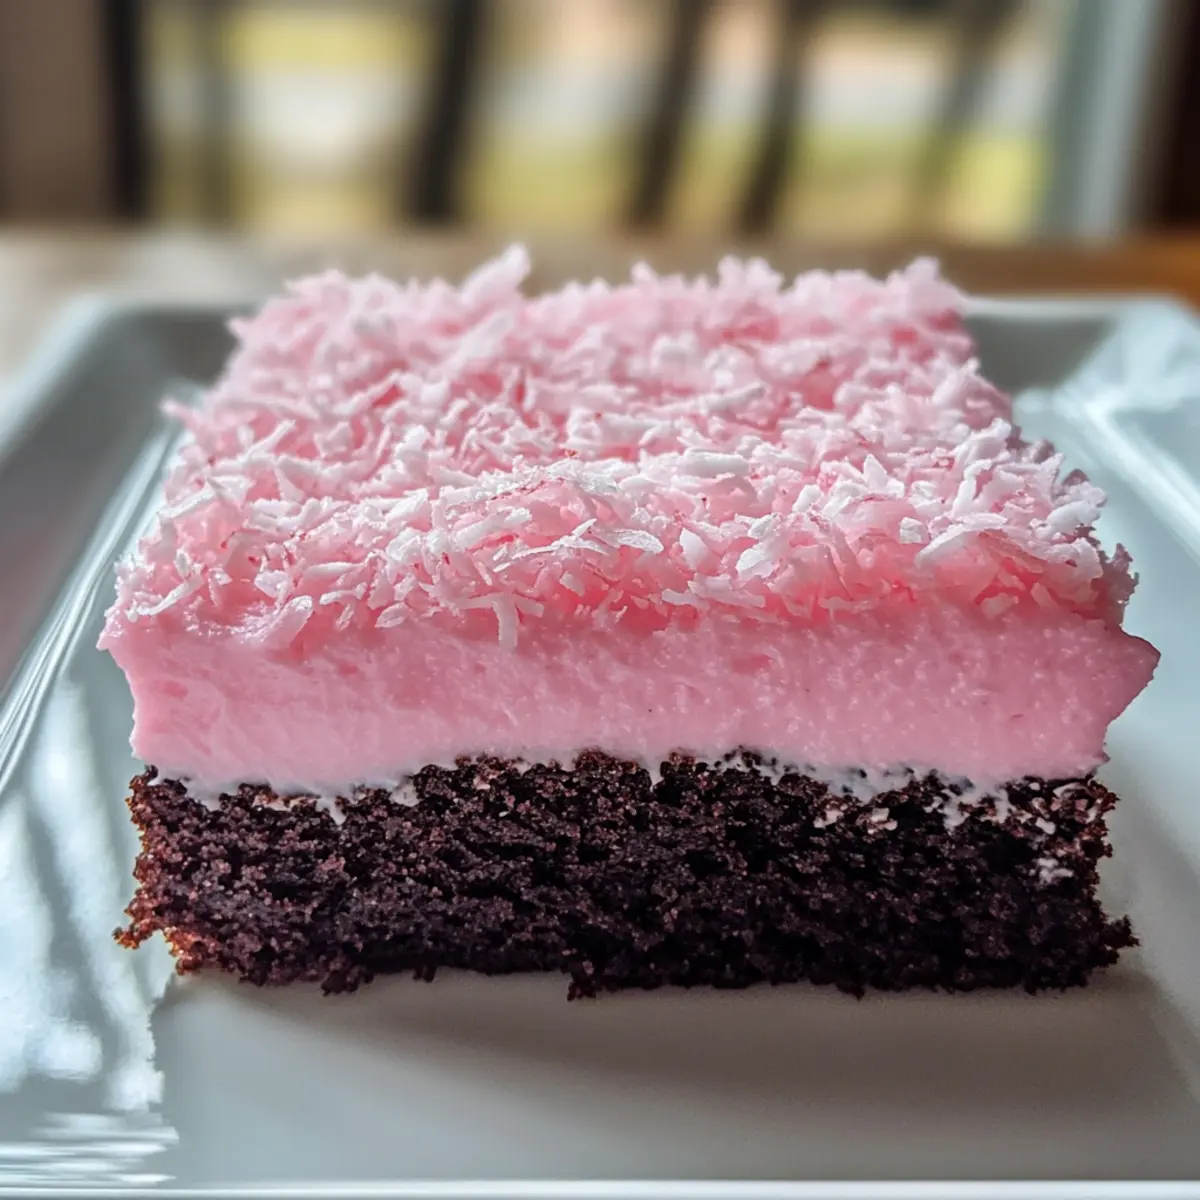
As the sweet scent of chocolate wafts through the kitchen, I can’t help but feel a flutter of excitement at the thought of indulging in these Pink Coconut Snowball Cake Bars. Combining a luscious fudgy base with a light, fluffy coconut topping, this dessert is an irresistible crowd-pleaser that brings a touch of nostalgia to any gathering. With just 30 minutes of prep time, this quick and easy treat makes it possible to delight friends and family without the fuss. Plus, the customizable nature of the recipe lets you switch it up for various dietary needs—gluten-free and dairy-free options are just a whisk away! What special twist will you add to yours?
Why Are Pink Coconut Snowball Cake Bars Irresistible?
Quick and Easy: In just 30 minutes, you can whip up these delicious bars that are perfect for any occasion.
Customizable Delight: Tailor them to fit dietary needs with gluten-free and dairy-free options, ensuring everyone can enjoy!
Nostalgic Flavors: The sweet, rich combination of chocolate and coconut evokes memories of carefree childhood treats.
Visual Appeal: With their vibrant pink topping, these bars are not just a treat for the palate but also for the eyes. Elevate your dessert game and pair them with a scoop of vanilla ice cream for an unforgettable experience!
Crowd-Pleaser: Whether for birthdays, potlucks, or just a sweet craving, these bars are sure to impress. If you love indulgent desserts, you might also enjoy our Rhubarb Streusel Cheesecake or consider making Homemade Pancakes for breakfast.
Pink Coconut Snowball Cake Bars Ingredients
• Quick to gather and delicious!
For the Cake Base
- All-Purpose Flour – Provides structure for the bars; substitute with a gluten-free flour blend for a gluten-free option.
- Cocoa Powder – Infuses the chocolate base with rich flavor; use unsweetened cocoa for best results.
- Unsalted Butter – Adds moisture and richness; opt for dairy-free butter for a dairy-free version.
- Granulated Sugar – Sweetens the batter; adjust quantity to taste for less sweetness.
- Eggs – Binds the ingredients for a tender texture; room temperature eggs work best.
- Buttermilk – Enhances moisture and adds subtle tang; substitute with non-dairy milk mixed with a little vinegar for dairy-free.
- Hot Water – Activates cocoa powder for deeper flavor; essential for rich chocolate goodness.
For the Topping
- Heavy Whipping Cream – Creates a light, fluffy topping; use coconut cream for a dairy-free option.
- Powdered Sugar – Sweetens the whipped cream; essential for the perfect texture.
- Vanilla Extract – Adds warm flavor that complements the coconut; almond extract is a good substitution for variety.
- Shredded Coconut – The star of the topping; use unsweetened for balanced sweetness.
- Pink Food Coloring – Gives a vibrant hue to the bars; optional but adds fun for themed desserts.
Step‑by‑Step Instructions for Pink Coconut Snowball Cake Bars
Step 1: Preheat and Prepare
Preheat your oven to 350°F (175°C) and get your 9×13-inch baking pan ready by greasing it or lining it with parchment paper. This initial step ensures your Pink Coconut Snowball Cake Bars have a non-stick surface to prevent any bacon mishaps and promotes even baking as the base rises to perfection.
Step 2: Mix Dry Ingredients
In a large mixing bowl, whisk together the all-purpose flour, cocoa powder, and a pinch of salt until well combined. Set this mixture aside, as it will form the dry base for your delicious Pink Coconut Snowball Cake Bars. The key is to ensure there are no lumps so that the chocolate flavor is consistent throughout.
Step 3: Cream Butter and Sugar
In a separate bowl, cream the softened unsalted butter and granulated sugar together using an electric mixer until the mixture becomes light and fluffy, about 3-5 minutes. This process introduces air into the mix, creating a tender texture in the chocolate base. You’ll know it’s ready when it has a pale yellow color and a smooth consistency.
Step 4: Add Eggs and Wet Ingredients
One by one, add the room temperature eggs to the creamed butter and sugar, mixing well after each addition. Then, pour in the buttermilk and hot water, blending until the mixture is smooth and homogeneous. This is where the magic happens as the Pink Coconut Snowball Cake Bars start developing their rich chocolate essence!
Step 5: Combine Dry and Wet Ingredients
Gradually add the dry flour mixture into the wet ingredients, gently folding until just combined. Be careful not to overmix here; a few lumps are perfectly fine to achieve that lovely fudgy texture. Once fully incorporated, pour the batter into your prepared baking pan, spreading it evenly for uniform baking.
Step 6: Bake the Cake Base
Place your baking pan in the preheated oven and bake for 25-30 minutes or until a toothpick inserted in the center comes out with a few moist crumbs. Keep an eye on the edges; they should start to pull away slightly from the pan when the Pink Coconut Snowball Cake Bars are ready. Once baked, set aside to cool on a wire rack.
Step 7: Prepare the Coconut Topping
While your cake base cools, whip the heavy whipping cream, powdered sugar, and vanilla extract in a mixing bowl. Beat until soft peaks form, which will take about 3-5 minutes. This light and fluffy topping will add a delightful contrast to the rich chocolate base of your Pink Coconut Snowball Cake Bars.
Step 8: Add Coconut and Color
Carefully fold the shredded coconut and pink food coloring into your whipped cream mixture until evenly incorporated. This vibrant blend adds both texture and a cheerful pop of color atop your cooled cake base. The topping is crucial for creating that irresistible look and flavor profile of the Pink Coconut Snowball Cake Bars.
Step 9: Assemble and Chill
Spread the coconut mixture evenly over the cooled chocolate base using a spatula, smoothing it to create an inviting layer. Once finished, pop the assembled Pink Coconut Snowball Cake Bars in the refrigerator for at least 30 minutes to set. This chilling stage helps the coconut topping firm up, making it easier to slice.
Step 10: Slice and Serve
After chilling, remove the bars from the fridge and take them out of the pan using the edges of the parchment paper. Slice into squares using a sharp knife, and serve! These Pink Coconut Snowball Cake Bars will bring joy with every bite, so indulge in their sweet, nostalgic flavors at your next celebration or gathering.
Expert Tips for Pink Coconut Snowball Cake Bars
-
Softened Butter: Ensure that your butter is properly softened, not melted. This helps achieve a light and airy texture in the cake base.
-
Avoid Overmixing: When combining the wet and dry ingredients, mix just until combined. Overmixing can lead to dense bars rather than the fudgy texture you desire.
-
Proper Chilling: Allow the assembled bars to chill in the refrigerator for at least 30 minutes. This step is essential for a firm coconut topping that holds its shape when cut.
-
Watch the Bake Time: Keep an eye on the oven; baking times can vary. Remove the bars when a toothpick comes out with a few moist crumbs for perfect fudginess.
-
Flavor Variations: Don’t hesitate to experiment! Adding almond extract or swapping in chopped nuts can create a unique twist on these Pink Coconut Snowball Cake Bars.
Storage Tips for Pink Coconut Snowball Cake Bars
Room Temperature: These bars are best enjoyed fresh but can be stored at room temperature in an airtight container for up to 2 days.
Fridge: For longer freshness, store your Pink Coconut Snowball Cake Bars in the refrigerator in an airtight container for up to 5 days. This keeps the coconut topping fluffy and delicious.
Freezer: To enjoy later, wrap the bars tightly in plastic wrap and then foil to prevent freezer burn. They can be frozen for up to 2 months.
Reheating: If desired, gently reheat individual pieces in the microwave for 10-15 seconds, just enough to soften them slightly before serving.
What to Serve with Pink Coconut Snowball Cake Bars?
For a delightful dessert experience, consider these tempting pairings that will elevate your pink coconut treat!
-
Vanilla Ice Cream: The creamy, cool contrast to the rich chocolate base balances the flavors beautifully. A scoop adds elegance and indulgence to every bite.
-
Fresh Berries: Juicy strawberries or tart raspberries introduce a refreshing pop of acidity, perfectly complementing the sweet coconut topping.
-
Whipped Cream: A dollop of extra whipped cream enhances the lightness of the dish, creating an extra layer of lush sweetness and texture.
-
Chocolate Sauce Drizzle: A rich chocolate sauce adds an indulgent touch, enhancing the chocolate flavor while creating a visually stunning presentation.
-
Coconut Macaroons: For a double coconut experience, pair the bars with chewy macaroons. Their texture harmonizes with the fluffy topping to create a delightful bite.
-
Mint Tea: The refreshing notes of mint tea cleanse the palate, making it a perfect beverage choice with these sweet bars. Ideal for an afternoon treat!
-
Lemon Sorbet: The zesty brightness of lemon sorbet cuts through the sweetness, providing an invigorating contrast that leaves you wanting more.
-
Almond Milkshake: Creamy almond milkshakes add another layer of sweetness and nutty flavor, making them a delightful, nostalgic pairing for your dessert.
-
Chocolate-Covered Strawberries: This indulgent treat adds a touch of romance to your dessert table while echoing the chocolate notes in the bars.
Each of these suggestions will enhance your Pink Coconut Snowball Cake Bars, offering wonderful textures and flavors to enjoy with each decadent slice!
Pink Coconut Snowball Cake Bars Variations
Feel free to explore these delightful twists on the Pink Coconut Snowball Cake Bars to suit your taste and dietary preferences!
- Gluten-Free: Replace all-purpose flour with a gluten-free flour blend for a luscious gluten-free treat that everyone can enjoy.
- Dairy-Free: Swap unsalted butter with dairy-free butter and replace heavy whipping cream with coconut cream for a creamy, dairy-free topping. You won’t miss the dairy; it’ll be just as rich and delicious!
- Extra Chocolatey: Double the cocoa powder to amplify the chocolate flavor and make those fudgy bars even more indulgent.
- Nutty Crunch: Add chopped nuts, such as almonds or pecans, to the coconut topping for a delightful crunch that contrasts with the soft base. It’s an easy way to boost both flavor and texture!
- Flavored Extracts: Experiment with almond extract in place of vanilla for a unique flavor twist. The nutty notes will enhance the overall experience of these delightful bars.
- Color Swaps: Try using different food colorings for various holidays or themed gatherings, turning these already festive bars into perfect seasonal treats.
- Sweetness Adjustment: Feel free to tweak the granulated sugar amount to your taste, making them less sweet if you prefer a more balanced flavor.
- Tropical Twist: Consider adding crushed pineapple to the coconut topping for a pineapple-coconut flavor bomb that will transport you to a tropical paradise.
Pair these bars with a scoop of vanilla ice cream for an even more delightful dessert experience! If you’re looking for more sweet treats, don’t miss out on our Oreo Cheesecake Indulge or the no-bake version with Bake Oreo Cheesecake. Happy baking!
Make Ahead Options
These Pink Coconut Snowball Cake Bars are perfect for meal prep enthusiasts! You can prepare the chocolate base up to 24 hours in advance by following the initial baking steps and allowing it to cool completely before wrapping it tightly in plastic wrap. Additionally, the coconut topping can be whipped and stored in the refrigerator for up to 3 days; just keep it in an airtight container to maintain its light, fluffy texture. When you’re ready to serve, simply spread the chilled topping over the prepared base, allow it to set in the fridge for 30 minutes, and then slice for delightful, restaurant-quality results with minimal effort!
Pink Coconut Snowball Cake Bars Recipe FAQs
What type of flour should I use for the Pink Coconut Snowball Cake Bars?
You can use all-purpose flour to achieve the perfect structure for your bars. If you’re looking for a gluten-free option, I highly recommend substituting it with a gluten-free flour blend, which works beautifully without compromising the texture.
How should I store Pink Coconut Snowball Cake Bars?
To keep your bars fresh at room temperature, store them in an airtight container for up to 2 days. For longer shelf life, you can refrigerate them, and they’ll stay good for up to 5 days. This helps maintain the fluffy coconut topping!
Can I freeze Pink Coconut Snowball Cake Bars?
Absolutely! To freeze your bars, wrap them tightly in plastic wrap and then in foil to prevent freezer burn. They can safely be frozen for up to 2 months. When you’re ready to enjoy them, simply thaw in the refrigerator overnight or at room temperature.
What should I do if my cake base is too dense?
If your Pink Coconut Snowball Cake Bars turn out dense, it may be due to overmixing when combining your wet and dry ingredients. Make sure to mix just until combined, allowing a few lumps for a fudgy texture. Also, ensure you’re using softened butter, not melted, which can also affect the texture.
Are there any dietary considerations I should keep in mind?
Yes! For a dairy-free version of the Pink Coconut Snowball Cake Bars, simply use dairy-free butter and replace the heavy cream with coconut cream. Also, check for allergies related to eggs or coconut if serving to guests with dietary restrictions. Always keep an eye on the ingredients to accommodate those needs!
Deliciously Easy Pink Coconut Snowball Cake Bars Recipe
Ingredients
Equipment
Method
- Preheat your oven to 350°F (175°C) and prepare your baking pan.
- In a large mixing bowl, whisk together the flour, cocoa powder, and salt until combined.
- Cream the softened butter and sugar together with an electric mixer until light and fluffy.
- Add the eggs one by one, mixing well after each addition, then blend in buttermilk and hot water.
- Gradually add the dry ingredients to the wet ingredients, folding gently until just combined.
- Pour the batter into the baking pan, spreading it evenly, and bake for 25-30 minutes.
- Set the baked base aside to cool on a wire rack.
- Whip the heavy cream, powdered sugar, and vanilla extract until soft peaks form.
- Fold in the shredded coconut and pink food coloring until evenly blended.
- Spread the coconut mixture over the cooled chocolate base and refrigerate for at least 30 minutes to set.
- After chilling, slice the bars and serve.