

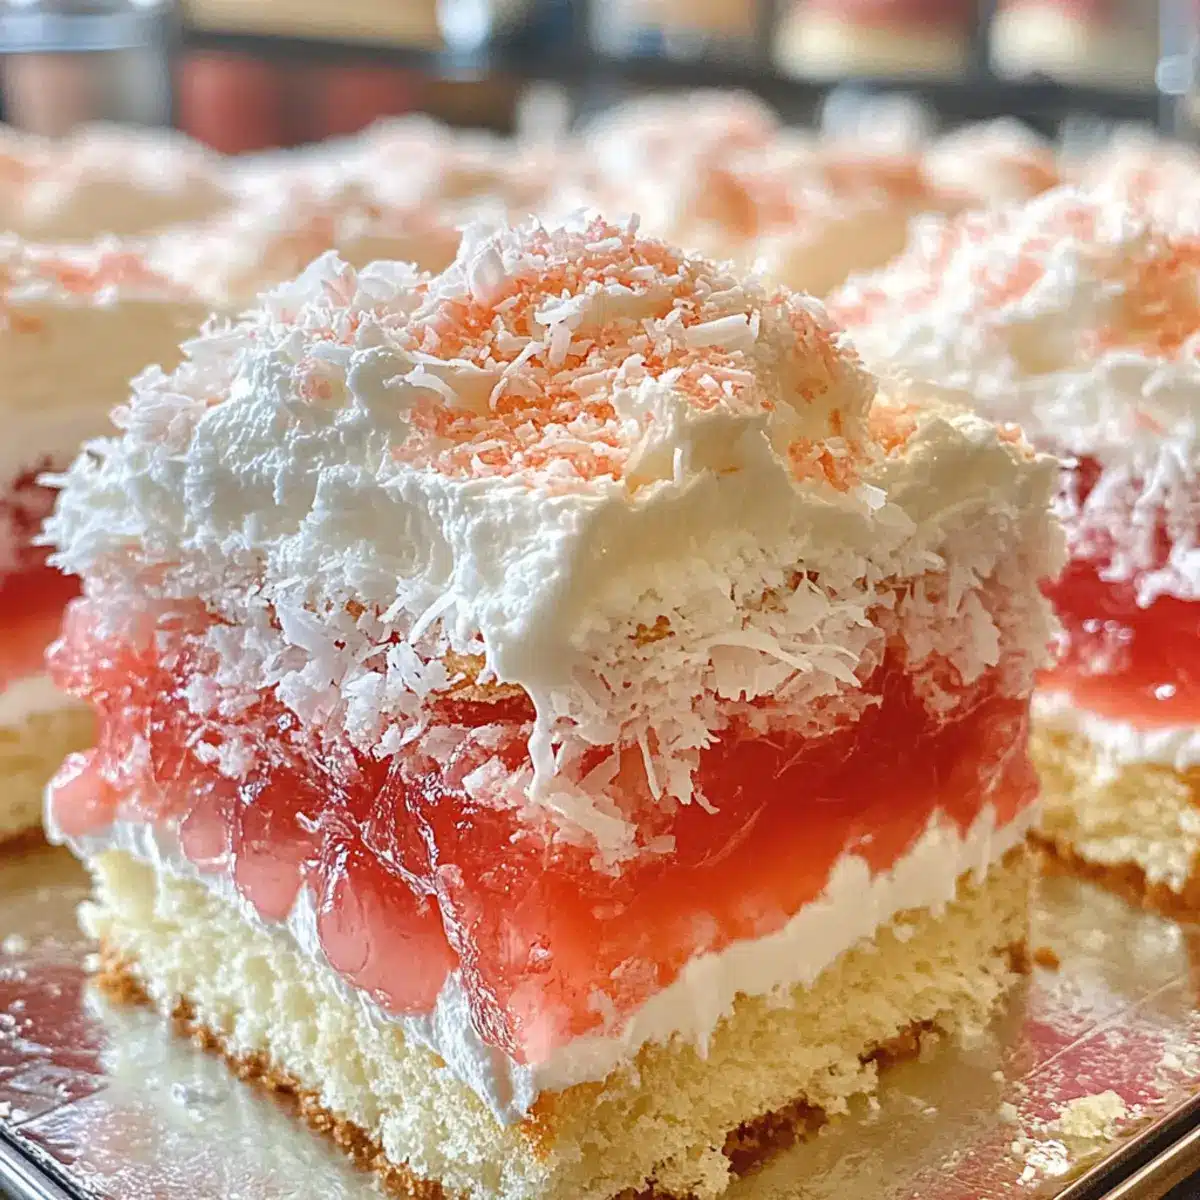
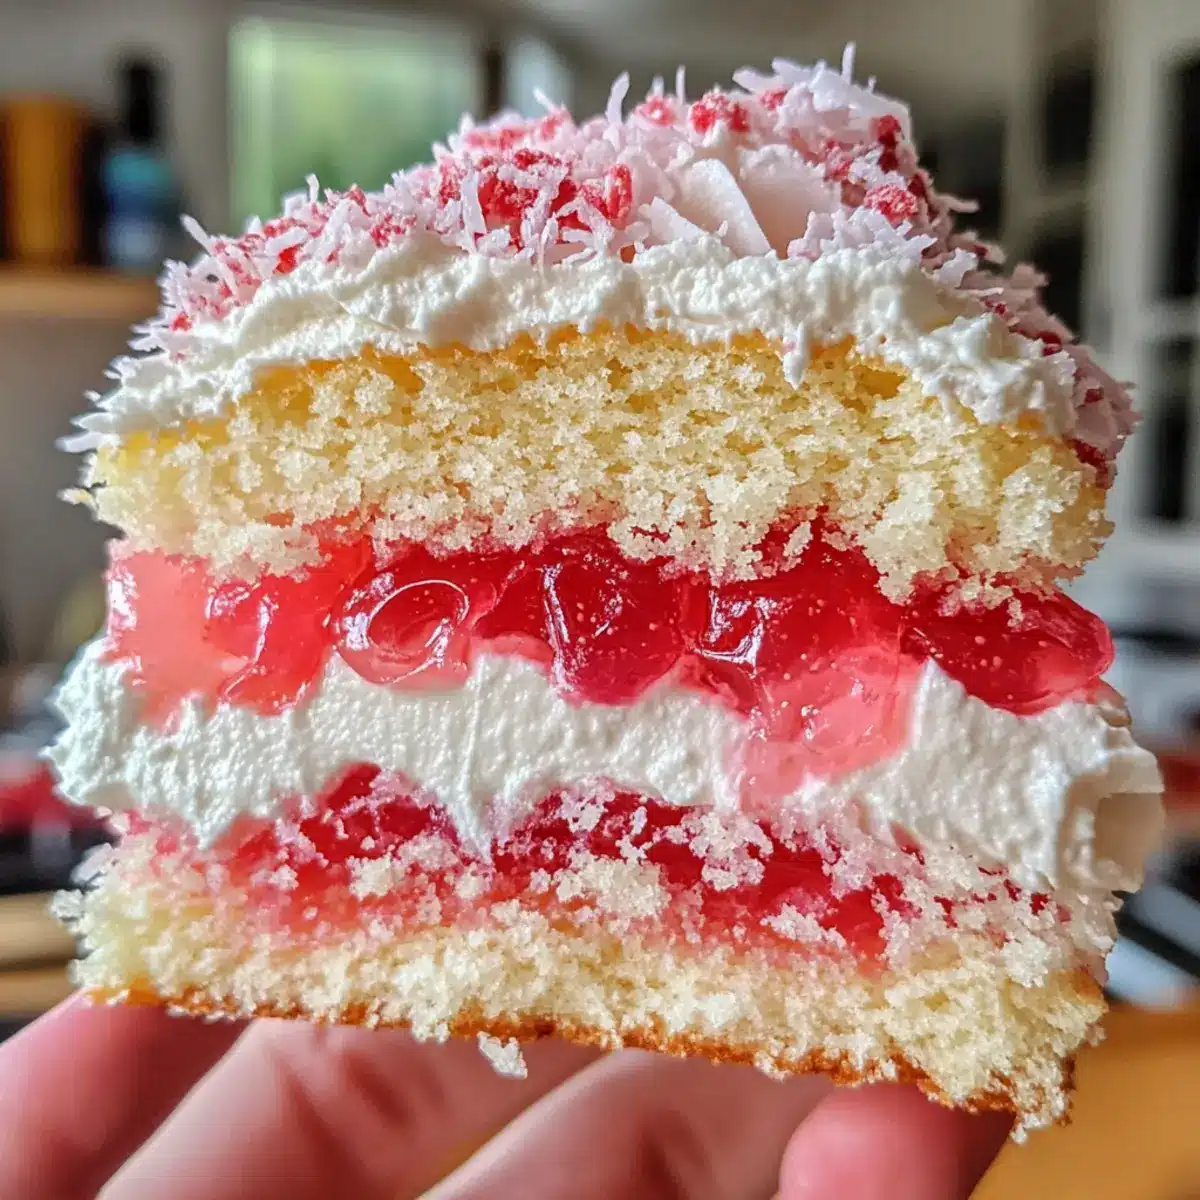
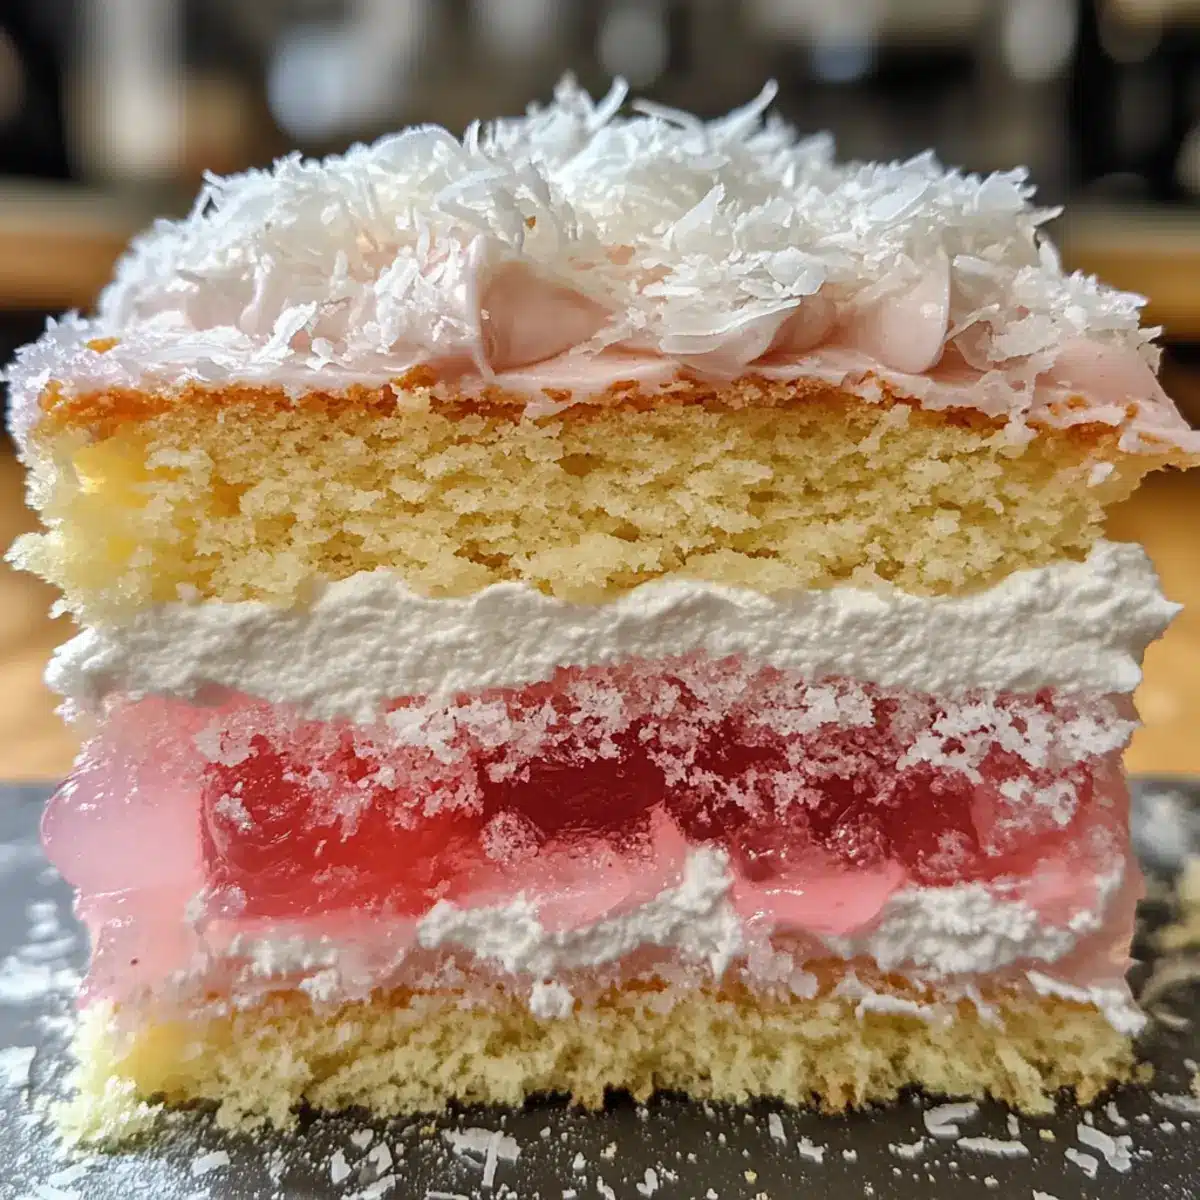
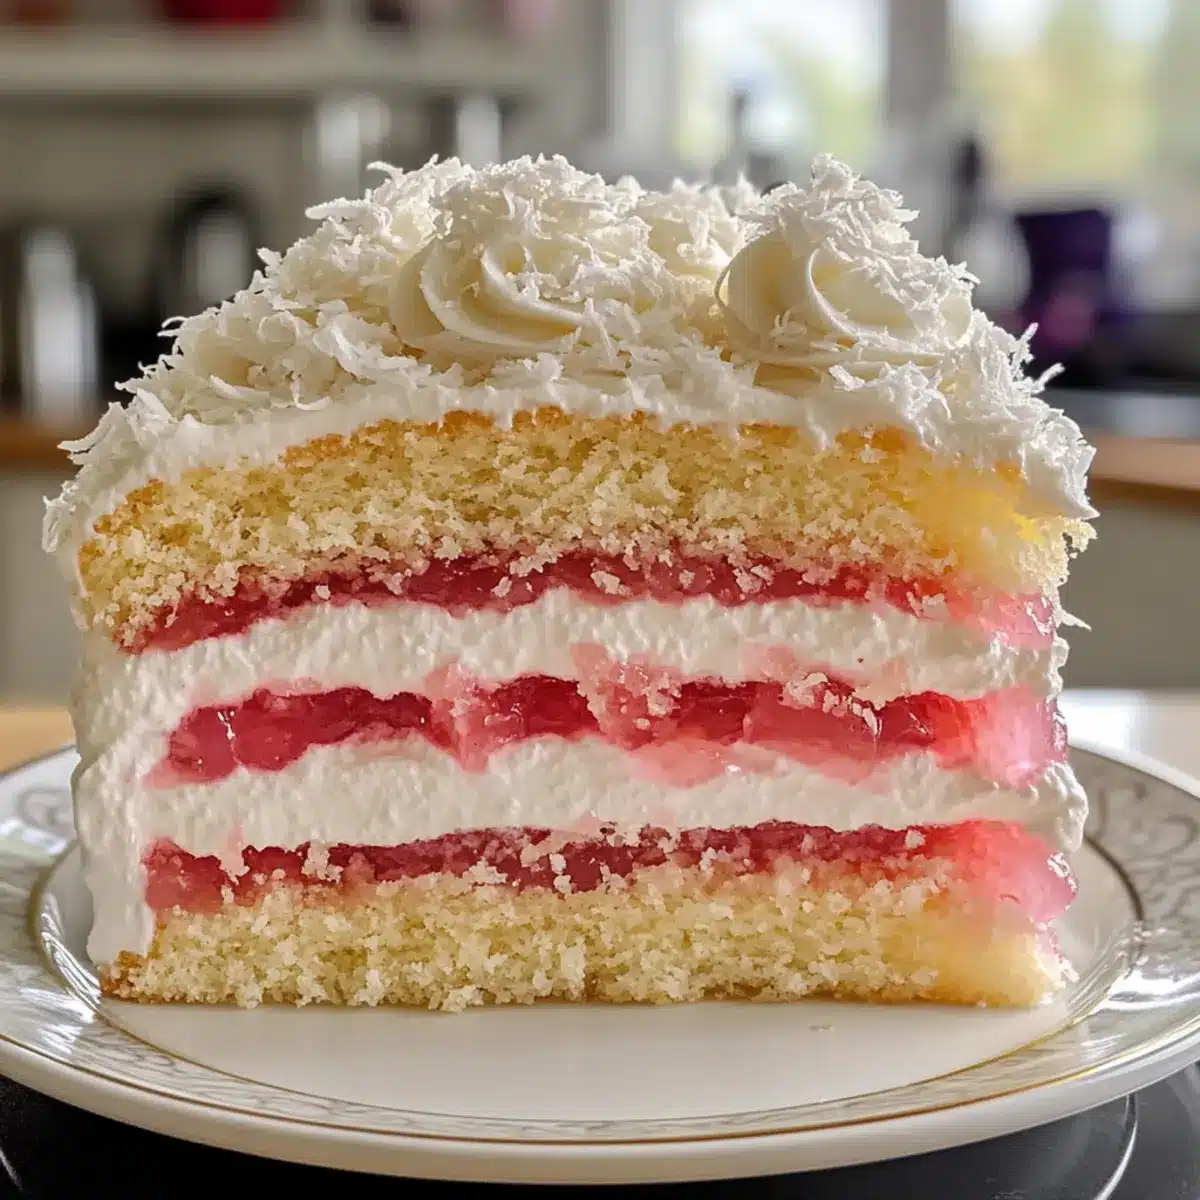
As I stood in my kitchen, the sweet aroma of vanilla and strawberries enveloped me, whisking me back to sunlit afternoons spent with family. It’s moments like these that bring the joy of baking alive, and nothing captures that nostalgia quite like Old-Fashioned Pink Jelly Cakes. With their fluffy vanilla sponge, rich whipped cream filling, and a fruity strawberry jelly coat rolled in desiccated coconut, these delightful treats are perfect for tea parties or simply indulging at home. Not only are they quick to whip up, but they also evoke cherished memories of classic Australian baking traditions. Ready to share a slice of this sweetness and relive some fond moments? Let’s dive into the world of these irresistible pink delights!
Why Are These Pink Jelly Cakes Irresistible?
Nostalgic flavors transport you back to your childhood, making these cakes perfect for sharing memorable moments with loved ones. Colorful and eye-catching, they’re not just treats but also delightful decorations for any dessert table. Quick to make, you can whip these up without extensive baking skills, perfect for those busy weekdays. Versatile enough to impress at afternoon teas or family gatherings, they suit any occasion. Serve them with a cup of tea, or enjoy as a sweet snack on their own. Dive into the world of classic Australian desserts with these Old-Fashioned Pink Jelly Cakes that are sure to become a new favorite!
Old-Fashioned Pink Jelly Cakes Ingredients
• Gather everything you need to create these delightful treats!
For the Sponge Cake
- Cake Flour – Provides structure and tenderness to the sponge; all-purpose flour can be used, but expect a different texture.
- Sugar – Sweetens the cake and whipped cream; consider a sugar alternative for a healthier option, though taste may vary.
- Baking Powder – A leavening agent that helps the cake rise; ensure it’s fresh for the best results.
- Salt – Enhances flavor and balances sweetness.
- Butter – Adds richness and moisture to the sponge; use margarine for a dairy-free alternative.
- Eggs – Provide structure and moisture; use room temperature eggs for better mixing.
- Milk – Adds moisture to the batter; almond milk works well for a dairy-free substitute.
- Vanilla Extract – Imparts flavor; opt for pure vanilla for the best taste.
For the Coating
- Strawberry Jelly – Coats the cake for sweetness; feel free to swap with raspberry, orange, or passionfruit jelly for a twist!
- Desiccated Coconut – Provides texture and chewiness; unsweetened coconut is preferred to control overall sweetness.
For the Filling
- Whipping Cream – Adds rich creaminess to the cake; use real cream for authenticity and the best flavor.
Step‑by‑Step Instructions for Old-Fashioned Pink Jelly Cakes
Step 1: Prepare the Sponge Cake
Preheat your oven to 180°C (350°F) and line a muffin tin with paper liners. In a large bowl, whisk together 1 cup of cake flour, 1 teaspoon of baking powder, and a pinch of salt. In another bowl, cream 100g of softened butter with 3/4 cup of sugar until light and fluffy. Add 2 room temperature eggs one at a time, mixing well after each, and then stir in 1 teaspoon of vanilla extract. Gradually mix the dry ingredients and 1/2 cup of milk until combined.
Step 2: Bake the Cakes
Spoon the batter evenly into the prepared muffin tins, filling them about two-thirds full. Place the tin in the preheated oven and bake for 18-20 minutes, or until the tops are golden and a toothpick inserted in the center comes out clean. Once baked, remove the muffin tin from the oven and allow the cakes to cool in the tin for 5 minutes before transferring them to a wire rack to cool completely.
Step 3: Cool the Cakes
Let the Old-Fashioned Pink Jelly Cakes cool on the wire rack for at least 30 minutes. This step is essential to achieve the right texture and prevent melting when you assemble the cakes. Once they are completely cooled, you can start preparing to coat them with strawberry jelly.
Step 4: Assemble
Prepare the filling by whipping 1 cup of heavy cream until soft peaks form. To assemble, take each cooled cake and dip the top into warm strawberry jelly, ensuring it’s fully coated. Next, roll the jelly-coated top in desiccated coconut, giving it a lovely texture. Finally, spread a generous layer of whipped cream between two cakes before topping them with another jelly-coated one, creating delightful cake sandwiches.
Step 5: Chill
After assembling your Old-Fashioned Pink Jelly Cakes, place them in the refrigerator for at least 30 minutes. This chilling time helps the jelly set, making them easier to serve. Once chilled, your cakes are ready to be enjoyed; they make a perfect treat for afternoon tea or special gatherings.
How to Store and Freeze Old-Fashioned Pink Jelly Cakes
Fridge: Store in an airtight container for optimal freshness. Best enjoyed within 2-3 days to maintain the perfect texture and flavor.
Freezer: For longer storage, freeze the assembled cakes in an airtight container for up to 1 month. Thaw in the fridge before serving for the best results.
Reheating: These cakes are best enjoyed chilled or at room temperature; avoid reheating to maintain their delightful texture.
Serving After Storage: If refrigerated, allow to sit for a few minutes before serving to let the flavors brighten and the cream soften.
Make Ahead Options
These Old-Fashioned Pink Jelly Cakes are a fantastic choice for busy home cooks looking to save time without sacrificing flavor! You can prepare the sponge cakes up to 3 days in advance; simply bake, cool, and store them in an airtight container to maintain their freshness. Additionally, the whipped cream filling can be made ahead and stored in the refrigerator for up to 24 hours. When you’re ready to serve, just dip the cooled cakes in strawberry jelly, roll them in desiccated coconut, and layer with whipped cream. This way, you’ll enjoy delightful homemade treats with ease, perfect for unexpected guests or planned gatherings!
Expert Tips for Old-Fashioned Pink Jelly Cakes
- Fresh Ingredients: Use fresh baking powder and room temperature eggs for the best texture; stale ingredients can lead to a dense cake.
- Jelly Coating: Warm the strawberry jelly slightly before dipping the cakes to ensure an even coat that adheres well.
- Cream Consistency: Whip your cream until it forms soft peaks; over-whipping can lead to a grainy texture, ruining the luscious filling.
- Chill Time: Don’t skip the chilling step; allowing the cakes to set in the refrigerator helps maintain their structure during serving.
- Coconut Choice: Opt for unsweetened desiccated coconut to control the overall sweetness, enhancing the flavor of your Old-Fashioned Pink Jelly Cakes.
Old-Fashioned Pink Jelly Cakes Customizations
Feel free to make these delightful treats your own with simple adjustments that cater to your taste buds!
- Dairy-Free: Substitute butter with margarine and milk with almond milk for a delicious dairy-free option.
- Sugar-Free: Use a sugar alternative like stevia or erythritol for a lighter, guilt-free dessert without sacrificing sweetness.
- Flavor Twist: Try using raspberry or passionfruit jellies instead of strawberry for a fun flavor variation that’s equally enticing.
- Nutty Addition: Sprinkle chopped nuts like almonds or hazelnuts inside the cream filling for a crunchy texture and extra flavor.
- Reduced Sweetness: If you prefer a less sweet treat, you can cut the sugar content in the sponge cake by 1/4 cup without any major impact on the taste.
- Coconut-less Option: For a cleaner look, omit the desiccated coconut and just enjoy the jelly-coated cakes with whipped cream.
- Chocolate Lover’s Dream: Add cocoa powder to the sponge for a hint of chocolate; pair it with raspberry jelly for a delectable combo.
- Extra Creamy: Fold in a bit of cream cheese into the whipped cream filling for a tangy and rich flavor that elevates these cakes.
Remember, every adjustment is a step toward a new favorite creation! If you enjoyed these, don’t forget to check out our Homemade Pancakes Elevates for another delightful treat that’s sure to please!
What to Serve with Old-Fashioned Pink Jelly Cakes
Indulging in these delightful sweet treats opens the door to a world of flavor pairings that enhance your dessert experience.
- Fresh Fruit Salad: A vibrant mix of juicy fruits provides a refreshing contrast to the creamy cakes.
- Earl Grey Tea: The aromatic notes of bergamot complement the light sweetness, elevating afternoon tea moments.
- Chocolate Mousse: Rich and decadent, this creamy dessert balances the sweetness of the jelly cakes beautifully.
- Vanilla Ice Cream: A scoop of creamy vanilla adds a touch of indulgence, creating a delicious contrast in textures.
- Lemonade: The bright acidity of lemonade cuts through the sweetness, making it a delightful drink companion.
- Cheese Platter: Offering different textures with creamy cheeses offers a savory balance to the sweet jelly cakes.
- Bubbly Prosecco: The light effervescence adds a touch of celebration, making your dessert feel even more special.
- Coconut Macaroons: For the coconut lovers, these chewy cookies echo the desiccated coconut on the cakes for a delightful theme.
- Almond Biscotti: Crispy and nutty, these biscotti pair wonderfully for dipping into tea or coffee alongside the cakes.
Old-Fashioned Pink Jelly Cakes Recipe FAQs
What type of cake flour should I use?
I recommend using a high-quality cake flour for the best results, as it provides structure and tenderness. However, if you don’t have cake flour on hand, all-purpose flour can work in a pinch, though expect a slightly different texture in your Old-Fashioned Pink Jelly Cakes.
How should I store Old-Fashioned Pink Jelly Cakes?
To keep your cakes fresh, store them in an airtight container in the refrigerator. They’re best enjoyed within 2-3 days, as this timeframe ensures the sponge remains soft and the jelly coating stays intact.
Can I freeze these cakes?
Absolutely! You can freeze the assembled Old-Fashioned Pink Jelly Cakes in an airtight container for up to 1 month. For the best results, thaw them overnight in the refrigerator before serving, which will help preserve their texture.
What if my jelly isn’t setting properly?
If you find that your jelly isn’t setting correctly, it could be due to insufficient cooling or using outdated jelly. Ensure you’re using fresh jelly and allow it to cool to a warm temperature before dipping your cakes. If you prefer a firmer coating, consider adding a little gelatin to your jelly mix to achieve the desired consistency.
Are there any dietary considerations I should be aware of?
Yes, if you’re baking for guests with dietary restrictions, you can make substitutions to accommodate their needs. For a dairy-free version, simply use margarine instead of butter and almond milk in place of regular milk. Additionally, always check jelly ingredients for allergens like gelatin, which is not vegetarian.
Can I use different flavors of jelly?
The more the merrier! You can certainly experiment with different fruit jellies like raspberry, orange, or passionfruit to give your Old-Fashioned Pink Jelly Cakes a personalized twist. Just keep in mind that each flavor brings its own sweetness and tang, which can alter the overall taste of the cake.
Delight in Nostalgia with Old-Fashioned Pink Jelly Cakes
Ingredients
Equipment
Method
- Preheat your oven to 180°C (350°F) and line a muffin tin with paper liners. Whisk together cake flour, baking powder, and salt.
- Cream softened butter with sugar until light and fluffy. Add eggs one at a time and mix well, then stir in vanilla extract.
- Gradually mix in the dry ingredients and milk until combined.
- Spoon the batter into the muffin tins, filling about two-thirds full. Bake for 18-20 minutes until tops are golden and a toothpick comes out clean.
- Cool cakes in the tin for 5 minutes, then transfer to a wire rack for at least 30 minutes.
- Prepare the filling by whipping the cream until soft peaks form. Dip the tops of cooled cakes in warm strawberry jelly and roll in coconut.
- Spread whipped cream between two cakes and top with another jelly-coated cake to create cake sandwiches.
- Chill the assembled cakes in the refrigerator for at least 30 minutes before serving.