

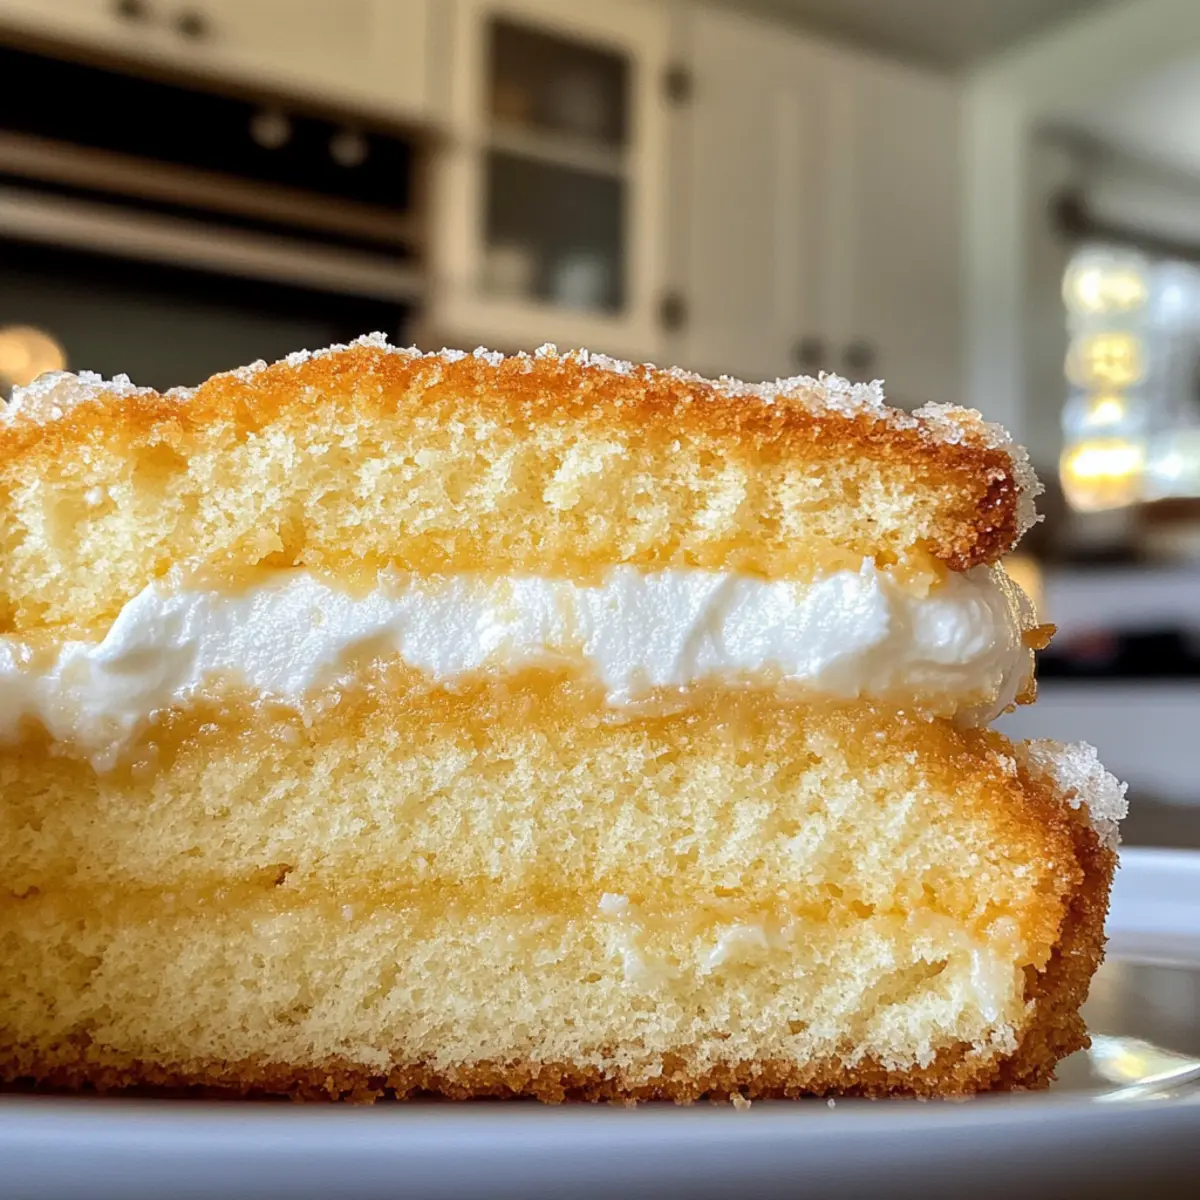
The moment I took a bite of my freshly baked homemade Twinkies, memories of childhood treat-filled afternoons came rushing back. Crafted with love, these fluffy sponge cakes are not only a nostalgic dessert but also a healthier homemade alternative, free from artificial preservatives. With a delightful marshmallow filling that you can easily customize, this recipe lets your creativity run wild, whether you want to add a touch of chocolate or a hint of citrus zest. Plus, they’re perfect for any occasion, from birthday parties to cozy coffee breaks. Are you ready to elevate your snack game and relive those sweet memories? Let’s dive into making some irresistible homemade Twinkies!

Why You’ll Crave Homemade Twinkies?
Nostalgic Flavor: Each bite of these homemade Twinkies brings back childhood memories, blending the playful sweetness of marshmallow with fluffy sponge cake.
Fresh Ingredients: Made with real components, free from artificial preservatives—better for you and oh-so-delicious!
Customizable Delight: Fill them with your favorite flavors—chocolate, citrus, or even peanut butter. Your imagination is the only limit!
Easy to Make: This straightforward recipe is perfect for bakers of all levels. You’ll feel like a pro in no time!
Crowd-Pleasing Treat: Ideal for parties, lunchboxes, or after-school snacks, these Twinkies guarantee smiles all around.
Get started on your adventure with Homemade Twinkies today and share the joy of this timeless treat!
Homemade Twinkies Ingredients
For the Sponge Cakes
- All-Purpose Flour – Provides the structure for your cakes; substitute with a gluten-free blend if desired.
- Baking Powder – Ensures a light, fluffy rise; check the expiration date for best results.
- Salt – Enhances the overall flavor; feel free to use a low-sodium variety.
- Large Eggs – Adds moisture and aeration; room temperature eggs create the best texture.
- Granulated Sugar – Sweetens the sponge; replace with coconut sugar for a healthier option.
- Vanilla Extract – Infuses lovely flavor; vanilla bean paste can provide an even richer taste.
- Milk – Keeps the cakes moist; swap for dairy-free milk to accommodate lactose sensitivities.
- Unsalted Butter – Adds richness; for a dairy-free version, coconut oil works beautifully.
For the Filling
- Marshmallow Creme – The classic filling that provides that nostalgic twist; homemade marshmallow fluff is a delightful alternative.
- Powdered Sugar – Adds sweetness and smooth texture to the filling; opt for cornstarch-free powdered sugar if you prefer.
- Heavy Cream – Enhances creaminess; substitute with coconut cream for a dairy-free filling.
Dive into these homemade Twinkies made with love and nostalgia—your taste buds will thank you!
Step‑by‑Step Instructions for Homemade Twinkies
Step 1: Preheat the Oven
Begin by preheating your oven to 350°F (175°C). While it warms up, grease your Twinkie pan or mini loaf pan generously with butter or non-stick cooking spray. This step ensures that your homemade Twinkies will release easily after baking and maintain their lovely shape.
Step 2: Prepare Dry Ingredients
In a medium bowl, sift together the all-purpose flour, baking powder, and salt. This process aerates the dry ingredients and eliminates any clumps, ensuring a light texture in your sponge cakes. Set this mixture aside as you proceed to the next step, ready to bring together the wet ingredients for your homemade Twinkies.
Step 3: Beat the Eggs and Sugar
In a large mixing bowl, whisk the large eggs and granulated sugar together using an electric mixer on medium-high speed. Continue whisking for about 6 to 8 minutes until the mixture becomes thick, pale, and fluffy. This step incorporates air into the eggs, which is essential for creating a light sponge cake in your homemade Twinkies.
Step 4: Incorporate Vanilla
Gently add the vanilla extract into the whipped egg mixture, folding it in carefully to keep the airiness intact. This adds a delightful flavor to your homemade Twinkies. Be sure to mix just until combined and avoid over-mixing, as this will help maintain that perfect light and fluffy texture.
Step 5: Combine Dry Mixtures
Gradually introduce the sifted flour mixture to the egg mixture. Using a spatula, carefully fold the dry ingredients into the wet mixture, being cautious not to deflate the batter. This gentle folding is key to keeping your homemade Twinkies light and fluffy as it prevents the sponge from becoming dense.
Step 6: Add Milk and Butter
Next, fold in the warm milk and melted unsalted butter, ensuring the mixture is just combined. The warmth of the milk helps to bring the batter together and adds moisture, crucial for the soft consistency of your homemade Twinkies. Avoid over-mixing to ensure your spongy texture remains.
Step 7: Fill the Molds
Pour the batter into the prepared Twinkie molds, filling each cavity about three-quarters full. Use a spoon or a piping bag to make it easier. Bake in the preheated oven for 12 to 15 minutes or until the cakes are golden brown, and a toothpick inserted into the center comes out clean.
Step 8: Cool the Cakes
Once baked, remove the pans from the oven and allow the cakes to cool for about 10 minutes. Carefully transfer the finished homemade Twinkies to a wire rack to cool completely. This step ensures they firm up and develop that perfect texture before filling.
Step 9: Prepare the Filling
In a mixing bowl, beat the softened unsalted butter until fluffy. Gradually add the marshmallow creme, powdered sugar, vanilla, and heavy cream, mixing until smooth and creamy. This luscious filling will make your homemade Twinkies even more delightful, so ensure it’s well-blended for the best taste.
Step 10: Fill the Cakes
Using a piping bag with a fitted tip, poke a hole in the bottom of each cooled cake. Fill each Twinkie with the creamy marshmallow filling until it gently starts to ooze out. This step is what makes your homemade Twinkies irresistibly delicious, so take your time to fill them generously.
Step 11: Serve or Store
Your homemade Twinkies are now complete! For immediate enjoyment, serve them fresh or if you prefer, store them in an airtight container in the refrigerator for up to 4-5 days. This allows the flavors to meld beautifully, ensuring that every bite remains soft and sweet.
Make Ahead Options
These homemade Twinkies are perfect for meal prep enthusiasts looking to save time during busy weeks! You can prepare the sponge cakes up to 24 hours in advance. Simply bake, cool completely, and store them in an airtight container in the fridge to keep them fresh. The filling can also be made up to 3 days ahead—just mix the ingredients and store it in an airtight container in the refrigerator as well. When you’re ready to enjoy your homemade Twinkies, simply fill the cooled cakes with the prepared marshmallow cream, and they will taste just as delightful and fresh. This prep strategy will have you savoring these sweet treats with minimal effort!
Homemade Twinkies Variations & Substitutions
Feel free to get creative with your homemade Twinkies, and let your taste buds guide the way to new flavor adventures!
- Gluten-Free: Substitute all-purpose flour with a gluten-free blend to keep it light and fluffy while accommodating dietary needs.
- Citrusy Zest: Add lemon or orange zest to the batter for a refreshing twist that elevates the flavor profile in every bite.
- Dairy-Free: Replace milk and butter with almond milk and coconut oil for a completely dairy-free version; still deliciously moist!
- Chocolate Lovers: Incorporate cocoa powder into the batter for a chocolate sponge cake, filled with creamy vanilla or chocolate marshmallow.
- Fruit-Filled: Try filling with fruit preserves or fresh berries for a sweet and tangy surprise inside your Twinkies, perfect for summer outings.
- Nutty Twist: Fold in crushed nuts or nut butters to either the batter or filling for added crunch and a different flavor dimension.
- Gourmet Drizzle: Top your Twinkies with a chocolaty ganache or a sprinkle of crushed cookies for an elevated dessert experience.
- Seasonal Flavors: Experiment with seasonal spices by adding cinnamon or pumpkin spice to evoke feelings of warmth during the colder months.
Your homemade Twinkies can be a delightful canvas for flavors! If you’re looking for some extra fun, don’t forget to check out how these Homemade Pancakes Elevates can pair beautifully with creations like these. Get inspired and let the flavor reign supreme!
How to Store and Freeze Homemade Twinkies
-
Room Temperature: Homemade Twinkies should be kept at room temperature for up to 2 days in a covered container if consumed quickly. Enjoy them fresh for the best texture!
-
Fridge: For longer freshness, store the Twinkies in an airtight container in the refrigerator for up to 4-5 days. This helps retain their soft sponge and creamy filling.
-
Freezer: If you want to save them for later, freeze your homemade Twinkies in an airtight container or freezer bag for up to 3 months. Thaw in the fridge overnight before enjoying.
-
Reheating: If you prefer them slightly warm, pop the Twinkies in the microwave for about 10-15 seconds. This will revive their fluffy texture, making each bite just as delightful as when freshly made!
Expert Tips for Homemade Twinkies
-
Room Temperature Eggs: Ensure your eggs are at room temperature before whipping; this helps achieve maximum volume and a fluffy sponge for your homemade Twinkies.
-
Gentle Folding: Always fold the batter gently to avoid deflating the eggs. This is crucial for creating the light texture that makes your homemade Twinkies so delightful.
-
Cooling Time: Allow the cakes to cool completely before filling them. This prevents the marshmallow filling from melting too much, helping to maintain the perfect texture.
-
Piping Precision: Use a piping bag for better control when filling your Twinkies. This technique ensures you fill each cake evenly for that delicious marshmallow hit in every bite.
-
Experiment with Flavors: Don’t hesitate to get creative! Try different fillings or flavors to customize your homemade Twinkies and delight your taste buds.
What to Serve with Homemade Twinkies?
Indulging in these soft, creamy treats is just the beginning—pair them with delightful accompaniments to create the ultimate dessert experience.
-
Fresh Berries: Juicy strawberries or raspberries add a burst of bright flavor, cutting through the sweetness while adding a refreshing touch.
-
Vanilla Ice Cream: The creamy, cold vanilla ice cream contrasts beautifully with the fluffy sponge, enhancing the overall indulgence of your Twinkies.
-
Chocolate Sauce: Drizzling a rich chocolate sauce over your homemade Twinkies elevates them to gourmet territory. The decadence harmonizes perfectly with the marshmallow filling.
-
Coffee or Tea: A warm cup of coffee or herbal tea offers a pleasant bitterness that complements the sweetness of the Twinkies, making them perfect for afternoon snacking.
-
Whipped Cream: Light and airy whipped cream adds another layer of sweetness and creaminess, perfect for those who adore a fluffy topping on their desserts.
-
Fruit Compote: A tangy fruit compote can provide a delightful contrast to the sugary treat, offering a burst of flavor that leaves you wanting more.
Pairing these accompaniments with your homemade Twinkies will create a memorable dessert experience, inviting everyone to indulge in sweetness and nostalgia!
Homemade Twinkies Recipe FAQs
How do I choose the right eggs for my homemade Twinkies?
Absolutely! It’s essential to use large eggs at room temperature when making your homemade Twinkies. Room temperature eggs incorporate air more easily and help to create a fluffier sponge cake. If possible, check the expiration date to ensure freshness, as older eggs might not whip up as well.
How should I store my homemade Twinkies to keep them fresh?
To maintain freshness, store your homemade Twinkies in an airtight container in the refrigerator for up to 4-5 days. This will help retain their soft texture and creamy filling. For quick consumption, you can keep them at room temperature for up to 2 days, but be mindful that they may dry out more quickly.
Can I freeze homemade Twinkies for later use?
Absolutely! To freeze your homemade Twinkies, wrap each one tightly in plastic wrap and place them in an airtight container or freezer bag. They can be frozen for up to 3 months. When you’re ready to enjoy them, simply thaw them in the fridge overnight. If you want them warm, pop them in the microwave for about 10-15 seconds after thawing.
What should I do if my sponge cakes come out dense?
If your homemade Twinkies turn out dense, the likely culprit could be over-mixing the batter or not incorporating enough air into your eggs. Always fold the dry ingredients gently into the wet ingredients to maintain that light texture. If possible, ensure you’re using room temperature eggs, as this can greatly enhance the volume when whipped.
Are there any dietary considerations for making homemade Twinkies?
Sure! If you’re accommodating dietary restrictions, there are excellent alternatives. You can substitute all-purpose flour with a gluten-free blend, and use dairy-free milk (like almond or oat milk) instead of regular milk. For a dairy-free filling, you could swap heavy cream with coconut cream. Always double-check for common allergens in your ingredients as well!
How can I customize the filling for my homemade Twinkies?
The more the merrier! You can easily customize the filling by adding different flavors and ingredients. Consider mixing in chocolate chips, citrus zest, or flavored extracts such as almond or orange to the marshmallow creme. Get creative and experiment with your favorite flavors to make your homemade Twinkies uniquely yours!
Homemade Twinkies: A Classic Treat Made with Love
Ingredients
Equipment
Method
- Preheat your oven to 350°F (175°C) and grease your Twinkie pan or mini loaf pan.
- Sift together the all-purpose flour, baking powder, and salt in a medium bowl.
- Whisk the eggs and granulated sugar in a large mixing bowl using an electric mixer for about 6 to 8 minutes until thick and fluffy.
- Gently fold in the vanilla extract into the whipped egg mixture.
- Gradually introduce the sifted flour mixture to the egg mixture, carefully folding to avoid deflation.
- Fold in the warm milk and melted unsalted butter until just combined.
- Pour the batter into the prepared Twinkie molds, filling about three-quarters full. Bake for 12 to 15 minutes until golden brown.
- Remove from the oven and cool for about 10 minutes before transferring to a wire rack to cool completely.
- Beat the softened unsalted butter until fluffy, then add marshmallow creme, powdered sugar, vanilla, and heavy cream until smooth.
- Using a piping bag, poke a hole in the bottom of each cooled cake and fill generously with the creamy marshmallow filling.
- Serve the homemade Twinkies fresh or store in an airtight container in the refrigerator for up to 4-5 days.