

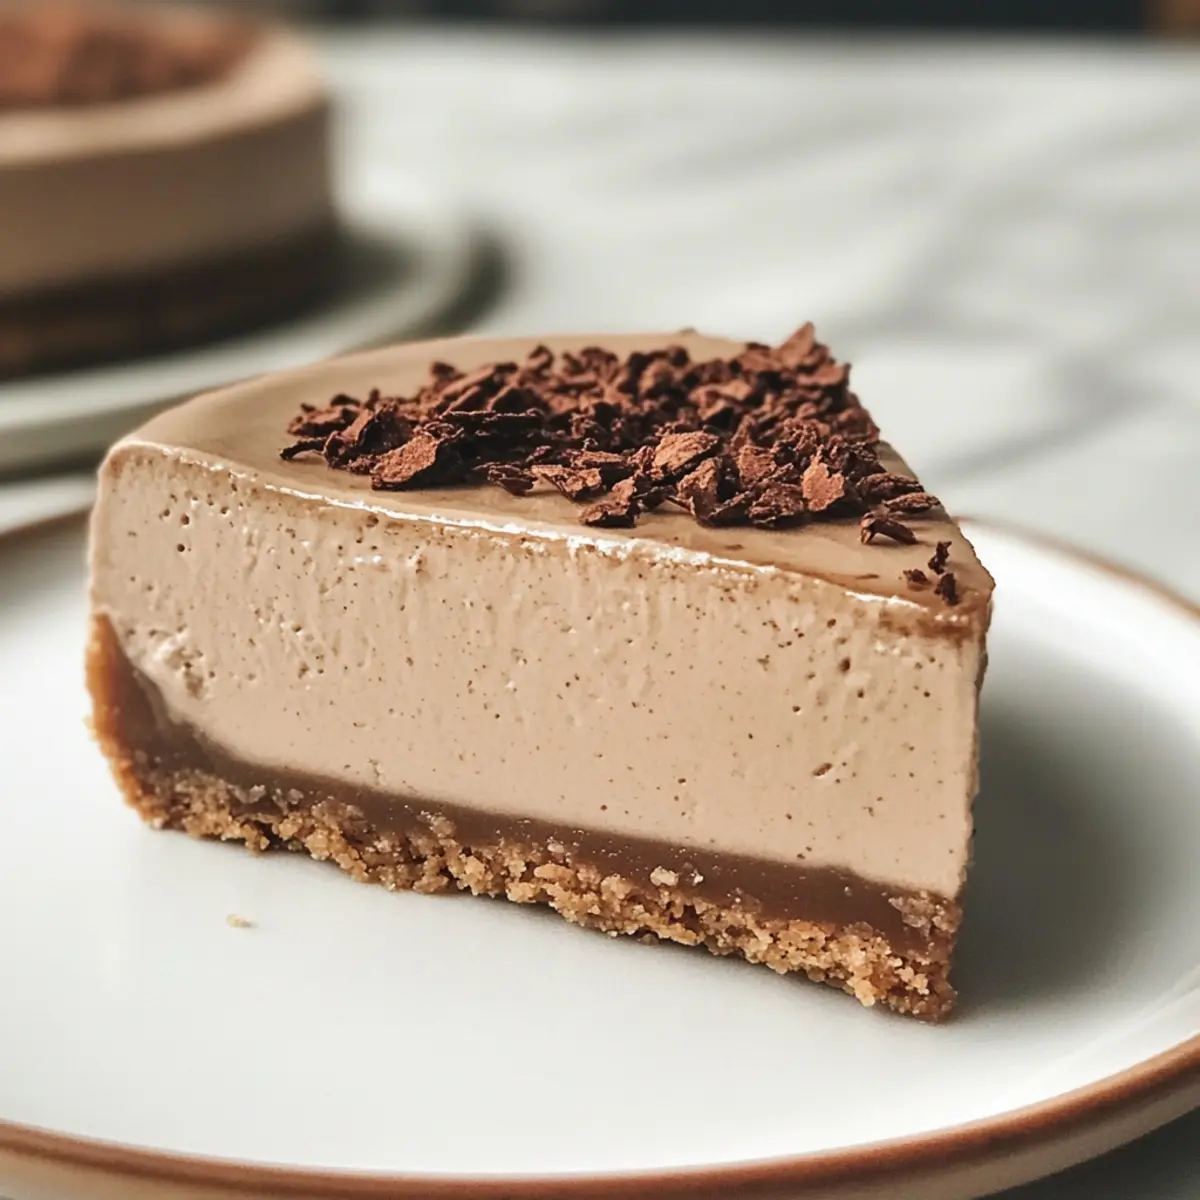
As I stood in my cozy kitchen one afternoon, the aromatic blend of freshly brewed Earl Grey tea mingled with the sweet scent of caramel biscuits, instantly whisking me away to a charming café in London. This No-Bake Earl Grey Mousse Cheesecake is my homage to that dreamy escape, combining the rich, creamy texture of a classic cheesecake with a delightful twist. The best part? It’s effortlessly easy to whip up without even turning on the oven! Perfect for those warm evenings or special gatherings, this dessert not only brings a touch of sophistication but is also a guaranteed crowd-pleaser. Ready to indulge your senses and impress your friends with this elegant treat? Let’s dive into the magic of this mousse cheesecake!
Why is this cheesecake a must-try?
Effortless Preparation: No oven required for this delicious dessert—perfect for busy days!
Distinctive Flavor: The infusion of Earl Grey tea lends a unique, aromatic note that sets it apart from traditional cheesecakes.
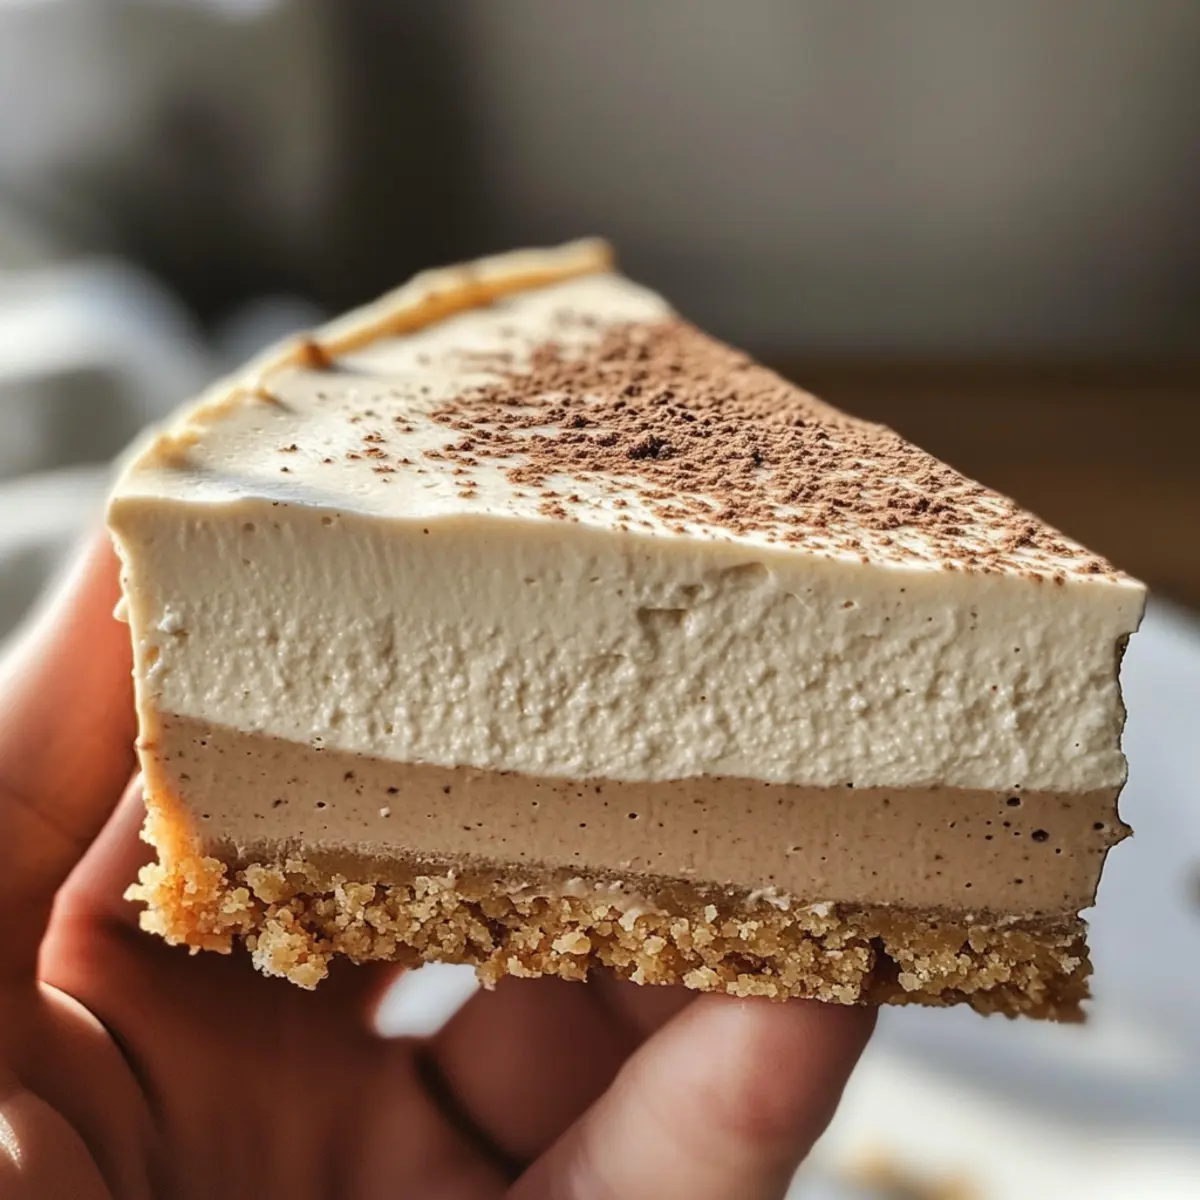
Creamy Texture: This mousse cheesecake boasts a luxurious, silky feel that melts in your mouth.
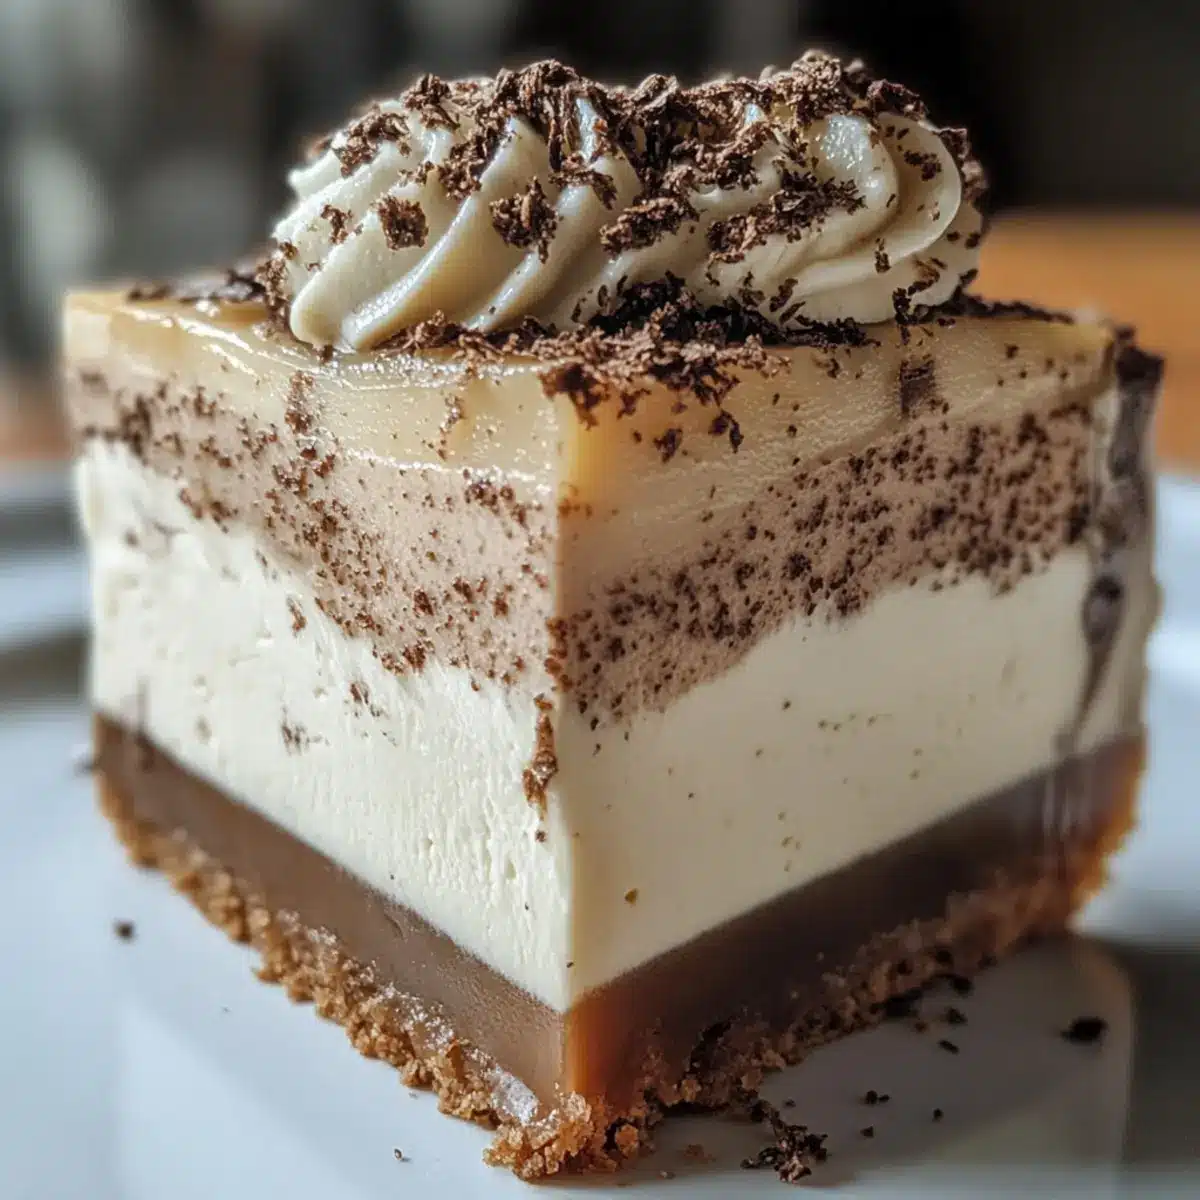
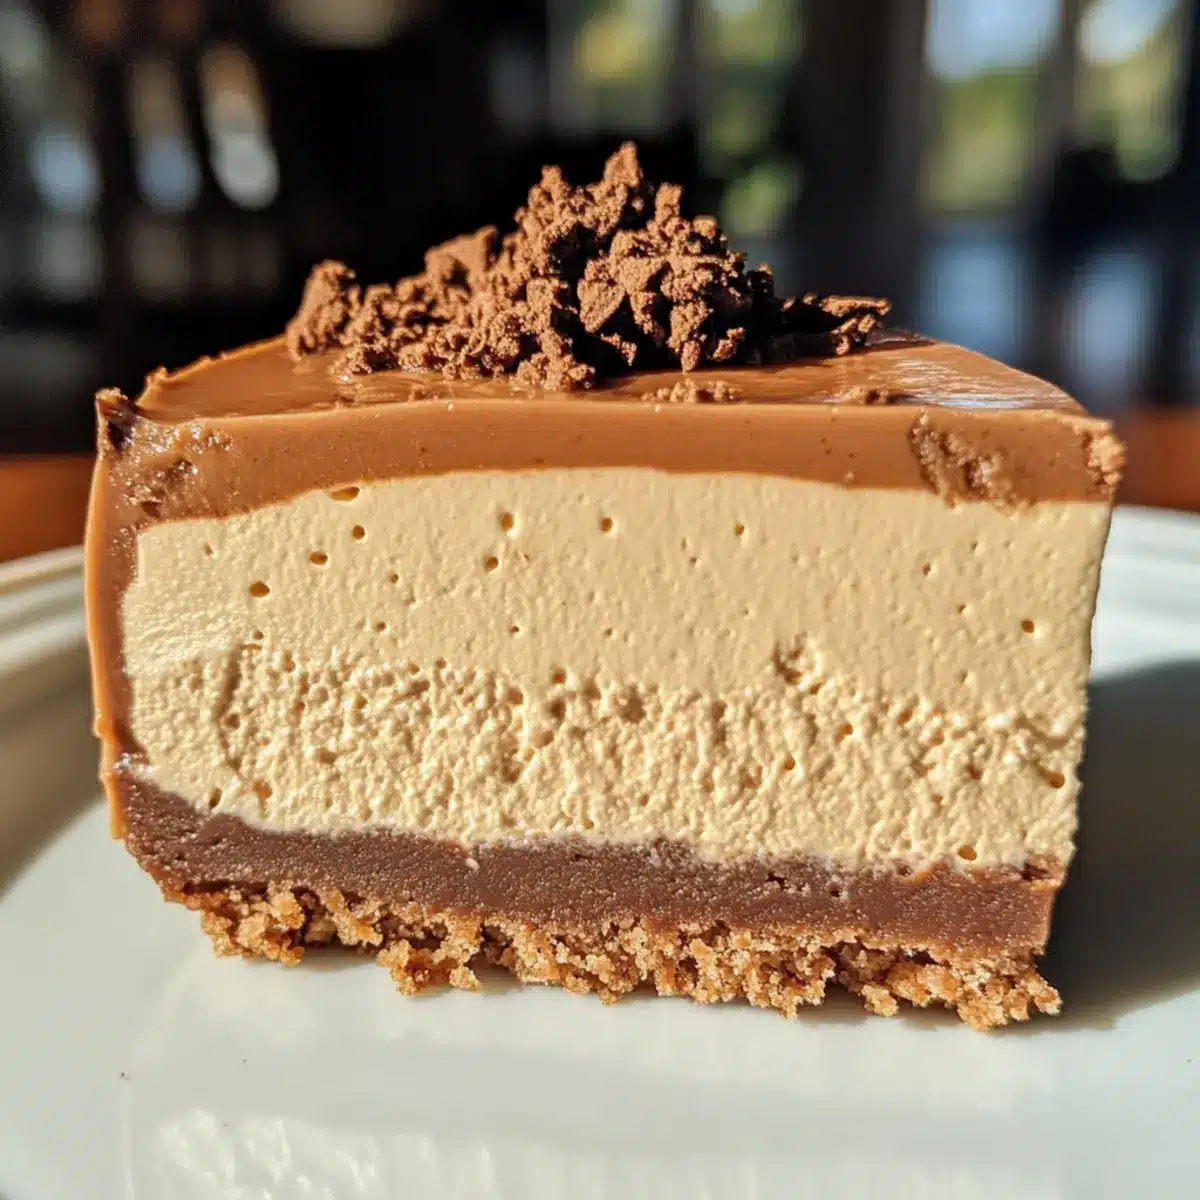
Impressive Presentation: A glossy mirror glaze and decorative crushed biscuits make it visually stunning for any gathering.
Versatile Variations: Easily adapt the flavor by swapping in matcha or jasmine tea powder for a personal touch.
Crowd Pleaser: Both tea enthusiasts and dessert lovers will be clamoring for seconds, guaranteeing your dessert table will shine!
If you’re intrigued to explore more delightful cheesecakes, don’t miss my Rhubarb Streusel Cheesecake Bars or indulge in rich flavors with the Ultimate Oreo Cheesecake.
No-Bake Earl Grey Mousse Cheesecake Ingredients
Get ready to create a marvelous treat!
For the Biscuit Base
- Caramel Biscuits – Adds sweetness and a delightful crunch to the base; can substitute with digestive biscuits if desired.
- Unsalted Butter – Binds the biscuit crumbs for a firm base; no substitutions recommended.
For the Mousse Layer
- Cream Cheese – Provides the rich, creamy texture for the mousse; use softened at room temperature for easier mixing.
- Caster Sugar – Sweetens the cream cheese mixture and balances flavors; divided into two portions for proper incorporation.
- Hot Milk – Activates gelatin and incorporates that lovely Earl Grey tea flavor; ensure it’s approximately 40°C for optimal results.
- Gelatin Sheets – Helps the mousse set; can substitute with 2 g powdered gelatin per sheet.
- Earl Grey Tea Powder – Infuses the mousse with fragrant tea flavor; substitute with tea from 2 Earl Grey tea bags if needed.
- Whipping Cream – Creates a light, fluffy texture in the mousse; whip until soft peaks form.
For Decoration
- Crushed Caramel Biscuits – Used for decoration, adding a visual and textural element to the dessert.
- Mirror Glaze (Optional) – Enhances the appearance and shine of the dessert; ingredients include hot milk, Earl Grey tea bag, and additional caster sugar for a fabulous finish.
This No-Bake Earl Grey Mousse Cheesecake is not only simple and elegant but also a treat that will surely enchant your guests!
Step‑by‑Step Instructions for No-Bake Earl Grey Mousse Cheesecake
Step 1: Prepare the Biscuit Base
Begin by crushing the caramel biscuits into fine crumbs, using a food processor or a zip-lock bag and a rolling pin for a hands-on approach. Melt the unsalted butter in a microwave or on the stovetop until completely liquid, then mix it thoroughly with the biscuit crumbs until the mixture resembles wet sand. Press this blend firmly into the base of a parchment-lined 6-inch mold and refrigerate for 10 minutes to set.
Step 2: Create the Cheese Mousse Layer
While the biscuit base chills, soften the cream cheese in a mixing bowl using a hand mixer until it’s creamy and smooth, incorporating 10 g of caster sugar gradually. Next, prepare the Earl Grey tea milk by heating the milk until hot, around 40°C, then dissolve the gelatin sheets in it, stirring in the Earl Grey tea powder once the gelatin is fully melted. Slowly mix this tea infusion into the cream cheese until completely smooth and well combined.
Step 3: Fold in the Whipped Cream
In a separate bowl, whip the cream until it reaches soft peaks, being careful not to over-whip; it should have a light, fluffy texture. Gently fold the whipped cream into the cream cheese mixture, making sure to retain its airy texture. Then, fold in half of the crushed caramel biscuits, which will add delightful crunch and flavor to the mousse. The resulting mixture should be light and creamy, perfect for layering.
Step 4: Assemble and Chill
Pour the luscious mousse over the chilled biscuit base, spreading it evenly using a spatula. Once the mousse layer is smooth and level, cover the mold with plastic wrap and place it in the refrigerator for at least 4 hours or, for best results, overnight. This allows the mousse to set beautifully and develop its rich flavor, making your No-Bake Earl Grey Mousse Cheesecake irresistible.
Step 5: Prepare the Optional Mirror Glaze
If you’d like to create a mirror glaze, steep an Earl Grey tea bag in hot milk to infuse the flavor. Once infused, carefully dissolve gelatin sheets in this warm tea milk along with the remaining caster sugar, whisking until combined. Let it cool slightly before gently pouring it over the set mousse layer in the mold, allowing it to flow evenly without disturbing the mousse underneath. Return it to the fridge for an additional 1–2 hours.
Step 6: Unmold and Decorate
Once the cheesecake has fully set, it’s time to unmold. Warm the edges of the mold gently with a hairdryer for easier release, making sure not to apply too much heat. Carefully lift the cheesecake out of the mold and place it on a serving platter. Before serving, garnish with the remaining crushed caramel biscuits for a delightful crunch and appealing presentation, ready for everyone to enjoy!
How to Store and Freeze No-Bake Earl Grey Mousse Cheesecake
Fridge: Keep your No-Bake Earl Grey Mousse Cheesecake refrigerated in an airtight container for up to 3 days to maintain its creamy texture.
Freezer: While freezing is not recommended as it may alter the mousse’s texture, if necessary, wrap tightly in plastic wrap and foil, storing for up to 1 month.
Thawing: If frozen, thaw the cheesecake in the refrigerator for several hours or overnight before serving to restore its silky feel.
Serving Tip: Serve chilled for the best experience, and consider garnishing with fresh whipped cream just before serving!
Make Ahead Options
This No-Bake Earl Grey Mousse Cheesecake is an ideal choice for meal prep, allowing you to enjoy effortless indulgence. You can prepare the biscuit base and the mousse layer up to 24 hours in advance. Simply crush the caramel biscuits and mix them with melted butter to form the base, then press into the mold and refrigerate. For the mousse, make it and pour it over the chilled base, then cover and refrigerate for a minimum of 4 hours or overnight. To maintain quality, store the cheesecake in an airtight container in the refrigerator. When ready to serve, simply finish with the optional mirror glaze for that extra wow factor, and you’ll impress your guests with minimal effort!
What to Serve with No-Bake Earl Grey Mousse Cheesecake?
Elevate your dessert experience by pairing it with delightful complementary dishes and drinks that enhance its soothing flavors.
-
Fresh Berries: Their tartness balances the creamy sweetness of the cheesecake, adding a pop of color and freshness to each bite. A mix of raspberries and blueberries can create a vibrant contrast!
-
Chai-Spiced Tea: The warm spices in chai beautifully echo the nuances of Earl Grey, turning your dessert into an inviting afternoon treat. Serve it steaming for a cozy touch.
-
Vanilla Ice Cream: A scoop of creamy vanilla ice cream provides a classic pairing, delivering a wonderful contrast in temperatures and textures that will leave everyone wanting more.
-
Shortbread Cookies: The buttery crunch of homemade or store-bought shortbread adds a delightful bite, harmonizing with the dessert’s rich mousse. Offer them on the side for an elegant touch!
-
Chocolate Ganache: Drizzling a rich chocolate ganache over the cheesecake can enhance its decadence while adding a luscious and inviting layer of flavor. It’s a match made in dessert heaven!
-
Mint Tea: A refreshing cup of mint tea cleanses the palate while perfectly complementing the floral notes of Earl Grey. Enjoy it chilled for a revitalizing contrast!
-
Caramel Sauce: A drizzle of warm caramel sauce can elevate the flavors beautifully, enhancing the sweetness while adding a rich, gooey texture that everyone will adore.
-
Almond Biscotti: Their crunchy texture can contrast nicely with the cheesecake, providing a delightful chew alongside each creamy spoonful. Perfect for dipping!
No-Bake Earl Grey Mousse Cheesecake Variations
Feel free to get creative and adjust this delightful cheesecake to suit your taste buds or dietary preferences!
-
Matcha Magic:
Swap Earl Grey tea powder for matcha for a vibrant green twist and earthy flavor. Matcha adds a rich depth that tea lovers will adore. -
Decaf Delight:
For a caffeine-free version, use decaffeinated Earl Grey tea bags or powder. Enjoy the same aromatic charm without the jitters. -
Vegan Version:
Replace cream cheese with cashew cream and use coconut cream in place of whipping cream. Your mousse will still be creamy and plant-based. -
Chocolatey Indulgence:
Add a tablespoon of cocoa powder into the mousse layer for a chocolatey flavor that complements the tea beautifully. It’s a delightful contrast that’s hard to resist! -
Spicy Kick:
Introduce a pinch of cinnamon or cardamom to the mousse for a warm, spicy undertone. This twist elevates the dessert’s complexity and offers a unique flavor profile. -
Fruit Fusion:
Layer fresh berries or raspberry sauce between the biscuit base and mousse. The tartness from the berries adds a refreshing balance to the rich cheesecake. -
Extra Crunch:
Toss in chopped nuts or crushed biscuit bits into the mousse mixture for an added textural delight. A little crunch goes a long way in enhancing the experience. -
Citrus Zing:
Incorporate a teaspoon of lemon or orange zest into the mousse to brighten the flavor. The citrus notes paired with Earl Grey create a refreshing taste.
With these variations, your No-Bake Earl Grey Mousse Cheesecake can adapt to any occasion or personal preference. And if you’re eager for more cheesecake inspiration, take a peek at my Oreo Cheesecake Indulge or try your hand at Rhubarb Streusel Cheesecake Bars for even more delightful concoctions!
Expert Tips for No-Bake Earl Grey Mousse Cheesecake
-
Cream Cheese Temperature: Ensure that your cream cheese is at room temperature for smooth mixing. Cold cream cheese can lead to lumps in your mousse.
-
Whipping Technique: Whip the cream just until soft peaks form. Over-whipping can cause the cream to separate, ruining the light texture of the mousse.
-
Gelatin Handling: Be cautious when dissolving gelatin in hot liquids. Allow it to cool slightly before mixing it with other ingredients to avoid cooking them.
-
Base Firmness: Press the biscuit mixture firmly into the mold for a sturdy base. A loose base can lead to a messy slice when serving your No-Bake Earl Grey Mousse Cheesecake.
-
Chilling Time: Don’t rush the chilling process! Letting the cheesecake set overnight enhances flavors and achieves the perfect texture.
No-Bake Earl Grey Mousse Cheesecake Recipe FAQs
What type of biscuits should I use for the base?
I recommend using caramel biscuits for sweetness and crunch, but if you prefer, digestive biscuits work just as well for a less sweet flavor. Make sure they are finely crushed for a solid base!
How should I store the No-Bake Earl Grey Mousse Cheesecake?
To keep your cheesecake fresh, store it in an airtight container in the refrigerator for up to 3 days. I’ve found that it tastes best when enjoyed within the first couple of days, as it can lose texture over time.
Can I freeze the No-Bake Earl Grey Mousse Cheesecake?
Freezing is not ideal for this cheesecake as it may alter the creamy mousse texture. If needed, wrap it tightly in plastic wrap and then aluminum foil. It can be stored in the freezer for up to 1 month. Thaw it in the refrigerator for several hours or overnight before serving, ensuring it retains as much creaminess as possible.
What should I do if my cheese mousse mixture is lumpy?
If you encounter lumps in your cheese mousse, it’s likely due to cold cream cheese. Always ensure your cream cheese is at room temperature for easier blending. If lumps persist, try beating the mixture more vigorously until smooth. If all else fails, you can strain the mixture through a fine sieve to achieve a silky texture.
Are there any dietary considerations I should keep in mind?
Absolutely! This dessert contains dairy, so if there are any lactose sensitivities or allergies, consider substituting the cream cheese with a lactose-free alternative and using dairy-free whipping cream. For gelatin, vegan options like agar-agar can be used if you prefer a plant-based dessert. Always be mindful of potential allergens when serving to guests!
Can I make this cheesecake ahead of time?
Yes, you can! I often make my No-Bake Earl Grey Mousse Cheesecake a day or two in advance. Just be sure to keep it chilled in the refrigerator to maintain its freshness. Preparing it ahead of time allows the flavors to meld beautifully, giving you even more delicious results!
No-Bake Earl Grey Mousse Cheesecake for Effortless Indulgence
Ingredients
Equipment
Method
- Begin by crushing the caramel biscuits into fine crumbs, using a food processor or a zip-lock bag and a rolling pin for a hands-on approach. Melt the unsalted butter in a microwave or on the stovetop until completely liquid, then mix it thoroughly with the biscuit crumbs until the mixture resembles wet sand. Press this blend firmly into the base of a parchment-lined 6-inch mold and refrigerate for 10 minutes to set.
- While the biscuit base chills, soften the cream cheese in a mixing bowl using a hand mixer until it’s creamy and smooth, incorporating 10 g of caster sugar gradually. Next, prepare the Earl Grey tea milk by heating the milk until hot, around 40°C, then dissolve the gelatin sheets in it, stirring in the Earl Grey tea powder once the gelatin is fully melted. Slowly mix this tea infusion into the cream cheese until completely smooth and well combined.
- In a separate bowl, whip the cream until it reaches soft peaks, being careful not to over-whip; it should have a light, fluffy texture. Gently fold the whipped cream into the cream cheese mixture, making sure to retain its airy texture. Then, fold in half of the crushed caramel biscuits, which will add delightful crunch and flavor to the mousse.
- Pour the luscious mousse over the chilled biscuit base, spreading it evenly using a spatula. Once the mousse layer is smooth and level, cover the mold with plastic wrap and place it in the refrigerator for at least 4 hours or, for best results, overnight.
- If you'd like to create a mirror glaze, steep an Earl Grey tea bag in hot milk to infuse the flavor. Once infused, carefully dissolve gelatin sheets in this warm tea milk along with the remaining caster sugar, whisking until combined. Let it cool slightly before gently pouring it over the set mousse layer in the mold.
- Once the cheesecake has fully set, gently warm the edges of the mold with a hairdryer for easier release, then carefully lift the cheesecake out and place it on a serving platter. Garnish with the remaining crushed caramel biscuits before serving.