

The sweet scent of caramelized sugar wafted through my kitchen, instantly transporting me to my childhood days when candy-making felt like an enchanting adventure. Today, I’m excited to share my version of Easy Honeycomb Candy, a delightful blast from the past that’s surprisingly simple to whip up. This recipe is gluten-free and can easily be adapted to fit vegan diets, making it a versatile addition to your dessert repertoire. With a light, crispy texture that gently melts in your mouth, this candy is perfect for festive gatherings or just to enjoy at home. And let’s not forget—each piece is a satisfying treat ready to curb those fast food cravings! Are you ready to unlock the magic of honeycomb in your own kitchen?
Why is Honeycomb Candy so Irresistible?
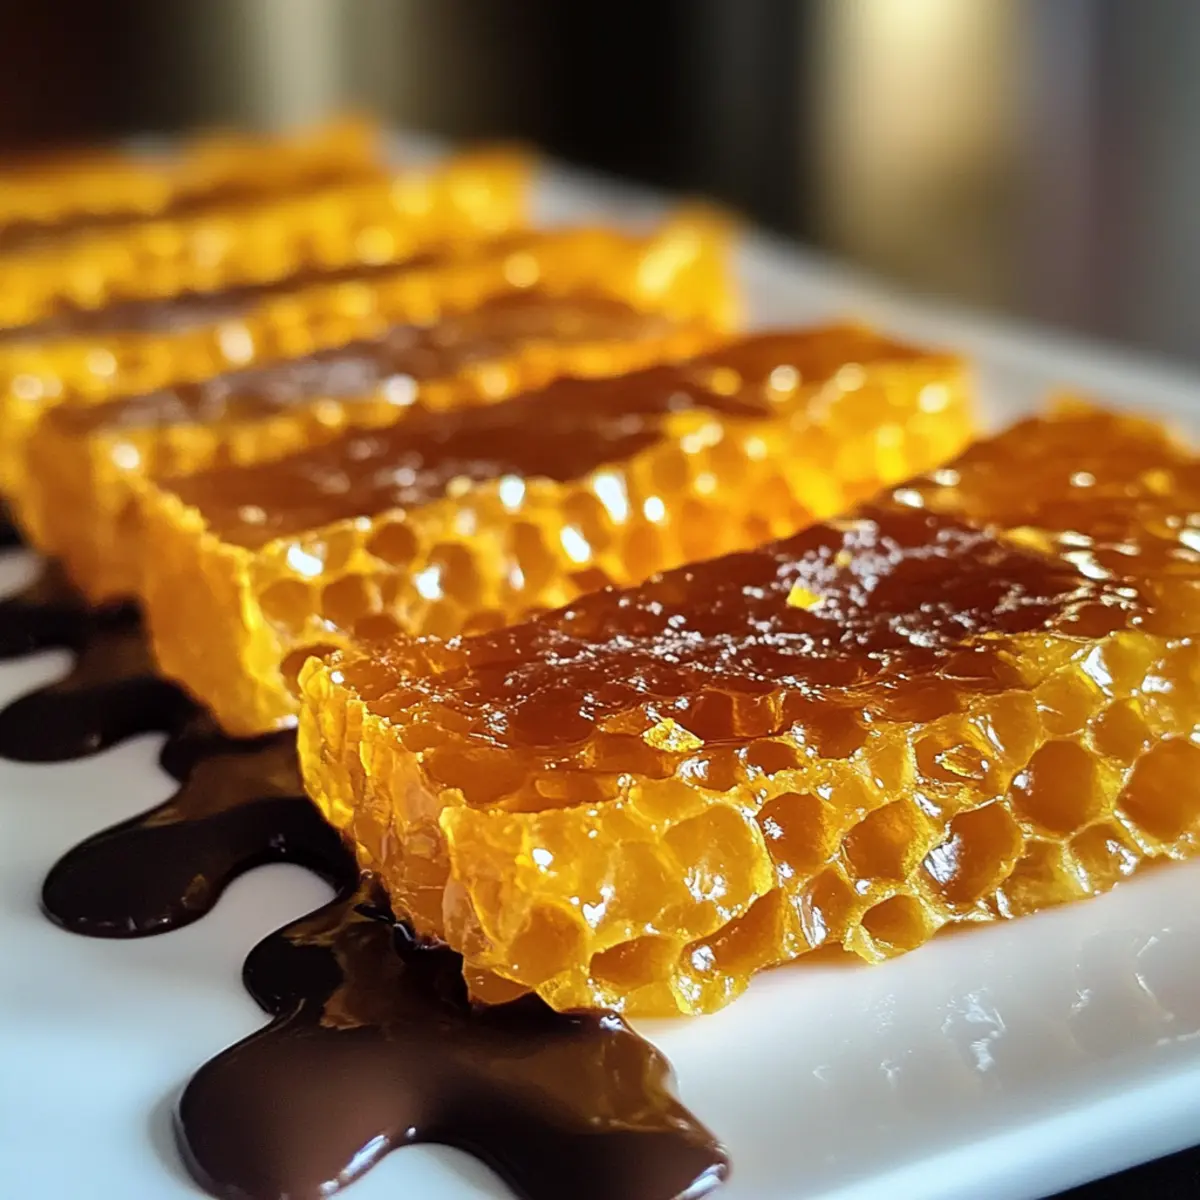
Sweetness Defined: Honeycomb Candy offers a delightful way to satisfy your sweet tooth without artificial additives. Each bite is a journey into a caramelized wonderland that will have you reaching for more.
Quick and Easy: This recipe transforms simple ingredients into a delicious treat, making it perfect for quick dessert fixes. You can enjoy homemade candy without spending hours in the kitchen!
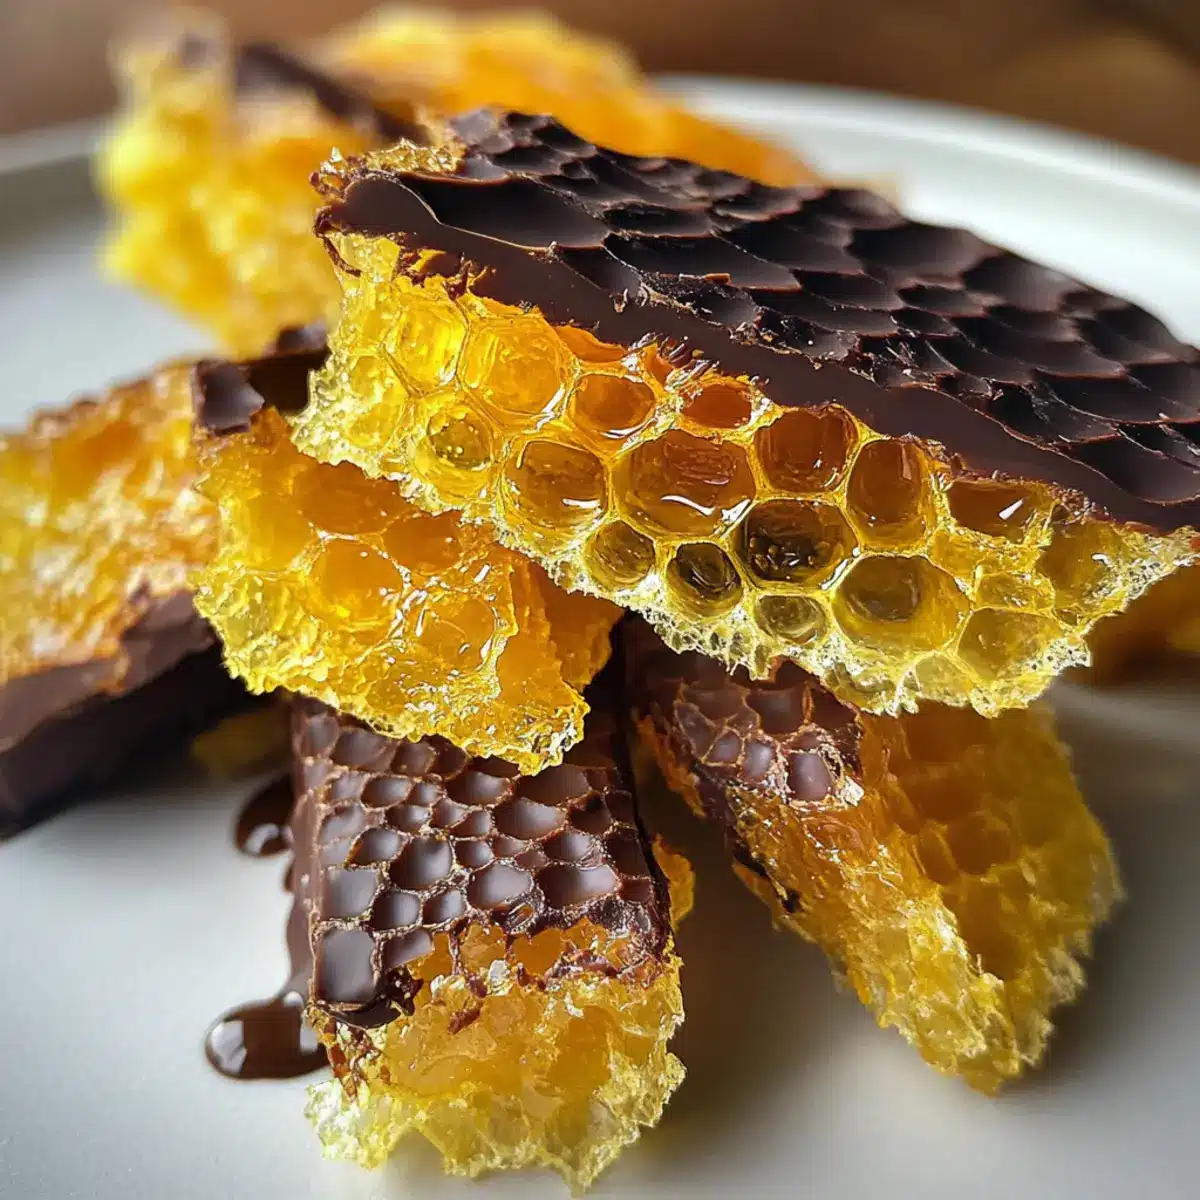
Customizable Delight: Love chocolate? Dip your honeycomb pieces in your favorite melts. Prefer a healthier touch? Enjoy them plain or with a sprinkle of nuts for added crunch.
Guilt-Free Indulgence: With each piece roughly 150 calories, this gluten-free candy allows for a sweet escape without derailing your diet.
Nostalgic Crunch: The airy texture of honeycomb evokes cherished childhood memories, making it a fantastic crowd-pleaser at parties or family gatherings. Once you make it, you’ll be hooked!
Honeycomb Candy Ingredients
For the Candy Base
• White Sugar – Essential for sweetness and creating that signature airy texture. You can substitute with organic cane sugar for a healthier choice.
• White Vinegar – Helps prevent crystallization during cooking. If you prefer, lemon juice works well as a replacement.
• Dark Corn Syrup – Adds moisture and prevents crystallization; light corn syrup is a good alternative if you want a milder taste.
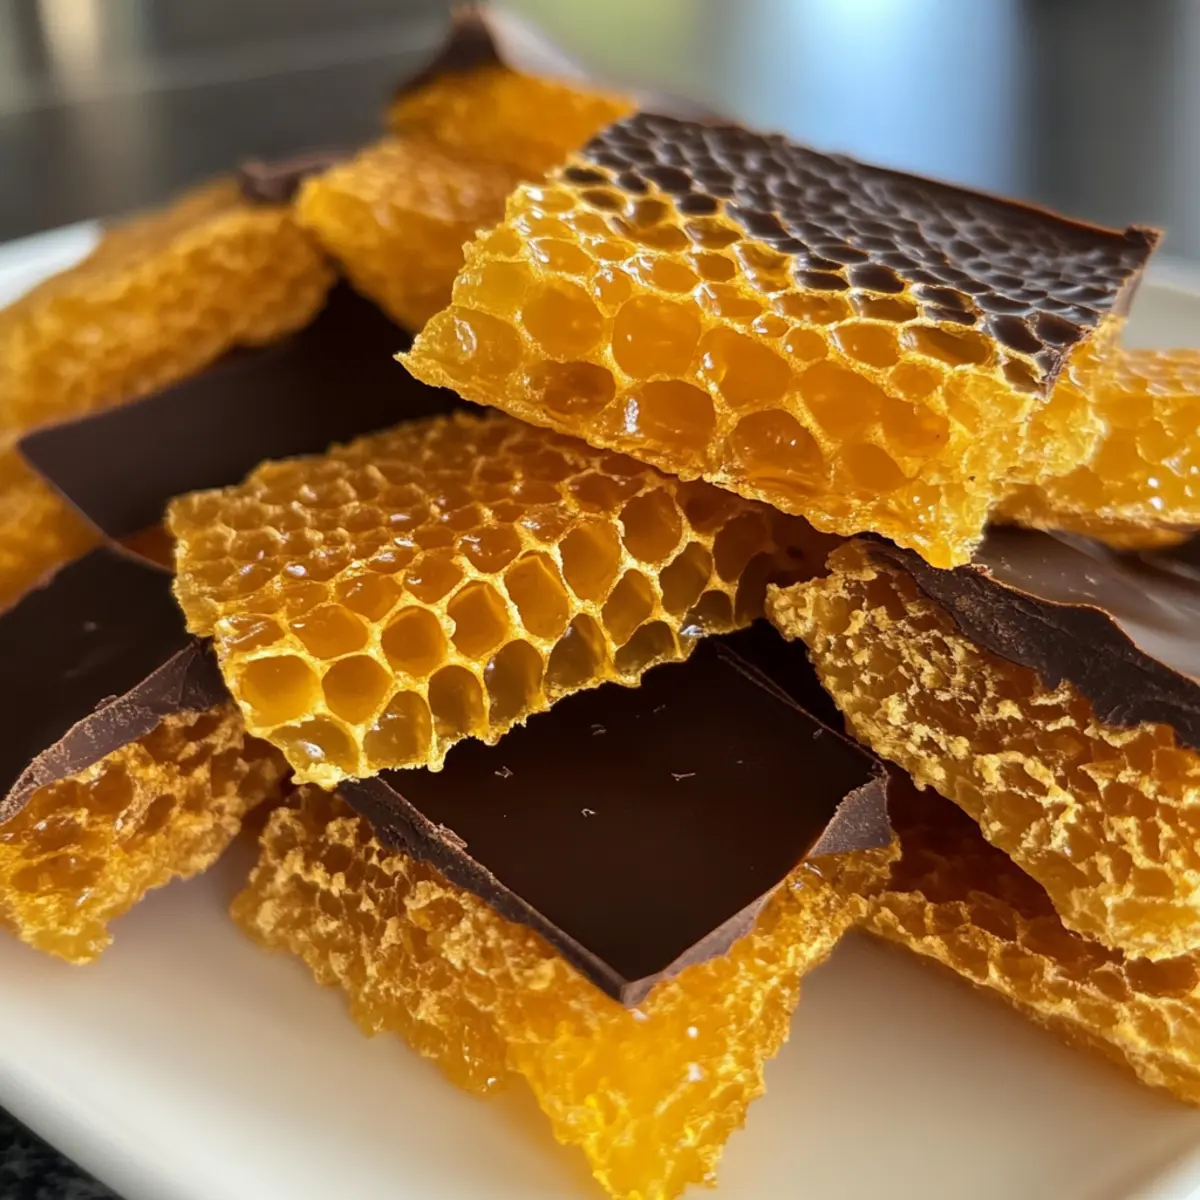
• Baking Soda – Crucial for achieving the candy’s light, fluffy structure—make sure to use it fresh for the best results.
Optional Chocolate Coating
• Chocolate Melting Wafers – These add a rich chocolatey flavor to your candy; feel free to swap them with milk or white chocolate depending on your preference.
Step‑by‑Step Instructions for Honeycomb Candy
Step 1: Prepare the Pan
Line an 8×8 inch casserole dish with non-stick foil, ensuring it covers the bottom and sides completely. This step is crucial for easy removal of the honeycomb candy later. Make sure there are no wrinkles, as a smooth surface will help the candy set evenly.
Step 2: Combine Ingredients
In a heavy-bottomed saucepan, combine white sugar, white vinegar, and dark corn syrup. Stir the mixture over medium heat until it begins to dissolve—this should take about 5 minutes. Keep an eye on it, as you want a clear consistency before moving on to the next step.
Step 3: Dissolve Sugar
Continue stirring the mixture until the sugar is completely dissolved and the liquid looks clear and slightly bubbly. This is an essential part of the honeycomb candy process—it ensures that the granules are fully incorporated. Once achieved, you can confidently proceed to the next step of cooking.
Step 4: Cook to Hard Crack
Stop stirring now and increase the heat. Allow the mixture to boil unhindered until it reaches a hard crack stage at 300°F on a candy thermometer. This should take about 10–12 minutes. Be attentive; the color will deepen slightly, signaling it’s ready for the next step.
Step 5: Add Baking Soda
Remove the saucepan from heat and quickly stir in the baking soda. Watch closely as the mixture foams and bubbles up—this reaction is what creates the light and airy texture of the honeycomb candy. Work swiftly; you want to ensure the baking soda is well incorporated.
Step 6: Set the Mixture
Pour the foamed mixture into the prepared pan. Be careful not to scrape the saucepan, as the residue can lead to crystallization. Spread it gently to fill the pan evenly, allowing the honeycomb candy to define its shape and structure as it cools.
Step 7: Cool
Let your honeycomb candy cool completely undisturbed for about 2 hours. Patience is key here; moving or touching the pan can disturb the airy formation. Once set, it will be ready to break into delightful pieces.
Step 8: Break into Pieces
After cooling, carefully break the candy into bite-sized chunks. You can use your hands or a sharp knife depending on the texture. Each piece should snap nicely, showcasing the crunchy goodness of your homemade honeycomb candy.
Step 9: Optional Chocolate Coating
If you’d like to elevate your honeycomb candy, melt chocolate wafers in a microwave or double boiler. Dip each piece into the melted chocolate, allowing excess to drip off before placing them on wax paper to set. This step adds a rich flavor contrast if desired.
Step 10: Enjoy
Once the chocolate is firm or the plain honeycomb has cooled, your homemade honeycomb candy is ready to be served. Gather friends or family to share this delightful treat; each crispy, sugary bite is sure to bring joy and satisfaction!
Honeycomb Candy Variations You’ll Love
Feel free to get creative with your honeycomb candy and discover new flavors that please your palate!
- Vegan Option: Substitute white sugar with coconut sugar and use agave nectar instead of corn syrup for a vegan-friendly treat.
- Flavor Boost: Add a teaspoon of vanilla or almond extract into the sugar mixture before heating for a fragrant twist. The aroma will be utterly comforting!
- Nutty Texture: After pouring the mixture into the pan, sprinkle chopped toasted nuts on top for an extra crunch. Walnuts or pecans work beautifully here.
- Spicy Kick: For a surprisingly delightful heat, mix a pinch of cayenne or a sprinkle of cinnamon into the baking soda. It’s a great way to elevate your candy!
- Citrus Zest: Brighten the flavor by incorporating grated lemon or orange zest right before pouring the mixture into the pan. This addition will add a fresh, zesty note to the sweetness.
- Boozy Bliss: Brush the cooled honeycomb with a bit of rum or bourbon to create an adult version that’s perfect for special occasions. Just a light brush will do the trick!
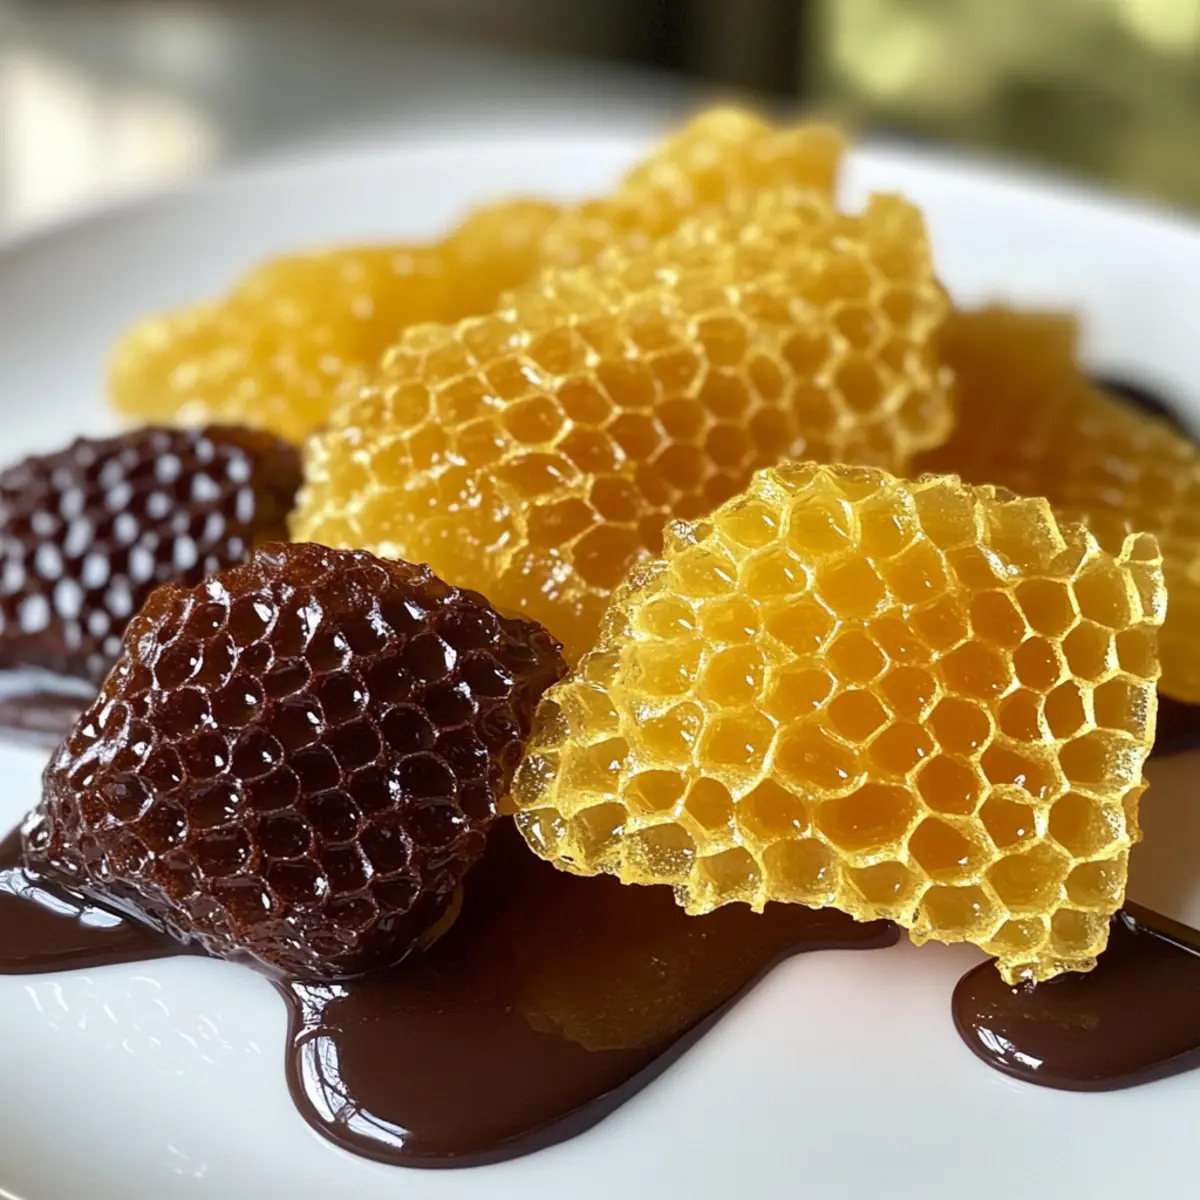
- Chocolate Coating Variants: Use dark, milk, or even white chocolate for a different flavor experience. Each type will transform the final taste, giving you several options to try.
- Ingredient Swap: For an interesting twist, replace dark corn syrup with maple syrup for a subtle maple flavor that pairs beautifully with the sweetness of the candy.
Whichever variation you choose, each bite promises to delight! Looking to double down on crunchiness? Try Sprinkling Crushed Candy Canes on your chocolate-coated honeycomb for a festive touch!
What to Serve with Easy Honeycomb Candy
When it comes to sweet delights, pairing your homemade honeycomb candy can transform dessert into a memorable occasion.
-
Fresh Berries: The tangy burst from strawberries or raspberries complements the sweetness of honeycomb, adding a refreshing contrast to each crunchy bite.
-
Roasted Nuts: Almonds or hazelnuts offer a delightful crunch and added flavor, making them a perfect partner for the light texture of the candy.
A small bowl of nuts can create a charming platter, inviting everyone to mix and match flavors.
-
Dark Chocolate Dipping Sauce: If you enjoy the chocolate coating on your honeycomb, a warm dark chocolate dip can elevate the experience, providing rich indulgence with each bite.
-
Coconut Whipped Cream: Light and fluffy, this creamy topping introduces a lush texture that works beautifully with the airy candy, making each mouthful an indulgent treat.
-
Hot Chocolate: The warm, comforting flavors of hot chocolate allow your honeycomb to shine as a delightful accompaniment, perfect for cozy gatherings or festive nights.
Sharing these elements alongside your homemade honeycomb candy guarantees a well-rounded sweet experience for friends and family!
Storage Tips for Honeycomb Candy
Room Temperature: Store the honeycomb candy in an airtight container at room temperature for up to 3 days to maintain its crunchy texture. Avoid refrigeration, as moisture can make it chewy.
Freezer: For longer storage, freeze the honeycomb candy in a well-sealed container for up to 2 months. When ready to enjoy, allow it to thaw at room temperature.
Reheating: If you’ve added a chocolate coating, let the candy sit at room temperature to re-crisp. Avoid reheating in the microwave to preserve the crunchy texture of the honeycomb candy.
Make Ahead Options
These Easy Honeycomb Candy treats are perfect for busy home cooks looking to save time during hectic weeks! You can prepare the honeycomb base up to 24 hours in advance by following the recipe steps through to setting the mixture. Once cooled, store the pieces in an airtight container at room temperature to keep them crunchy, avoiding refrigeration to maintain their delightful texture. When you’re ready to serve, simply break the honeycomb into pieces and, if desired, melt your chocolate coating and dip each chunk for that extra indulgence. With this make-ahead option, you’ll have a delicious homemade candy ready to impress your friends and family without any last-minute fuss!
Tips for the Best Honeycomb Candy
-
Measure Carefully: Ensure accurate measurements to prevent crystallization, which can ruin the texture of your honeycomb candy.
-
Heat Control: Use medium heat when combining ingredients; too high can lead to burnt sugar, while too low may not achieve the necessary temperature.
-
Immediate Reaction: Add baking soda immediately off the heat to maximize the honeycomb’s airy texture. Delaying can compromise the outcome.
-
Do Not Stir After Boiling: Once the mixture reaches 300°F, avoid stirring to allow for proper bubbling and foaming that gives the candy its structure.
-
Cooling Matters: Let the candy cool undisturbed for at least 2 hours. Any movement can affect the final form of your honeycomb candy.
Easy Honeycomb Candy Recipe FAQs
How do I choose the right sugar for my honeycomb candy?
You can use granulated white sugar for classic results, but I often recommend organic cane sugar for a less processed option that still performs beautifully. Just ensure it’s granulated, as brown sugar or powdered sugar won’t yield the same airy texture.
How should I store my homemade honeycomb candy?
To keep your honeycomb candy crunchy, store it in an airtight container at room temperature for up to 3 days. Avoid refrigeration, as it can lead to unwanted moisture and make the candy chewy instead of crunchy.
Can I freeze honeycomb candy?
Absolutely! To freeze your honeycomb candy, place it in a well-sealed container or zip-top bag, separating layers with parchment paper. It can be frozen for up to 2 months. When you’re ready to enjoy, simply let it thaw at room temperature for the best texture.
What should I do if my honeycomb didn’t puff up?
If your honeycomb didn’t achieve that light, airy texture, it could be due to the baking soda not being added promptly off the heat. Next time, make sure to add the baking soda immediately after you remove the pan from the heat and stir quickly—the foaming reaction needs immediate action to create that wonderful puffiness!
Are there any dietary considerations I should keep in mind?
Yes! This recipe is naturally gluten-free; just check the labels of any optional additives like chocolate for gluten-free certifications, especially if you follow a strict diet. It’s also easy to convert to vegan by using a plant-based chocolate coating and ensuring your corn syrup is vegan-friendly.
What’s the best way to enjoy honeycomb candy?
Honeycomb candy is delightful on its own, but I love pairing it with fresh fruits or nuts on dessert trays for a delightful crunch. You can also break it over ice cream for an exciting topping or use it in various desserts to add texture and sweetness. Dip in chocolate for an even more indulgent treat!
Homemade Honeycomb Candy: Crunchy Bliss You’ll Love
Ingredients
Equipment
Method
- Line an 8x8 inch casserole dish with non-stick foil, ensuring complete coverage for easy removal.
- In a heavy-bottomed saucepan, combine white sugar, white vinegar, and dark corn syrup over medium heat until the mixture begins to dissolve, about 5 minutes.
- Stir until the sugar is completely dissolved and the liquid looks clear and slightly bubbly.
- Increase the heat and allow the mixture to boil until it reaches a hard crack stage at 300°F, about 10–12 minutes.
- Remove from heat and quickly stir in the baking soda, watching it foam up.
- Pour the foamed mixture into the prepared pan and spread gently without scraping the saucepan.
- Let the honeycomb candy cool completely undisturbed for about 2 hours.
- Carefully break the candy into bite-sized chunks after cooling.
- Melt chocolate wafers and dip each honeycomb piece into the melted chocolate if desired.
- Allow the chocolate to set or serve the plain honeycomb candy immediately.