

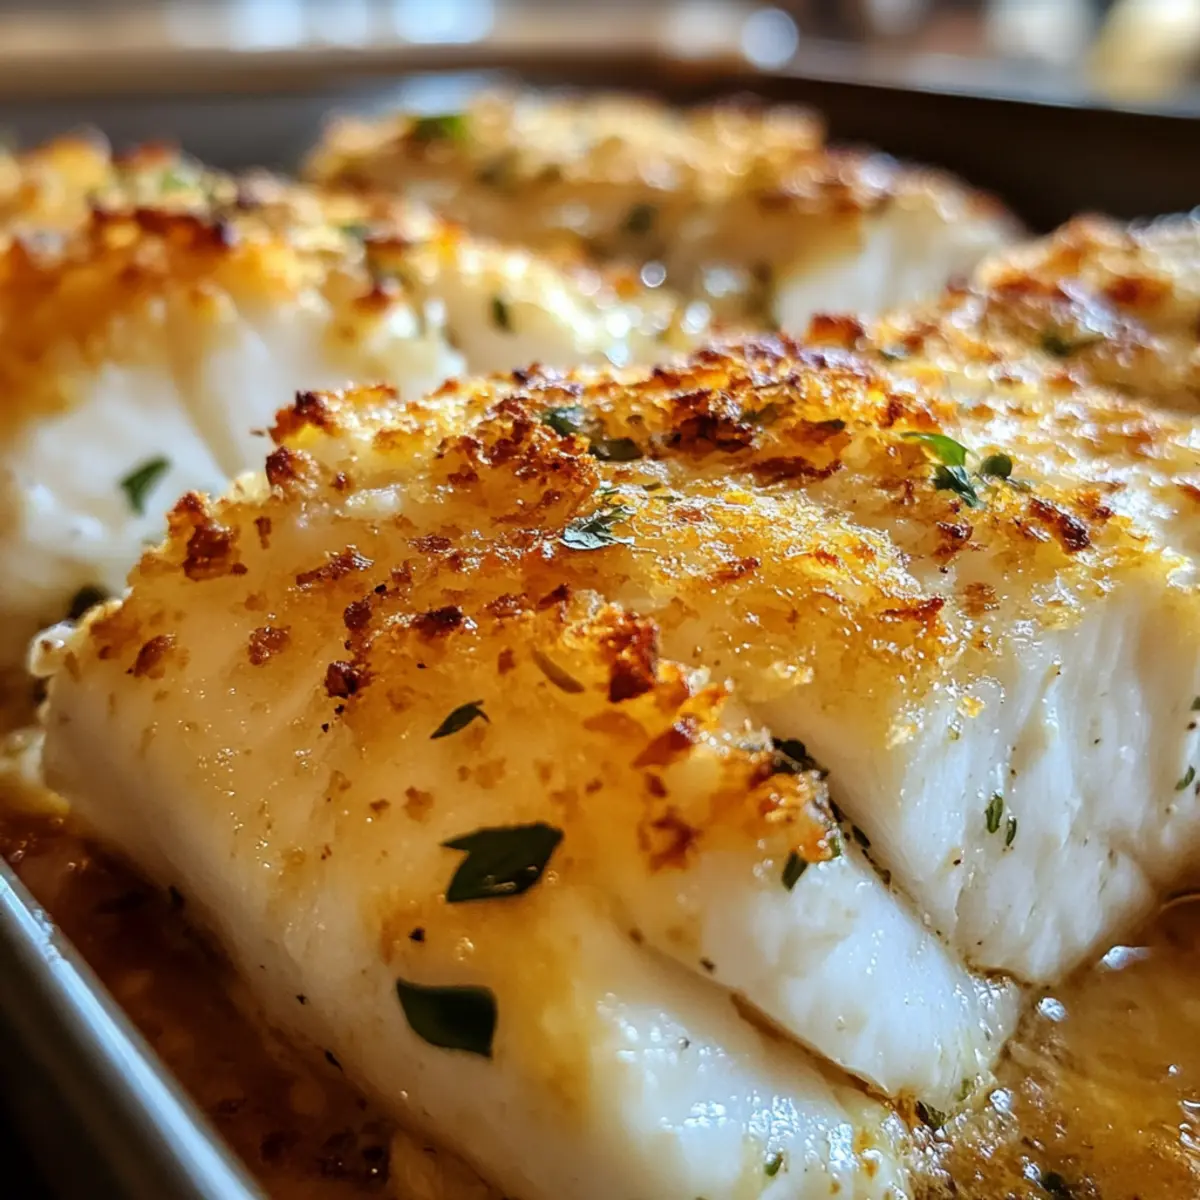
As I pulled open the oven door, the delightful aroma of melting cheese mingling with tender fish wafted through my kitchen, instantly changing the mood of the day. This Easy Cheesy Baked Halibut became a quick savior on those hectic weeknights when I craved something wholesome yet simple. Not only will this dish have your family gathering around the table, but it’s also a breeze to prepare, making it a true family-friendly delight. With its flaky fish and crispy cheesy topping, it’s no wonder this recipe has earned a special spot in my weeknight rotation. Ready to impress your loved ones with a scrumptious seafood dish? Let’s dive in and discover just how easy it is to create this crowd-pleaser!
Why is Cheesy Baked Halibut a Must-Try?
Simplicity at Its Best: This recipe requires minimal prep, making it an effortless option for busy weeknights.
Deliciously Rich Flavor: The combination of savory cheese and flaky halibut creates a satisfying, mouthwatering taste that your family will love.
Quick Cooking Time: Ready in just 10-12 minutes, this dish is perfect for those nights when you need to whip up dinner fast.
Versatile Choices: Feel free to swap halibut with other firm fish like cod or tilapia, or use different cheeses for a unique spin.
Family-Friendly Appeal: This Easy Cheesy Baked Halibut is sure to please even the pickiest eaters at your table, making mealtime a joy.
Serve it alongside a fresh salad or seasoned rice for a complete meal, and store leftovers for easy reheating later! This is a great option alongside other delightful recipes like Cheesy Broccoli Casserole. Dive into this culinary delight and make it part of your family tradition!
Cheesy Baked Halibut Ingredients
For the Fish
• Halibut Fillets – The cornerstone of this dish, offering a mild and sweet flavor; fresh or frozen options work beautifully.
• Salt and Pepper – Essential for enhancing the flavor of the halibut; adjust based on personal preference.
For the Cheesy Topping
• Parmesan Cheese – Adds a rich creaminess and savory note; feel free to substitute with your favorite hard cheese.
• Bread Crumbs – Provides that satisfying crispy layer; seasoned crumbs heighten the flavor, or crushed crackers can be used.
• Olive Oil – Essential for browning the topping and adding richness; melted butter is a fantastic alternative.
• Garlic Powder – Offers a hint of flavor enhancement; fresh minced garlic can be swapped for a more robust taste.
With this Cheesy Baked Halibut recipe, you have all the ingredients to create a family-friendly dinner that’s sure to impress!
Step‑by‑Step Instructions for Cheesy Baked Halibut
Step 1: Preheat Oven
Begin by preheating your oven to 400°F (200°C). This heating ensures that your Cheesy Baked Halibut will cook evenly, resulting in tender fish and a beautifully crisp topping. Allow at least 10 minutes for the oven to reach this temperature before placing your dish inside, ensuring a perfect bake.
Step 2: Prepare Baking Sheet
Next, take a baking sheet and line it with parchment paper. This will prevent sticking and make for easier cleanup after enjoying your delicious Cheesy Baked Halibut. Lay the parchment flat, ensuring it covers the entire surface of the sheet, ready to hold the seasoned halibut fillets.
Step 3: Season Fish
Place the halibut fillets on the prepared baking sheet, ensuring they are spaced evenly apart for even cooking. Generously season the fish with salt and pepper, enhancing the natural flavors and preparing the base for the crispy topping. This step allows the halibut to absorb all the delicious seasoning as it bakes.
Step 4: Make Topping
In a mixing bowl, combine the breadcrumbs, grated Parmesan cheese, garlic powder, and a drizzle of olive oil. Mix the ingredients thoroughly until they’re well combined and coated. This cheesy topping will add a delightful crunch and richness to your Cheesy Baked Halibut, making it irresistible.
Step 5: Apply Topping
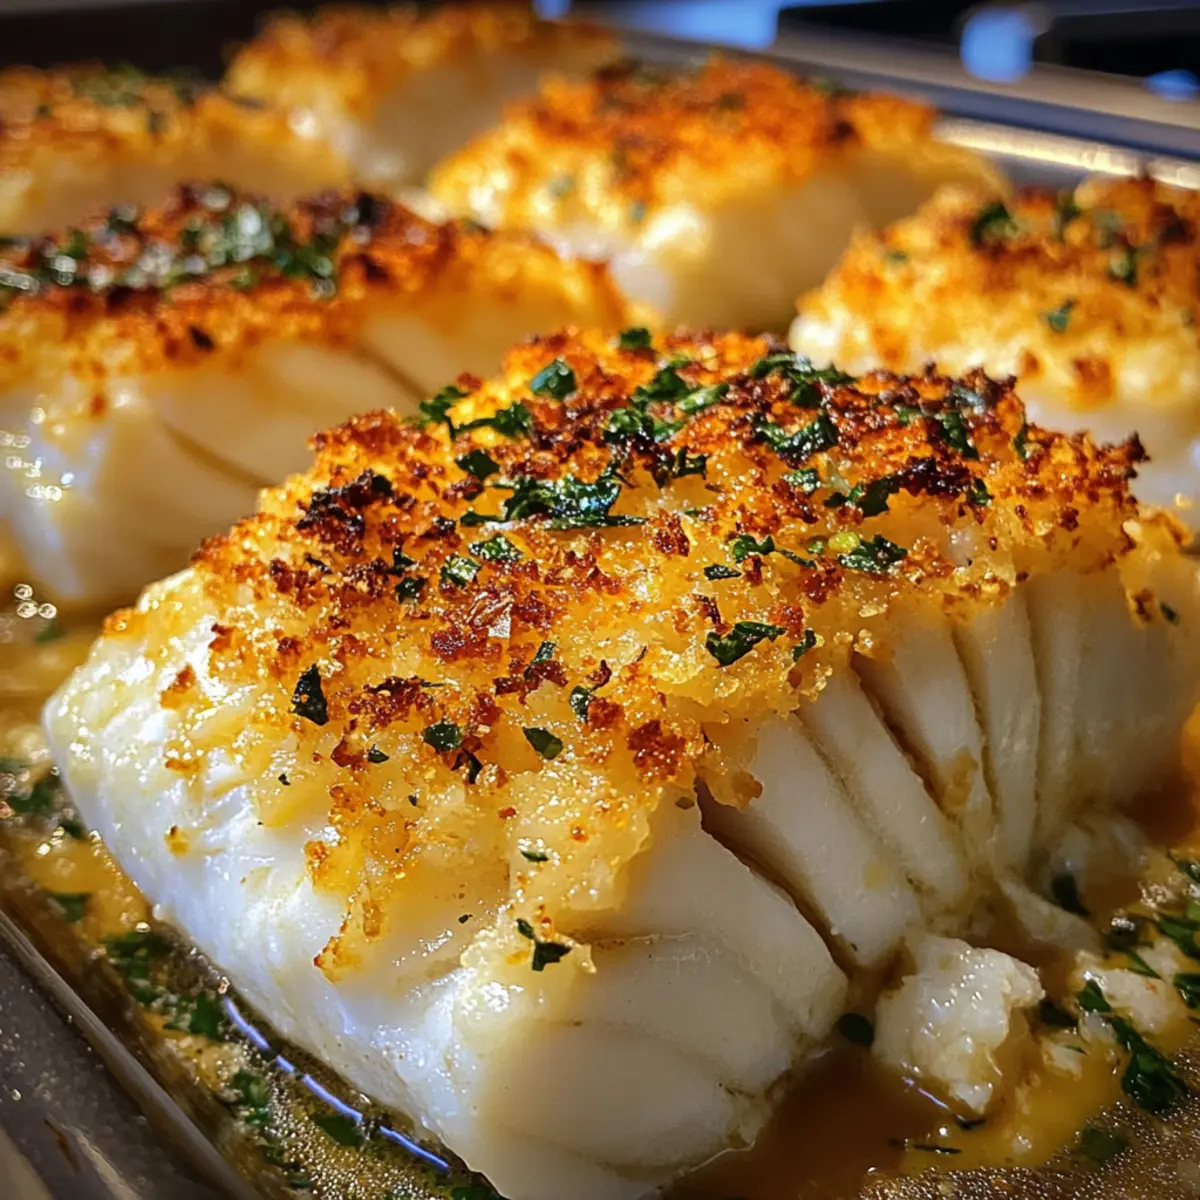
Evenly distribute the cheesy breadcrumb mixture over each halibut fillet, pressing it down gently to ensure it adheres well. Make sure each piece is generously covered with the topping, as this will provide the delicious texture you’re looking for. The contrast of the crispy topping with the flaky fish is what makes this dish shine.
Step 6: Bake
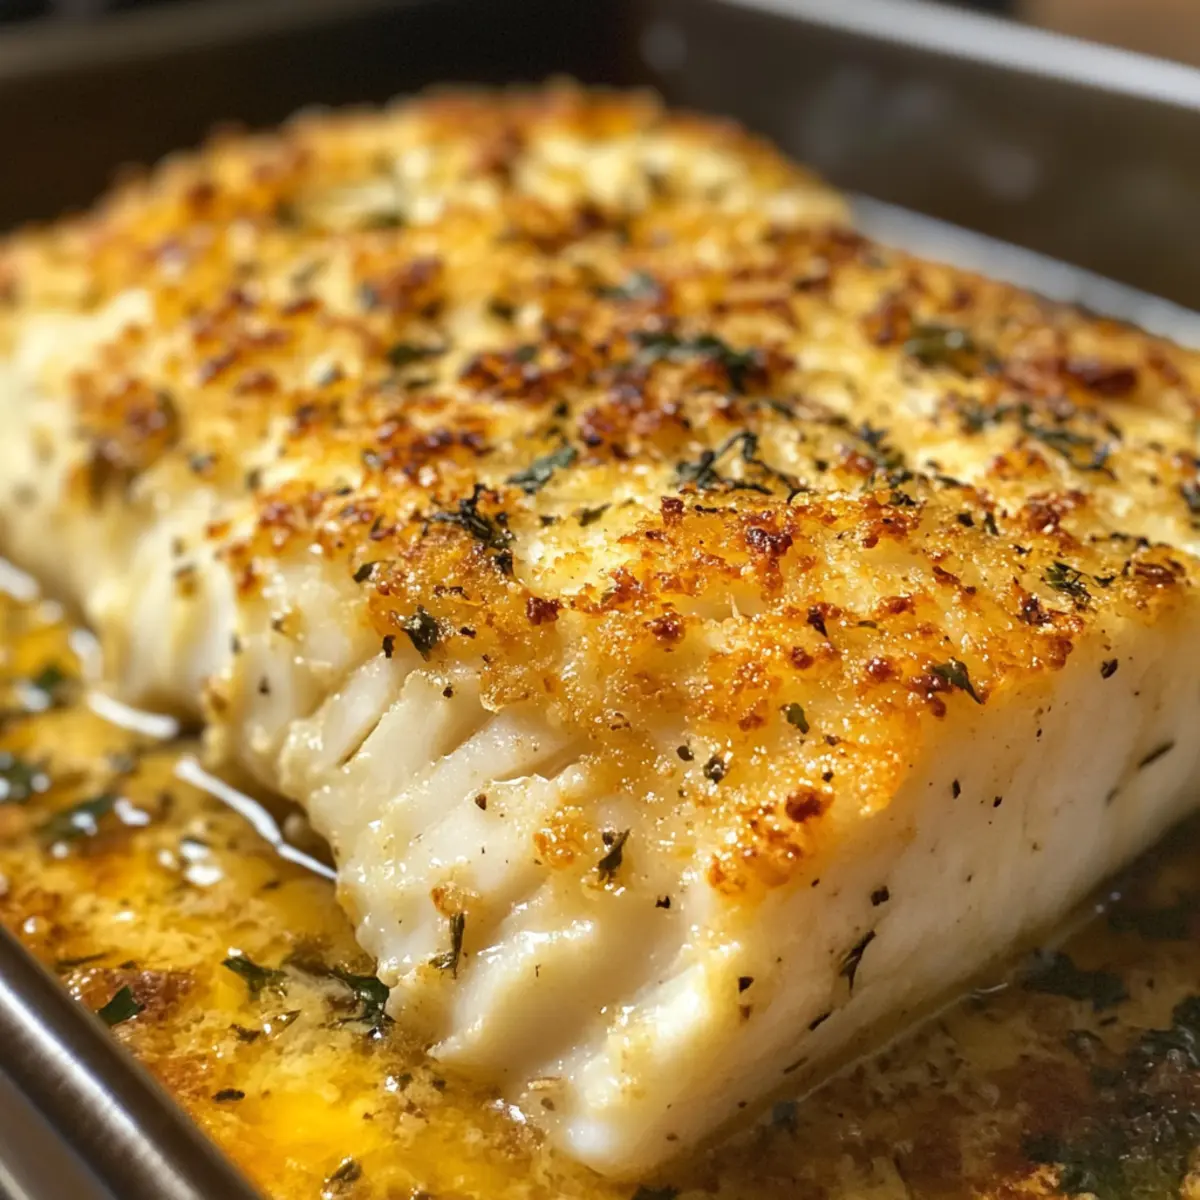
Carefully place the baking sheet in the preheated oven and bake for 10-12 minutes. Keep an eye on the halibut; it should be opaque and flake easily with a fork when done. The cheesy topping should turn a beautiful golden brown, giving a visual cue that it’s ready to serve.
Step 7: Serve
Once baked, remove the Cheesy Baked Halibut from the oven and let it cool slightly for about 2-3 minutes. This resting period allows the flavors to settle, enhancing the overall taste. Serve your fish immediately, paired with a fresh salad or seasoned rice for a hearty family meal.

Cheesy Baked Halibut Variations
Now, let your creativity shine with this delightful recipe! Explore these tempting variations to make the dish uniquely yours.
- Fish Swap: Substitute halibut with cod or tilapia for a fresh twist. Both options give that lovely flaky texture you crave.
- Cheese Choices: Try gouda or mozzarella instead of Parmesan for a different flavor experience. The creamy melt of mozzarella adds such delightful gooeyness!
- Herbs Galore: Sprinkle fresh herbs like dill or parsley on top for a burst of freshness and bright flavors. It elevates the dish while adding a pop of color.
- Spicy Kick: Add a sprinkle of red pepper flakes or cayenne for a subtle heat. It’s an exciting gust of warmth that makes the dish sing!
- Crunch Factor: Swap breadcrumbs for crushed crackers or panko for an extra crispy topping. This change adds a fun crunch that your family will love.
- Zesty Touch: Mix in some lemon zest or a splash of lemon juice before baking for a tangy brightness. It enhances the overall flavor beautifully!
- Veggie Power: Toss some tender vegetables like spinach or cherry tomatoes between the fish fillets for an added nutrient boost. It’s a colorful and delicious way to get your greens!
- Comforting Twist: Serve the Cheesy Baked Halibut over a bed of creamy mashed potatoes instead of rice for a comforting variation. It turns dinner into an indulgent experience!
By experimenting with these variations, your Cheesy Baked Halibut can take on new flavors and textures, ensuring it remains a family favorite for years to come! Don’t forget to pair it with a side like Cheesy Broccoli Casserole for a complete meal that everyone will enjoy!
Make Ahead Options
Preparing the Easy Cheesy Baked Halibut ahead of time is a fantastic way to save precious moments on busy weeknights! You can mix the cheesy breadcrumb topping and refrigerate it for up to 24 hours—this keeps it fresh and ready to go while enhancing the flavors as they meld together. Additionally, you can assemble the entire halibut dish, covering it tightly with plastic wrap and refrigerating it for up to 8 hours before baking. Just be sure to let it sit at room temperature for about 15 minutes before popping it in the oven, ensuring it cooks evenly and stays deliciously moist. Enjoy the ease of having this mouthwatering meal prepped and ready to impress your family!
Expert Tips for Cheesy Baked Halibut
-
Don’t Overcook: Keep a close eye on the halibut while baking. Aim for an internal temperature of 145°F (63°C) for perfectly flaky fish.
-
Use Fresh Ingredients: Fresh halibut makes a significant difference in flavor. If using frozen, ensure it’s fully thawed before cooking for the best results.
-
Season Generously: Don’t skimp on salt and pepper. Proper seasoning enhances the natural flavors of the halibut and complements the cheesy topping beautifully.
-
Prep Ahead: Mix the cheesy topping a day in advance and store it covered in the fridge. This saves time during busy weeknights.
-
Crispy Topping: For extra crunch, broil the Cheesy Baked Halibut for the last minute of baking. Just watch carefully to avoid burning!
This Easy Cheesy Baked Halibut is not only delicious but also a wonderful opportunity to create cherished family memories at the dinner table.
What to Serve with Easy Cheesy Baked Halibut
Bring your dining experience to a whole new level by complementing this delightful dish with vibrant sides and refreshing beverages.
-
Garlic Green Beans: Lightly sautéed with garlic, these beans add a crisp and fresh element that balances the richness of the halibut perfectly. The bright green color also makes your plate pop!
-
Lemon Herb Rice: Fluffy rice infused with lemon zest and fresh herbs provides a zesty backdrop that enhances the flavors of the fish. It’s a simple yet flavorful way to elevate your meal.
-
Caesar Salad: The creaminess of the Caesar dressing, paired with crunchy romaine and savory croutons, brings a satisfying contrast to the flaky halibut. Plus, the added crunch will delight everyone at the table.
-
Roasted Baby Potatoes: Tossed in olive oil and herbs, their crispy exterior and fluffy interior make them the ideal companion to the cheesy halibut. They soak up any extra flavor, ensuring each bite is delicious!
-
Coleslaw: A fresh, tangy coleslaw provides a refreshing bite that cuts through the creamy topping of the fish. The crunchy cabbage adds an enjoyable texture contrast.
-
Chardonnay: A chilled glass of chardonnay enhances the dish and complements the seafood nicely. Its fruity notes will elevate your dining experience even further.
-
Apple Crisp: For dessert, a warm apple crisp topped with vanilla ice cream delivers a cozy finish to your meal. Its sweet and slightly tart flavor pairs beautifully with the baked fish!
When served together, these pairings will capture the essence of comforting home-cooked meals, making your dining experience both enjoyable and memorable.
Storage Tips for Cheesy Baked Halibut
Fridge: Store leftovers in an airtight container for up to 3 days. When you’re ready to enjoy again, reheat in the oven at 350°F (175°C) until warmed through, keeping the crispy topping intact.
Freezer: If you want to enjoy Cheesy Baked Halibut later, uncooked, breaded fillets can be frozen for up to 2 months. Wrap them tightly in plastic wrap and foil to prevent freezer burn.
Reheating: To maintain the best texture, reheat baked halibut in the oven rather than the microwave. This helps keep the topping crispy while ensuring the fish is heated evenly.
Make-Ahead Option: If you’re preparing the dish ahead of time, you can store the topping separately in the fridge for up to 8 hours before baking, simplifying your dinner preparations!
Cheesy Baked Halibut Recipe FAQs
How do I select the best halibut fillets?
Look for halibut fillets that are bright white and firm to the touch. Fresh halibut should have a mild, slightly sweet fragrance, and it should not have any dark spots. If purchasing frozen fillets, ensure they are well-packaged and not covered in ice crystals, which indicate freezer burn.
How should I store leftovers from Cheesy Baked Halibut?
Store leftovers in an airtight container in the fridge for up to 3 days. When reheating, I recommend using the oven at 350°F (175°C) for about 10-15 minutes to keep the topping crispy, rather than microwaving, which can make it soggy.
Can I freeze Cheesy Baked Halibut?
Absolutely! Uncooked, breaded halibut fillets can be frozen for up to 2 months. To do this, wrap each fillet tightly in plastic wrap, then in foil, ensuring no air is trapped to prevent freezer burn. When ready to cook, bake directly from the freezer, adding an extra 2-5 minutes to the baking time.
What if my halibut fillet is overcooked?
If you happen to overcook the halibut, the texture may be dry. To prevent this, I recommend using an instant-read thermometer; the fish should reach an internal temperature of 145°F (63°C). If the texture is off, try serving it with a creamy sauce or a squeeze of lemon to help moisten each bite.
Is Cheesy Baked Halibut safe for those with dairy allergies?
This recipe contains cheese, which is not suitable for those with dairy allergies. You can substitute the cheese with a dairy-free alternative, such as nutritional yeast, which adds a cheesy flavor without the dairy. Just ensure you check the ingredients on any replacements to confirm they are safe for your dietary needs.
Can I prepare the topping for Cheesy Baked Halibut ahead of time?
Definitely! You can prepare the cheesy topping up to 8 hours in advance. Simply mix together the breadcrumbs, cheese, garlic powder, and olive oil, then store it in the fridge. When you’re ready to bake, just sprinkle it over the seasoned halibut fillets and pop it into the oven for a quick dinner that feels fresh and ready.
Cheesy Baked Halibut: Quick Family Dinner Delight
Ingredients
Equipment
Method
- Preheat your oven to 400°F (200°C) for even cooking.
- Line a baking sheet with parchment paper to prevent sticking.
- Season halibut fillets with salt and pepper and place them on the baking sheet.
- In a mixing bowl, combine breadcrumbs, Parmesan cheese, garlic powder, and olive oil.
- Evenly distribute the topping mixture over the halibut, pressing it down gently.
- Bake in preheated oven for 10-12 minutes until fish is flaky and topping is golden brown.
- Let the halibut cool for 2-3 minutes before serving with salad or rice.