

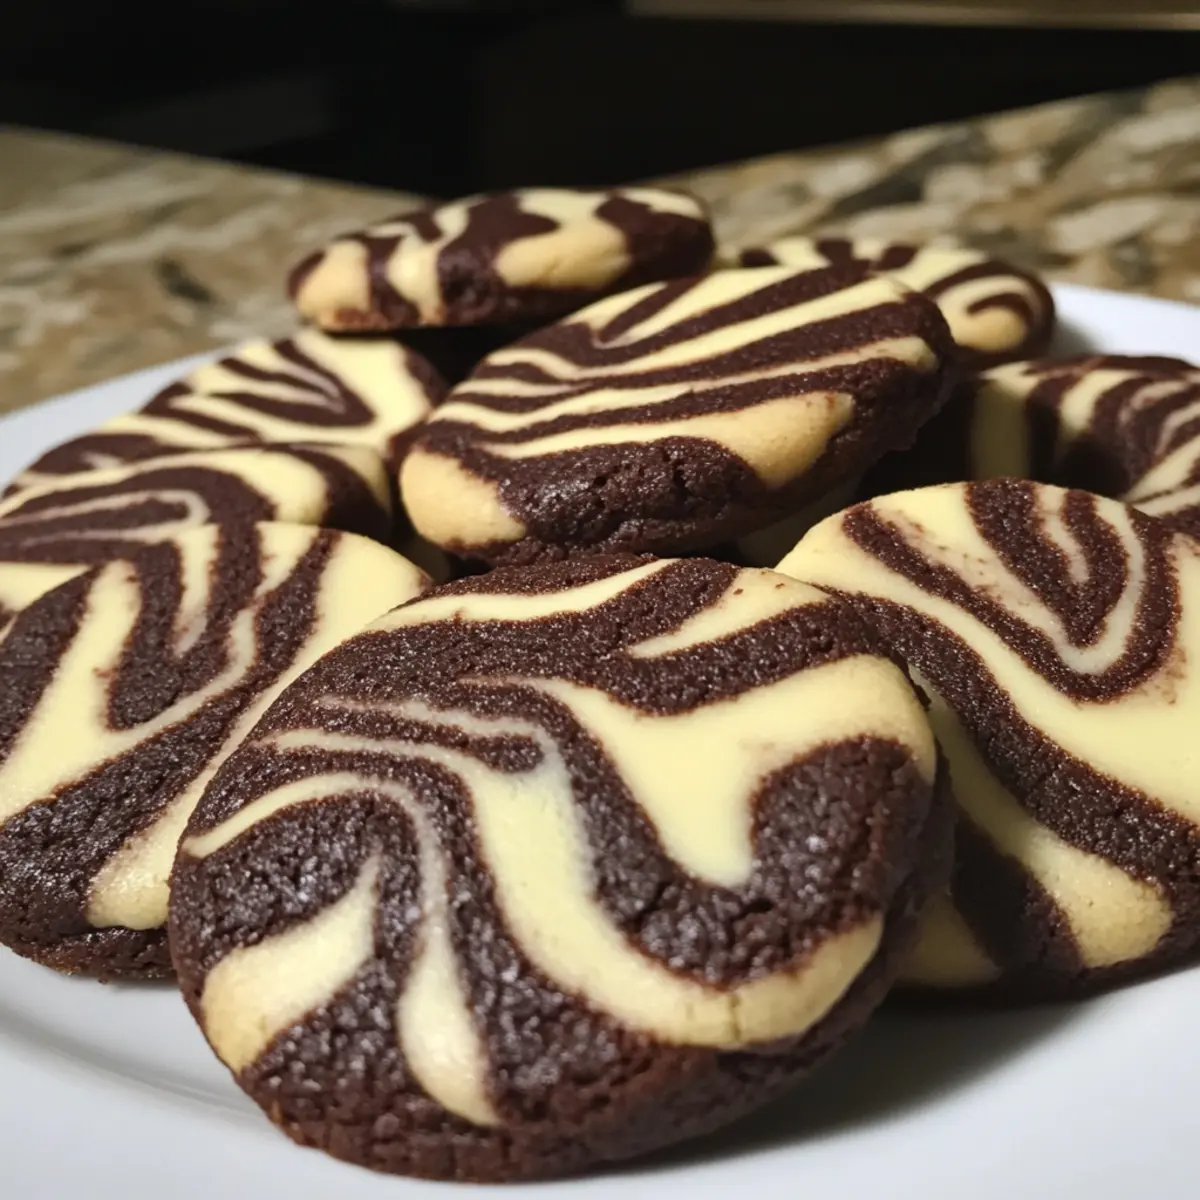
There’s something truly enchanting about the way two flavors can dance together, especially when they’re as timeless as chocolate and vanilla. My Zebra Cookies bring this delightful duo to life, transforming your baking experience into a colorful masterpiece. Not only do these cookies boast a stunning marbled design, but they also deliver a soft, chewy texture that keeps everyone coming back for more. Perfect for impressing guests at your next gathering or simply enjoying a cozy night in, you’ll find that creating these eye-catching treats is a joyful endeavor. Ready to swirl your way to cookie perfection?
Why Are Zebra Cookies So Special?
Visual Appeal: Zebra Cookies are a feast for the eyes, showcasing a gorgeous swirl of chocolate and vanilla that entices everyone!
Easy to Make: You don’t need to be a baking pro; the simple steps make it perfect for bakers of all skill levels.
Perfect for Sharing: These cookies are a definite crowd-pleaser, perfect for parties, gatherings, or cozy evenings at home.
Versatile Twists: Feel free to enhance your cookies with fun add-ins like chocolate chips or experiment with extracts to create your unique flavor!
Indulge in the deliciousness and find more delightful cookie ideas in our baking inspiration.
Zebra Cookies Ingredients
For the Cookie Dough
- Butter – adds richness and aids in texture; use unsalted butter for controlled salt levels.
- Granulated Sugar – provides sweetness and structure; consider brown sugar for added moisture and caramel notes.
- Cocoa Powder – defines chocolate flavor and creates the cocoa portion of the dough; use unsweetened cocoa for best results.
- All-Purpose Flour – offers structure and stability; a gluten-free blend can be a great substitute for dietary needs.
- Eggs – act as a binder, providing moisture and lift; make sure they are at room temperature for better incorporation.
- Vanilla Extract – enhances flavor depth; opt for pure vanilla extract for a richer taste compared to imitation.
For Optional Add-Ins
- Chocolate Chips – add for extra texture and a chocolatey boost; mix them into either dough portion for delightful surprises.
- Sprinkles – a fun way to elevate the visual appeal; sprinkle them onto the uncooked dough before baking for a festive touch.
Savor the delights of homemade Zebra Cookies with these carefully selected ingredients that promise to bring joy to your baking experience!
Step‑by‑Step Instructions for Zebra Cookies
Step 1: Cream the Butter and Sugar
Begin your Zebra Cookies by preheating your oven to 350°F (175°C). In a large mixing bowl, use an electric mixer to cream together 1 cup of softened unsalted butter and 1 cup of granulated sugar on medium speed until the mixture is light and fluffy, which typically takes about 3-4 minutes. This airy base is crucial for the cookie’s soft texture.
Step 2: Incorporate Eggs and Vanilla
Next, beat in 2 large eggs one at a time, ensuring each is fully incorporated before adding the next. Then, mix in 2 teaspoons of pure vanilla extract. Continue mixing until the mixture is smooth and homogenous, showcasing a creamy texture that will enrich your Zebra Cookies.
Step 3: Combine Dry Ingredients
In a separate bowl, whisk together 2 cups of all-purpose flour, ½ cup of unsweetened cocoa powder, and a pinch of salt. Gradually add this dry mixture to your butter and sugar mixture, stirring on low speed just until combined. This step is essential to prevent overmixing, which could make your cookies tough.
Step 4: Divide the Dough
Once your dough is well mixed, carefully divide it into two equal portions. Leave one half plain for the vanilla layer and stir in the remaining cocoa powder into the other half of the dough to create the chocolate layer. Once both doughs are prepared, you’ll be ready to assemble the beautiful Zebra Cookies.
Step 5: Layer the Dough
On a parchment-lined baking sheet, take a tablespoon of vanilla dough and follow with a tablespoon of chocolate dough, alternating between the two. Aim to keep them close together but not touching. This layering will give the characteristic look of your Zebra Cookies, showcasing that stunning swirl in every bite.
Step 6: Swirl the Dough
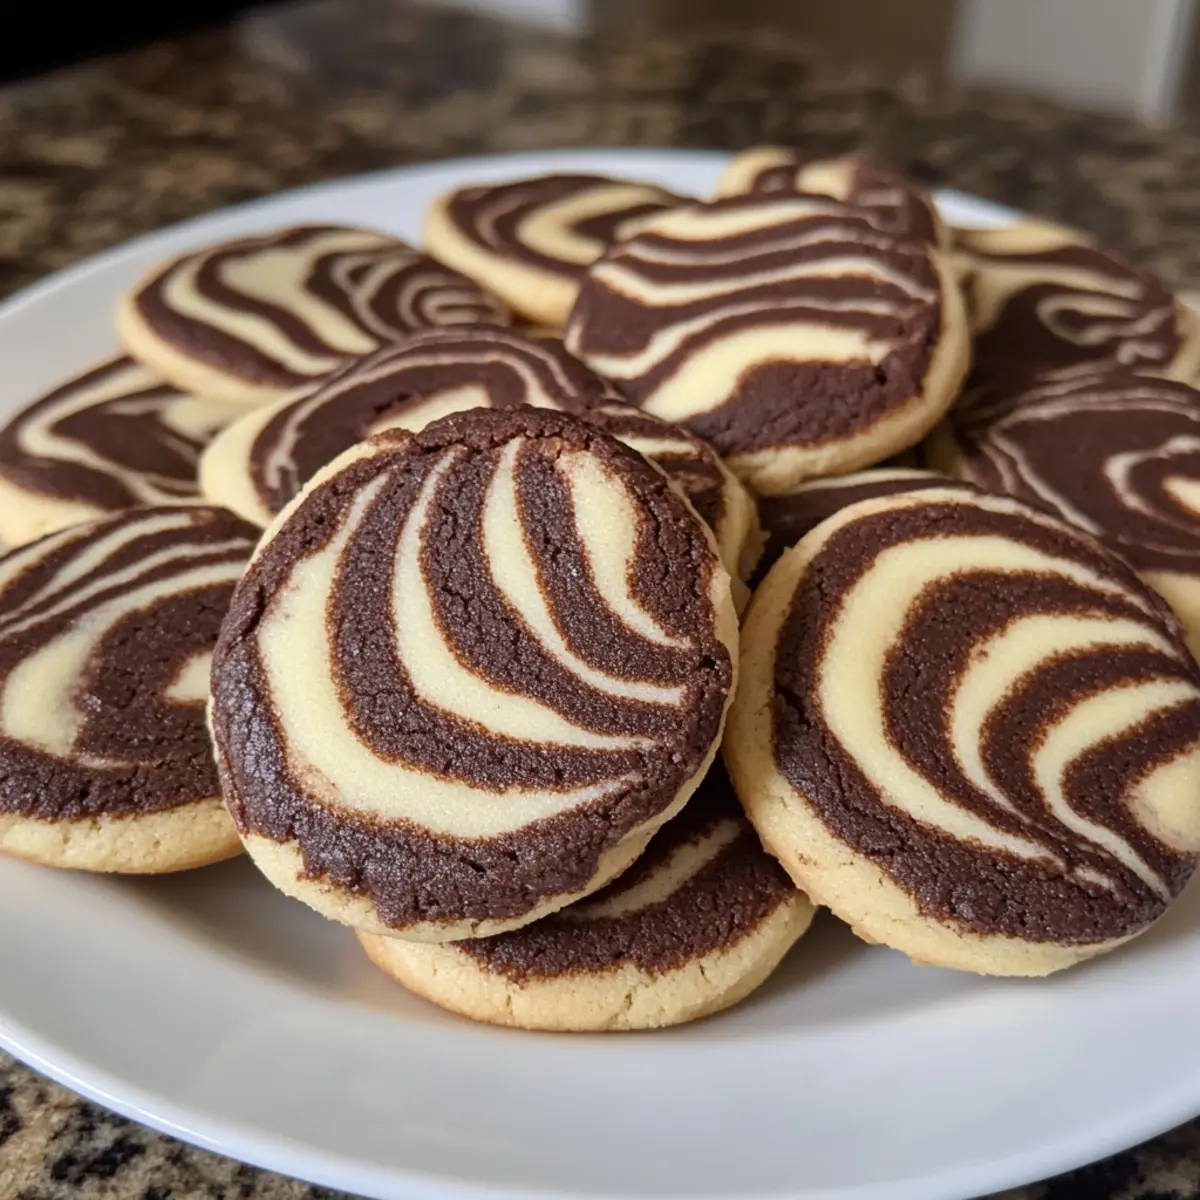
Using a toothpick or skewer, gently swirl the two doughs together in each mound, being careful not to mix them completely. This technique creates the marbled effect that makes Zebra Cookies so visually appealing. Be artistic as you swirl, allowing each cookie to have its unique pattern before baking!
Step 7: Bake the Cookies
Place your baking sheet in the preheated oven and bake the Zebra Cookies for 10-12 minutes, or until the edges are set while the centers remain slightly soft. You’ll know they’re ready when they are lightly golden around the edges yet still retain a soft look in the middle.
Step 8: Cool and Serve
Allow your freshly baked Zebra Cookies to cool on the baking sheet for about 5 minutes before carefully transferring them to a wire rack to cool completely. This resting period ensures the cookies firm up nicely and will showcase those beautiful swirls when enjoyed – perfect for sharing with friends and family!
Storage Tips for Zebra Cookies
-
Room Temperature: Keep Zebra Cookies in an airtight container at room temperature for up to 5 days to maintain their deliciousness.
-
Refrigerator: If you wish to prolong freshness, store them in the fridge for up to 10 days, but bring them back to room temperature before serving for the best texture.
-
Freezer: For longer storage, freeze the cookies in a single layer, then transfer to an airtight container or freezer bag for up to 3 months. Thaw in the refrigerator when you’re ready to enjoy!
-
Reheating: To revive the cookies, warm them in the microwave for 10-15 seconds or in the oven at 350°F (175°C) for 5 minutes; this will enhance their soft, chewy goodness.
What to Serve with Zebra Cookies
Indulging in Zebra Cookies is just the beginning of a delightful experience; let’s elevate it into a full-fledged feast.
-
Strawberry Milkshake: A creamy milkshake balances the soft texture of cookies with refreshing sweetness, making every bite a treat for your taste buds.
-
Espresso: The rich, bold flavor of espresso brings out the chocolatey notes in the Zebra Cookies, creating a delightful pairing that’s perfect for coffee lovers.
-
Vanilla Ice Cream: A scoop of vanilla ice cream adds a delightful creaminess against the chewy cookies, enhancing the chocolate and vanilla combination.
-
Fresh Berries: Juicy raspberries or strawberries provide a wonderful tart contrast that beautifully complements the sweet and soft Zebra Cookies.
-
Dark Chocolate Drizzle: Enhance presentation and flavor by drizzling melted dark chocolate over each cookie for an extra layer of decadence.
-
Lavender Lemonade: This floral, refreshing drink not only cleanses the palate but also adds an unexpected twist that pairs beautifully with the cookies.
Imagine gathering around the table as everyone enjoys these perfectly paired flavors, creating lasting memories with every bite!
Zebra Cookies: Delightful Recipe Variations
Feel free to get creative with your Zebra Cookies and customize them to suit your taste buds!
- Nut-Free: Substitute nut-based extracts with additional vanilla or try a splash of orange zest for a refreshing twist.
- Gluten-Free: Use a 1:1 gluten-free flour blend instead of all-purpose flour to make these cookies gluten-friendly.
- Dairy-Free: Swap the butter for coconut oil or a vegan butter substitute for a delightful dairy-free option that’s equally delicious.
- Spicy Kick: Incorporate a pinch of cayenne pepper or ground ginger into the chocolate dough for a surprising warmth that pairs beautifully with the sweetness.
- Flavor Blast: Experiment with extracts like hazelnut or peppermint for an exciting twist on the classic flavor profile. A splash of almond extract can also create a nutty depth!
- Chocolate Explosion: Fold in some chocolate chips or chunks into the chocolate portion for a double chocolate delight that chocolate lovers will adore.
- Fruity Surprise: Mix in dried fruits like cranberries or cherries to the vanilla dough for a delightful fruity contrast against the rich chocolate.
- Holiday Cheer: Add festive spices like cinnamon or nutmeg to the dough for a cozy, seasonal flavor that’s perfect for holiday gatherings.
Also, don’t forget to explore our collection of unique cookie recipes to find even more scrumptious ideas!
Expert Tips for Zebra Cookies
-
Room Temperature Butter: Ensure your butter is at room temperature. This helps achieve that light and fluffy texture by creating air pockets during creaming.
-
Don’t Overmix: Once the flour is added, mix just until combined. Overmixing can lead to tough cookies, so be gentle!
-
Swirl with Care: When swirling the dough, use a light hand to create beautiful patterns without completely blending the chocolate and vanilla, showcasing those stunning Zebra Cookies.
-
Proper Baking Time: Keep an eye on the cookies! Bake until edges are set but centers remain soft; this will guarantee a deliciously chewy texture.
-
Keep Cookies Fresh: Store your Zebra Cookies in an airtight container for up to 5 days. For extra softness, place a piece of bread in with them!
Make Ahead Options
Zebra Cookies are a fantastic choice for those wanting to save time in the kitchen! You can prepare the dough up to 24 hours in advance by mixing and then refrigerating it in an airtight container—just be sure to separate the chocolate and vanilla portions to maintain their vibrant colors. If you want to prep even further ahead, you can freeze the formed cookie mounds for up to 3 months. Simply thaw them in the refrigerator overnight before baking, and you’ll have fresh, delicious cookies on demand. When you’re ready to enjoy, bake the cookies as instructed, and they’ll be just as delightful as if made fresh that day!
Zebra Cookies Recipe FAQs
What kind of cocoa powder should I use for Zebra Cookies?
Absolutely! For the best results, I recommend using unsweetened cocoa powder. It provides the rich chocolate flavor needed to create that decadent chocolate dough while keeping the cookies from being overly sweet.
How should I store my Zebra Cookies?
To keep your Zebra Cookies fresh, store them in an airtight container at room temperature for up to 5 days. Adding a piece of bread into the container can help maintain their softness. If you want to extend their life, refrigerate them for up to 10 days, but be sure to bring them back to room temperature before serving.
Can I freeze Zebra Cookies?
Very! You can freeze your Zebra Cookies to enjoy them later. Begin by letting the cookies cool completely. Place them in a single layer on a baking sheet and freeze for about 1-2 hours until solid. Then, transfer them to an airtight container or a freezer bag for up to 3 months. When you’re ready to enjoy, thaw them in the refrigerator overnight or microwave them for about 10-15 seconds for that freshly baked taste!
What can I do if my cookie dough is too sticky?
Don’t worry; this can happen! If your dough feels too sticky to work with, try chilling it in the refrigerator for 30 minutes. This helps the butter firm up and makes the dough easier to manage. You can also sprinkle a little flour on your work surface and rolling pin to aid in the rolling process.
Are Zebra Cookies suitable for people with gluten allergies?
Certainly! To make Zebra Cookies gluten-free, simply substitute the all-purpose flour with a gluten-free flour blend. Make sure the blend contains xanthan gum or similar binding agents, as this helps replicate the texture of traditional cookies. Always check ingredient labels for cross-contamination if baked goods are meant for those with severe allergies.
What should I do if my cookies come out too hard?
If your Zebra Cookies turn out too hard, it may be due to overbaking or overmixing the dough. To ensure a softer texture next time, keep an eye on the baking time; cookies should look slightly soft in the middle when you take them out. Once they cool down, they should firm up just perfectly!
Zebra Cookies: Irresistibly Soft with a Swirl of Joy
Ingredients
Equipment
Method
- Preheat your oven to 350°F (175°C). In a large mixing bowl, cream together the butter and sugar until light and fluffy.
- Beat in the eggs one at a time, followed by the vanilla extract until smooth.
- In a separate bowl, whisk together the flour, cocoa powder, and a pinch of salt. Gradually add this to the butter mixture.
- Divide the dough into two equal portions. Leave one half plain and stir cocoa powder into the other.
- On a parchment-lined baking sheet, alternate spoonfuls of vanilla and chocolate dough close together.
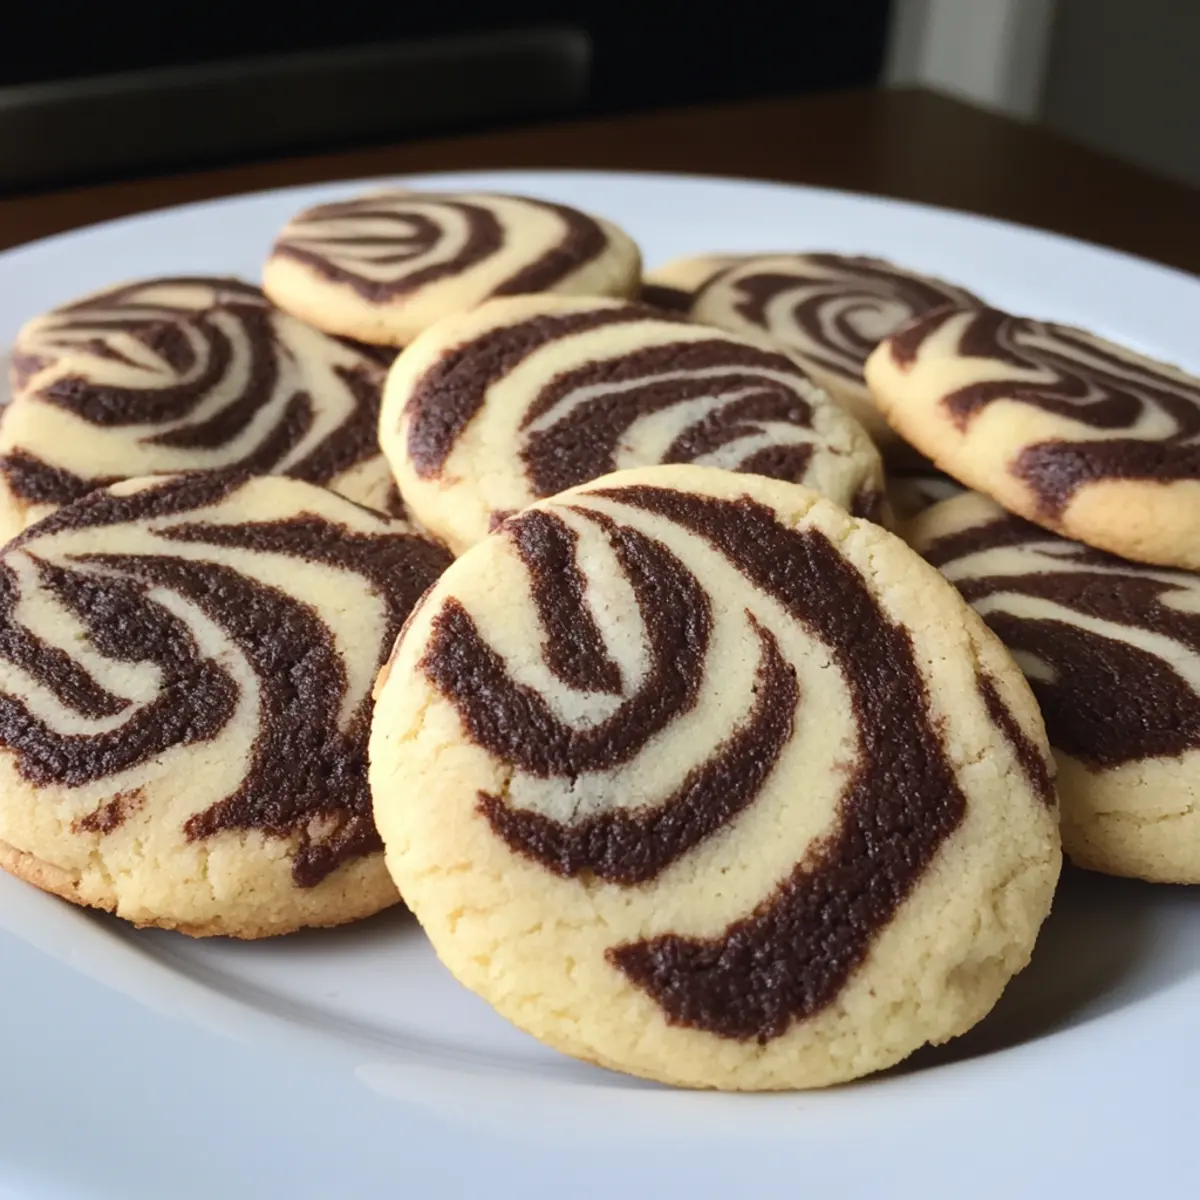
- Gently swirl the two doughs together using a toothpick or skewer to create a marbled effect.
- Bake for 10-12 minutes until edges are set but centers remain soft. Allow to cool on the baking sheet for 5 minutes before transferring.