

As I stood in my kitchen, a familiar scent of melting butter and marshmallows wrapped around me like a warm hug, I was transported back to carefree childhood days. Those sweet memories bring us to this classic recipe for Rice Krispie Treats—an undeniably delightful no-bake dessert that’s effortlessly simple and surprisingly customizable. In just 15 minutes, you can craft these chewy, gooey squares that not only satisfy your sweet tooth but also provide a canvas for creativity, whether it’s adding chocolate chips or a sprinkle of rainbow fun. Perfect for everything from parties to cozy family nights, this treat is one you’ll want to keep in your back pocket. Curious about the twists you can add to make your batch unique? Let’s dive in!
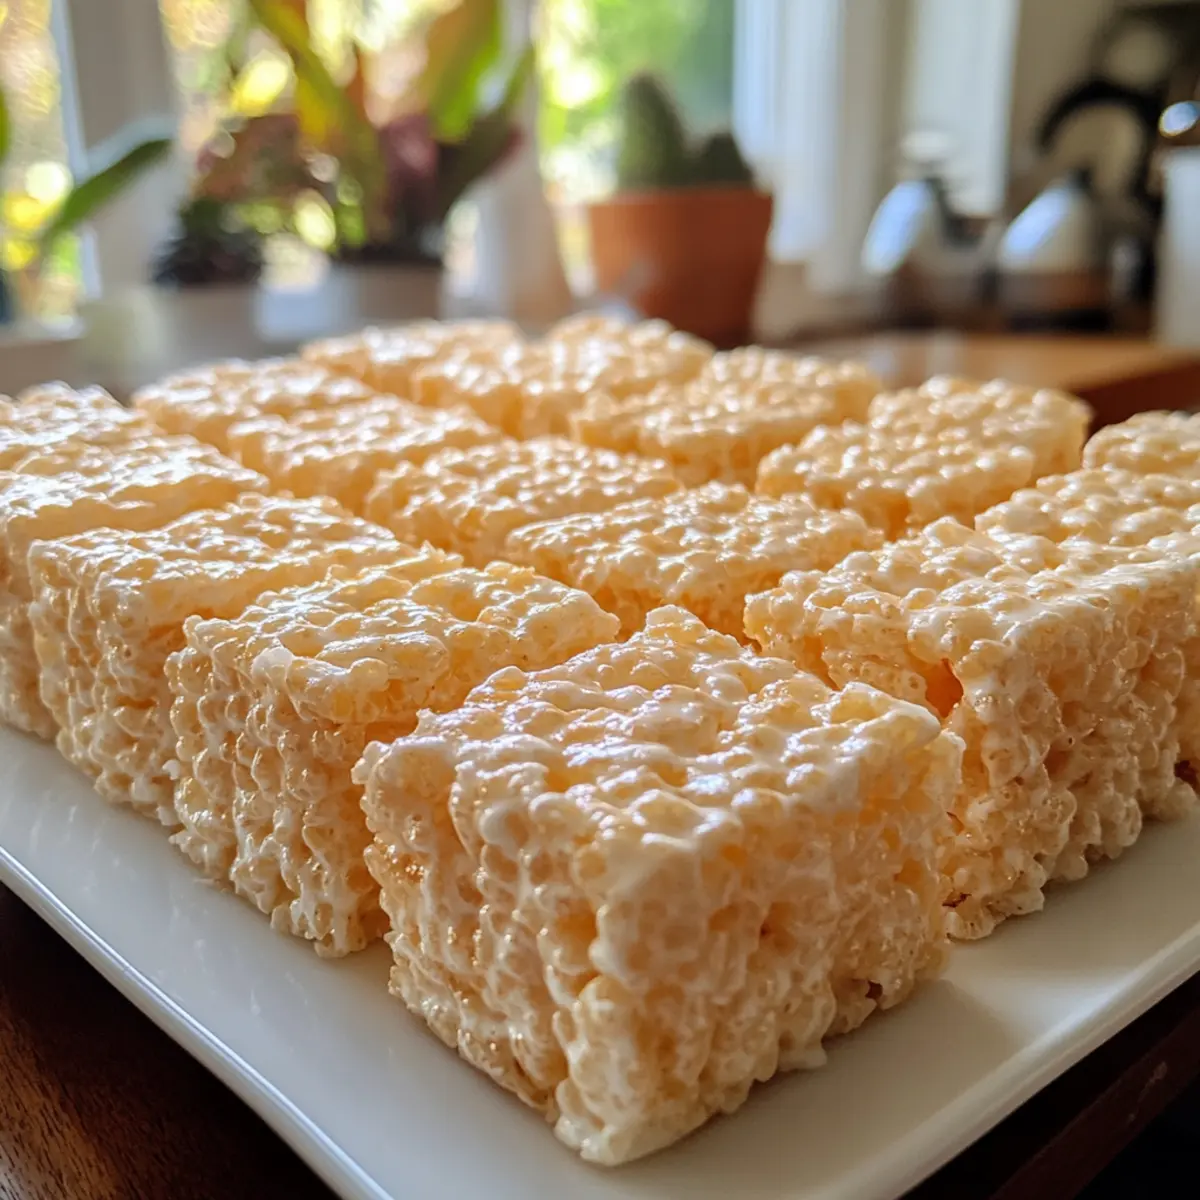
Want to Customize Your Rice Krispie Treats?
Versatile Flavors: The beauty of this recipe lies in its adaptability. You can easily mix in your favorite add-ins, like chocolate chips, nuts, or dried fruits, to create a unique treat.
Quick and Simple: In just 15 minutes, you can achieve bubbly, gooey perfection with minimal effort, making it ideal for those last-minute dessert cravings or unexpected guests.
Family-Friendly Fun: Get the kids involved! This no-bake treat is a fun way to bring the family together, with everyone pitching in to add their personal touch.
Perfect for Any Occasion: Whether at birthday parties, holiday gatherings, or simple family movie nights, these treats will surely bring smiles and nostalgia. Want other quick dessert ideas? Check out my delicious suggestions for Corn Chicken Rice or try whipping up some easy cake pops!
Guaranteed Satisfying Texture: Chewy on the inside, crunchy on the outside—these Rice Krispie treats are the perfect combination that delights the taste buds.
Rice Krispie Treats Ingredients
For the Base
• Rice Krispies Cereal – Provides structure and crunch; use fresh cereal for the best results.
• Mini Marshmallows – The key binding agent for gooey texture; fresh ones melt smoothly.
• Unsalted Butter – Adds richness and depth of flavor; opt for high-quality butter for an enhanced treat.
• Vanilla Extract – Enhances overall flavor and aroma; substitute with almond extract for a delightful twist.
Optional Add-Ins
• Chocolate Chips – Melts beautifully into the mix for a sweet touch; semi-sweet or milk chocolate works well.
• Nuts – Provides crunchiness and nutrition; try walnuts or pecans for added texture.
• Dried Fruits – Adds a chewy, fruity twist; cranberries or raisins pair deliciously with the base flavors.
• Sprinkles – Perfect for festive occasions; they add color and fun without altering the base flavor.
These Rice Krispie Treats ingredients make the perfect foundation for endless customization options to suit your taste!
Step‑by‑Step Instructions for Rice Krispie Treats
Step 1: Prepare Your Pan
Start by greasing a 9×13-inch baking dish with cooking spray or a thin layer of butter. Make sure to cover the entire surface to prevent the Rice Krispie Treats from sticking. This step is essential to ensure easy removal once they are set and cooled.
Step 2: Melt Butter
In a large saucepan, melt 3 tablespoons of unsalted butter over low heat. Stir occasionally as it heats up until it becomes bubbly and fully liquefied, which should take about 2-3 minutes. Watch closely to avoid browning the butter; you want a smooth, golden liquid base for your treats.
Step 3: Add Marshmallows
Once the butter is melted, stir in about 4 cups of mini marshmallows, mixing continuously. Keep the heat on low as you combine the marshmallows with the butter. Continue stirring until the marshmallows are completely melted and smooth, approximately 2-4 minutes. The mixture should be soft and glossy, free of any lumpiness.
Step 4: Mix in Vanilla
Remove the saucepan from the heat and carefully blend in 1 teaspoon of vanilla extract. Stir well to incorporate the vanilla flavor evenly throughout the melted marshmallow mixture. This addition enhances the overall flavor and aroma of your Rice Krispie Treats, making them even more irresistible.
Step 5: Combine with Cereal
Gradually fold in 6 cups of Rice Krispies cereal, using a spatula to work the cereal into the marshmallow mixture. Mix gently yet thoroughly, ensuring every Rice Krispie is well-coated and evenly distributed. The mixture should start to come together into a thick, sticky mass, invitingly gooey and delicious.
Step 6: Transfer to Baking Dish
Pour the Rice Krispie mixture into the prepared baking dish. Using a spatula or a piece of wax paper, press the mixture firmly and evenly into the corners of the dish. Make sure the surface is smooth and even, which will help the treats hold their shape once cooled.
Step 7: Cool and Cut
Allow the Rice Krispie Treats to cool in the pan for about 30 minutes. This cooling time is crucial for the treats to set properly. Once they are firm and cool to the touch, use a sharp knife to cut them into squares. Enjoy these chewy, gooey Rice Krispie Treats, perfect for any occasion!
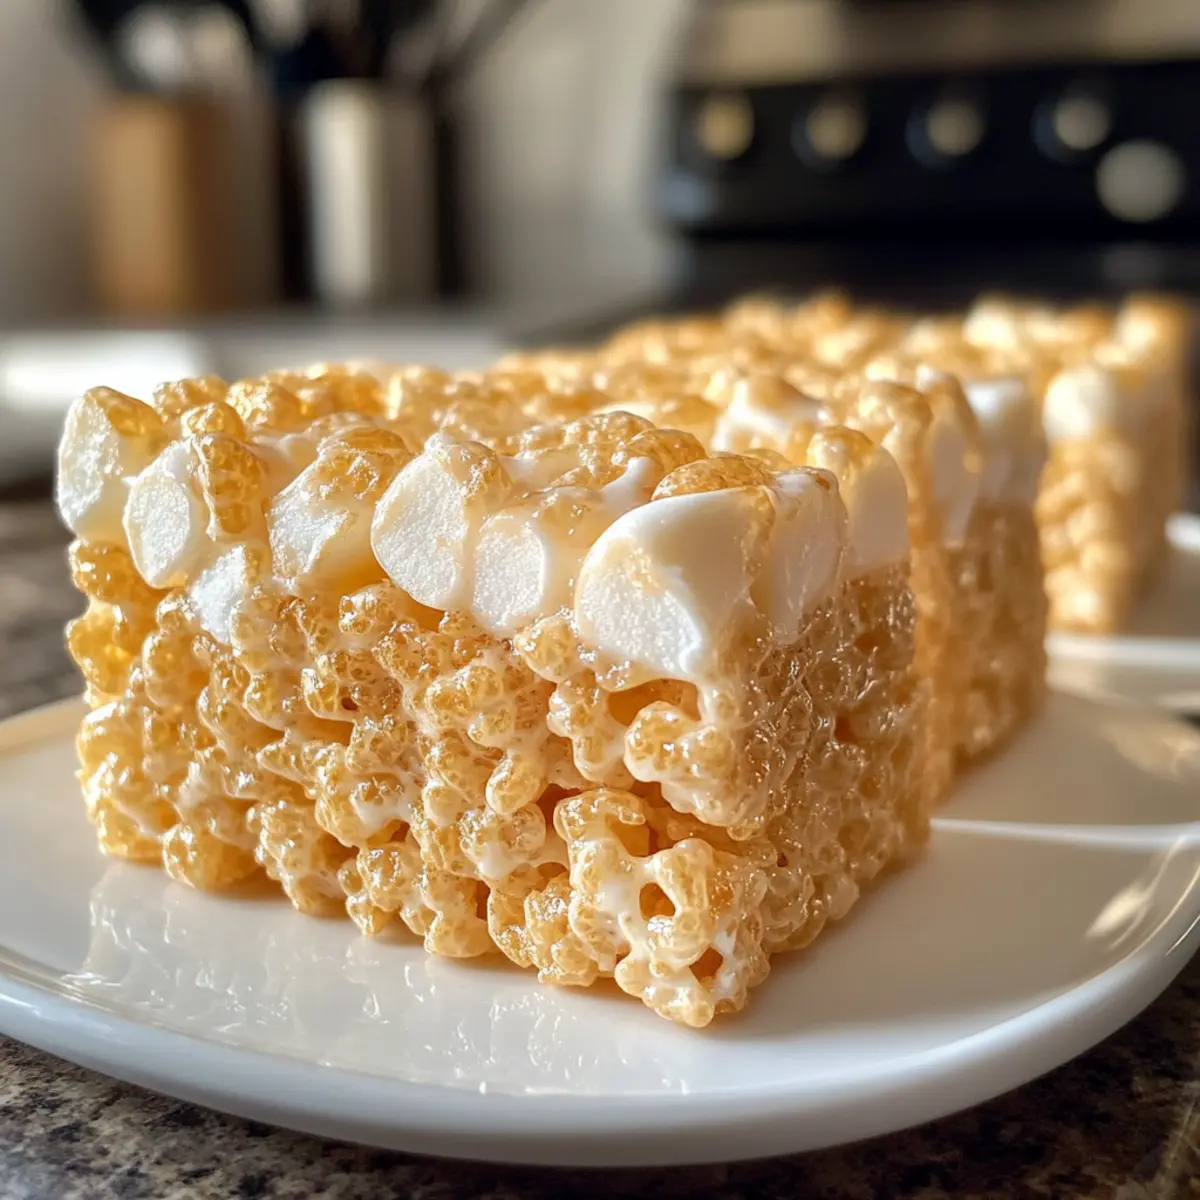
Rice Krispie Treats: Variations & Substitutions
Feel free to let your creativity shine as you bring your own personal touch to these classic treats!
-
Granola Crunch: Add 1 cup of your favorite granola to the mix for extra texture and flavor. The combination of chewy granola and crispy cereal adds a delightful surprise in every bite.
-
Dairy-Free: Swap out the butter for coconut oil and use dairy-free chocolate chips. This keeps the flavor rich while catering to dairy-free diets—perfect for everyone to enjoy!
-
Nutty Delight: Mix in ½ cup of chopped nuts, like almonds or pecans, for a crunchy twist. The added nuttiness balances the sweetness and enhances the treat’s appeal.
-
Fruit Fusion: Toss in 1 cup of dried fruits such as cranberries or apricots for a pop of flavor and chewiness. It’s a great way to add a fruity twist that elevates these treats to a new level.
-
Flavorful Extracts: Substitute the vanilla extract with almond or peppermint for a unique twist. It’s an easy way to change up the flavor profile and make the treats feel fresh and exciting.
-
Chocolate Drizzle: Drizzle melted chocolate on top after the treats are set for a delicious finish. The chocolate adds a delectable layer that enhances both appearance and taste—an inviting touch for special occasions!
-
Festive Sprinkles: Add colorful sprinkles on top before the mixture sets to make a fun, festive treat. It’s a simple way to dress them up for birthdays or holidays—everyone loves a little extra color!
-
Make It Spicy: If you’re feeling adventurous, sprinkle in a pinch of cayenne pepper or cinnamon for a kick. This subtle heat pairs surprisingly well with the sweetness, creating a unique flavor experience.
These variations are just a few ways to customize your Rice Krispie Treats. For more fun twists, consider trying out my delicious recipe for Corn Chicken Rice as a hearty meal option, or whip up some tasty cake pops for another sweet treat!
Expert Tips for Rice Krispie Treats
-
Use Fresh Ingredients: Fresh marshmallows and butter yield the best flavor and texture. Avoid using stale ingredients to keep your treats gooey and delicious.
-
Control the Heat: Melt the marshmallows over low heat to prevent them from becoming tough. Once they’re smooth and glossy, remove them from heat immediately for perfect Rice Krispie Treats.
-
Press Evenly: When transferring the mixture to the baking dish, make sure to press it down evenly with a spatula or wax paper. This helps maintain their shape and prevents them from crumbling.
-
Wait to Cut: Allow the treats to cool completely in the pan for about 30 minutes before cutting. This helps them firm up, making cutting easier and ensuring they hold their shape.
-
Store Properly: Keep your treats in an airtight container at room temperature for up to three days. Refrigeration can make them hard, so store them at room temperature for optimal enjoyment.
How to Store and Freeze Rice Krispie Treats
Room Temperature: Store your Rice Krispie Treats in an airtight container at room temperature for up to 3 days to maintain their chewy texture.
Fridge: If preferred, you can refrigerate the treats; however, note that they might harden and lose their signature gooeyness.
Freezer: For longer storage, wrap the treats tightly in plastic wrap and then in aluminum foil before freezing. They can be stored in the freezer for up to 2 months.
Reheating: To enjoy them warm, microwave individual squares for about 10 seconds—this helps rejuvenate their soft, chewy texture before serving.
Make Ahead Options
These Rice Krispie Treats are fantastic for meal prep, saving you time on busy days! You can prepare the marshmallow mixture and combine it with the Rice Krispies up to 24 hours in advance. Simply melt the butter, add the marshmallows, and mix in the cereal, then transfer the mixture to your baking dish, pressing it in tightly. Cover the dish with plastic wrap and chill it in the refrigerator to maintain its delectable texture. When you’re ready to enjoy, simply cut into squares and serve. By prepping ahead, you’ll have a delightful treat waiting for you, just as chewy and gooey as if made fresh!
What to Serve with Best Rice Krispie Treats
Indulging in sweet nostalgia is best enjoyed alongside delightful accompaniments that elevate your treat experience.
-
Fresh Fruit Salad: Bright, juicy fruits add a refreshing contrast to the rich flavors of Rice Krispie treats, balancing sweetness with natural tartness. A medley of berries or citrus can be an energizing choice.
-
Chocolate Fondue: Dip pieces of the treat into smooth, warm chocolate for an enticing blend of textures. This decadent combination enhances the simplicity of the classic recipe and makes for a fun dessert experience.
-
Vanilla Ice Cream: The creamy, smooth ice cream perfectly complements the chewy texture of the treats, creating a delightful contrast. Drizzling hot fudge over the top can elevate this duo to pure bliss.
-
Caramel Sauce: Drizzling a rich caramel sauce over your Rice Krispie treats adds a luscious depth of flavor and takes them from simple to gourmet, a perfect treat for special occasions.
-
Milkshake: Whip up a creamy milkshake, perhaps chocolate or vanilla, to enjoy alongside your treats. The cool, thick shake pairs wonderfully with the chewy, gooey texture, inviting a deliciously nostalgic feel.
-
Nutty Trail Mix: Offering a crunchy, savory element, a light trail mix with nuts and a hint of salt can be an interesting counterpoint to the sweet treats, perfect for snacking in between bites.
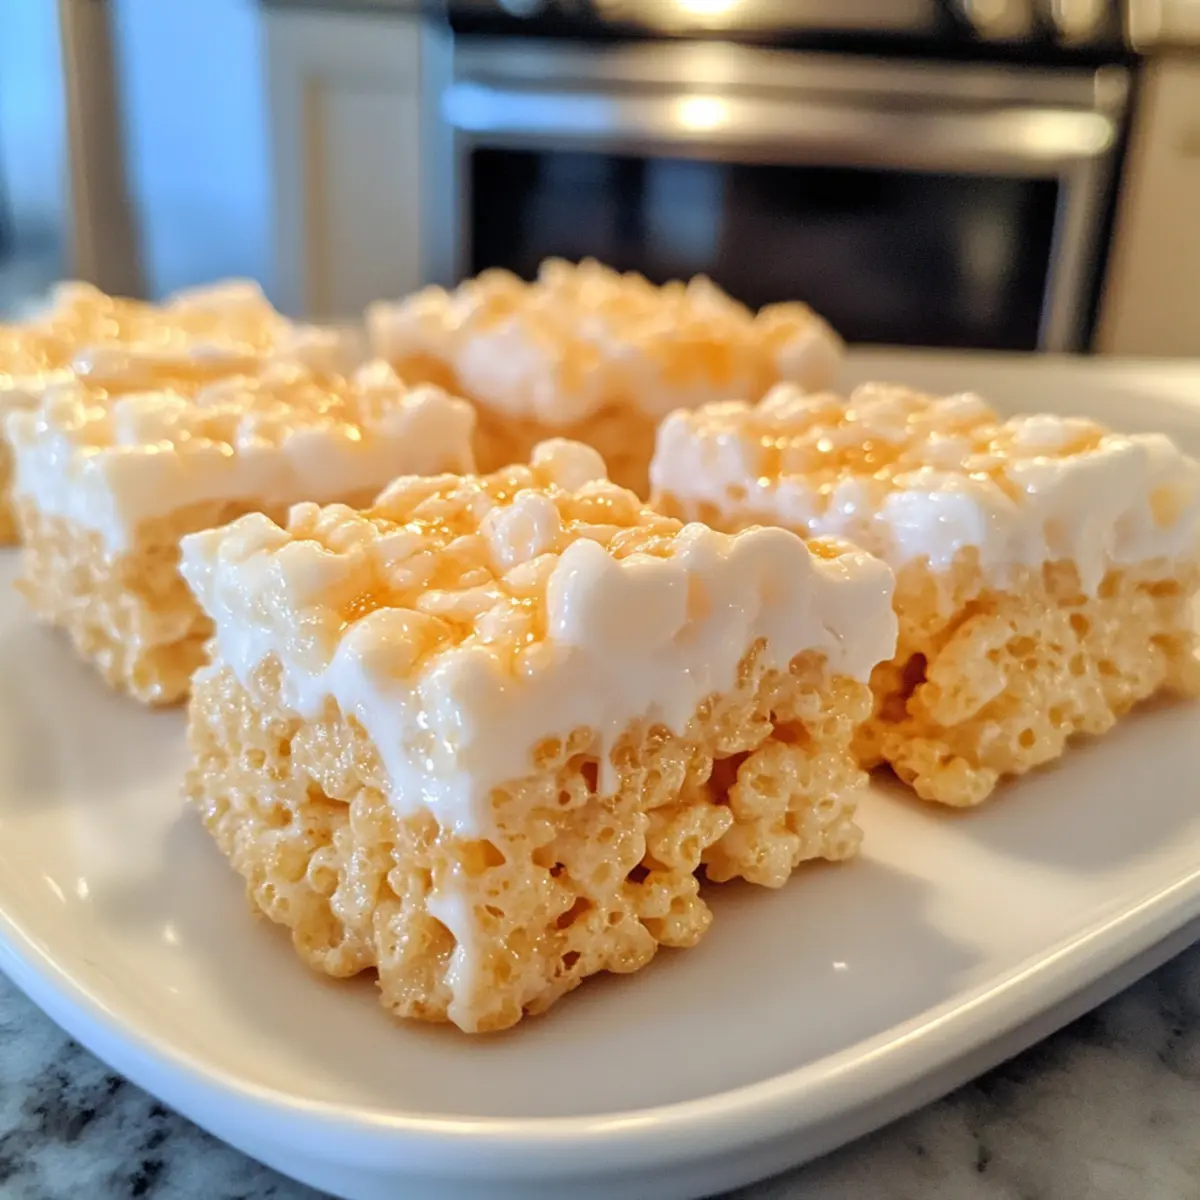
Rice Krispie Treats Recipe FAQs
How do I choose the best Rice Krispies cereal?
Absolutely! For the best results, select a box that hasn’t been sitting on the shelf for too long. Fresh cereal ensures optimal crunch and texture. Look for boxes without dents or tears, and check the expiration date to guarantee you’re using the freshest ingredients.
How should I store leftover Rice Krispie Treats?
The best way to store your Rice Krispie Treats is in an airtight container at room temperature for up to 3 days. This keeps them chewy and delicious. If they do start to harden, you can microwave individual squares for about 10 seconds to revive that gooey texture.
Can I freeze Rice Krispie Treats?
Yes! To freeze your Rice Krispie Treats, wrap them tightly in plastic wrap, then in aluminum foil to prevent freezer burn. They can be stored in the freezer for up to 2 months. When you’re ready to enjoy them, simply thaw them in the refrigerator overnight or for a quicker option, microwave them for about 10 seconds to soften them again!
What are some common troubleshooting tips for Rice Krispie Treats?
If you find your treats are too hard, it may be due to overcooking the marshmallows. Always melt them on low heat and remove them when they are just smooth. On the other hand, if they are too gooey, ensure you used the right ratio of cereal to marshmallows and that they have cooled fully before cutting.
Are Rice Krispie Treats safe for pets?
While the ingredients in Rice Krispie Treats may not be toxic to pets, they are not advisable for dogs or cats. The combination of sugar and butter isn’t healthy for them, and treats should always be tailored to your pet’s dietary needs. Always check with your vet if you’re uncertain!
Can I customize my Rice Krispie Treats for dietary needs?
Very! You can easily customize your Rice Krispie Treats for various dietary preferences. For gluten-free options, ensure to use certified gluten-free Rice Krispies, and if you’re avoiding dairy, consider using dairy-free butter alternatives. There are endless ways to personalize these treats while keeping everyone in mind!
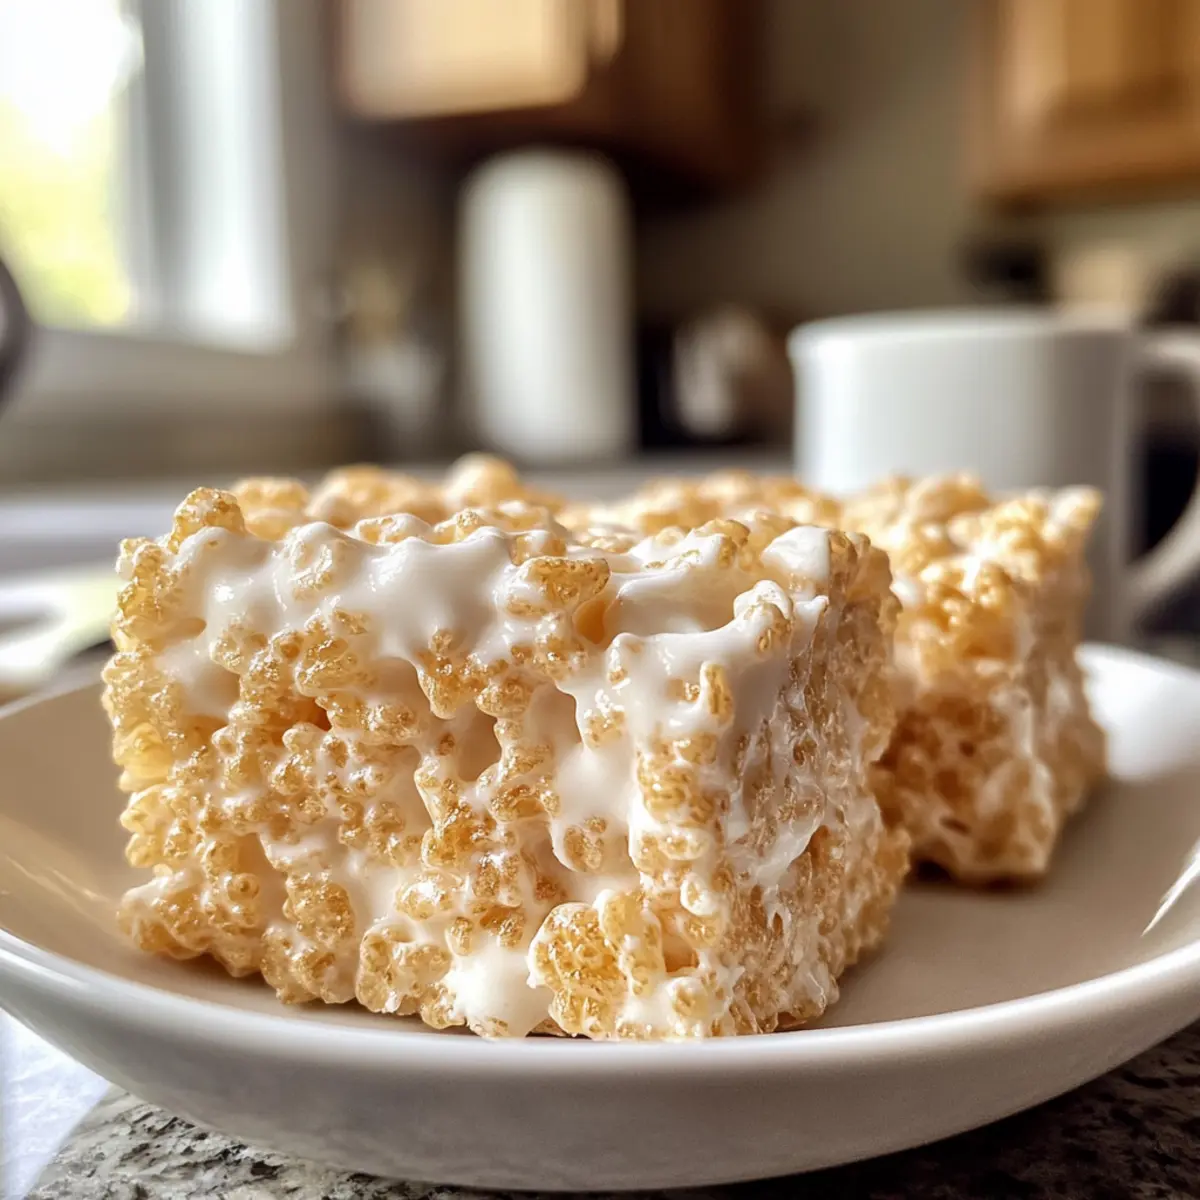
Irresistibly Chewy Rice Krispie Treats You'll Love
Ingredients
Equipment
Method
- Grease a 9x13-inch baking dish with cooking spray or butter.
- Melt unsalted butter in a large saucepan over low heat, stirring until bubbly.
- Stir in mini marshmallows and heat until completely melted and smooth.
- Remove from heat and mix in vanilla extract.
- Fold in Rice Krispies cereal until well coated.
- Transfer the mixture to the prepared baking dish, pressing down evenly.
- Allow the treats to cool for about 30 minutes before cutting into squares.