

In the quiet buzz of a sunny afternoon, I wandered into my kitchen, craving something sweet yet simple. That’s when I stumbled upon my go-to recipe for Butter Mochi, a dish that never fails to bring me joy. This easy and quick recipe features a delightful chewy texture and a hint of tropical flavor from creamy coconut, making it a sweet escape any time of the day. Within just an hour, you can bake up a fun dessert that’s not only gluten-free but also incredibly versatile. Whether you choose to serve it at a gathering or indulge in it alone, it’s a little happiness tucked away in every bite. Curious about how to make this dreamy treat? Let’s dive in!
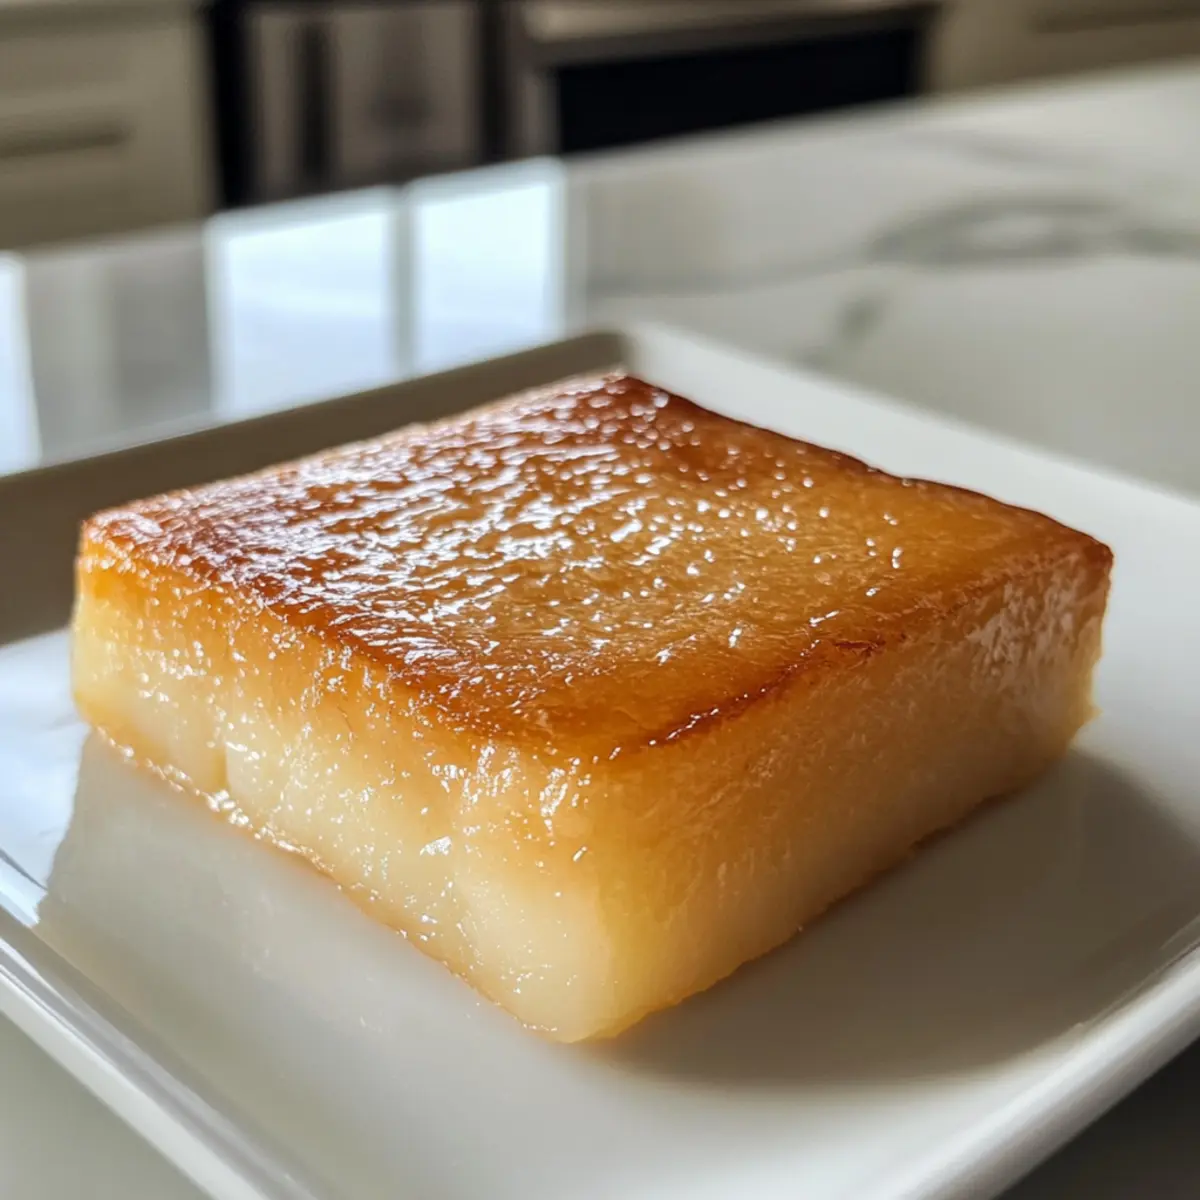
Why is Butter Mochi a Must-Try?
Chewy Texture: Each bite offers a satisfying chew that makes this dessert truly unique.
Tropical Flavor: Infused with coconut, this mochi transports you straight to a sun-soaked paradise.
Quick and Easy: It comes together in under an hour, perfect for spontaneous cravings or last-minute gatherings.
Gluten-Free Delight: Ideal for anyone looking for a sweet treat without gluten, making it a crowd favorite!
Versatile Variations: From Coconut to Chocolate and Matcha, you can customize each batch to suit your mood.
If you’re looking for other delicious options, check out my easy Chicken Fajitas or the refreshing Three Bean Salad to complement your Butter Mochi experience!
Butter Mochi Easy Ingredients
• Here’s everything you need for this delicious Butter Mochi.
For the Batter
- Sweet Rice Flour – Provides the unique chewy texture; Mochiko is a recommended brand for best results.
- Granulated Sugar – Balances the rich flavors with just the right amount of sweetness.
- Baking Powder – Key for helping the mochi rise as it bakes, ensuring a fluffy interior.
- Unsalted Butter – Adds moisture and richness; can substitute with coconut oil for a dairy-free version.
- Coconut Milk – Essential for infusing a tropical flavor that complements the mochi beautifully.
- Milk – Enhances creaminess; any milk alternative can be used for versatility.
- Vanilla Extract – Optional, but highly recommended for a depth of flavor that elevates the dish.
- Salt – Balances the sweetness and enhances all the flavors in the batter.
With this Butter Mochi easy and quick recipe, you’re well on your way to creating a delightful treat that’ll impress family and friends alike!
Step‑by‑Step Instructions for Butter Mochi Easy and Quick Recipe
Step 1: Preheat the Oven
Begin by preheating your oven to 350°F (175°C). While the oven warms up, grab a 9×13 inch baking dish and generously grease it with butter or non-stick spray. This will help your Butter Mochi release easily from the dish once baked. Setting the stage properly is key to achieving that perfect chewy texture.
Step 2: Combine Dry Ingredients
In a medium mixing bowl, whisk together the sweet rice flour, granulated sugar, and baking powder until well blended. Take a moment to ensure there are no lumps, as this will help create a smooth batter. The combination of these dry ingredients forms the foundation of your Butter Mochi Easy and Quick Recipe, so make sure they are thoroughly combined before moving on.
Step 3: Mix Wet Ingredients
Next, melt your unsalted butter and allow it to cool slightly. In the same bowl, add the melted butter, coconut milk, milk, vanilla extract, and a pinch of salt to the dry mixture. Stir all these ingredients together until the batter is smooth and lump-free. This rich mixture will be the heart of your delicious Butter Mochi, so take your time to achieve the right consistency.
Step 4: Prepare for Baking
Now it’s time to transfer your luscious batter into the prepared baking dish. Pour it in and use a spatula to spread it evenly across the bottom of the dish. Ensuring it is evenly distributed will help your Butter Mochi bake uniformly. Look for a smooth, glossy surface, indicating that it’s ready for the oven.
Step 5: Bake
Slide the baking dish into the preheated oven and bake for 45-50 minutes. Keep an eye on it as it cooks; you’ll know it’s done when the top is beautifully golden brown and a toothpick inserted in the center comes out clean. This baking process transforms your batter into the chewy sensation that is Butter Mochi.
Step 6: Cool and Serve
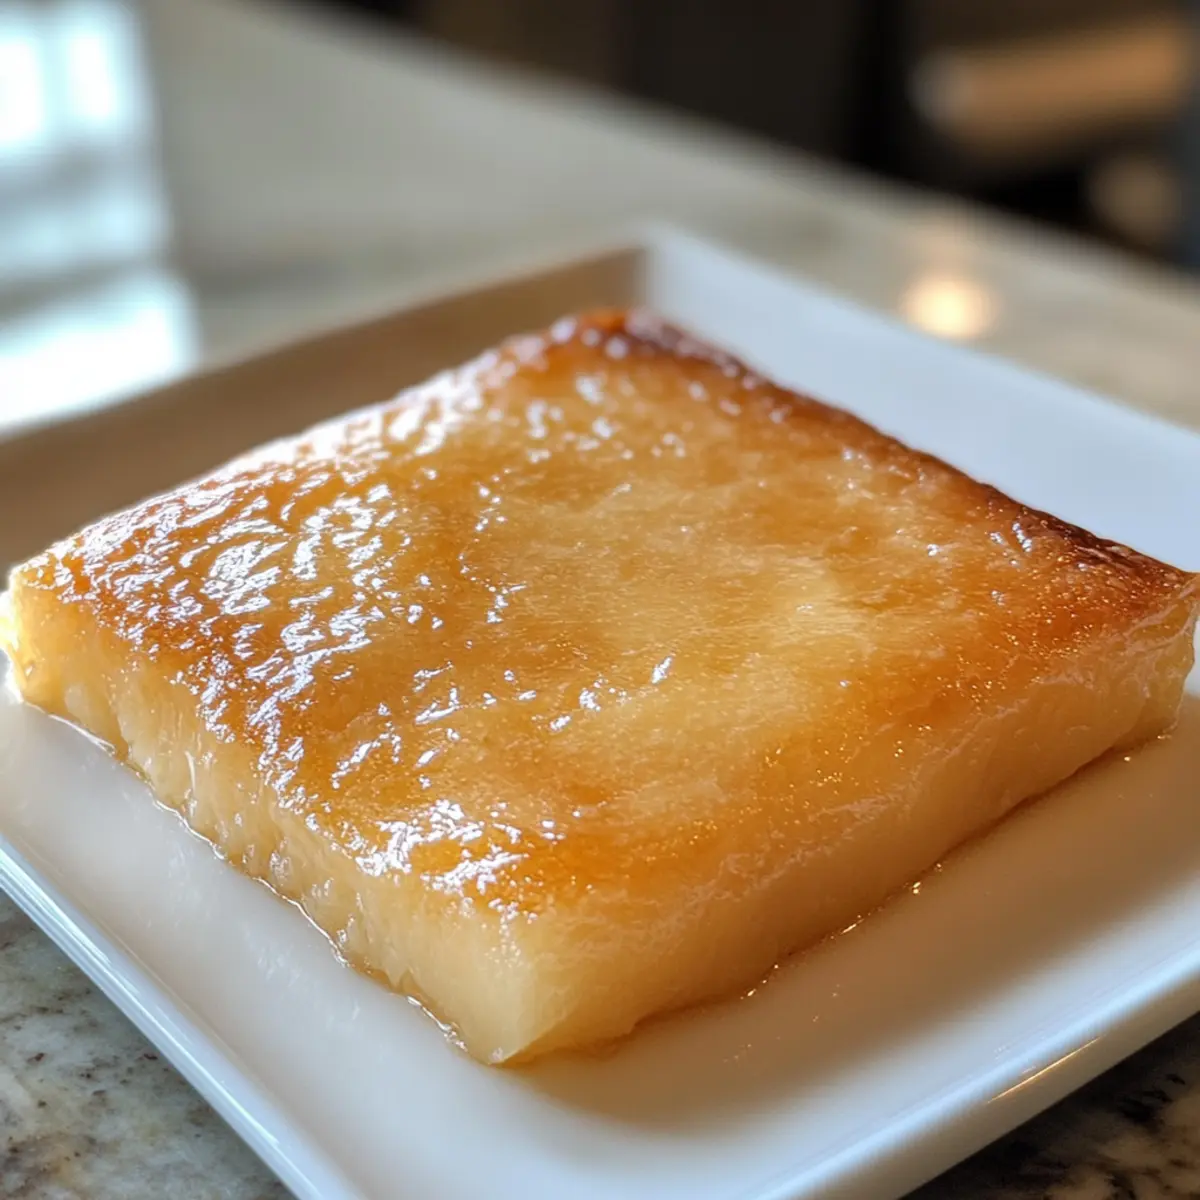
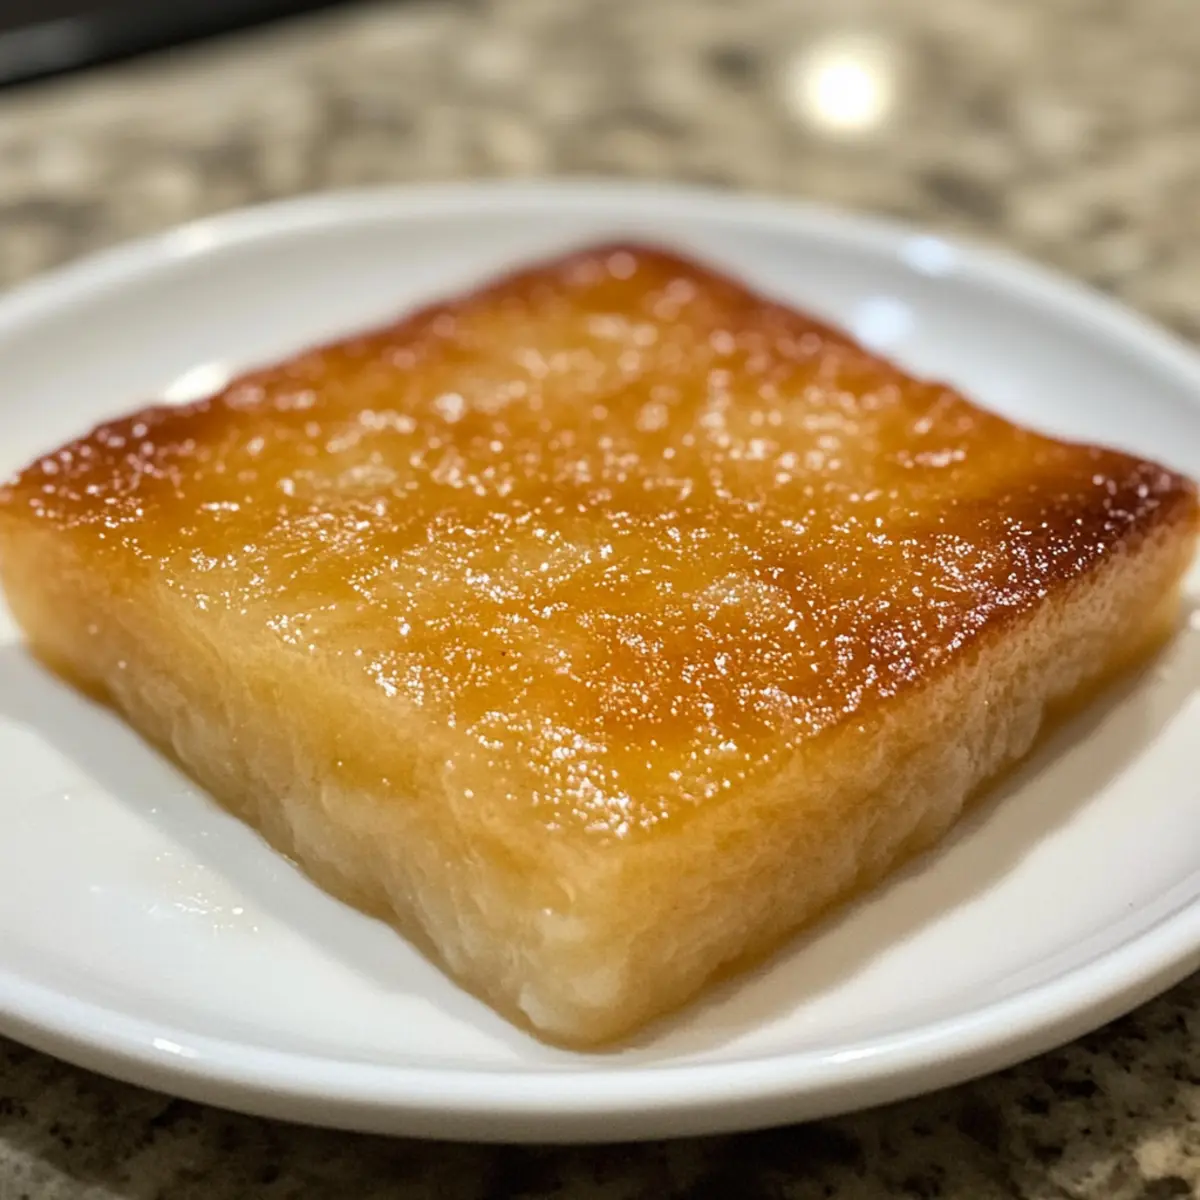
Once baked to perfection, carefully remove the Butter Mochi from the oven. Allow it to cool completely in the pan on a wire rack. This cooling stage is essential for achieving the ideal texture, so be patient! After it’s cool, cut it into squares and enjoy the delightful chewy treat you’ve crafted.
Make Ahead Options
These Butter Mochi delights are perfect for busy home cooks looking to save time while still delivering a delicious treat! You can prepare the batter up to 24 hours in advance and store it in the refrigerator. Just mix the ingredients as directed, cover the bowl tightly, and refrigerate to enhance the flavors. When you’re ready to bake, simply pour the chilled batter into the greased baking dish and pop it in the oven as usual. This way, you’ll enjoy your homemade Butter Mochi with minimal effort on a busy day! Just remember to check for doneness a bit earlier, as chilled batter may take a minute or two longer to bake through.
Storage Tips for Butter Mochi Easy and Quick Recipe
-
Room Temperature: Store Butter Mochi in an airtight container for up to 3 days. This keeps it soft and chewy, perfect for a quick snack or dessert anytime.
-
Fridge: If you’d like it to last longer, refrigerate for up to a week. Be aware that it may become firmer; simply warm it in the microwave for 10-15 seconds to soften.
-
Freezer: Wrap individual slices tightly in plastic wrap or foil and store in an airtight container for up to 3 months. Reheat by microwaving for a quick treat!
-
Reheating: To revive the chewy texture, microwave each slice for about 15 seconds or until warmed through. Enjoy the delightful tropical flavors even after storage!
Butter Mochi Easy Variations & Substitutions
Feel free to explore different variations that will take your Butter Mochi experience to the next level. Get creative and let your taste buds guide you!
- Coconut Butter Mochi: Substitute half the butter with coconut milk for intensified coconut flavor. This twist will enrich the dish with even more tropical goodness, making each bite feel like a sunny getaway!
- Chocolate Butter Mochi: Mix in cocoa powder into the dry ingredients for a decadent twist. The rich chocolate flavor pairs beautifully with the mochi’s chewy texture, creating a heavenly dessert that chocolate lovers will adore.
- Matcha Butter Mochi: Add matcha powder for color and unique flavor. Not only will it give your mochi a beautiful green hue, but the earthy taste of matcha adds a delightful contrast to the sweetness.
- Peanut Butter Mochi: Incorporate smooth peanut butter for a nuttier version. The creamy richness of peanut butter shines through, making this variation a hit for anyone who loves that nutty flavor!
- Dairy-Free Option: Swap unsalted butter with coconut oil or a plant-based butter substitute. This way, everyone can enjoy the chewy delight regardless of their dietary preferences!
- Syrup Drizzle: For a flavor boost, drizzle with chocolate syrup or a coconut-caramel sauce before serving. The added sweetness and gooey texture create an irresistible combination!
- Berries Stir-In: Fold in fresh, diced strawberries or blueberries into the batter for a fruity twist. This variation not only adds vibrant colors but also a juicy burst of flavor in every bite!
While you’re at it, don’t miss out on other delightful desserts like my easy Raspberry Cream Pie and treat yourself to a slice of refreshing Cowboy Pasta Salad for a full meal experience!
Expert Tips for Butter Mochi Easy and Quick Recipe
-
Quality Flour Matters: Use high-quality sweet rice flour to ensure your Butter Mochi has that satisfying chewy texture, avoiding inferior brands that might not provide the same results.
-
Don’t Overmix: Mix the batter gently to prevent it from becoming dense. Overmixing can result in a tough texture, which we definitely want to avoid!
-
Cool Before Cutting: Allow the Butter Mochi to cool completely before cutting into squares. This helps maintain its chewy interior and prevents it from falling apart.
-
Check Early: Start checking for doneness at around 30 minutes. Overbaking can lead to a dry texture, so keep an eye on that lovely golden top!
-
Experiment with Flavors: Don’t hesitate to play around with the recipe. Add in flavors like matcha or chocolate, or try different additions to create your unique take on this Butter Mochi Easy and Quick Recipe!
What to Serve with Butter Mochi Easy and Quick Recipe
Delightful pairings can elevate your Butter Mochi experience, bringing together flavors and textures that create a memorable meal.
- Coconut Sorbet: A refreshing, light treat that echoes the tropical notes of the mochi, cooling down your palate.
- Fresh Mango Slices: Juicy and sweet, mango adds a bright, fruity contrast to the chewy texture, embodying sunshine on the plate.
- Matcha Tea: Earthy and slightly bitter, matcha serves as a perfect balance to the sweet richness of the mochi, offering a refreshing beverage option.
- Thai Iced Tea: Creamy and spiced, this vibrant drink compliments the dessert’s tropical flavors while adding a unique twist to your meal.
- Fruit Salad: A medley of berries, pineapple, and kiwi adds a fresh and tangy bite that enhances the sweet mochi beautifully.
- Whipped Coconut Cream: Light and fluffy, this cream can serve as a dreamy dip, accentuating the mochi’s buttery richness with tropical flair.
- Chai Latte: The aromatic spices of chai blend wonderfully with the Butter Mochi, creating a comforting, warm beverage pairing.
Indulging in these delightful accompaniments will make your Butter Mochi Easy and Quick Recipe a star attraction at any gathering!
Butter Mochi Easy and Quick Recipe FAQs
What type of sweet rice flour should I use?
Absolutely! For the best results in your Butter Mochi Easy and Quick Recipe, I recommend using Mochiko brand sweet rice flour. It has the perfect texture and consistency, providing the delightful chewiness that defines Butter Mochi. Avoid using regular rice flour, as it won’t yield the same results.
How should I store Butter Mochi, and how long does it last?
You can store your Butter Mochi in an airtight container at room temperature for up to 3 days. If you want it to last longer, refrigeration is an option; it can last up to a week there, but keep in mind that it may become a bit firmer. To revive its soft, chewy texture, simply microwave it for about 10-15 seconds. For longer storage, wrap individual slices tightly and freeze for up to 3 months, reheating as needed.
Can I substitute ingredients in the Butter Mochi recipe?
Very much so! If you’re looking for a dairy-free version, you can substitute unsalted butter with coconut oil, maintaining that tropical flavor while making it suitable for vegan diets. Additionally, you may use any milk alternative instead of regular milk. Just make sure to keep the sweet rice flour as it’s essential for that distinctive chewy texture.
What should I do if my Butter Mochi turns out too dense or dry?
No worries at all! If your Butter Mochi is too dense, it may be due to overmixing the batter. When combining, mix gently until just incorporated. If it turns out dry, your oven might have been too hot or it was baked too long. Always start checking for doneness around 30 minutes, and use a toothpick to check; it should come out clean but not dry.
Is Butter Mochi gluten-free?
Definitely! Butter Mochi is made primarily with sweet rice flour, which is gluten-free, making this dessert a great option for those with gluten sensitivities or celiac disease. Just be mindful of cross-contamination if allergies are a concern—always double-check your ingredient labels.
Can I freeze Butter Mochi, and how do I do it?
Absolutely! To freeze your Butter Mochi, wrap individual slices tightly in plastic wrap or aluminum foil to prevent freezer burn. Place them in an airtight container or freezer bag and store for up to 3 months. When you’re ready to enjoy, simply reheat in the microwave for about 15 seconds or until warm. This way, you can savor the sweet chewy bliss even after storing!
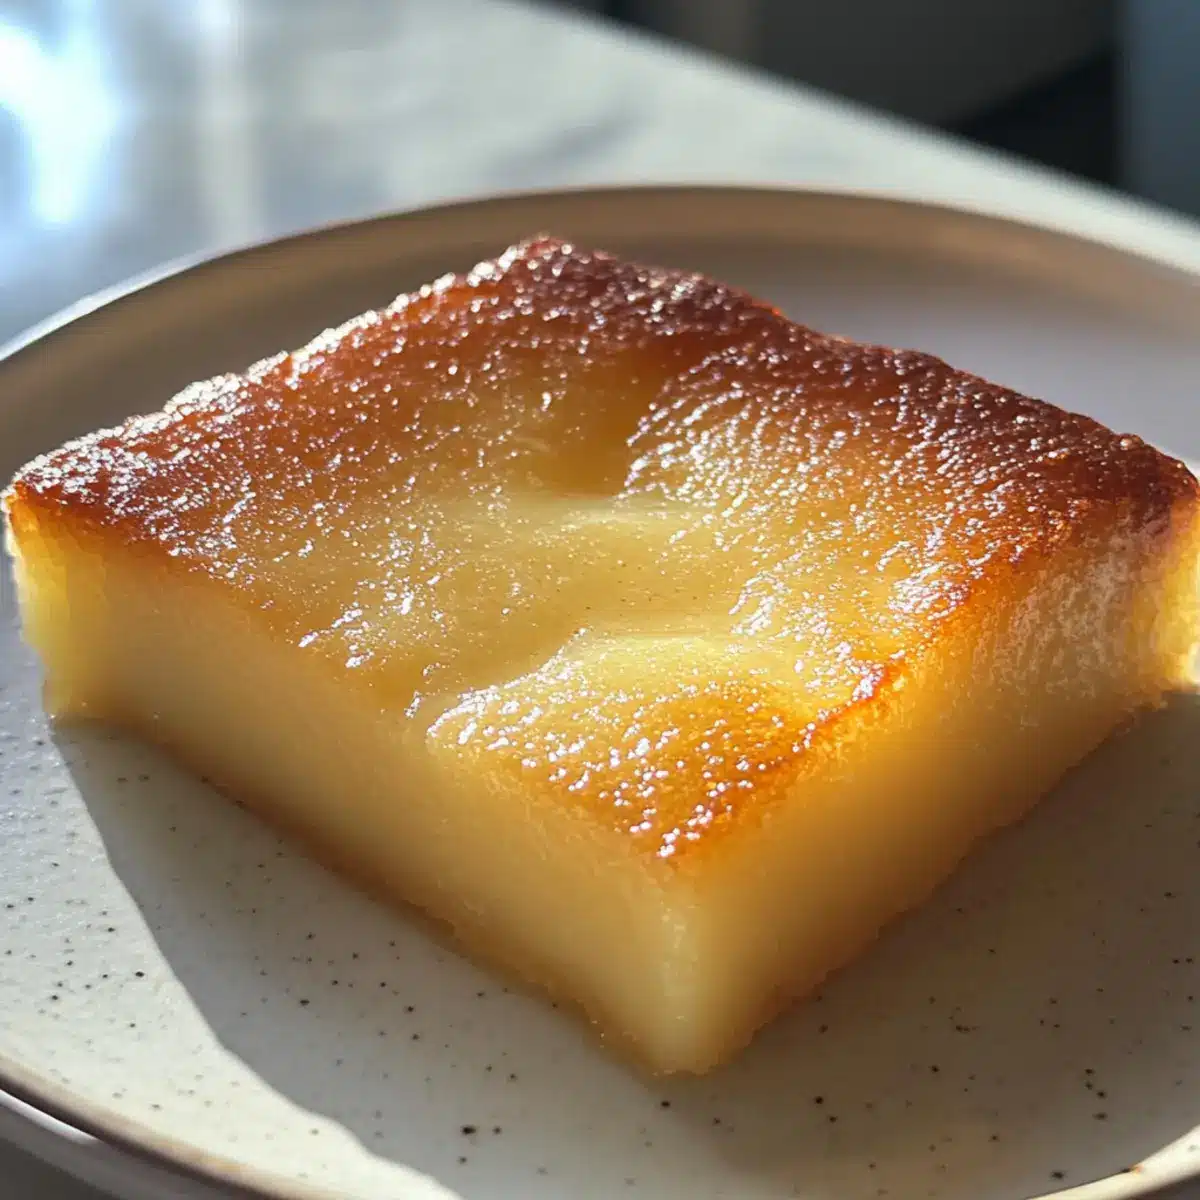
Butter Mochi Easy and Quick Recipe: Sweet Chewy Bliss
Ingredients
Equipment
Method
- Preheat the oven to 350°F (175°C) and grease a 9x13 inch baking dish with butter or non-stick spray.
- In a medium mixing bowl, whisk together the sweet rice flour, granulated sugar, and baking powder until well blended.
- Melt the unsalted butter and let it cool slightly. Add it to the dry mixture along with coconut milk, milk, vanilla extract, and a pinch of salt. Stir until smooth.
- Transfer the batter into the prepared baking dish and spread it evenly across the bottom.
- Bake in the preheated oven for 45-50 minutes, until the top is golden brown and a toothpick inserted in the center comes out clean.
- Cool completely in the pan on a wire rack, then cut into squares and enjoy!