

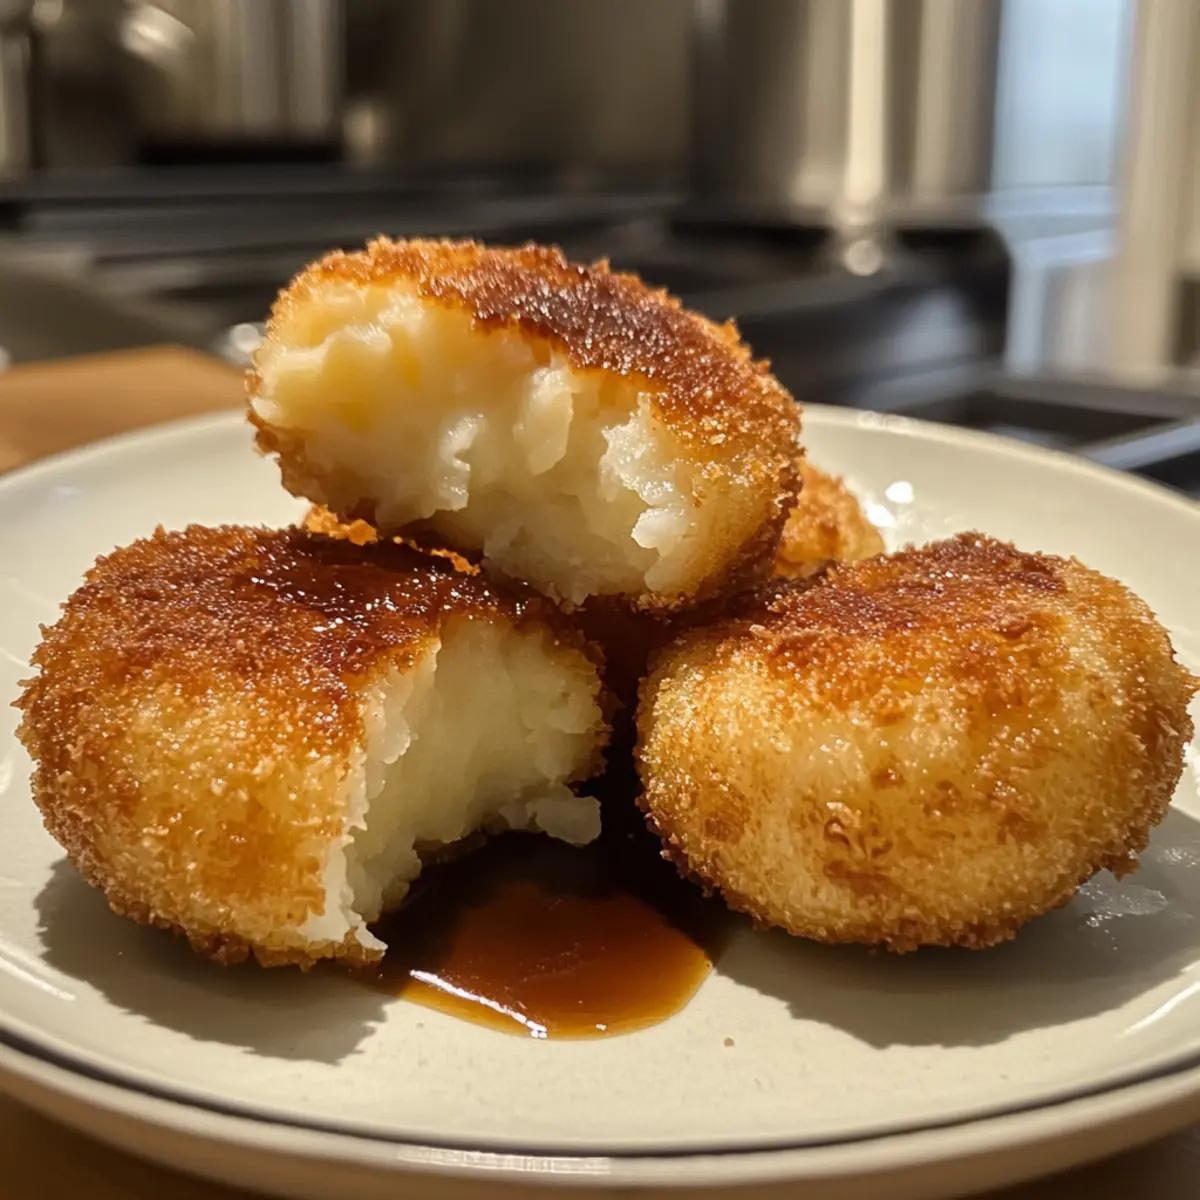
As I entered the bustling kitchen of my Japanese friend, the air was filled with the tantalizing aroma of frying food, pulling me into a culinary world that felt both foreign and familiar. There, I encountered korokke, the beloved Japanese croquettes that have become a staple in comfort food for many. This korokke recipe brings together a crispy outer layer and a creamy potato filling that’s utterly satisfying—perfect for those who crave a hearty snack away from fast food. Plus, they can be customized with fillings like curry, crab, or cheese for a delightful twist! Whether served as a cozy family dinner or a fun appetizer for gatherings, these golden bites are sure to charm everyone at the table. Are you ready to discover how easy it is to create this delectable dish in your own home?
Why will you love this korokke recipe?
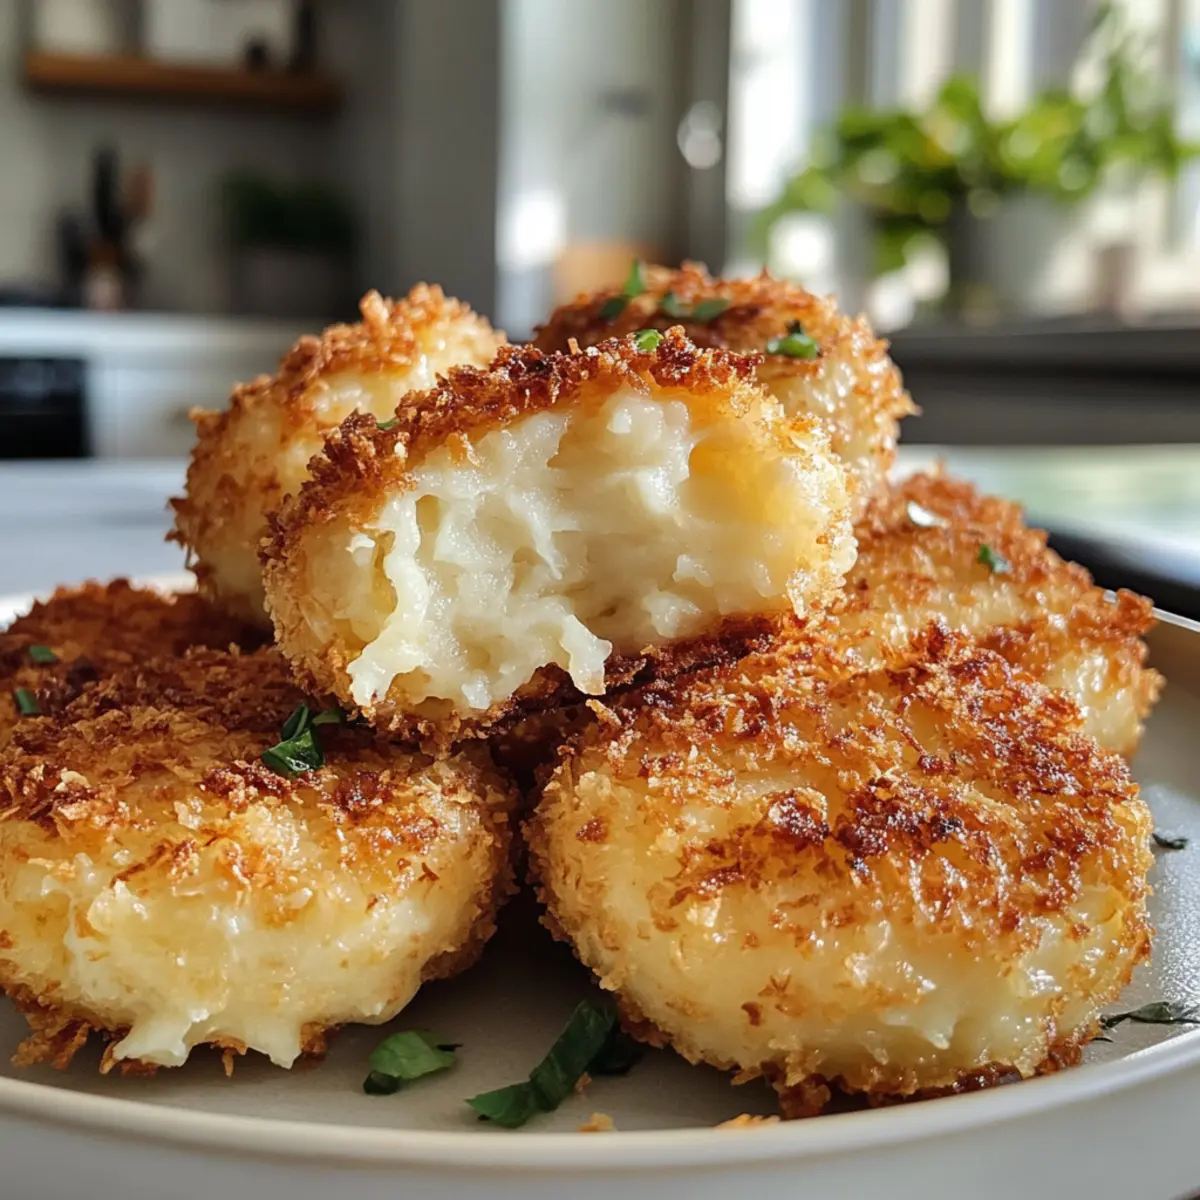
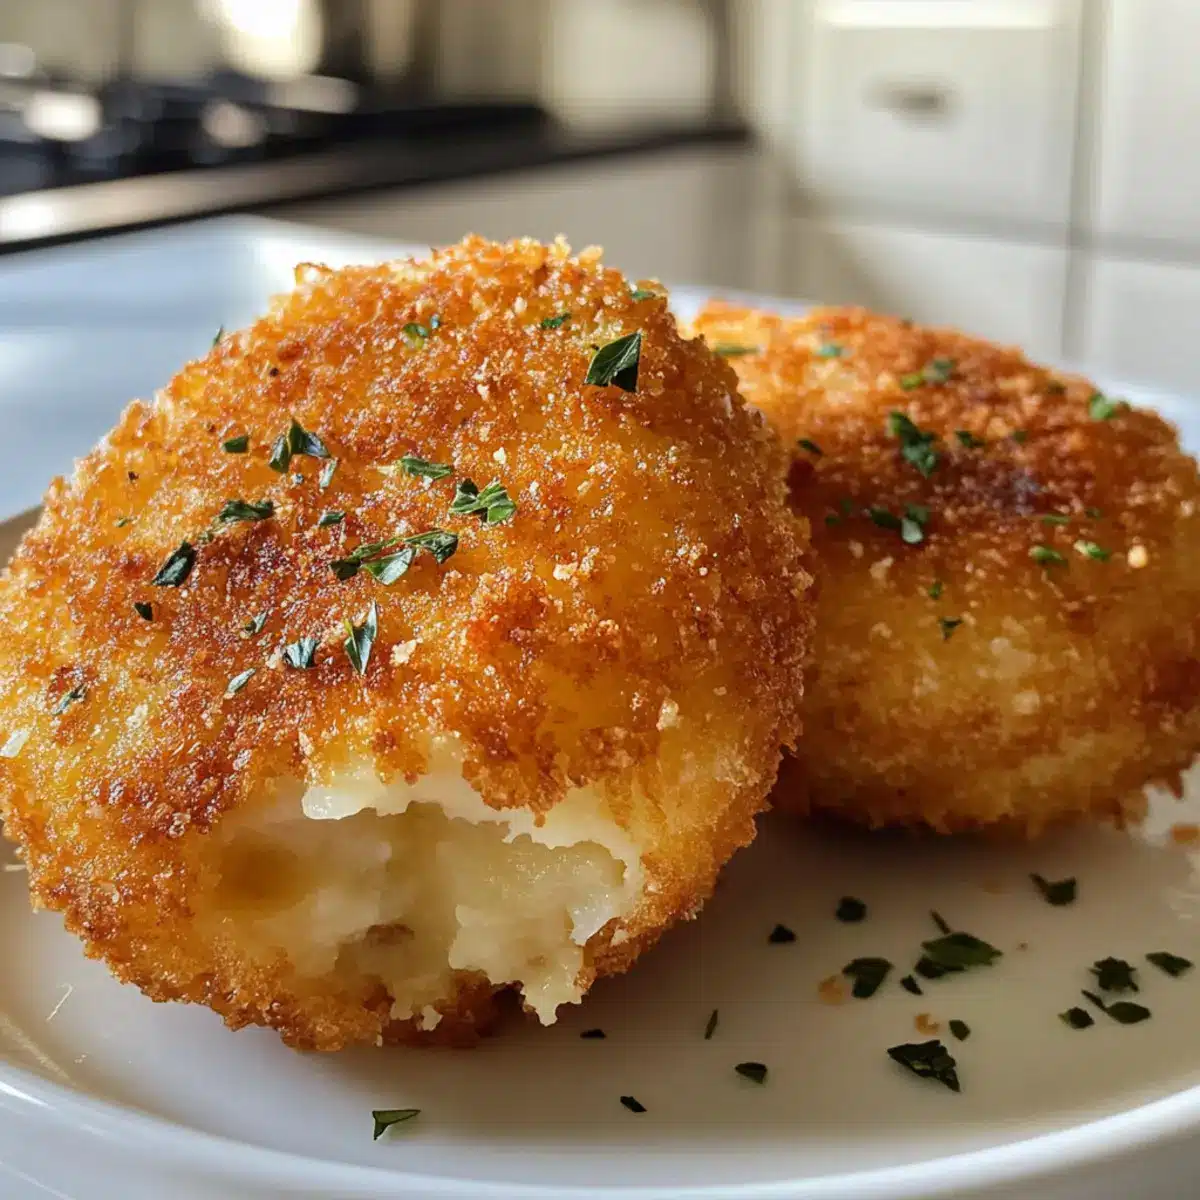
Crispy Perfection: Each bite offers a delightful crunch that contrasts beautifully with the creamy interior, making these korokke a true textural treat.
Customization Galore: With options for fillings like crab, cheese, or even veggies, you can make this dish uniquely yours—perfect for impressing guests or satisfying picky eaters!
Quick and Easy: This recipe is straightforward and requires no advanced cooking skills, allowing even novice chefs to achieve restaurant-quality results in no time.
Family Favorite: It’s a crowd-pleaser that works brilliantly as an appetizer or main dish, ensuring happy faces around the dinner table.
Nostalgic Flavors: Bringing the warmth of homemade comfort food to your kitchen, this recipe will have everyone reminiscing about their favorite family meals, much like Chicken Meatball Soup or Creamy Chicken Noodle Soup.
Enjoy the journey of making korokke at home, where every crispy exterior and luscious filling whispers the tales of Japanese culinary tradition!
Korokke Recipe Ingredients
• Ready to create delicious korokke? Here’s what you’ll need!
For the Filling
- Russet Potatoes – The ideal base for korokke; they’re starchy for a fluffy mash.
- Unsalted Butter – Adds a richness to your filling; swap for olive oil for a dairy-free option.
- Salt – Essential for enhancing flavors; adjust to your taste.
- Black Pepper – Offers a nice kick; freshly ground enhances flavor, but feel free to leave it out if needed.
- Neutral Oil – Perfect for sautéing onions without overpowering; vegetable oil works best.
- Yellow Onion – Sweetens the filling beautifully when sautéed; shallots can be a milder alternative.
- Lean Ground Beef – Provides protein; ground turkey or plant-based alternatives can easily replace it.
For Coating
- All-Purpose Flour – Helps the egg and panko stick; gluten-free flour is a great substitute.
- Eggs – Binds the coating; for vegan options, use flax eggs or aquafaba instead.
- Panko Breadcrumbs – Create an irresistible crunchy coating; traditional breadcrumbs can work too, but will alter texture.
For Deep-Frying
- Oil for Deep-Frying – Essential for that crispy finish; maintain about 2 inches deep in your pot.
- Tonkatsu Sauce – A must-have for serving, offering that uniquely sweet and savory touch; store-bought or homemade are both delicious.
Gather these ingredients, and you’ll be on your way to creating the most delightful korokke recipe you’ll love!
Step‑by‑Step Instructions for Korokke Recipe
Step 1: Prepare Potatoes
Begin by peeling and quartering the russet potatoes. Place them in a large pot, cover with water, and bring to a boil. Cook for about 15-20 minutes or until fork-tender. Drain the potatoes well, return them to the pot, and allow them to sit for a minute to evaporate any excess moisture. Mash the potatoes with unsalted butter, salt, and black pepper until they are mostly smooth yet slightly chunky.
Step 2: Cook Filling
In a skillet, heat about 2 tablespoons of neutral oil over medium heat. Add the finely chopped yellow onion and sauté for 5-7 minutes until softened and lightly browned. Next, incorporate lean ground beef into the skillet and cook, stirring frequently for about 5-6 minutes, until the meat is no longer pink. Allow the mixture to cool slightly before folding it into the mashed potatoes for your delicious korokke filling.
Step 3: Shape Patties
Divide the potato and beef mixture into eight equal portions. With your hands, form each portion into oval patties, approximately 1 inch thick. This step is crucial for even cooking, so try to maintain consistency in size. Once shaped, place the patties on a parchment-lined tray and chill in the refrigerator for 15 minutes to help them firm up before breading.
Step 4: Coat Patties
Set up a breading station with three shallow bowls: one with all-purpose flour, the second with beaten eggs, and the third with panko breadcrumbs. Take each chilled patty, dredge it in flour to coat lightly, then dip it into the egg mixture, allowing any excess to drip off. Finally, coat with panko breadcrumbs, pressing firmly to ensure the crumbs adhere well, creating that signature crunch for your korokke.
Step 5: Deep-Fry Patties
In a deep pot, pour enough oil for deep-frying and heat it to 350°F. Carefully add a few patties without overcrowding the pot—fry in batches if necessary. Cook each side for about 2-3 minutes until golden brown and crispy. Use a slotted spoon to remove the korokke and place them on paper towels to drain excess oil while maintaining the enchanting crunch of this korokke recipe.
Step 6: Serve
Once all the korokke are fried and drained, arrange them beautifully on a serving platter. Serve them hot alongside a small bowl of tonkatsu sauce for dipping. The crispy korokke’s golden exterior and creamy interior paired with the sauce create a mouthwatering experience, perfect for gatherings, family dinners, or simply when craving comfort food!
Expert Tips for Making Korokke
Cool Before Shaping: Ensure your potato mixture is at room temperature before shaping the patties. This prevents them from falling apart during frying.
Batch Frying: Don’t overcrowd the fryer; frying in small batches ensures even cooking and prevents the temperature from dropping, keeping your korokke crispy.
Proper Draining: Use a wire rack for draining fried korokke instead of paper towels. This allows air circulation and keeps them crispy.
Storage Solution: Leftover korokke can be stored in an airtight container for up to 2 days. To reheat, use an oven or air fryer to restore that delightful crunch.
Adapt Fillings: Feel free to experiment with different fillings in your korokke recipe, like cheese or curry, for a twist that excites your taste buds!
What to Serve with Crunchy Japanese Potato Korokke?
Elevate your homemade korokke experience with these delightful pairings that will surely create a memorable meal.
Steamed Rice: Light and fluffy rice brings a subtle balance to the crispy korokke, making every bite a comforting experience.
Miso Soup: Serving a warm bowl of miso soup offers a savory and umami-rich contrast, perfect for cleansing the palate between bites.
Pickled Vegetables: The tangy crunch of pickles enhances the flavors of korokke, adding freshness and depth to your dining experience.
Japanese Salad: A light salad with sesame dressing introduces vibrant flavors and textures, creating a refreshing side that complements the rich filling.
Sweet Chili Sauce: For a sweet and spicy twist, serve with sweet chili sauce for dipping, heightening the taste of each crispy bite.
Sliced Avocado: Creamy avocado adds a smooth texture and a hint of richness that contrasts beautifully with the crunchy exterior of the korokke.
Iced Green Tea: A refreshing glass of iced green tea cleanses the palate while enhancing the meal’s experience with its earthy notes.
Chocolate Mochi: End your meal on a sweet note with soft and chewy mochi, subtly sweet and a fantastic contrast to the savory flavors of korokke.
Boba Tea: A fun and trendy drink like boba tea offers a satisfying texture and a delightful sweetness, making it a perfect companion for korokke.
Let these tempting options inspire your next home-cooked meal, transforming simple korokke into a sensational dining experience!
How to Store and Freeze Korokke
Fridge: Store leftover korokke in an airtight container for up to 2 days. Reheating in an oven or air fryer ensures they retain their crunchy texture.
Freezer: For longer storage, freeze korokke individually on a baking sheet. Once frozen, transfer them to a zip-top bag for up to 2 months.
Reheating: When ready to enjoy, reheat frozen korokke directly from the freezer in an oven preheated to 375°F for about 15-20 minutes until crisp and heated through.
Quick Tip: Avoid microwaving korokke, as it may make them soggy; the oven or air fryer is your best friend for maintaining that delightful crunch in your korokke recipe!
Korokke Recipe Variations & Substitutions
Feel free to play around with these variations and substitutions to make your korokke truly your own!
Vegetarian Option: Replace ground beef with finely diced veggies or cooked lentils for a plant-based delight that’s packed with flavor. This twist not only caters to vegetarian diets but adds a delightful freshness.
Cheesy Surprise: Add shredded cheese into the potato filling for a gooey, delicious surprise in each bite—perfectly melty and comforting!
Curry Kick: Mix in a spoonful of your favorite curry paste or powder when making the filling for a warm, aromatic flavor reminiscent of a cozy Asian curry experience.
Seafood Twist: Substitute ground beef with crab meat or shrimp for a seafood-focused korokke that brings a taste of coastal flavors to your dinner table.
Gluten-Free: Use a gluten-free flour blend and gluten-free panko breadcrumbs for a crispy and delicious alternative that everyone can enjoy.
Snack-sized Delight: Make mini korokke by shaping smaller patties, perfect for dipping or serving as appetizers at a party! These bite-sized delights will charm your guests without much fuss.
Different Sauces: Experiment with dipping sauces; try a spicy mayonnaise or a sweet chili sauce as an exciting alternative to tonkatsu sauce for more dynamic flavor options.
Explore Fillings: Don’t hesitate to try other fillings like sautéed mushrooms, spinach, or even a mix of different cheeses for an unexpected, creamy texture! This versatility allows you to keep the visual and taste experience fresh.
If you’re seeking more comforting bite-sized options, check out Creamy Fruit Dip as a sweet treat or indulge in the rich flavors of the Creamy Mushroom Soup for a warming meal!
Make Ahead Options
These delicious korokke are perfect for meal prep, allowing you to save time on busy weeknights! You can prepare the filling and shape the patties up to 24 hours in advance; simply refrigerate them tightly covered to maintain their quality. Additionally, you can coat the patties in breadcrumbs and freeze them for up to 3 months—just make sure to lay them flat on a baking sheet before transferring to a freezer-safe container to avoid sticking. When ready to cook, you can fry them straight from frozen, adding a couple of extra minutes to the frying time for crispy perfection. Enjoy tasty korokke anytime with minimal effort!
Korokke Recipe FAQs
What type of potatoes should I use for korokke?
Absolutely, russet potatoes are ideal for korokke due to their firm and starchy nature, which yields a fluffy mash. However, if you prefer a creamier texture, Yukon Gold potatoes work wonderfully as a substitute.
How long can I store leftover korokke?
Leftover korokke can be stored in an airtight container in the refrigerator for up to 2 days. To reheat and retain that crispy texture, I recommend using an oven or air fryer rather than a microwave.
Can I freeze korokke? How?
Yes, you can freeze korokke! Lay them out in a single layer on a baking sheet and freeze them until firm (about 1-2 hours). Once frozen, transfer them to a zip-top bag where they can be stored for up to 2 months. When you’re ready to enjoy, bake from frozen at 375°F for about 15-20 minutes until heated through and crispy.
What should I do if my korokke mixture is too wet?
If your korokke mixture feels too wet, don’t fret! You can add a bit of extra flour to the mixture, which helps absorb excess moisture. Additionally, ensuring your potatoes are fully dried after boiling can prevent this issue from occurring in the first place.
Are korokke suitable for vegetarians?
Very much so! Korokke can be easily adapted to accommodate vegetarian diets. Simply omit the ground beef and incorporate finely diced vegetables, legumes, or cheese for a delicious filling. The options are endless!
Can my pets eat korokke?
While the potato filling itself is safe for pets in moderation, the deep-fried nature and added seasonings in korokke are not ideal for them. It’s best to keep korokke as a delightful treat for humans only.
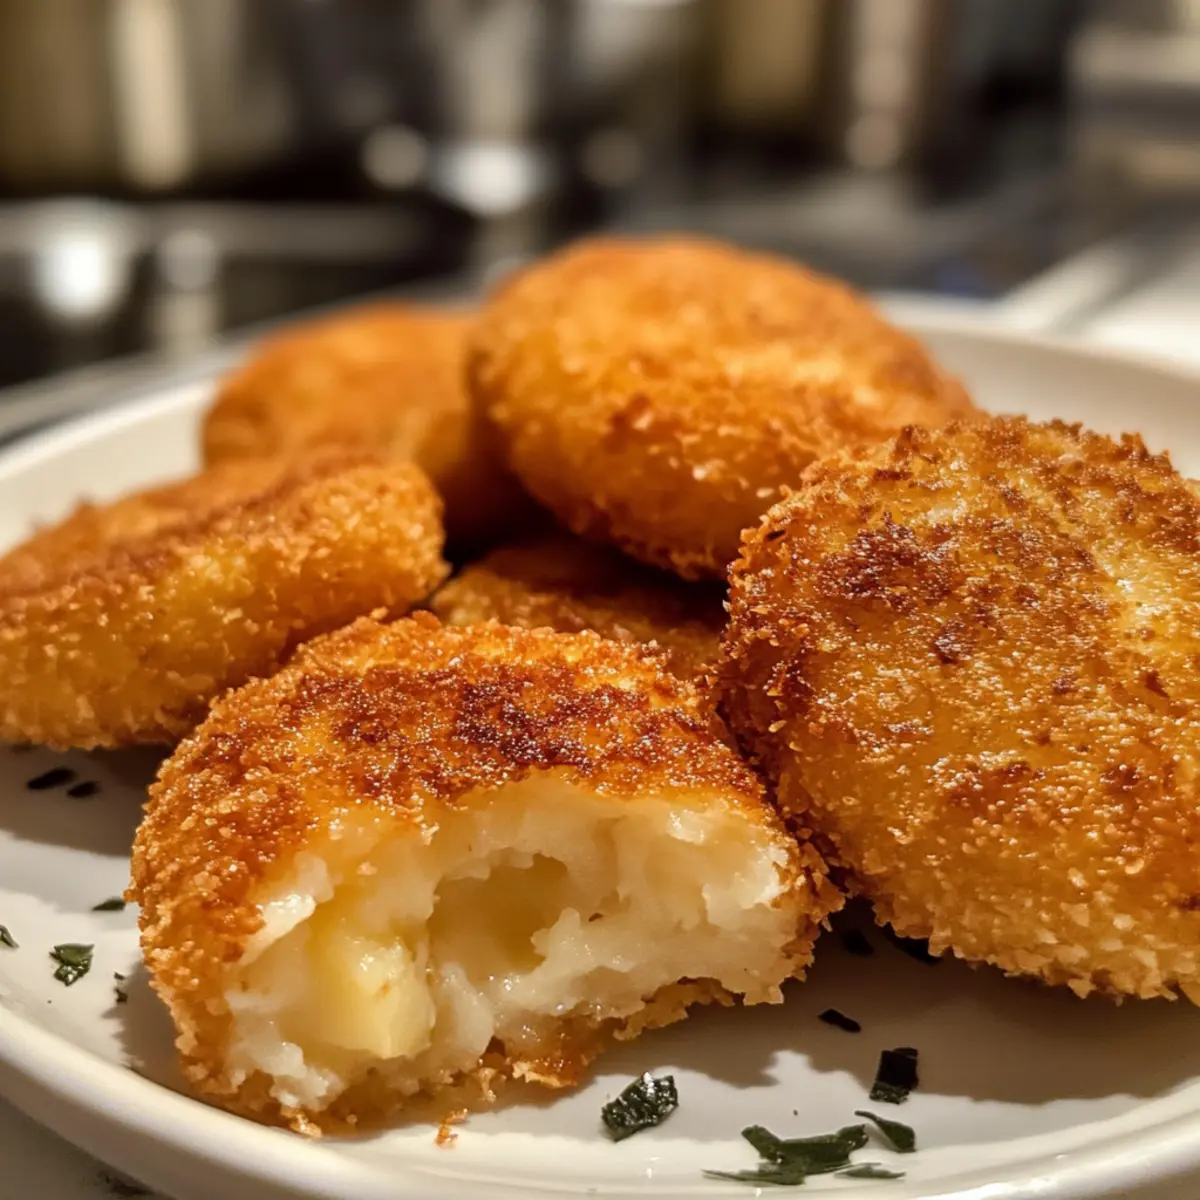
Crispy Comfort: Irresistible Korokke Recipe You'll Love
Ingredients
Equipment
Method
- Begin by peeling and quartering the russet potatoes. Place them in a large pot, cover with water, and bring to a boil. Cook for about 15-20 minutes or until fork-tender. Drain and mash with butter, salt, and black pepper.
- In a skillet, heat 2 tablespoons of neutral oil over medium heat. Add finely chopped onion and sauté for 5-7 minutes. Incorporate ground beef and cook for 5-6 minutes until no longer pink. Allow to cool slightly before combining with mashed potatoes.
- Divide the potato and beef mixture into eight equal portions and form into oval patties, approximately 1 inch thick. Chill in the refrigerator for 15 minutes before breading.
- Set up a breading station with flour, beaten eggs, and panko breadcrumbs. Dredge each patty in flour, dip in egg, and coat with breadcrumbs. Press firmly to ensure adherence.
- Heat oil for deep-frying to 350°F. Fry patties in batches for 2-3 minutes on each side until golden brown. Remove with a slotted spoon and drain excess oil on paper towels.
- Arrange fried korokke on a serving platter and serve hot with tonkatsu sauce for dipping.