

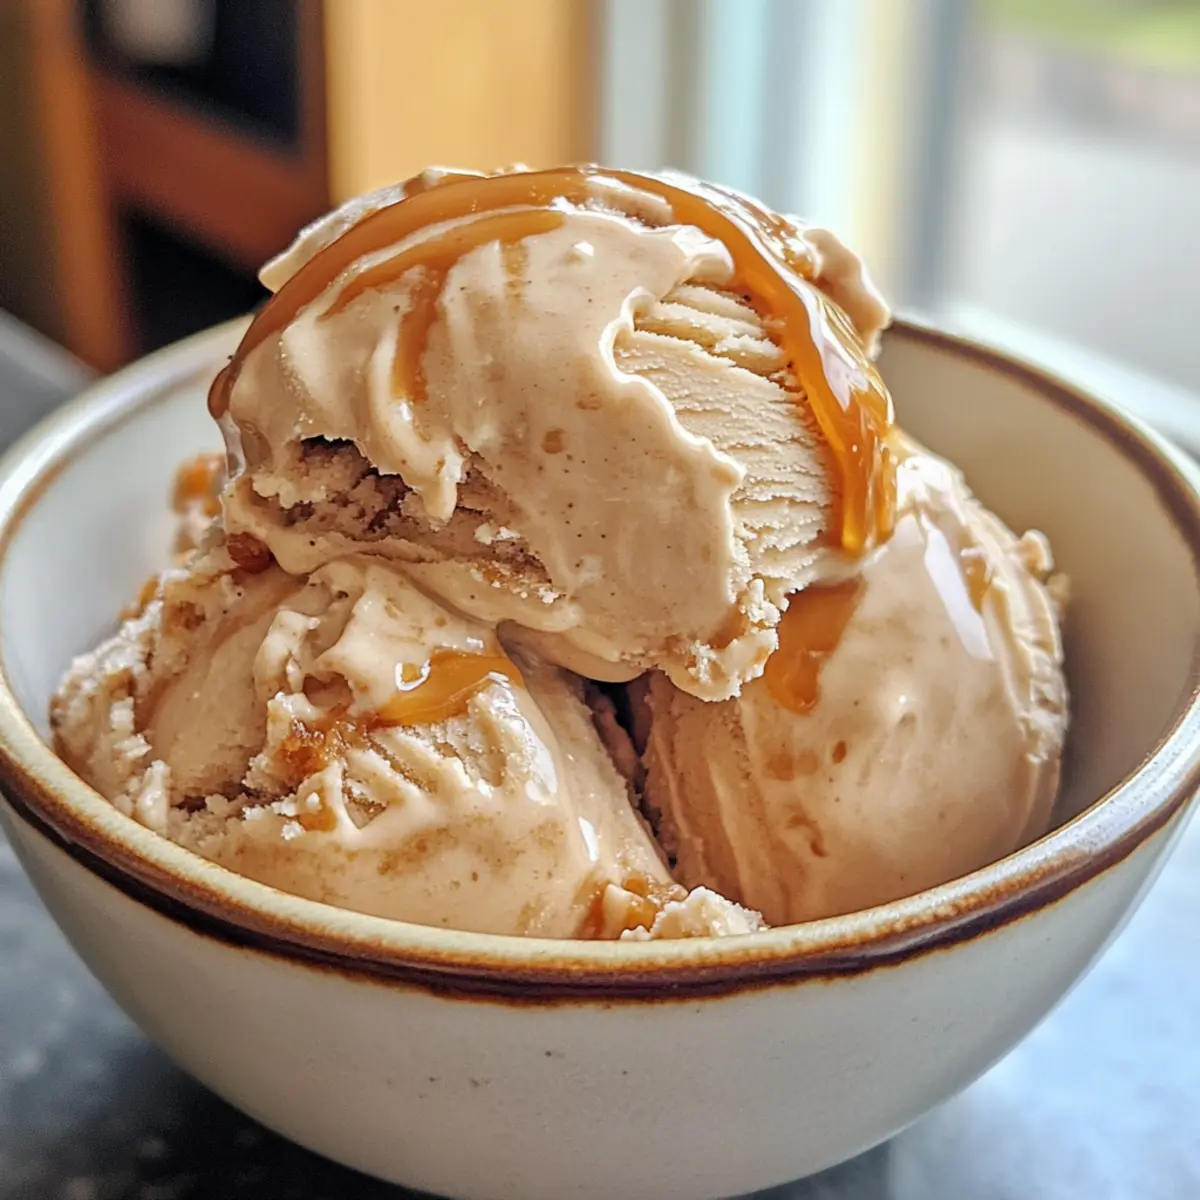
As I took that first spoonful of Apple Cider Caramel Ice Cream, a wave of nostalgia washed over me, transporting me straight to cool autumn afternoons spent at the orchard. This creamy concoction marries the tartness of fresh apple cider with the indulgent sweetness of caramel, making it a must-try dessert that perfectly captures the essence of fall. What’s even better? It’s a no-fuss recipe that comes together quickly and serves as a delightful crowd-pleaser at gatherings. With hints of caramelized white chocolate and muscovado sugar adding depth, this ice cream promises a scoopable experience that feels lush and satisfying right from your freezer. Are you ready to embrace autumn in a bowl? Let’s dive into this delicious creation!
Why is this ice cream a must-try?
Creamy Texture: This Apple Cider Caramel Ice Cream boasts a luxuriously smooth texture that melts in your mouth, making it the perfect indulgence for cool autumn evenings.
Unique Flavor Combination: Fresh apple cider paired with rich caramel creates a delightful balance, ensuring every bite is full of autumnal goodness.
Quick and Easy: The recipe eliminates the hassle of complicated techniques, allowing you to create a gourmet dessert in no time—perfect for those busy weeknights or last-minute gatherings.
Crowd-Pleaser: This dessert is sure to impress friends and family with its rich depth of flavor, whether served on its own or topped with a slice of warm pumpkin pie or with apple cider donuts for an unforgettable pairing.
Customizable Variations: You can easily adapt this recipe to fit dietary needs, from using coconut oil for a dairy-free version to experimenting with spices like nutmeg for added warmth.
Apple Cider Caramel Ice Cream Ingredients
For the Ice Cream Base
- Fresh Apple Cider – Essential for the unique apple flavor; no substitutes can replicate its complexity.
- Unsalted Butter – Provides richness and a smooth texture; no need to soften.
- Muscovado Sugar – Adds depth and a hint of caramel flavor; substitute with regular brown sugar, but expect less complexity.
- Ground Cinnamon – Warm spice that enhances the autumn essence; feel free to add nutmeg or ginger for more warmth.
- Fine Sea Salt – Enhances sweetness; critical for balance in your apple cider caramel ice cream.
- Pure Vanilla Extract – Adds aromatic sweetness to the ice cream.
- Heavy Cream – The key component for creaminess; no substitutes for that indulgent texture.
- Whole Milk – Contributes a smooth texture; using 2% is acceptable, but go higher for optimal creaminess.
For the Add-ins
- Caramelized White Chocolate – Elevates the dessert with its sweet creaminess; consider using dark chocolate for a richer option!
- Optional Spices – Feel free to add nutmeg, ginger, or cloves for an aromatic twist that ramps up flavor complexity.
Start gathering these ingredients and prepare to indulge in the creamy bliss of apple cider caramel ice cream, a true autumn delight!
Step‑by‑Step Instructions for Apple Cider Caramel Ice Cream
Step 1: Reduce the Cider
Pour 2 cups of fresh apple cider into a small pot and bring it to a boil over medium heat. Allow it to simmer for 30-45 minutes, stirring occasionally, until the liquid reduces to about ¼ cup. You’re looking for a rich, syrupy consistency that captures the essence of apple flavor—this is crucial for your Apple Cider Caramel Ice Cream.
Step 2: Make the Caramel
Once the cider has reduced, carefully add 4 tablespoons of unsalted butter, 1 cup of muscovado sugar, a pinch of fine sea salt, and ½ teaspoon of ground cinnamon to the pot. Stir the mixture continuously and bring it to a gentle boil. Use a candy thermometer to monitor the temperature until it reaches 245°F (118°C), signaling that your caramel is ready.
Step 3: Combine with Dairy
Remove the pot from the heat and slowly whisk in 1 cup of heavy cream and 1 cup of whole milk until fully combined. If your caramel hardens slightly while adding the cream, don’t worry! Simply return it to low heat and stir gently until the caramel dissolves into the creamy mixture for that luscious base of your ice cream.
Step 4: Chill the Mixture
Stir in 1 teaspoon of pure vanilla extract to enhance the flavor of your Apple Cider Caramel Ice Cream. Allow this mixture to cool to room temperature, then pour it into an airtight container and refrigerate overnight. This chilling step is essential for developing those rich flavors and achieving the perfect texture when churning.
Step 5: Churn the Ice Cream
Before you start churning, place your ice cream maker’s container in the freezer for at least 30 minutes. Once the ice cream base is thoroughly chilled, pour it into the pre-frozen ice cream maker and churn according to the manufacturer’s instructions. Usually, this process takes about 20-25 minutes, resulting in a creamy, soft-serve texture.
Step 6: Freeze and Firm Up
After churning, hurry and transfer the ice cream into an airtight container. Gently spread it out to maintain an even texture, then cover it tightly. Place the container in the freezer for at least 4 hours, or until fully firm, so your Apple Cider Caramel Ice Cream is scoopable and ready to delight your taste buds at any time!

Apple Cider Caramel Ice Cream Variations
Feel free to get creative with this delicious Apple Cider Caramel Ice Cream recipe; after all, it’s all about making it your own!
-
Dairy-Free: Substitute unsalted butter with coconut oil and use coconut cream and almond milk for a delightful dairy-free twist. The tropical flavor of coconut pairs beautifully with the apple and caramel.
-
Spicy Kick: Add a pinch of cayenne pepper or a dash of ground ginger for a surprising heat that balances the sweetness. This little twist delivers warmth and excitement in every bite.
-
Nutty Addition: Fold in chopped pecans or walnuts after churning for a delightful crunch. Nuts not only add texture but also enhance the autumn flavors, reminiscent of fall harvests.
-
Additional Spice: Incorporate ground nutmeg or cardamom to enhance the warm, spicy notes of the ice cream. These spices add depth and a fragrant aroma, making your ice cream even more comforting.
-
Alternative Sweeteners: Instead of muscovado sugar, experiment with maple syrup for a unique flavor profile. This substitution will impart a subtle sweetness and richness reminiscent of maple candy.
-
Chocolatey Delight: Toss in chocolate chips or chunks of caramelized dark chocolate after your ice cream has churned. This combination elevates the indulgence and complements the creamy caramel beautifully.
-
Frozen Fruit Swirl: Swirl in some pureed frozen apples or caramelized apples for a fruity burst with each scoop. The added fruitiness brightens the flavors and adds a fun topping effect.
Don’t forget, each of these variations can help create a uniquely delightful experience, so whether you’re enjoying it on its own or pairing it with a slice of warm pumpkin pie, there’s a perfect twist waiting just for you!
Make Ahead Options
These Apple Cider Caramel Ice Cream makes for perfect meal prep to save you time during busy autumn weeks! You can reduce the apple cider and prepare the caramel mixture up to 24 hours in advance. Simply follow the first three steps of the recipe and allow the mixture to cool before refrigerating it in an airtight container. This ensures the flavors meld beautifully. When you’re ready to churn, simply take it out, allow it to come to room temperature briefly, and continue from step four. This way, you’ll have a delightful fall dessert waiting for you with minimal effort, just as delicious as if made fresh!
Storage Tips for Apple Cider Caramel Ice Cream
Fridge: Store leftovers in the refrigerator for up to 2 days in an airtight container, though freezing is best for optimal texture.
Freezer: Freeze the ice cream in an airtight container for up to 2 weeks. Ensure it’s well-covered to prevent freezer burn.
Reheating: If the ice cream becomes too hard, let it sit at room temperature for 5-10 minutes before scooping to achieve the perfect creamy texture.
Serving Suggestions: For a cozy dessert experience, keep your Apple Cider Caramel Ice Cream stored so you can pair it with warm apple cider donuts or a slice of pie anytime!
What to Serve with Apple Cider Caramel Ice Cream?
Indulging in a creamy scoop of dessert is only half the fun—let’s explore delightful companions to create a full feast of flavors.
-
Pumpkin Pie: The spiced warmth of pumpkin pie complements the caramel notes in the ice cream beautifully. This classic pairing will bring autumn’s essence right to your table.
-
Apple Crisp: Crunchy, buttery oat topping contrasts perfectly with the creamy texture of your ice cream, offering a delightful symphony of flavors and textures in every bite.
-
Warm Apple Cider Donuts: For a truly festive experience, serve your ice cream with these subtly sweet donuts. This pairing enhances the apple flavor and creates a cozy vibe.
-
Gingersnap Cookies: These spicy, chewy cookies provide a wonderful crunch that balances the creamy richness of your ice cream, adding a hint of holiday nostalgia.
-
Caramel Sauce Drizzle: Elevate your dessert further by drizzling extra caramel sauce on top. It intensifies the flavors and adds a luxurious finish.
-
Chai Latte: For the perfect beverage companion, savor a warm chai latte alongside your ice cream. The spiced notes will harmoniously enhance the creaminess and elevate your dessert experience.
Each of these suggestions helps to enhance the experience of enjoying your delicious Apple Cider Caramel Ice Cream, inviting warmth and comfort at the heart of your autumn gatherings.
Expert Tips for Apple Cider Caramel Ice Cream
-
Watch the Cider: Be attentive while reducing the apple cider; it can scorch quickly and alter the flavor if left unattended.
-
Check Temperature: Use a candy thermometer to ensure your caramel reaches 245°F (118°C). This guarantees the right texture and sweetness for your ice cream.
-
Chill Thoroughly: Allow the mixture to cool completely before refrigerating overnight; this step is crucial for enhancing flavors and achieving a smooth, creamy base in your apple cider caramel ice cream.
-
Avoid Over-Churning: Churn just until it reaches the soft-serve consistency. Over-churning can lead to ice crystals, affecting the creaminess of the ice cream.
-
Experiment with Add-ins: Feel free to add in caramel swirls or mix-ins like chopped nuts or dark chocolate for a personalized touch.
Apple Cider Caramel Ice Cream Recipe FAQs
What type of apple cider should I use for this recipe?
Absolutely! Use fresh, unfiltered apple cider to achieve the best flavor. Store-bought varieties may work, but nothing compares to the depth of flavor from freshly pressed cider; it captures the essence of autumn.
How do I store the ice cream properly?
For optimal texture, store your Apple Cider Caramel Ice Cream in an airtight container in the freezer for up to 2 weeks. Be sure to cover the surface with parchment paper before sealing to prevent ice crystals and freezer burn.
Can I freeze this ice cream?
Yes, you can freeze it! Once churned, transfer the ice cream to an airtight container and freeze for at least 4 hours until it’s firm. If you want to preserve its creaminess, make sure to let it sit at room temperature for 5-10 minutes before scooping.
What should I do if my caramel hardens when mixing?
No worries! If your caramel ends up hardening while combining with the dairy, simply return the pot to low heat. Stir gently until the caramel dissolves back into the creamy mixture. Just be mindful to keep the heat low to avoid cooking the cream.
Is this recipe suitable for those with dairy allergies?
If you’re looking for a dairy-free option, replace unsalted butter with coconut oil and use full-fat coconut milk instead of cream and milk. This swap allows you to enjoy a creamy texture without the dairy, although keep in mind that flavors may differ slightly.
How do I know if my ice cream is churned enough?
Churn your ice cream until it reaches a soft-serve consistency, which typically takes about 20-25 minutes. You’ll want it thickened but not over-churned. If it begins to harden into a block of ice, that’s a sign you have churned a bit too long!
Indulge in Homemade Apple Cider Caramel Ice Cream Bliss
Ingredients
Equipment
Method
- Pour 2 cups of fresh apple cider into a small pot and bring it to a boil over medium heat. Allow it to simmer for 30-45 minutes, stirring occasionally, until it reduces to about ¼ cup.
- Once the cider has reduced, add 4 tablespoons of unsalted butter, 1 cup of muscovado sugar, a pinch of fine sea salt, and ½ teaspoon of ground cinnamon to the pot. Stir continuously and bring it to a gentle boil until it reaches 245°F (118°C).
- Remove the pot from the heat and slowly whisk in 1 cup of heavy cream and 1 cup of whole milk until fully combined. If the caramel hardens, return it to low heat until dissolved.
- Stir in 1 teaspoon of pure vanilla extract. Allow the mixture to cool to room temperature, then refrigerate overnight.
- Place your ice cream maker's container in the freezer for at least 30 minutes. Pour the chilled mixture into the pre-frozen ice cream maker and churn according to the instructions for 20-25 minutes.
- After churning, transfer the ice cream to an airtight container, spread it out evenly, and freeze for at least 4 hours until firm.