

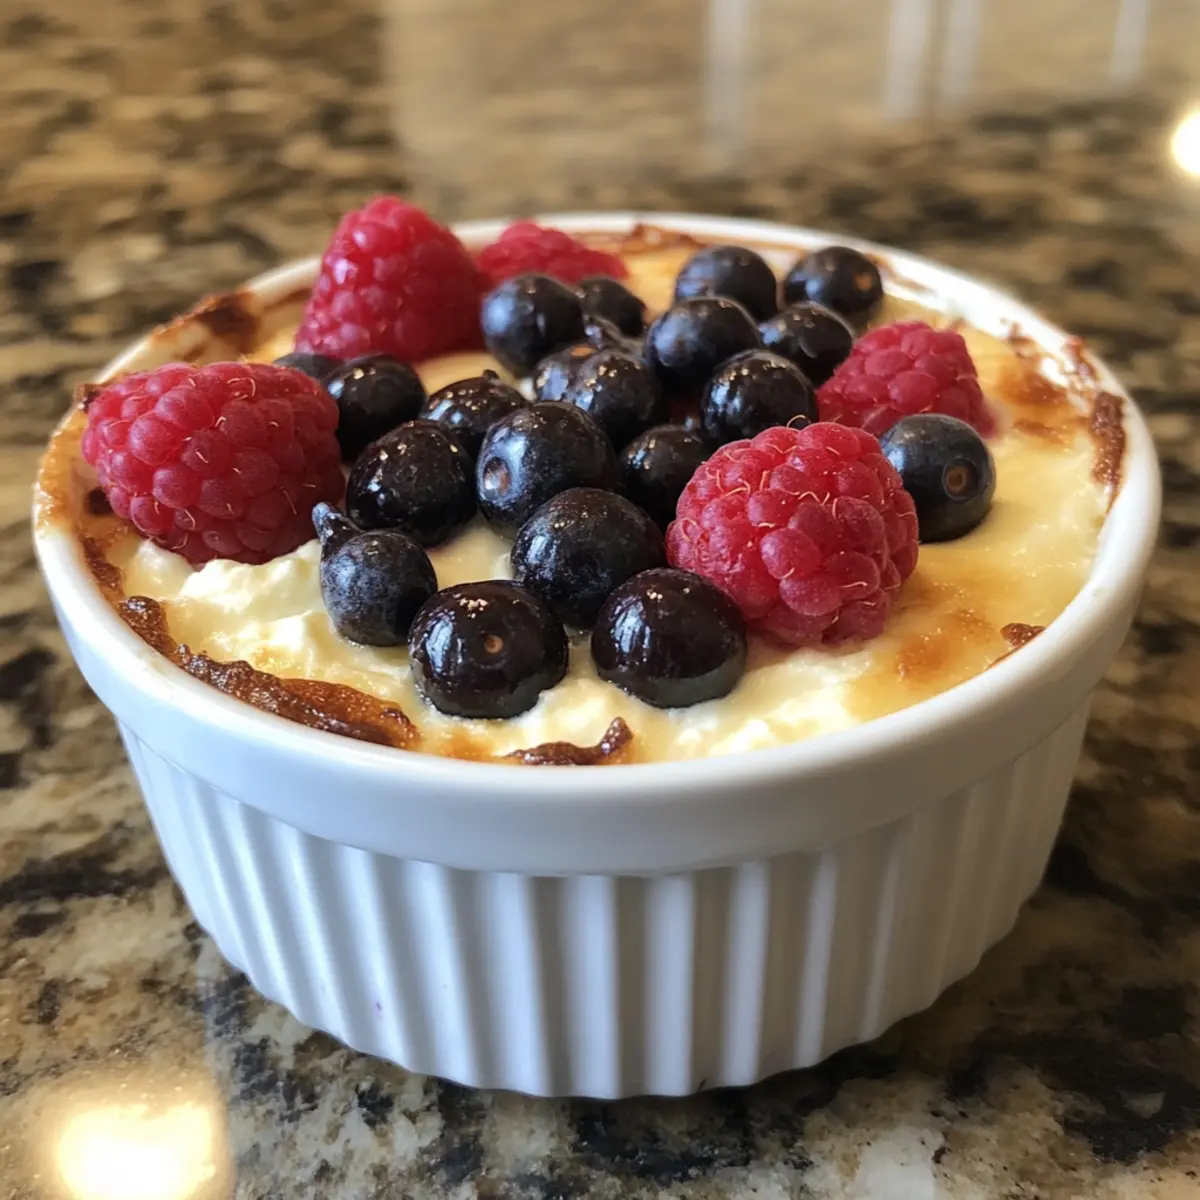
In the quiet of my kitchen, I discovered something magical—an effortlessly fluffy dish that satisfies both my cravings and my health goals. Enter the Baked Greek Yogurt, a dish that dances gracefully between being a healthy breakfast or a nutrient-packed post-workout snack. With only a handful of wholesome ingredients, this recipe is not only high in protein but also incredibly adaptable, making it a perfect option for clean eating. Imagine the possibilities! Whether you’re in the mood for a comforting bowl topped with juicy berries or a quick meal-prep solution, this versatile treat never disappoints. Plus, it fits seamlessly into gluten-free and low-carb lifestyles. Want to create something that not only nourishes but also delights the taste buds? Let’s dive into this delicious journey together!

Why is Baked Greek Yogurt a Game-Changer?
Versatile Delight: This recipe is an amazing canvas for creativity—swap in your favorite toppings or mix-ins like nuts or fruits for a personalized breakfast experience.
High-Protein Powerhouse: Each serving offers a whopping 46.5 grams of protein, making it a fantastic post-workout snack that fuels your body and keeps you satisfied.
Time-Saving Solution: Whip it up quickly and enjoy it all week—perfect for meal prep enthusiasts looking for nutrient-dense options.
Light and Fluffy Texture: The airy soufflé-like consistency is so delightful, you’ll forget you’re indulging in something healthy! It rivals delicious desserts while keeping calories in check, similar to my popular Baked BBQ Chicken.
Diet-Friendly: This dish is naturally gluten-free and low-carb, adaptable for various dietary needs, whether you’re following a vegan lifestyle or simply looking for healthier meal options.
Crowd-Pleasing Appeal: Watch as everyone — from fitness buffs to flavor seekers — digs in and enjoys this wholesome treat!
Baked Greek Yogurt Ingredients
For the Base
• Nonfat Plain Greek Yogurt – Provides a creamy base; substitute with dairy-free yogurt for a vegan option.
• Egg – Acts as a binder and creates a fluffy texture; can be swapped for aquafaba in vegan variations.
• Unsweetened Almond Milk – Adds moisture to the mixture; feel free to use any plant-based or regular milk.
For the Protein Boost
• Vanilla Protein Powder – Enhances protein content to 46.5 grams per serving; switch to a plant-based protein powder for a dairy-free alternative.
• Cornstarch – Stabilizes the batter for a delightful texture; optional if you prefer a simpler recipe.
For Flavor Enhancements
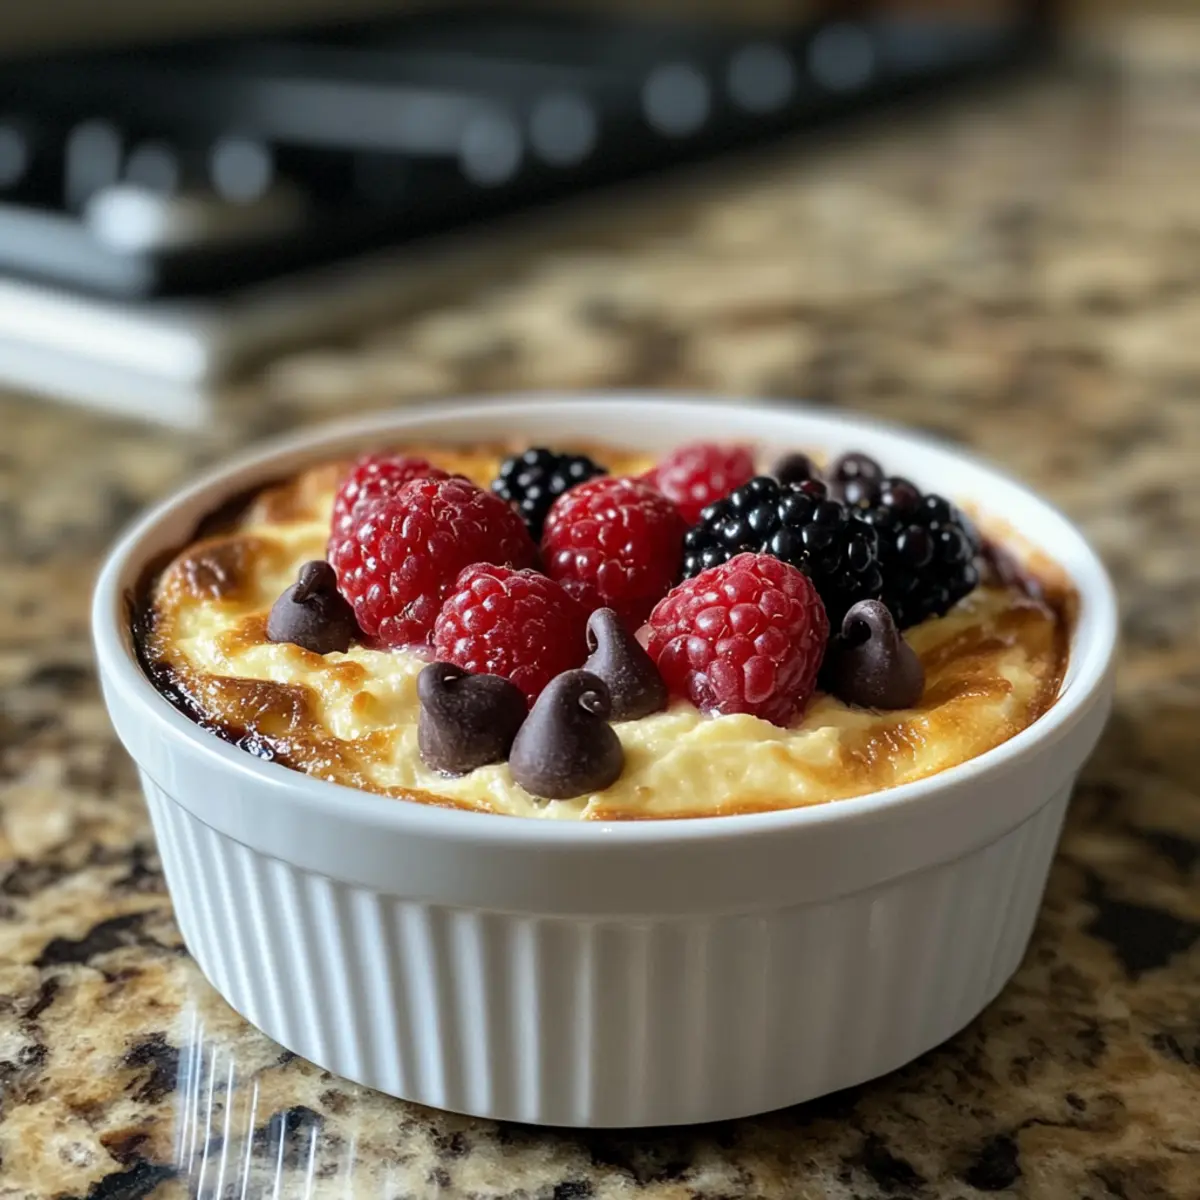
• Chopped Berries/Chocolate Chips (Optional) – Adds sweetness and flavor; use any favorite mix-ins to personalize your baked Greek yogurt.
This Baked Greek Yogurt is a fantastic option for a high-protein, low-carb breakfast or snack that meets various dietary needs!
Step‑by‑Step Instructions for Baked Greek Yogurt
Step 1: Preheat and Prepare
Begin by preheating your oven to 350°F (175°C). While the oven warms up, grab a large ramekin or two small ramekins and generously grease them with non-stick cooking spray. This will help your Baked Greek Yogurt release easily once it’s done baking, ensuring every delicious bite is captured.
Step 2: Whisk the Base
In a large mixing bowl, combine the nonfat plain Greek yogurt and egg. Using a whisk, blend them together until the mixture is smooth and fully integrated, about 1-2 minutes. The Greek yogurt will provide a creamy base, while the egg acts as a crucial binder for your fluffy Baked Greek Yogurt.
Step 3: Add Protein and Thicken
Next, introduce the vanilla protein powder and cornstarch to the yogurt mixture. Stir gently until the mixture is velvety and cohesive, avoiding overmixing to maintain that light texture. If the batter seems a bit thick, add a splash of unsweetened almond milk, mixing until it reaches a pourable consistency.
Step 4: Fold in Extras (Optional)
If you’re feeling adventurous, it’s time to fold in your chosen chopped berries or chocolate chips. This is a delightful way to add some extra flavor and sweetness to your Baked Greek Yogurt. Use a spatula to gently incorporate your mix-ins without deflating the batter too much.
Step 5: Transfer and Smooth
Carefully pour the yogurt mixture into your prepared ramekin, ensuring it’s evenly distributed. Use the spatula to smooth out the top, which will help it bake uniformly. It’s crucial to create a level surface, as this aids in achieving that beautifully fluffy texture when baked.
Step 6: Bake to Perfection
Place your ramekin in the preheated oven and set a timer for 30 minutes. If you’ve opted for two small ramekins, check them after 20 minutes. You’re looking for a center that is slightly jiggly to the touch but firm enough to hold its shape, perfectly indicating your Baked Greek Yogurt is ready.
Step 7: Cool Before Serving
Once baked, carefully remove the ramekin from the oven and let it cool for about 10-15 minutes. This cooling time allows the Baked Greek Yogurt to set up nicely, enhancing its creamy texture. Once it’s slightly cooled, you can enjoy it warm for breakfast or refrigerate it for a chilled snack later!

Baked Greek Yogurt Variations & Substitutions
Discover how you can put your personal spin on this delightful dish!
- Vegan Swap: Replace Greek yogurt with coconut yogurt and use aquafaba instead of egg for a plant-based alternative. The creamy consistency will still win hearts!
- Flavorful Protein: Try using flavored protein powder, like chocolate or vanilla, to add a distinct twist that elevates your Baked Greek Yogurt to new delicious heights.
- Spice It Up: A pinch of cinnamon or nutmeg can create a warm and inviting flavor profile, perfect for a cozy breakfast experience.
- Nutty Crunch: Add chopped nuts like almonds or walnuts for a satisfying crunch and an extra protein boost. It’s an exciting textural addition that complements the fluffiness!
- Fruit Forward: Toss in seasonal fruits like diced apples or ripe mango for a fresh burst of flavor. The natural sweetness makes this dish even more enjoyable!
- Low-Carb Delight: For a keto-friendly option, substitute the chopped fruits with unsweetened coconut flakes or sugar-free chocolate chips. They’ll satisfy that sweet tooth without the extra carbs.
- Dessert Style: Layer the baked yogurt with Greek yogurt and your favorite fruit compote, transforming it into a luscious dessert akin to a cheesecake!
- Berry Blast: Fold in mixed berries for an antioxidant powerhouse packed with vibrant color and flavor.
These variations let the Baked Greek Yogurt shine in countless ways—just like my beloved Baked BBQ Chicken, this dish is oozing with possibilities to keep your mealtime exciting!
What to Serve with Baked Greek Yogurt
Imagine starting your day with a lovely spread that complements the light and fluffy texture of this delightful treat.
-
Fresh Berries: Bursting with flavor, fresh berries elevate the dish. Try strawberries, blueberries, or raspberries for sweetness and a pop of color.
-
Granola Crunch: A sprinkle of crunchy granola adds texture and a nutty flavor that pairs well with the creamy yogurt, making each bite satisfying and hearty.
-
Honey Drizzle: A touch of honey not only amplifies the sweetness but also introduces a warm, floral note that complements the yogurt’s flavor gracefully.
-
Nuts and Seeds: Toss in almonds or chia seeds for an extra protein boost. The crunchiness pairs beautifully with the soft texture of the Baked Greek Yogurt.
-
Cinnamon Dusting: A sprinkle of cinnamon brings warmth and a hint of spice, enhancing the overall flavor profile and exuding comfort with each spoonful.
-
Greek Coffee: For the perfect beverage pairing, indulge in a cup of rich Greek coffee. It balances the creamy sweetness and gives a delightful start to your day.
Let your meals become a colorful celebration with these delightful companions!
Make Ahead Options
These high protein Baked Greek Yogurt creations are perfect for meal prep enthusiasts seeking a nutritious breakfast or post-workout snack! You can whisk together the Greek yogurt, egg, vanilla protein powder, and cornstarch up to 24 hours in advance, storing the mixture in the refrigerator. To keep it fresh, cover the bowl tightly with plastic wrap. When you’re ready to bake, simply pour the mixture into a greased ramekin and bake at 350°F (175°C) for 30 minutes (or 20 minutes for small ramekins). This thoughtful prep ensures you enjoy a delicious and fluffy dish just as tasty as when freshly made, making your busy weekdays so much easier!
Expert Tips for Baked Greek Yogurt
• Mind Your Mix: Avoid overmixing the batter, as it can lead to a denser texture instead of the light and fluffy finish you’re aiming for.
• Check Doneness: For the perfect Baked Greek Yogurt, the center should be slightly jiggly when you take it out. It will firm up as it cools.
• Prevent Over-Browning: If your dish starts to brown too quickly, cover it loosely with aluminum foil halfway through baking to ensure even cooking.
• Experiment with Swaps: Feel free to swap ingredients—plant-based yogurt and protein powder can create just as delicious a version while keeping it vegan.
• Make-ahead Magic: This dish stores well in the fridge for 3-4 days, making it an excellent choice for meal prep enthusiasts craving a high-protein breakfast!
Storage Tips for Baked Greek Yogurt
Fridge: Store your Baked Greek Yogurt tightly covered with plastic wrap or foil in the refrigerator for up to 3-4 days to maintain its freshness.
Freezer: For longer storage, freeze the Baked Greek Yogurt in an airtight container for up to 2 months. Thaw in the fridge overnight before enjoying!
Reheating: To reheat, simply warm in the microwave for about 30 seconds, or until heated through, ensuring you don’t dry it out. Enjoy your Baked Greek Yogurt warm for a comforting snack!
Baked Greek Yogurt Recipe FAQs
What type of Greek yogurt should I use?
I recommend using nonfat plain Greek yogurt as it provides a creamy base without added sugars. If you’re looking for a vegan alternative, coconut yogurt works wonderfully as a substitute!
How should I store my Baked Greek Yogurt?
Once it has cooled, cover your Baked Greek Yogurt tightly with plastic wrap or foil. It will maintain its freshness in the fridge for about 3-4 days. Perfect for meal prep!
Can I freeze Baked Greek Yogurt?
Absolutely! To freeze, let your Baked Greek Yogurt cool completely and then place it in an airtight container. It can be frozen for up to 2 months. When you’re ready to enjoy, simply thaw it in the refrigerator overnight before reheating.
What should I do if my Baked Greek Yogurt is too dense?
If you find your Baked Greek Yogurt turned out dense, it may have been overmixed. For a lighter texture, mix gently and avoid stirring too much once the eggs are incorporated. If the issue persists, try adding an extra egg next time or a bit more almond milk to create a fluffier consistency.
Can I make Baked Greek Yogurt without eggs?
Yes! For a vegan option, use aquafaba (the liquid from canned chickpeas) as a replacement for eggs. Typically, 3 tablespoons of aquafaba can substitute one egg, giving you that fluffy texture while keeping it vegan-friendly.
Is Baked Greek Yogurt pet-friendly?
While Greek yogurt can be safe for dogs in moderation, be cautious of any added sugars or artificial ingredients. Always consult your vet if you’re unsure about introducing any new foods to your pet’s diet.
Fluffy Baked Greek Yogurt for a High-Protein Morning Treat
Ingredients
Equipment
Method
- Preheat your oven to 350°F (175°C) and grease ramekins with non-stick cooking spray.
- Combine Greek yogurt and egg in a mixing bowl, whisk until smooth.
- Add vanilla protein powder and cornstarch, stir gently, adding almond milk if needed.
- Fold in chopped berries or chocolate chips, mix gently.
- Pour the mixture into ramekins, smoothing the top for even baking.
- Bake for 30 minutes, checking after 20 if using small ramekins.
- Remove from oven, let cool for 10-15 minutes before serving.