

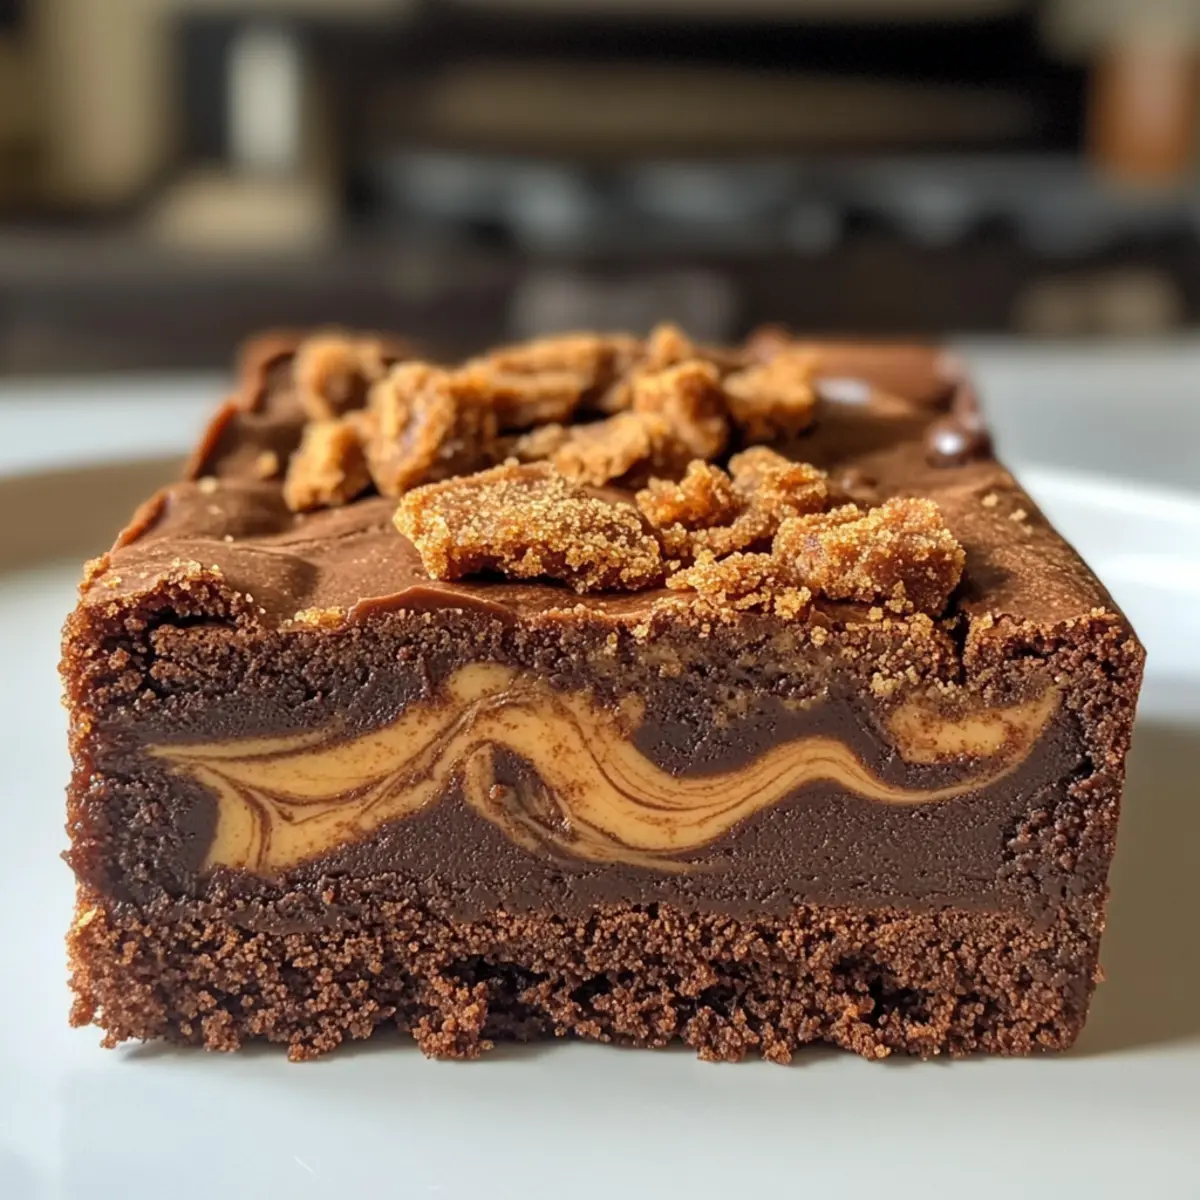
“Have you ever had a craving that swept you off your feet and led you to the kitchen?” That’s how I found myself wanting to create something special: gooey Biscoff brownies. These rich, fudgy treats burst with a delightful cookie butter flavor that dances on your taste buds. With their soft centers and crisp edges, they’re remarkably easy to prepare and require just one bowl—making clean-up a breeze. Whether you’re looking to impress guests at a gathering or simply indulge your sweet tooth after a long day, these brownies are the perfect solution. Plus, they store wonderfully! So, are you ready to whip up a batch of deliciousness that will leave everyone asking for seconds? Let’s dive into the recipe!
Why are Biscoff Brownies a Must-Try?
Decadent, these Biscoff brownies bring a layer of indulgence that is truly unforgettable. One-bowl convenience means you can whip them up quickly, leaving you more time to savor each bite. Irresistible cookie flavor dances with fudgy chocolate, creating a symphony of taste that’s hard to resist. Perfect for gatherings or a cozy night in, they appeal to everyone—those sweet-toothed dessert lovers and the quick snack crowd alike! Plus, they store well for cravings that linger beyond the first serving. Why not enjoy them with a scoop of ice cream for an extra decadent touch? Discover the joy of homemade treats that outshine any fast food dessert!
Biscoff Brownie Ingredients
• Dive into your baking adventure with this simple list of essentials!
For the Brownie Base
- Butter – Adds richness and moisture; using unsalted gives you better control over saltiness.
- Semi-sweet/Dark Chocolate – Delivers a deep chocolate flavor that perfectly balances the sweetness of the Biscoff; milk chocolate can be swapped for a sweeter experience.
- Granulated Sugar – Sweetens the brownies, adding structure; consider reducing for a less sweet version if desired.
- Eggs – Binds ingredients together for that coveted fudgy texture; using room temperature eggs allows for better mixing.
- Vanilla Extract – Elevates the overall flavor profile; opt for pure vanilla for the best taste, but imitation works in a pinch.
- All-Purpose Flour – Gives structure to ensure the brownies hold together; for gluten-free, gluten-free flour blends are a great alternative.
- Cocoa Powder – Deepens the chocolate flavor; unsweetened cocoa powder creates a richer taste.
- Salt – Balances out the sweetness and enhances flavors; an essential component for optimal results.
For the Biscoff Twist
- Biscoff Cookies – Infuses texture and the distinct speculoos flavor; feel free to use different cookies, but be aware that this may change the final taste.
- Biscoff Cookie Butter – Adds luxurious richness when swirled into the batter; you can substitute with nut or seed butter, but flavors will differ.
With these ingredients in hand, you’ll be one step closer to making the most irresistible Biscoff brownies that your family and friends will rave about!
Step‑by‑Step Instructions for Biscoff Brownies
Step 1: Preheat the Oven
Begin by preheating your oven to 350°F (180°C). While the oven warms up, take an 8-inch square baking pan and line it with parchment paper, allowing some overhang for easy removal later. This preparation will ensure your Biscoff brownies bake evenly and come out of the pan flawlessly.
Step 2: Melt Butter and Chocolate
In a heatproof bowl, combine unsalted butter and semi-sweet or dark chocolate. Place the bowl over a saucepan filled with simmering water (double boiler method), stirring gently until the mixture is completely smooth. Alternatively, you can melt it in the microwave in short bursts, about 20 seconds each, stirring in between. Allow this glossy mixture to cool slightly before proceeding.
Step 3: Whisk the Eggs and Sugar
In a large mixing bowl, whisk together two room-temperature eggs, granulated sugar, and pure vanilla extract. Continue whisking until the mixture becomes pale and fluffy, taking about 2-3 minutes. This step is crucial as it helps to create the chewy texture of your Biscoff brownies, giving them that delicious fudginess everyone loves.
Step 4: Combine Chocolate Mixture
Gradually pour the slightly cooled chocolate mixture into the egg-sugar blend. Using a spatula, gently fold them together until fully incorporated. Be careful not to overmix; you want the batter to remain rich and thick, ensuring your Biscoff brownies maintain their indulgent texture.
Step 5: Fold in Dry Ingredients
Sift in all-purpose flour, unsweetened cocoa powder, and a pinch of salt. Gently fold these dry ingredients into the batter until just combined. It’s okay if there are a few small lumps; you don’t want to overmix, as this can lead to dense brownies. Finally, stir in the crushed Biscoff cookies, which will add delightful texture.
Step 6: Prepare for Baking
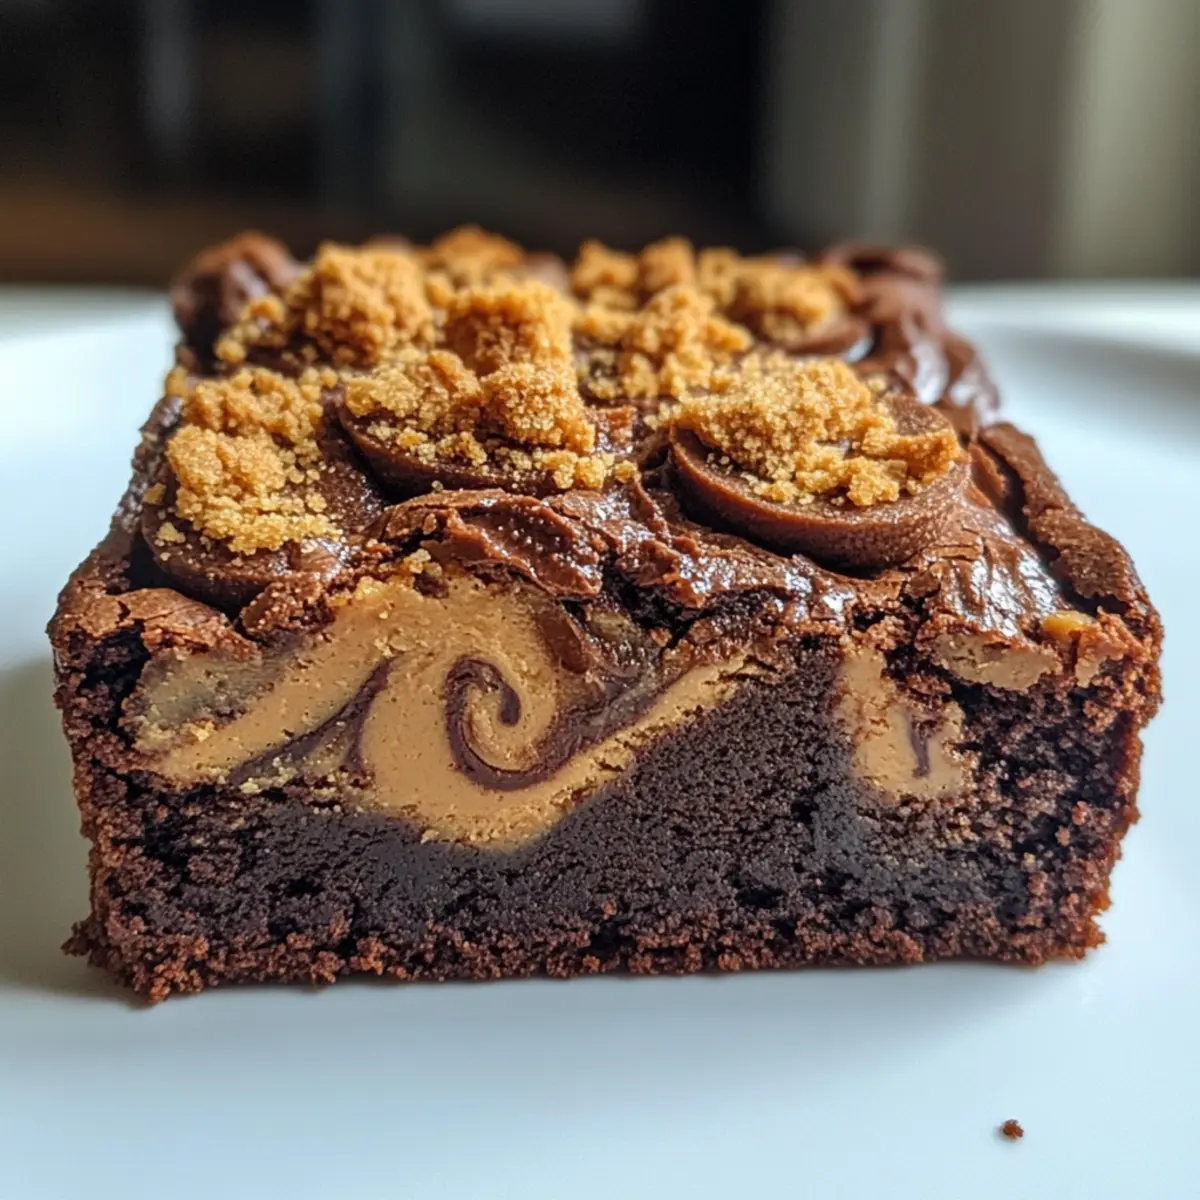
Pour the brownie batter into your prepared baking pan, using a spatula to spread it evenly across the surface. When ready, dollop spoonfuls of Biscoff cookie butter on top of the batter and gently swirl it in with a knife for an enticing marbled effect. Press some extra Biscoff pieces on top for added crunch.
Step 7: Bake the Brownies
Slide the pan into your preheated oven and bake for 30–35 minutes. The edges should look set, while the center remains soft and slightly jiggles when shaken. To test for doneness, insert a toothpick in the center; it should come out with a few moist crumbs, indicating that the Biscoff brownies are perfectly fudgy.
Step 8: Cool and Slice
Once done baking, remove the brownies from the oven and let them cool completely in the pan on a wire rack. For best results, chill them in the refrigerator for 1 hour, making it easier to slice into neat squares. This also helps enhance their fudgy texture, making your Biscoff brownies irresistible!
Step 9: Serve and Enjoy
Carefully lift the cooled brownie slab out of the pan using the parchment overhang. Cut into squares and serve as they are, or for an extra indulgent treat, pair them with a scoop of vanilla ice cream or a dollop of whipped cream. These Biscoff brownies will undoubtedly delight every palate!
Biscoff Brownies: Variations & Substitutions
Feel free to customize your Biscoff brownies for a delightful twist on this classic treat!
- Oreo Swap: Replace Biscoff cookies with crushed Oreos for a rich, chocolaty flavor and a fun cookie twist.
- Nutty Addition: Add chopped walnuts or pecans to the batter for a nutty crunch and added depth of flavor. They harmonize beautifully with the fudgy texture!
- Gluten-Free Option: Substitute all-purpose flour with almond flour or a gluten-free blend to make this dessert suitable for gluten-sensitive friends.
- Sweeten Things Up: For an extra sweet treat, drizzle some caramel sauce on top before baking, enhancing the indulgence with a luscious topping.
- Chocolate Boost: Enhance chocolate flavor by feeling free to add chocolate chips to the batter for extra gooeyness and richness!
- Spicy Kick: Add a pinch of cayenne pepper to the chocolate mixture for a surprising heat that contrasts beautifully with the sweetness. It’s a daring twist, but oh-so-tasty!
- Flavorful Frosting: Top your cooled brownies with a cream cheese or chocolate frosting for an extra layer of indulgence, perfect for special occasions.
- Dairy-Free Delight: Use coconut oil instead of butter and almond milk for a dairy-free brownie. They will still be luscious and chocolatey.
With these variations, your Biscoff brownies can match any craving or dietary preference, ensuring everyone enjoys a sweet moment! If you’re curious to explore more baking ideas, check out our best brownie recipes or discover the magic of oven-baked desserts.
How to Store and Freeze Biscoff Brownies
Room Temperature: Store your Biscoff brownies in an airtight container at room temperature for up to 5 days. Keep them away from direct sunlight to maintain their fudgy texture.
Fridge: If you prefer a chilled treat, you can refrigerate the brownies, where they will stay fresh for up to 1 week. Just remember to let them come to room temperature before serving for optimal taste.
Freezer: For longer storage, wrap individual brownie squares tightly in plastic wrap and place them in a freezer-safe bag. They can be frozen for up to 3 months. Thaw overnight in the fridge or at room temperature before enjoying.
Reheating: To enjoy your brownies warm, simply microwave for 10-15 seconds. This will revive their gooey center, making them a delightful treat once again!
What to Serve with Gooey Biscoff Brownies?
Indulging in Biscoff brownies is a sublime experience, but pairing them with just the right accompaniments elevates the entire meal to new heights.
- Vanilla Ice Cream: The creamy richness of vanilla ice cream complements the gooey center of the brownies, creating a delightful contrast.
- Whipped Cream: A light, fluffy dollop adds an airy texture, enhancing the chocolatey depth without overwhelming it. Serve alongside for a classy touch!
- Chocolate Sauce: Drizzling warm chocolate sauce over your brownies magnifies the chocolate flavor while adding an extra layer of sweetness.
- Fresh Berries: Bright notes from strawberries or raspberries introduce freshness, balancing the rich, fudgy brownies with a burst of acidity.
- Espresso or Coffee: A steaming cup of espresso pairs wonderfully, cutting through the sweetness and enhancing the chocolate flavors with its robust richness.
- Chai Tea: Brews with comforting spiced notes harmonize with the cookie butter flavor, making for a cozy dessert experience perfect for chilly evenings.
- Pecan Topping: To introduce a crunchy texture, sprinkle lightly toasted pecans on top. Their nuttiness contrasts beautifully with the sweet and gooey brownies, making each bite a delight!
- Mini Cheesecakes: For a more adventurous dessert platter, serve with mini cheesecakes. The tanginess of cream cheese balances perfectly with the brownies’ richness, providing an exquisite dessert duo.
Make Ahead Options
These gooey Biscoff brownies are perfect for meal prep, allowing you to enjoy a delicious dessert with less hassle during your busy week! You can prepare the brownie batter up to 24 hours in advance by mixing all the ingredients and storing it in an airtight container in the refrigerator. Similarly, if you want to bake them ahead, you can bake the brownies and let them cool completely before refrigerating them for up to 3 days—just wrap them tightly in plastic wrap or foil to maintain their fudginess. When you’re ready to serve, simply allow them to come to room temperature or warm them slightly in the oven for that fresh-baked flavor, and you’ll have these delightful Biscoff brownies ready to impress your family and friends!
Expert Tips for Biscoff Brownies
- Avoid Overbaking: Check the brownies a few minutes before the suggested time. Removing them while they still have a soft center ensures that fudgy consistency you crave.
- Chill for Precision: After cooling in the pan, letting the brownies chill for an hour before slicing will yield clean, crisp edges that are Instagram-worthy!
- Taste Test Your Swirl: When adding Biscoff cookie butter, taste a little first. Adjust the amount based on how indulgent you want your brownies to be!
- Use Room Temperature Eggs: This small step helps to create a smoother batter, ensuring perfectly mixed Biscoff brownies every time.
- Mix Gently: When incorporating dry ingredients, fold just until combined to avoid dense brownies; a few lumps are okay for that rich texture!
Biscoff Brownies Recipe FAQs
How do I choose the right chocolate for Biscoff brownies?
Absolutely! For these decadent Biscoff brownies, I recommend using semi-sweet or dark chocolate, as they provide a rich flavor that beautifully balances the sweetness of the cookie butter. If you prefer a sweeter treat, feel free to substitute with milk chocolate. Always select high-quality chocolate for the best results!
How should I store my leftover brownies?
To keep your Biscoff brownies fresh, store them in an airtight container at room temperature for up to 5 days. If you want a chilled treat, they can also be refrigerated for up to a week. Just let them come to room temperature before serving to regain that lovely fudgy texture!
Can I freeze Biscoff brownies? How?
Yes, you can freeze your Biscoff brownies! Start by wrapping individual squares tightly in plastic wrap, then place them in a freezer-safe bag. They will stay fresh for up to 3 months. To thaw, simply leave them in the refrigerator overnight or at room temperature for a couple of hours. For a warm experience, pop them in the microwave for 10-15 seconds!
What can I do if my brownies turn out too cakey?
Very often, dense brownies can be a result of overmixing or overbaking. Make sure to fold in the dry ingredients gently and avoid beating too long after adding the eggs. If you find your brownies baked too long, try reducing the baking time by a few minutes next time and check for a fudgy center by using a toothpick. Remember, it’s okay if a few moist crumbs cling to the toothpick when testing doneness!
Is there a gluten-free option for these brownies?
Absolutely! For gluten-free Biscoff brownies, you can easily substitute all-purpose flour with a gluten-free flour blend or almond flour. Keep in mind that the texture may vary slightly, but they will still be just as delicious! Enjoy experimenting with gluten-free alternatives to suit your dietary needs.

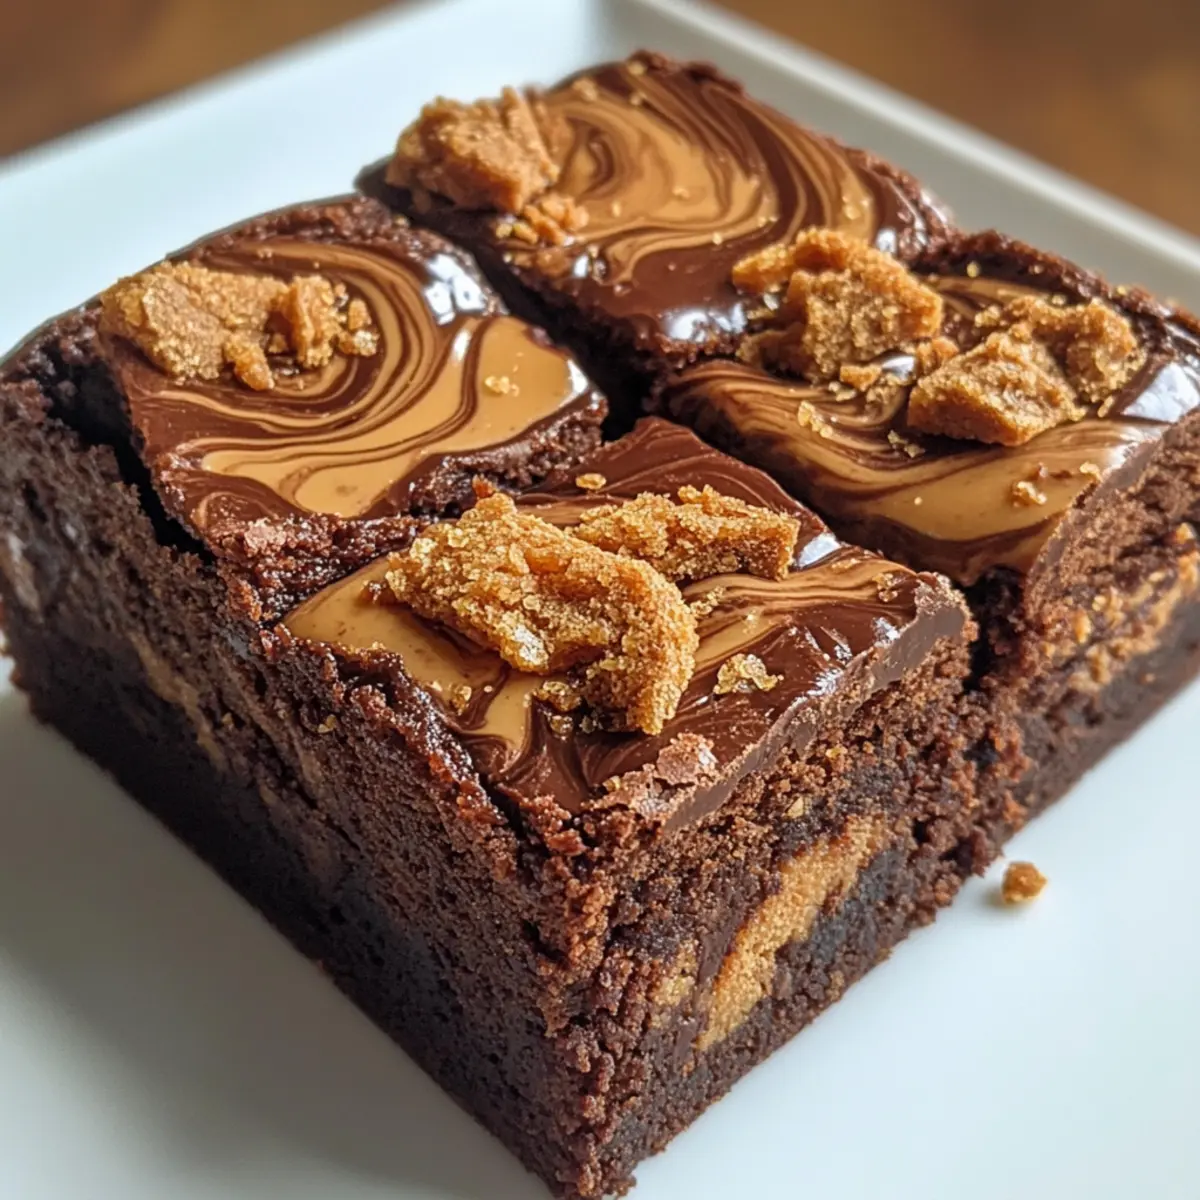
Irresistibly Fudgy Biscoff Brownies with Cookie Butter Swirls
Ingredients
Equipment
Method
- Preheat your oven to 350°F (180°C). Line an 8-inch square baking pan with parchment paper.
- In a heatproof bowl, melt unsalted butter and semi-sweet or dark chocolate together until smooth.
- Whisk together the eggs, sugar, and vanilla extract until pale and fluffy.
- Gradually fold the melted chocolate mixture into the egg-sugar blend.
- Sift in flour, cocoa powder, and salt, then fold until just combined. Stir in crushed Biscoff cookies.
- Pour the brownie batter into the prepared pan and dollop spoonfuls of Biscoff cookie butter on top, swirling it gently.
- Bake for 30–35 minutes, until edges are set and the center jiggles slightly.
- Cool the brownies completely in the pan, then chill for 1 hour before slicing.
- Lift out using parchment overhang, cut into squares, and serve warm or with ice cream.