

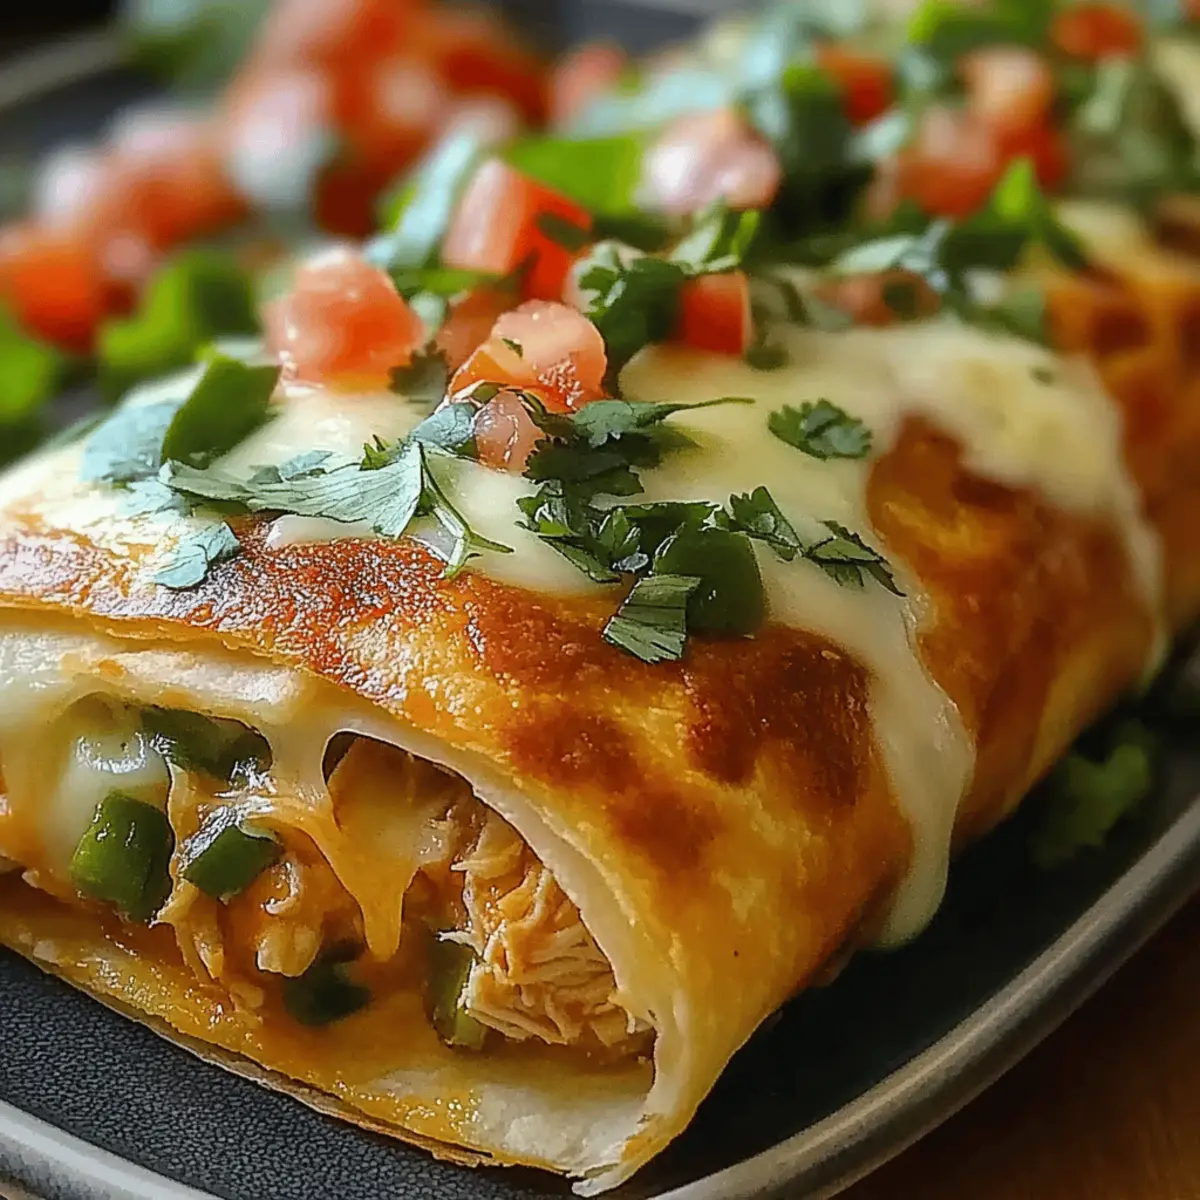
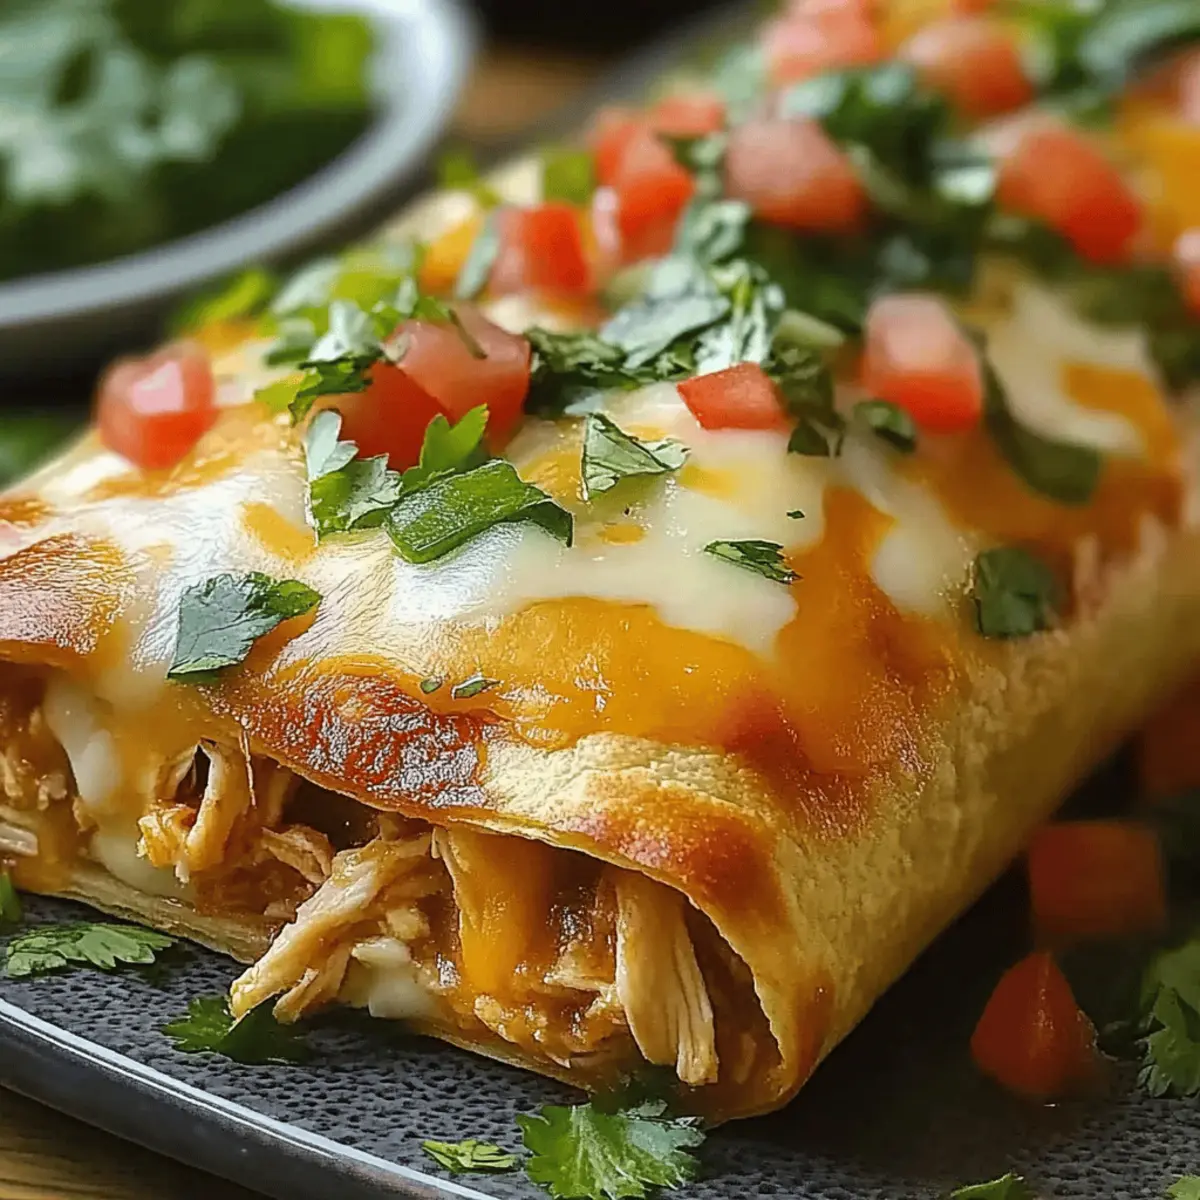
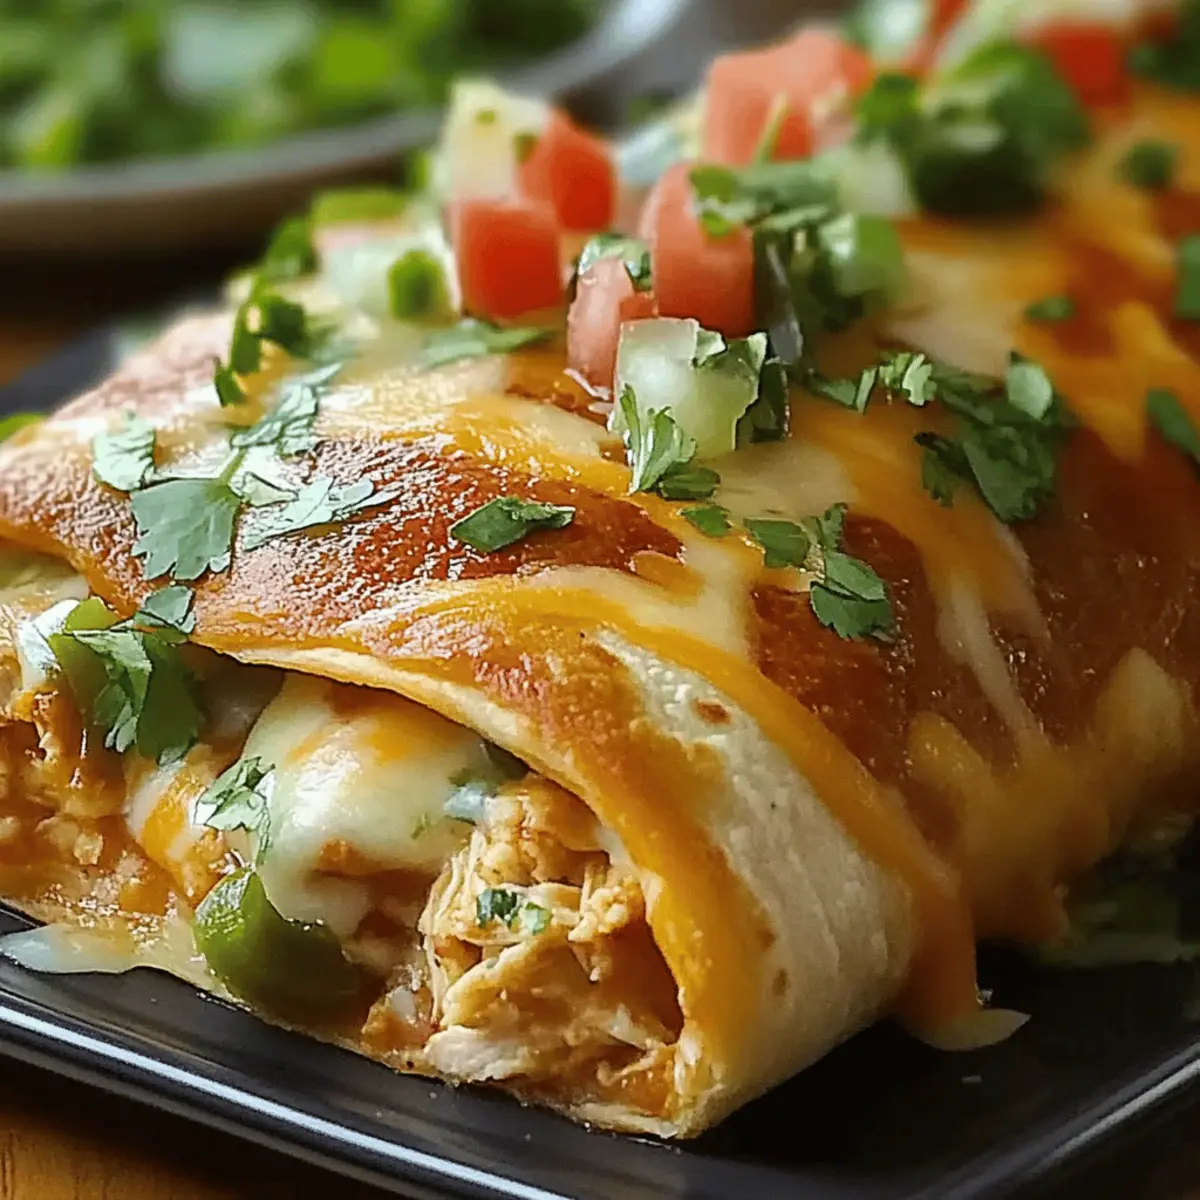
As I stood in my kitchen, surrounded by the tantalizing aroma of spices dancing in the air, I couldn’t wait to share my latest creation: Chi-Chi’s Baked Chicken Chimichangas. These delightful pockets of flavor are filled with seasoned shredded chicken, creamy Monterey Jack, and a zesty kick from salsa—all wrapped up in a golden tortilla. The best part? This baked version offers a healthier alternative to the traditional fried chimichangas, making them perfect for a guilt-free weeknight dinner or a casual gathering with friends. Not only do they satisfy that Tex-Mex craving, but they also allow for versatile variations like BBQ or vegetarian fillings, ensuring there’s something for everyone. Curious how to make these crispy, cheesy bundles? Let’s dive into the recipe together!
Why are these chimichangas so enjoyable?
Golden Crunch: Bake these Chi-Chi’s Baked Chicken Chimichangas for a crispy texture that rivals frying, but without the extra oil.
Flavor Explosion: The combination of melted cheeses and zesty salsa creates an irresistible filling your taste buds will love.
Versatile Options: With variations like BBQ or veggie, you can cater to any guest’s preferences or dietary needs.
Quick and Simple: Preparing these chimichangas is a breeze—perfect for weeknight dinners or easy entertaining.
Crowd-Pleaser: Serve them at gatherings, and watch as plates get cleaned; who can resist these delicious Tex-Mex treats?
Whether enjoyed with Sour Cream or Guacamole, everyone will be coming back for seconds!
Chi-Chi’s Baked Chicken Chimichangas Ingredients
For the Filling
• Cooked Shredded Chicken – This is your main protein source; feel free to substitute with rotisserie chicken or leftover cooked chicken.
• Monterey Jack Cheese – Adds creaminess and meltability; mozzarella can be used for a milder flavor.
• Cheddar Cheese – Provides a sharp accent; consider replacing it with pepper jack for an extra kick.
• Salsa – Infuses moisture and flavor; opt for your favorite brand or homemade salsa for a fresher taste.
• Diced Green Chilies – Delivers mild heat and texture; swap them for jalapeños for a spicier profile.
• Ground Cumin – Contributes a warm, earthy touch; this can be omitted if you don’t have it on hand.
• Chili Powder – Adds color and depth; taco seasoning works as an easy replacement.
• Garlic Powder – Enhances overall flavor; feel free to use fresh garlic (2 cloves) as a substitute.
• Cayenne Pepper (optional) – This heightens the heat; you can skip it if you prefer milder flavors.
• Salt and Pepper – Essentials for seasoning; adjust according to your taste preferences.
For the Shell
• Large Flour Tortillas – These hold everything together; for a gluten-free option, corn tortillas work great.
• Cooking Spray – Helps achieve that coveted crispness; olive oil can serve as a healthier alternative.
For Serving
• Sour Cream, Guacamole, and Salsa – These condiments take the dish up a notch; Greek yogurt can be a lighter substitute for sour cream.
Prepare to whip up a flavorful dish that redefines your Tex-Mex nights with these delicious Chi-Chi’s Baked Chicken Chimichangas!
Step‑by‑Step Instructions for Chi-Chi’s Baked Chicken Chimichangas
Step 1: Preheat the Oven
Begin by preheating your oven to 400°F (200°C). While the oven warms up, prepare a baking sheet by lining it with parchment paper to prevent sticking and ensure easy cleanup. This is the perfect temperature to achieve that lovely golden-brown color for your Chi-Chi’s Baked Chicken Chimichangas.
Step 2: Mix the Filling
In a large mixing bowl, combine the cooked shredded chicken, Monterey Jack cheese, cheddar cheese, salsa, diced green chilies, ground cumin, chili powder, garlic powder, cayenne pepper (if using), and a pinch of salt and pepper. Stir until all the ingredients are well incorporated, creating a delicious filling that will bring your chimichangas to life!
Step 3: Fill Tortillas
Lay out the large flour tortillas on a clean surface. Place a generous scoop of the filling mixture in the center of each tortilla, spreading it slightly to leave space around the edges. This ensures that when you roll them, there’s enough room for the filling without bursting out.
Step 4: Roll
To roll the chimichangas, fold the sides of each tortilla over the filling, then tightly roll them up from the bottom to the top. Ensure the filling is securely enclosed within the tortilla to prevent any leakage while baking. This technique gives your Chi-Chi’s Baked Chicken Chimichangas their distinctive shape and helps them crisp up nicely.
Step 5: Arrange and Spray
Next, arrange the rolled chimichangas seam-side down on the prepared baking sheet, making sure to leave some space between each one. Lightly spray the tops of the chimichangas with cooking spray; this will help them achieve that delectable crispy texture as they bake, enhancing the overall appeal of your dish.
Step 6: Bake
Slide the baking sheet into the preheated oven and bake for 20 to 25 minutes, or until the chimichangas are golden brown and crispy. Keep an eye on them during the last few minutes—this is when they’ll develop that irresistible crunch that makes Chi-Chi’s Baked Chicken Chimichangas so enjoyable.
Step 7: Cool and Serve
Once baked to perfection, remove the chimichangas from the oven and let them cool slightly on the baking sheet. Serve warm with your favorite toppings such as sour cream, guacamole, and salsa on the side for added flavor and a delightful finish to your Tex-Mex night!
How to Store and Freeze Chi-Chi’s Baked Chicken Chimichangas
Fridge: Store leftover chimichangas in an airtight container for up to 3-4 days. This keeps them fresh and ready to reheat for a quick meal.
Freezer: Freeze assembled but uncooked chimichangas for up to 2-3 months. Wrap each tightly in plastic wrap and foil to prevent freezer burn.
Reheating: For the best texture, reheat in the oven at 375°F (190°C) for 15-20 minutes until heated through. This ensures the crispiness of the Chi-Chi’s Baked Chicken Chimichangas is maintained!
Make-Ahead Tips: You can prepare and store the filling separately in the fridge for a quick weeknight meal. Just fill the tortillas and bake whenever you’re ready.
Chi-Chi’s Baked Chicken Chimichangas Variations
Feel free to elevate your experience with these creative twists that make each bite even more exciting.
-
Veggie Delight: Replace chicken with sautéed bell peppers, onions, and mushrooms for a fresh vegetarian option. This swap brings a colorful array of textures that can impress even the meat-lovers at your table.
-
BBQ Twist: Use tangy BBQ sauce instead of salsa for a sweet and smoky flavor. The unique taste of BBQ mingling with melted cheese will have everyone begging for your secret recipe!
-
Buffalo Kick: Stir in buffalo sauce with the chicken filling for an extra spicy option. This adds an exciting heat that pairs fantastically with a side of cooling ranch or blue cheese dressing.
-
Breakfast Chimichangas: Reimagine these as a breakfast treat by filling them with scrambled eggs, sausage, and cheese. Serve them with a side of salsa for a satisfying morning meal.
-
Seafood Sensation: Swap the chicken for a mix of shrimp and lump crab for an elegant alternative. This luxe version is perfect for dinner parties or special occasions.
-
Spicy Southwest: Add jalapeños or sliced serranos into the filling for heat lovers. Their fiery kick will elevate your chimichangas and have everyone reaching for more!
-
Cheesy Mushroom: Substitute some chicken with sautéed mushrooms and additional cheese for a creamier filling. The umami flavor enhances every bite and leaves a delightful richness.
-
Herb Infusion: Mix in fresh herbs like cilantro or chives into the filling for a vibrant burst of freshness. This provides a lovely contrast to the savory flavors and brightens the dish significantly.
No matter which variation you choose, don’t forget to serve them alongside Sour Cream or Guacamole, because who wouldn’t want an extra scoop of happiness?
Make Ahead Options
These Chi-Chi’s Baked Chicken Chimichangas are ideal for meal prep enthusiasts looking to streamline their weeknight dinners! You can prepare the filling (a mixture of shredded chicken, cheeses, salsa, and spices) up to 24 hours in advance and refrigerate it in an airtight container to keep it fresh and flavorful. Additionally, you can assemble the chimichangas but skip the baking; simply wrap them tightly in plastic wrap and store them in the fridge for up to 3 days. When ready to enjoy, just place them on a baking sheet, spray with cooking oil, and bake for 25-30 minutes, ensuring they’re just as delicious and crisp as when made fresh!
Expert Tips for Chi-Chi’s Baked Chicken Chimichangas
-
Filling Consistency: Ensure the filling isn’t too wet to avoid sogginess. A drier mixture keeps the chimichangas crispy.
-
Batch Cooking: These can be assembled ahead of time. If baking from the fridge, add a few extra minutes to the bake time for even heating.
-
Crispness: To maintain their crispiness, place chimichangas on wire racks after baking if not serving immediately; this prevents steam buildup.
-
Frying Alternative: For those who crave a traditional texture, consider deep-frying instead of baking for Chi-Chi’s Baked Chicken Chimichangas with that authentic crunch.
-
Flavor Variations: Don’t hesitate to get creative! Substitute fillings or sauces based on your preferences to keep things exciting and cater to diverse tastes.
What to Serve with Chi-Chi’s Baked Chicken Chimichangas
Whether you’re hosting a casual dinner or just enjoying a cozy night in, enhancing your meal with delightful sides can elevate the entire experience.
-
Mexican Rice: This flavorful side absorbs all the vibrant flavors of the chimichangas and adds a comforting grainy texture that’s perfect for a complete meal.
-
Fresh Guacamole: Creamy and rich, guacamole adds a refreshing contrast to the crispy chimichangas while offering a cooling balance to the spicy notes.
-
Zesty Black Bean Salad: Packed with black beans, corn, and tomatoes, this salad adds a fresh crunch and zing, making it a perfect contrast to the rich filling.
-
Sour Cream Dip: A dollop of sour cream enhances every bite, cooling down the heat and adding a tangy creaminess that makes every mouthful delightful.
-
Crisp Green Salad: A light, crunchy salad with citrus vinaigrette refreshes the palate and provides a contrast to the warm, baked chimichangas.
-
Roasted Corn on the Cob: The sweetness of roasted corn complements the savory flavors, while its bright colors add a festive touch to your table.
-
Margaritas: A classic cocktail pairing, margaritas offer a zesty and refreshing option that dances beautifully with the Tex-Mex flavors.
-
Tres Leches Cake: For dessert, this sweet and moist cake is a lovely finish to the meal, balancing the savory with a hint of decadence.
Pairing these options with your Chi-Chi’s Baked Chicken Chimichangas will create a vibrant and satisfying dining experience your loved ones won’t forget!
Chi-Chi’s Baked Chicken Chimichangas Recipe FAQs
What type of chicken should I use for the filling?
Absolutely! You can use cooked shredded chicken for the filling, which is the main protein source. I often substitute with rotisserie chicken for convenience, or you can use leftover cooked chicken from a previous meal. It keeps the process quick and delicious!
How should I store leftover chimichangas?
To keep your leftovers fresh, store any uneaten Chi-Chi’s Baked Chicken Chimichangas in an airtight container in the fridge for up to 3-4 days. This way, you can easily grab them for a quick meal. Remember to let them cool completely before sealing them in.
Can I freeze these chimichangas? How?
Yes! You can freeze assembled but uncooked Chi-Chi’s Baked Chicken Chimichangas for up to 2-3 months. Wrap each chimichanga tightly in plastic wrap and then in aluminum foil to prevent freezer burn. When you’re ready to enjoy, bake from frozen at 400°F (200°C) and add a few extra minutes to the cooking time.
Why are my chimichangas not getting crispy?
Very! This could happen if the filling is too wet, so make sure to not overload the tortillas. It’s also essential to spray them lightly with cooking spray before baking to enhance their crispness. If you’ve already baked them and they’re still soft, placing them on wire racks after baking can help maintain their crunchy texture by preventing steam buildup.
Are there any dietary considerations for this recipe?
Yes! If you’re cooking for someone with dietary restrictions, consider using gluten-free corn tortillas instead of flour. Also, for a lighter version, Greek yogurt can substitute sour cream. Always check your ingredients for any allergens, and feel free to experiment with vegetarian options using sautéed vegetables in place of chicken.
What can I serve with chimichangas?
The more the merrier! Serve your Chi-Chi’s Baked Chicken Chimichangas with sides like Mexican rice, fresh salad, or classic toppings such as sour cream, guacamole, and salsa. This combination will please everyone and enhance the Tex-Mex experience!

Delicious Chi-Chi’s Baked Chicken Chimichangas Made Easy
Ingredients
Equipment
Method
- Preheat your oven to 400°F (200°C) and prepare a baking sheet lined with parchment paper.
- In a large mixing bowl, combine the cooked shredded chicken, Monterey Jack cheese, cheddar cheese, salsa, diced green chilies, ground cumin, chili powder, garlic powder, cayenne pepper (if using), and a pinch of salt and pepper. Stir until well incorporated.
- Lay out the large flour tortillas and place a generous scoop of the filling mixture in each tortilla.
- Fold the sides of each tortilla over the filling and tightly roll them up from the bottom to the top.
- Arrange the rolled chimichangas seam-side down on the baking sheet and lightly spray the tops with cooking spray.
- Bake for 20 to 25 minutes or until golden brown and crispy.
- Let them cool slightly before serving with your favorite toppings like sour cream, guacamole, and salsa.