

As I stood in my kitchen, the sweet scent of warm vanilla filled the air, igniting a wave of nostalgia. There’s something truly magical about Crispy Homemade Oatmeal Cream Pies that takes me back to carefree days filled with simple joys and delightful treats. This recipe strikes the perfect balance between crispy edges and a chewy center, all enveloping a luscious, fluffy cream filling that’s begging to be devoured. Not only are they irresistibly tasty, but they also offer a fun and satisfying baking experience, making them perfect for anyone, from busy parents to curious home-chefs. With options for make-ahead convenience and a lovely dairy-free alternative, you can whip these up anytime, whether it’s for a spontaneous snack or a special gathering. Are you ready to dive into a deliciously nostalgic baking adventure?
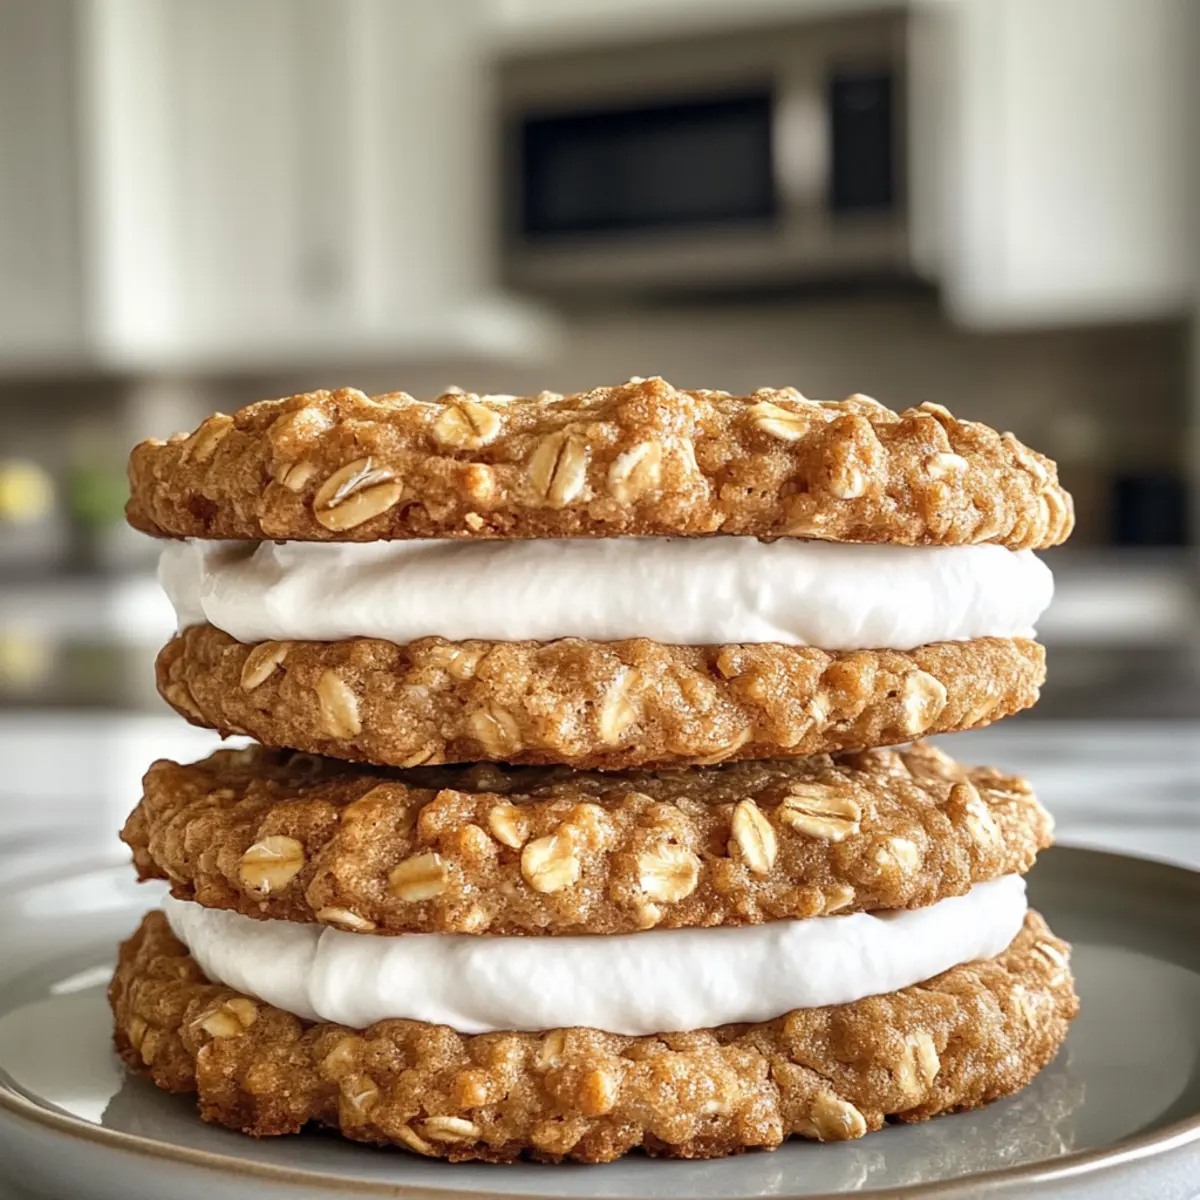
Why are these pies so irresistible?
Deliciously Nostalgic: Each bite of these Crispy Homemade Oatmeal Cream Pies will transport you back to your childhood, evoking memories of sweet treats and simple pleasures.
Fun and Easy: The process is incredibly straightforward, making baking a joy even for novice cooks.
Versatile: Add-ins like chocolate chips or flavored extracts allow you to customize your pies to suit your cravings.
Crowd-Pleasing: Perfect for sharing at picnics, school lunches, or family gatherings, these treats are sure to win hearts!
Dairy-Free Option: With simple substitutions, you can easily cater to dietary preferences without compromising on flavor.
Make-Ahead Magic: Prepare them in advance, ensuring you have a delightful snack or dessert ready whenever the craving strikes.
Crispy Homemade Oatmeal Cream Pie Ingredients
For the Cookies
- Old-Fashioned Oats – These provide structure and texture, ensuring the perfect chewy bite.
- All-Purpose Flour – Adds bulk and helps bind the cookies; you can use gluten-free flour for a gluten-free version.
- Unsalted Butter – This brings moisture and richness; substitute with coconut oil for a dairy-free option.
- Brown Sugar – Sweetens while enhancing caramelization, giving a deeper flavor to your cookies.
- Baking Soda – Acts as a leavening agent, helping the cookies rise to achieve the perfect texture.
- Eggs – Binds all ingredients together; you can use a flax egg as a vegan swap.
- Vanilla Extract – A necessary ingredient that elevates the flavor profile of the cookies.
For the Cream Filling
- Heavy Cream – This creates a rich, fluffy frosting; switch to coconut cream for a delightful dairy-free alternative.
- Powdered Sugar – Sweetens the cream filling while providing a smooth texture; adjust the amount to your taste.
Each ingredient in these Crispy Homemade Oatmeal Cream Pies contributes to the deliciousness and nostalgia of this cherished treat, ensuring your baking experience is as enjoyable as the end result!
Step‑by‑Step Instructions for Crispy Homemade Oatmeal Cream Pies
Step 1: Prepare the Cookie Dough
In a large mixing bowl, combine old-fashioned oats, all-purpose flour, baking soda, and both sugars until well mixed. In a separate bowl, cream together softened unsalted butter, eggs, and vanilla extract until light and fluffy. Once combined, gently fold the wet mixture into the dry ingredients, ensuring everything is evenly incorporated to create a thick dough that hugs your spoon.
Step 2: Form Cookies
Preheat your oven to 350°F (175°C) and line baking sheets with parchment paper for easy cleanup. Using a tablespoon, scoop portions of the cookie dough and drop them onto the prepared baking sheets, leaving a few inches between each for spreading. Aim for uniform sizes to ensure even baking of your crispy homemade oatmeal cream pies, creating a fun visual appeal when they’re all lined up.
Step 3: Bake
Slide the baking sheets into your preheated oven and bake for 10-12 minutes, monitoring closely as the edges turn a golden brown. You’ll know they’re ready when the centers look set but slightly soft, promising that delightful chewiness once cooled. Avoid overbaking for that perfect contrasting texture, ensuring your cookies remain invitingly warm and soft inside.
Step 4: Cool Cookies
Once baked, remove the trays from the oven and allow the cookies to cool on them for about 5 minutes. This slight cooling time will firm them up a bit before transferring them to a wire rack. Let them cool completely; this step is crucial for achieving the ideal crispiness in your homemade oatmeal cream pies.
Step 5: Make the Cream Filling
While the cookies are cooling, prepare the luscious cream filling. In a mixing bowl, beat heavy cream on medium speed until light and fluffy. Gradually add powdered sugar, continuing to whip until the mixture has a smooth, spreadable consistency. This fluffy filling will be the perfect complement to your crispy homemade oatmeal cream pies, creating that signature sandwich you remember.
Step 6: Assemble the Pies
Once your cookies have cooled completely, spread a generous dollop of the creamy filling onto the flat side of one cookie. Top it with another cookie, flat side down, to create a delightful sandwich. Press gently to allow the filling to spread but not ooze out. Repeat with the remaining cookies, assembling a beautiful platter of crispy homemade oatmeal cream pies ready to be enjoyed!
Step 7: Serve and Store
Your crispy homemade oatmeal cream pies are now ready to be savored! Serve them fresh to friends and family, or store the assembled pies in an airtight container in the refrigerator for up to 5 days. If you prefer, freeze the unfilled cookies and fill them prior to serving for that fresh-baked sensation whenever the craving hits!
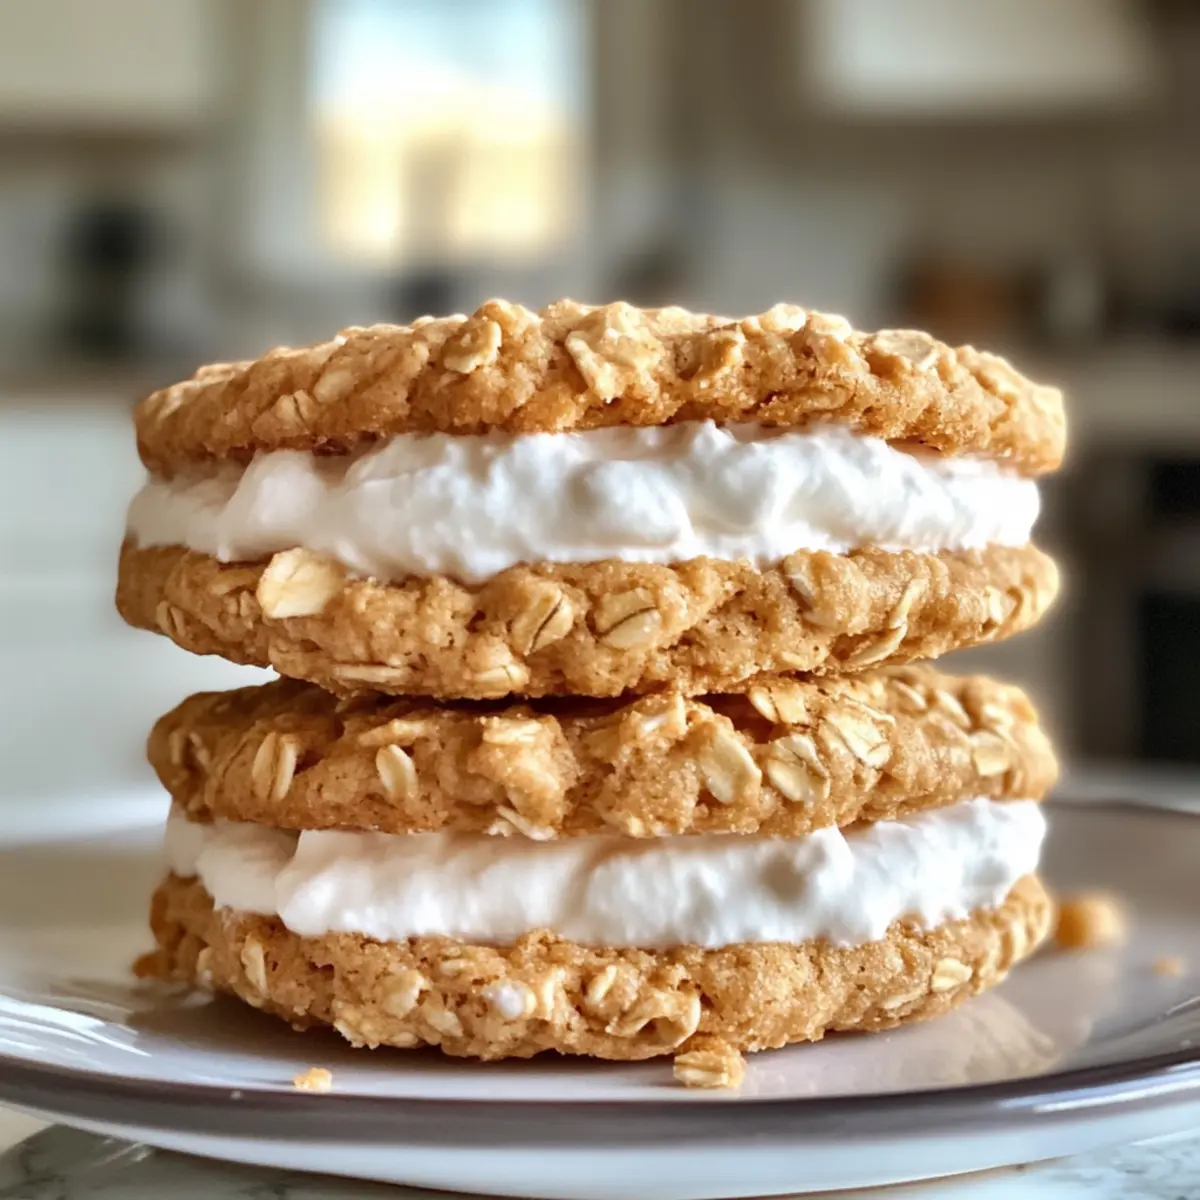
Crispy Homemade Oatmeal Cream Pies Variations
Feel free to unleash your creativity and tailor these pies to your taste buds!
Dairy-Free Cream: Swap heavy cream with coconut cream or almond cream for a rich, dairy-free filling.
Delight in the creamy texture of coconut cream while enjoying the nostalgic taste of your favorite pies.Chocolate Chip Additions: Stir in semi-sweet chocolate chips into the cookie dough for a heavenly chocolatey twist.
These little bites of joy will melt in your mouth, giving a new dimension to your oatmeal cream pie experience!Nutty Delight: Mix in chopped walnuts or pecans for a satisfying crunch and additional flavor.
The nutty goodness adds an exciting bite, making every mouthful more intriguing!Flavored Extracts: Experiment with almond or maple extracts in the filling for a deliciously unique touch.
These subtle flavors can elevate your dessert to new heights, making it even more memorable.Spicy Kick: Add a pinch of cinnamon or nutmeg to the cookie dough for a warm, cozy flavor.
These spices can transport your bites to autumn days, while offering comfort in each mouthful.Gluten-Free Option: Use gluten-free flour instead of all-purpose flour for a gluten-free treat.
You won’t miss the gluten; the taste and texture will still deliver that classic charm!Fruity Surprise: Incorporate dried fruits like cranberries or raisins for a hint of sweetness and chewiness.
The burst of fruity flavor will brighten each cookie, giving it a delightful surprise in every bite!Ice Cream Sandwiches: Use the cookies to create ice cream sandwiches by substituting the cream filling with your favorite ice cream.
This twist is perfect for a refreshing treat on a warm day, and who doesn’t love an ice cream sandwich?
Explore these variations to make your Crispy Homemade Oatmeal Cream Pies even more special. For more delicious recipes, don’t forget to check out Creamy White Chicken Enchiladas and Raspberry Cream Pie!
Make Ahead Options
These Crispy Homemade Oatmeal Cream Pies are perfect for busy home cooks looking to save time. You can make the cookie dough up to 24 hours in advance; just cover it tightly and refrigerate to keep it fresh. Alternatively, bake the cookies and store them in an airtight container for up to 5 days, ensuring that they remain crispy. Just remember to let them cool completely before storing to maintain their texture. For the filling, whip the heavy cream just before assembling the pies to achieve that fluffy, light quality. When ready to serve, simply spread the cream between the prepared cookies, and you’ll enjoy a nostalgic treat that’s just as delicious, without the last-minute rush!
Expert Tips for Crispy Homemade Oatmeal Cream Pies
Baking Temperature: Ensure your oven is fully preheated to 350°F (175°C) for even baking of the crispy homemade oatmeal cream pies, preventing uneven textures.
Consistent Sizes: Use a cookie scoop to portion your dough. This ensures uniform cookies that bake evenly, enhancing both appearance and texture.
Cooling Time: Don’t skip the cooling stage! Allowing the cookies to cool properly helps achieve the right balance of crispiness and chewiness.
Filling Consistency: Beat the cream filling until it’s light and fluffy. A well-whipped filling makes for a delightful, spreadable texture without collapsing.
Avoid Overbaking: Watch your cookies closely; removing them when the edges turn golden while the centers remain soft will prevent them from becoming too crunchy.
Flavor Variations: Don’t hesitate to add your own twist by incorporating chocolate chips or nuts into the dough for an extra layer of flavor in your crispy homemade oatmeal cream pies.
What to Serve with Crispy Homemade Oatmeal Cream Pies
Elevate your snacking experience with delightful pairings that complement the nostalgic sweetness of these creamy treats.
- Milk: The ultimate classic, it balances the sweetness and enhances the rich flavors of the cookies. A cold glass can take you right back to childhood!
- Hot Cocoa: Rich and velvety, this cozy drink adds warmth and a chocolatey depth that pairs beautifully with the creamy filling.
- Fresh Berries: Bright and juicy, berries provide a refreshing contrast with their tartness, enhancing the overall flavors with a delightful pop of freshness.
- Vanilla Ice Cream: A scoop elevates the indulgence factor, offering a creamy and cold counterpoint to the delightful textures of the cookies.
- Coffee: The robust flavors of a cup of coffee ground through the sweetness make for a delightful morning snack or afternoon treat.
- Sliced Bananas: Their natural sweetness and creamy texture echo the filling, making a wholesome and filling accompaniment. Try spreading a bit of cream filling on the bananas for a fun twist!
- Chocolate Milkshake: This indulgent shake adds a decadent layer of chocolate flavor while cooling down each sweet mouthful of oatmeal goodness.
- Coconut Yogurt: For a dairy-free twist, this creamy yogurt provides a tangy taste while enhancing the overall experience with its lush texture.
- Caramel Sauce: Drizzling warm caramel sauce over the pies adds an extra layer of sweetness and a gourmet flair, making every bite truly divine.
These pairings will not only enhance your enjoyment of the Crispy Homemade Oatmeal Cream Pies but also create a memorable snacking moment you’ll treasure!
How to Store and Freeze Crispy Homemade Oatmeal Cream Pies
Room Temperature: Keep unfilled cookies in an airtight container for up to 3 days, ensuring they remain fresh and maintain their crispiness.
Fridge: Store assembled pies in the refrigerator for up to 5 days in an airtight container, but be prepared for the cookies to soften slightly due to the cream filling.
Freezer: Freeze unfilled cookies in a single layer on a baking sheet before transferring to an airtight container, where they can last for up to 3 months. Simply thaw and fill before serving.
Reheating: For a warm treat, pop filled sandwiches in the microwave for 10-15 seconds or enjoy the cookies chilled for a refreshing bite of your crispy homemade oatmeal cream pies!
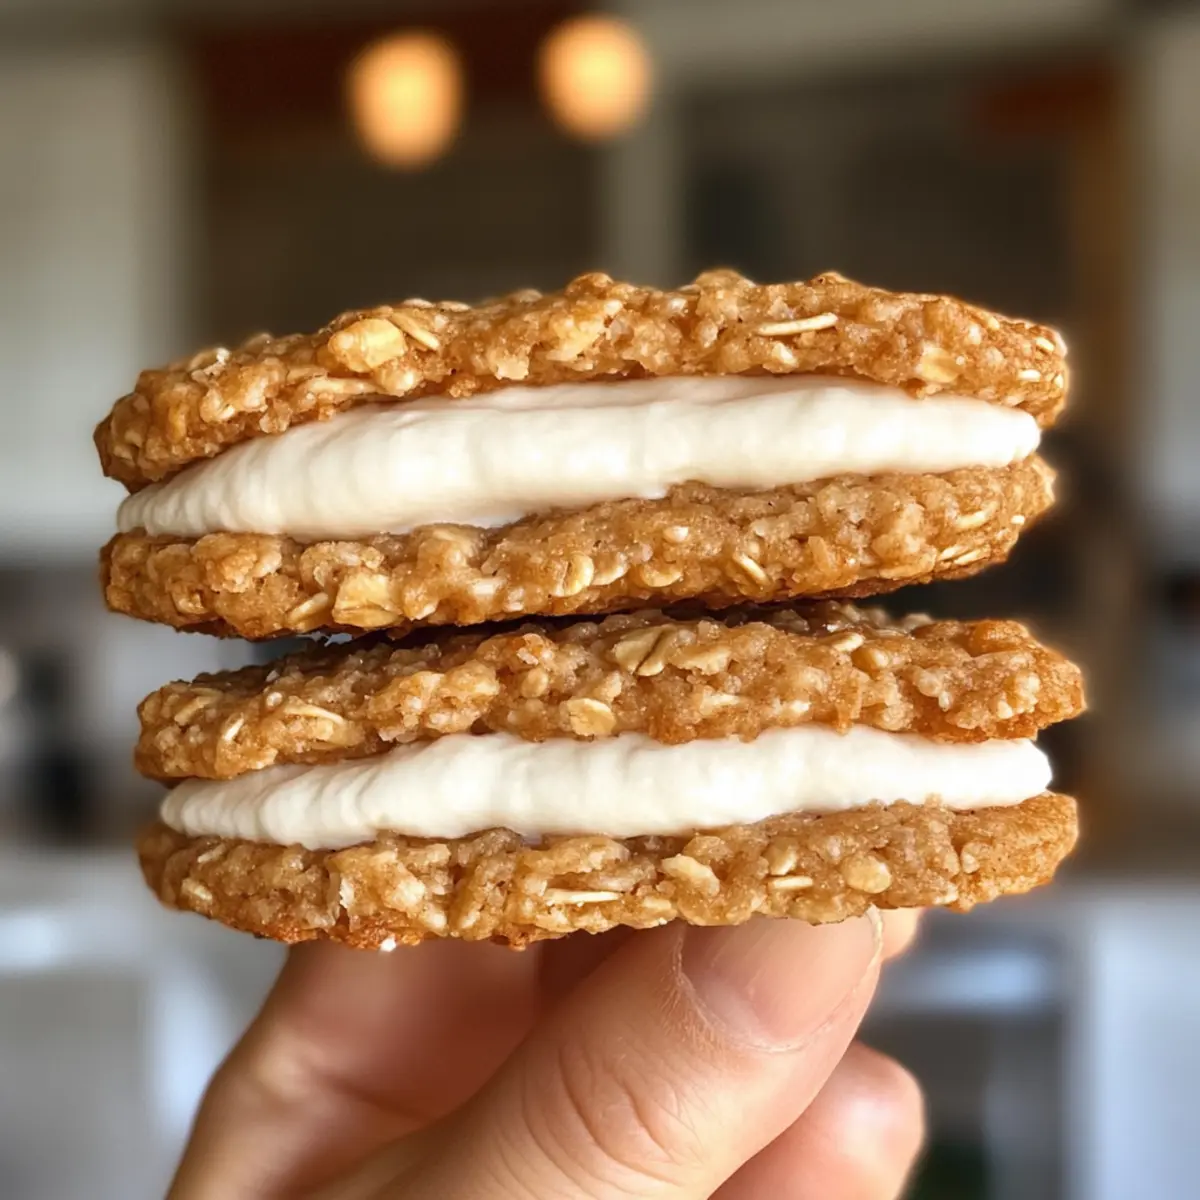
Crispy Homemade Oatmeal Cream Pies Recipe FAQs
How do I choose the right oats for this recipe?
Absolutely! For the best texture in your Crispy Homemade Oatmeal Cream Pies, I recommend using old-fashioned oats. These oats offer the perfect chewiness and structure for your cookies. Quick oats can get mushy, while steel-cut oats won’t blend well, resulting in an uneven texture. So stick with old-fashioned oats for that classic bite!
What’s the best way to store these cookies?
You’ll want to store your crispy homemade oatmeal cream pies in an airtight container in the refrigerator for up to 5 days. This not only keeps them fresh but also allows the flavors to meld. If you prefer them crispy, I suggest storing unfilled cookies at room temperature in an airtight container for up to 3 days.
Can I freeze these cookies?
Yes! Freezing is a great option. For best results, freeze unfilled cookies in a single layer on a baking sheet until solid, then transfer them to an airtight container or a freezer-safe bag. They can be stored for up to 3 months! When you’re ready to enjoy, simply thaw the cookies and fill them with cream right before serving for that freshly baked taste.
What if my cookies are too dry or crumbly?
Very good question! If your cookies turn out dry, it may be due to overbaking or the flour measurement being off. I recommend using a kitchen scale for precise measurements. Alternatively, you can add a tablespoon of milk or cream into your dough to help with moisture. Keeping a close eye on baking time and removing them when the edges are golden but centers remain soft helps maintain that delightful chewy texture.
Are there any allergens I should be aware of when making these?
Absolutely! This recipe contains common allergens such as eggs, dairy, and gluten. For a dairy-free version, you can substitute coconut oil for butter and coconut cream for heavy cream. If you’re catering to someone with gluten sensitivity, use gluten-free flour. Additionally, for a vegan option, replace eggs with a flax egg (1 tablespoon ground flaxseed mixed with 2.5 tablespoons of water, let sit for 5 minutes until it thickens).
How can I make these pies more flavorful?
I often love to experiment with flavors! You can add chocolate chips, chopped nuts, or even a splash of flavored extracts (like almond or maple) into the dough for added depth. Feel free to get creative with your add-ins to make your crispy homemade oatmeal cream pies truly unique!
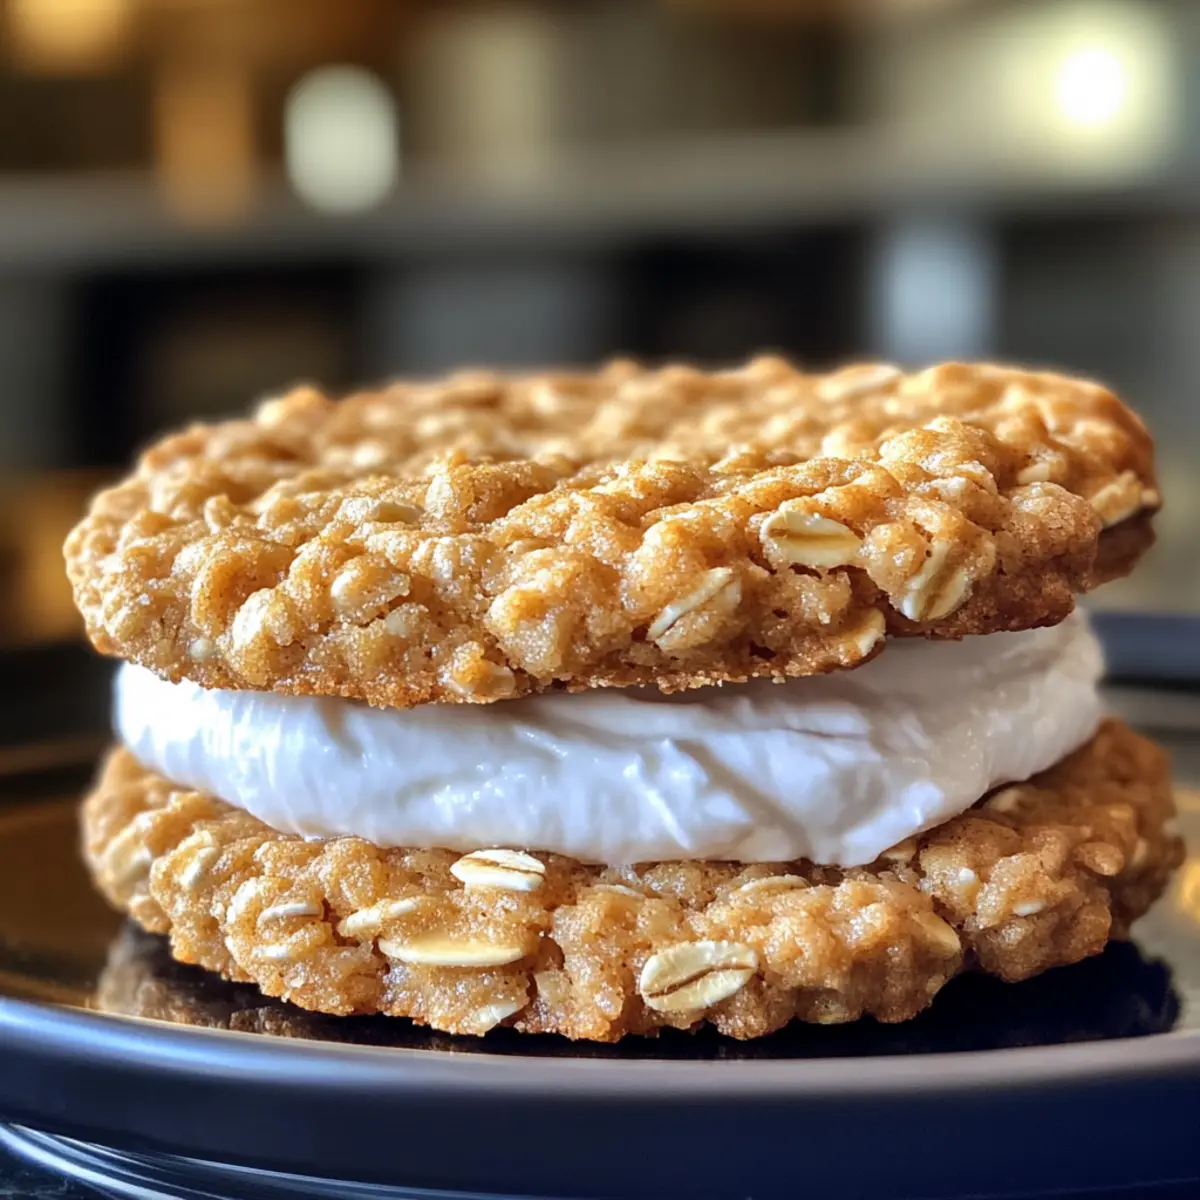
Crispy Homemade Oatmeal Cream Pies for Sweet Nostalgia
Ingredients
Equipment
Method
- In a large mixing bowl, combine old-fashioned oats, all-purpose flour, baking soda, and both sugars until well mixed.
- In a separate bowl, cream together softened unsalted butter, eggs, and vanilla extract until light and fluffy.
- Gently fold the wet mixture into the dry ingredients, ensuring everything is evenly incorporated to create a thick dough.
- Preheat your oven to 350°F (175°C) and line baking sheets with parchment paper.
- Using a tablespoon, scoop portions of the cookie dough and drop them onto the prepared baking sheets.
- Aim for uniform sizes to ensure even baking.
- Slide the baking sheets into your preheated oven and bake for 10-12 minutes.
- Monitor closely; they are ready when the edges turn golden and the centers look set but slightly soft.
- Once baked, allow the cookies to cool for about 5 minutes before transferring them to a wire rack.
- Let them cool completely for ideal crispiness.
- While cooling, prepare the cream filling by beating heavy cream until light and fluffy, then gradually add powdered sugar.
- Spread a generous dollop of the creamy filling onto the flat side of one cookie and top with another cookie.
- Press gently to allow filling to spread without oozing out.
- Repeat with the remaining cookies and serve.
- Store in an airtight container in the refrigerator for up to 5 days.