

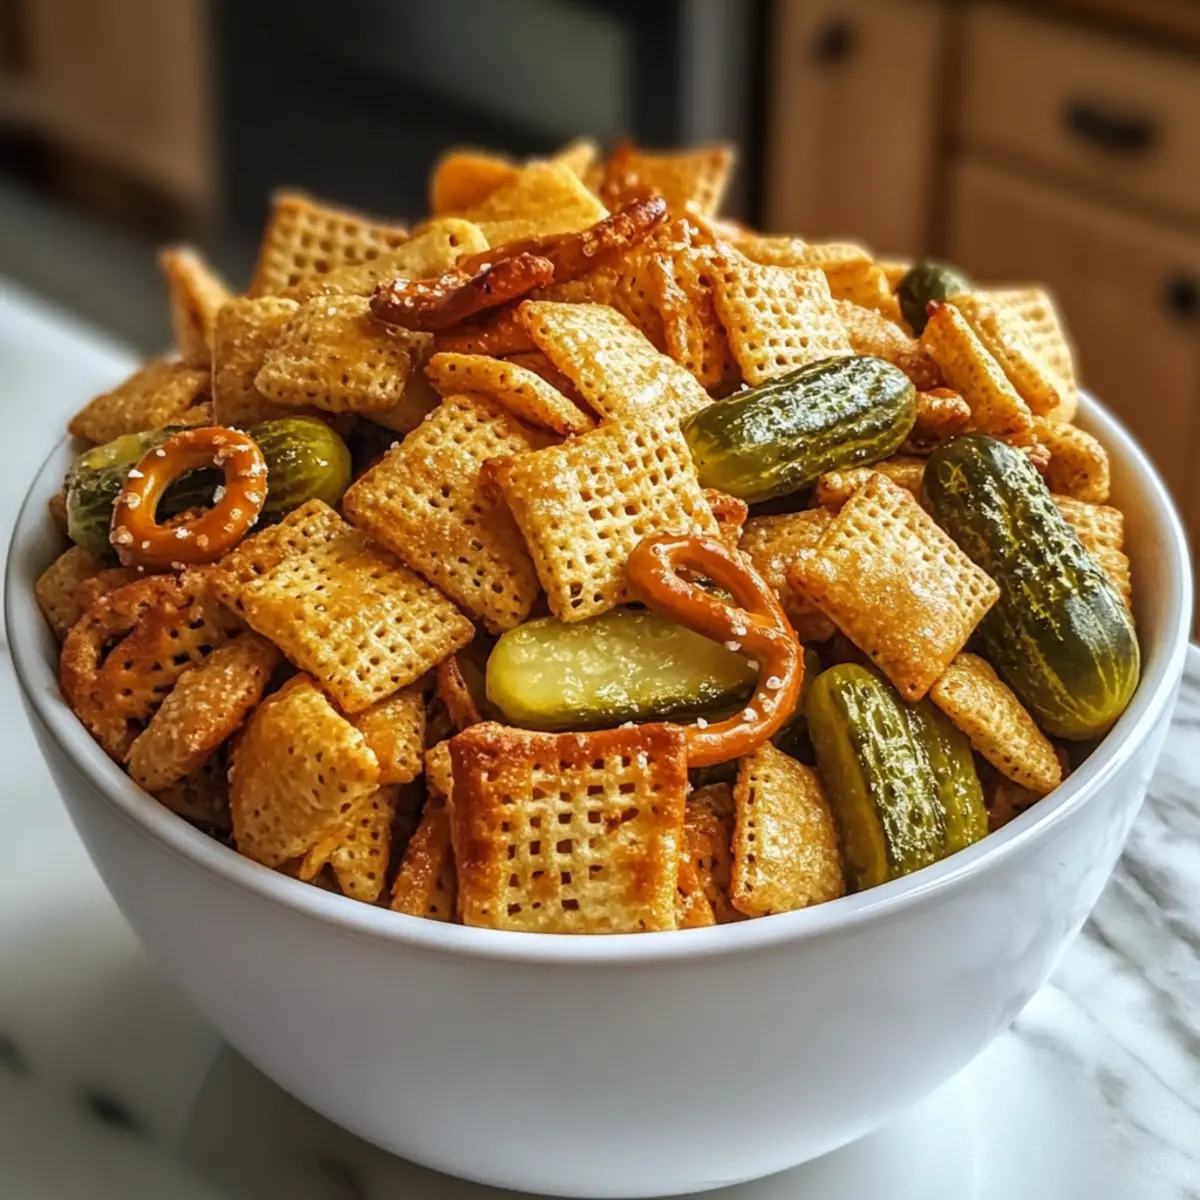
As I rummaged through my pantry, the idea struck me: why not whip up a batch of Easy Dill Pickle Chex Mix for Crunchy Snacking? The tang of dill pickles combined with the delightful crunch of Chex cereal creates a unique snack that’s perfect for any occasion. This simple recipe is not only quick to prepare but also customizable, inviting you to get creative with your favorite ingredients. Whether you’re hosting game night or snuggling up for a cozy movie marathon, this mix is the go-to treat that everyone will love. Plus, it’s a nut-free option that caters to various dietary needs, making it a crowd-pleaser. Who’s ready to dive into a bowl of crunchy, zesty goodness? Let’s get snacking!
Why Is Dill Pickle Chex Mix a Must-Try?
Irresistibly Crunchy: Each bite delivers a satisfying crunch that will keep you reaching for more.
Flavor Explosion: The tangy dill pickle flavor perfectly balances the buttery, savory notes of the other ingredients.
Quick & Easy: With simple steps, you can whip this up in no time, perfect for those sudden snack cravings.
Fully Customizable: Whether you’re a fan of spicy kick, nut-free options, or cheesy twists, you can cater this mix to your taste buds!
Crowd-Pleasing Snack: Great for game nights or family gatherings, everyone will enjoy this unique take on the classic mix.
Why not try serving it alongside a refreshing drink like Mango Iced Summer for a fabulous combination?
Dill Pickle Chex Mix Ingredients
• For the Base
- Chex Cereal – Serves as the crunchy foundation; feel free to mix various types (corn, rice, or wheat) for a unique texture.
- Pretzel Sticks – Adds a salty, crispy element; consider substituting with extra Chex or sunflower seeds to switch things up.
- Roasted Peanuts – Brings nuttiness and a satisfying crunch; swap with roasted chickpeas for a delightful nut-free option.
• For the Flavor
- Dill Pickle Chips – The star ingredient! Ensure they are well-drained to keep the mix crispy.
- Dill Pickle Juice – Enhances the signature dill flavor without making the mix soggy; use sparingly for the perfect zing.
- Garlic Powder – Infuses a savory depth; fresh minced garlic can be used for an even bolder flavor.
- Onion Powder – Contributes a hint of sweetness; fresh onion may offer a stronger kick if desired.
- Dill Weed – Complements the dill flavor in pickles and can be replaced with fresh dill for a fragrant twist.
- Salt – Balances all the flavors; adjust to fit your taste preferences.
• For Binding
- Butter – Binds the seasonings while adding a rich taste; vegan butter can serve as a dairy-free alternative for those who prefer it.
Dive into this delightful Dill Pickle Chex Mix for crunchy snacking that everyone will adore!
Step‑by‑Step Instructions for Dill Pickle Chex Mix for Crunchy Snacking
Step 1: Preheat the Oven
Begin by preheating your oven to 250°F (120°C). As the oven heats, line a large baking sheet with parchment paper to create a non-stick surface. This will ensure your Dill Pickle Chex Mix doesn’t stick while baking, making cleanup a breeze.
Step 2: Combine the Base Ingredients
In a sizable mixing bowl, add your Chex cereal, pretzel sticks, and roasted peanuts. Use a gentle folding motion to mix these ingredients evenly, ensuring that the crunchy textures are well combined. This base will form the heart of your Dill Pickle Chex Mix for Crunchy Snacking.
Step 3: Prepare the Seasoning Mix
In a separate microwave-safe bowl, melt the butter for about 30 seconds. Once melted, whisk in dill pickle juice, garlic powder, onion powder, dill weed, and salt until all the ingredients are thoroughly blended. The aroma will be irresistible, blending savory and tangy notes for your mix.
Step 4: Coat the Cereal Mixture
Drizzle the buttery seasoning mixture over the combined cereal, pretzels, and peanuts. Gently stir with a spatula to ensure every piece is coated, allowing the flavors to envelop your Dill Pickle Chex Mix. You want to aim for an even coating to maximize taste in every bite.
Step 5: Spread and Bake
Transfer the coated mix onto the prepared baking sheet, spreading it evenly in a single layer. Place it in the preheated oven and bake for 30-40 minutes, stirring every 10 minutes. Look for a golden-brown color to indicate that your mix is perfectly toasted and deliciously crunchy.
Step 6: Cool and Store
Once the baking time is complete and your Dill Pickle Chex Mix is beautifully crisp, remove it from the oven. Allow it to cool completely on the baking sheet, which helps retain its crunch. Once cooled, transfer your mix to an airtight container for storage or immediate snacking.
Dill Pickle Chex Mix Variations
Feel free to let your creativity shine and customize your Dill Pickle Chex Mix with these fun variations!
Spicy Kick: Add cayenne pepper or red pepper flakes to the seasoning mix for a delightful burst of heat. If you love a bit of spice, this addition will elevate your mix and make it unforgettable!
Nut-Free Delight: Replace peanuts with a mix of sunflower or pumpkin seeds. This keeps things crunchy and nut-free, accommodating various dietary preferences without sacrificing flavor.
Cheesy Twist: Incorporate cheese crackers for a savory, cheesy flavor that enhances the snack experience. This twist adds a creaminess that balances out the tangy dill perfectly!
Herb Garden Variation: Add fresh herbs like thyme or rosemary for a fragrant touch. These herbs can breathe new life into your mix, offering both vibrancy and depth.
Zesty Citrus: Mix in lemon or lime zest for a burst of brightness. The citrus will add a refreshing note that complements the tangy pickle flavor beautifully.
Sweet Surprise: Blend in chocolate-covered pretzels for a sweet and salty element. This unexpected addition will surprise your taste buds and make this mix a hit at parties!
For a perfect pairing, enjoy your zesty mix with refreshing drinks, like a chilled Mango Iced Summer, for a delightful snack experience!
Make Ahead Options
These Easy Dill Pickle Chex Mix are perfect for busy cooks looking to save time! You can prepare the dry base of the mix (Chex cereal, pretzels, and nuts) up to 3 days in advance by storing it in an airtight container at room temperature. For the buttery seasoning, mix the melted butter, dill pickle juice, and spices, and refrigerate this mixture for up to 24 hours. Just be sure to allow it to come to room temperature before drizzling it over the dry ingredients when you’re ready to bake. Simply combine and bake as directed, and your Easy Dill Pickle Chex Mix will be just as crunchy and flavorful as if made fresh!
What to Serve with Easy Dill Pickle Chex Mix
Create the perfect snacking experience by pairing this irresistible mix with tasty complements that elevate the entire spread.
Creamy Spinach Dip: The richness of creamy spinach dip beautifully contrasts with your crunchy Dill Pickle Chex Mix, making for a delightful duo. Serve it in a bowl for easy dipping and a pop of color.
Veggie Platter: Fresh, crisp vegetables like carrot sticks and bell pepper slices provide a refreshing crunch. They balance the zesty flavors of the mix while adding vibrant colors to your table.
Tangy Lemonade: A chilled glass of tangy lemonade adds a refreshing burst of flavor that pairs wonderfully with the pickle notes in your mix. The bright citrus will invigorate your taste buds and keep the party lively.
Charcuterie Board: Create an inviting charcuterie board with assorted cheeses, cured meats, and crackers. The salty and savory elements complement the zesty Chex Mix brilliantly, encouraging guests to indulge.
Sweet Fruit Salad: The natural sweetness of fresh fruits, such as strawberries, grapes, and pineapple, adds a layer of flavor contrast. This pairing invites a balance of tangy and sweet that rounds out your snacking experience.
Spicy Mango Salsa: For those who crave a kick, a spicy mango salsa offers a zesty counterpoint. The sweet and spicy notes mirror the pickle flavor while introducing new textures and sensations.
Crisp White Wine: A glass of chilled Sauvignon Blanc or a light Riesling makes for a delightful drink. The wine’s acidity cuts through the richness of the mix and complements its tangy character.
Each of these pairings enhances the fun of your Easy Dill Pickle Chex Mix, ensuring a spread that’s as exciting as it is delicious!
Expert Tips for Dill Pickle Chex Mix
- Pickle Perfection: Ensure dill pickles are well-drained before adding them to the mix, preventing any unwanted sogginess.
- Crunch Time: If your mix isn’t crunchy after the baking time, increase the bake time in 5-minute increments, stirring gently to keep the cereal intact.
- Flavor Boost: Don’t be afraid to experiment with spices or additional ingredients to customize your Dill Pickle Chex Mix to suit your taste preferences.
- Storage Savvy: Store your mix in an airtight container to maintain its crunchiness, or freeze it for up to two months for longer enjoyment.
- Mix & Match: Use a combination of different Chex varieties for added texture and flavor, creating your ideal version of this delightful snack.
Storage Tips for Dill Pickle Chex Mix
- Room Temperature: Store your Dill Pickle Chex Mix in an airtight container at room temperature for up to 1 week, ensuring it stays crunchy and fresh.
- Fridge: If you prefer to keep it in the fridge, it’s best to eat it within 3-5 days to maintain its crispiness. Make sure it’s covered properly!
- Freezer: For longer storage, freeze the mix in an airtight container for up to 2 months. When ready to enjoy, re-bake briefly in a low oven to restore crunchiness.
- Reheating: If the mix loses its crunch, simply spread it back onto a baking sheet and bake at 250°F (120°C) for about 10-15 minutes until crispy again.
Dill Pickle Chex Mix Recipe FAQs
What kind of dill pickles should I use?
For the best flavor and texture, I recommend using fresh, firm dill pickles without blemishes. Look for pickles that are well-drained to prevent sogginess in your mix. If you only have a jar of pickle chips, that works too—just ensure they’re drained thoroughly.
How long can I store Dill Pickle Chex Mix?
You can store your Dill Pickle Chex Mix in an airtight container at room temperature for up to 1 week. If you want to enjoy it longer, freezing it for up to 2 months is a great option. Just remember to re-bake it for about 10-15 minutes at 250°F (120°C) to regain that perfect crunch once you thaw it.
Can I make it nut-free?
Absolutely! To make your Dill Pickle Chex Mix nut-free, simply swap out the roasted peanuts for roasted chickpeas or extra Chex. Sunflower seeds are another excellent alternative that maintains that desired crunch without the use of nuts.
What if my mix isn’t crunchy after baking?
If your mix isn’t as crunchy as you’d like after the initial baking time, don’t worry! Extend the baking time in 5-minute increments, stirring gently to maintain the cereal’s shape. Keep an eye on it until it turns a beautiful golden brown, ensuring it will be perfectly crunchy.
How can I customize my Dill Pickle Chex Mix?
Get creative with your mix! You can add spices like cayenne pepper or red pepper flakes for a spicy kick. Consider mixing in some cheese crackers or using different Chex varieties for a unique flavor profile. Don’t hesitate to experiment with fresh herbs like thyme or rosemary to elevate your mix even further!
Can I make this recipe vegan?
Yes, you can easily make this dill pickle Chex mix vegan by using vegan butter instead of regular butter. Additionally, ensure the dill pickle juice you choose does not contain any animal-derived ingredients. This maintains that delicious flavor without compromising your dietary preferences.
Dill Pickle Chex Mix for Crunchy Snacking You'll Love
Ingredients
Equipment
Method
- Preheat your oven to 250°F (120°C) and line a large baking sheet with parchment paper.
- In a mixing bowl, combine Chex cereal, pretzel sticks, and roasted peanuts.
- In a microwave-safe bowl, melt butter and whisk in dill pickle juice, garlic powder, onion powder, dill weed, and salt.
- Drizzle the buttery seasoning mixture over the cereal mixture and stir gently to coat.
- Spread the mixture evenly on the baking sheet and bake for 30-40 minutes, stirring every 10 minutes.
- Allow to cool completely on the baking sheet before transferring to an airtight container.