

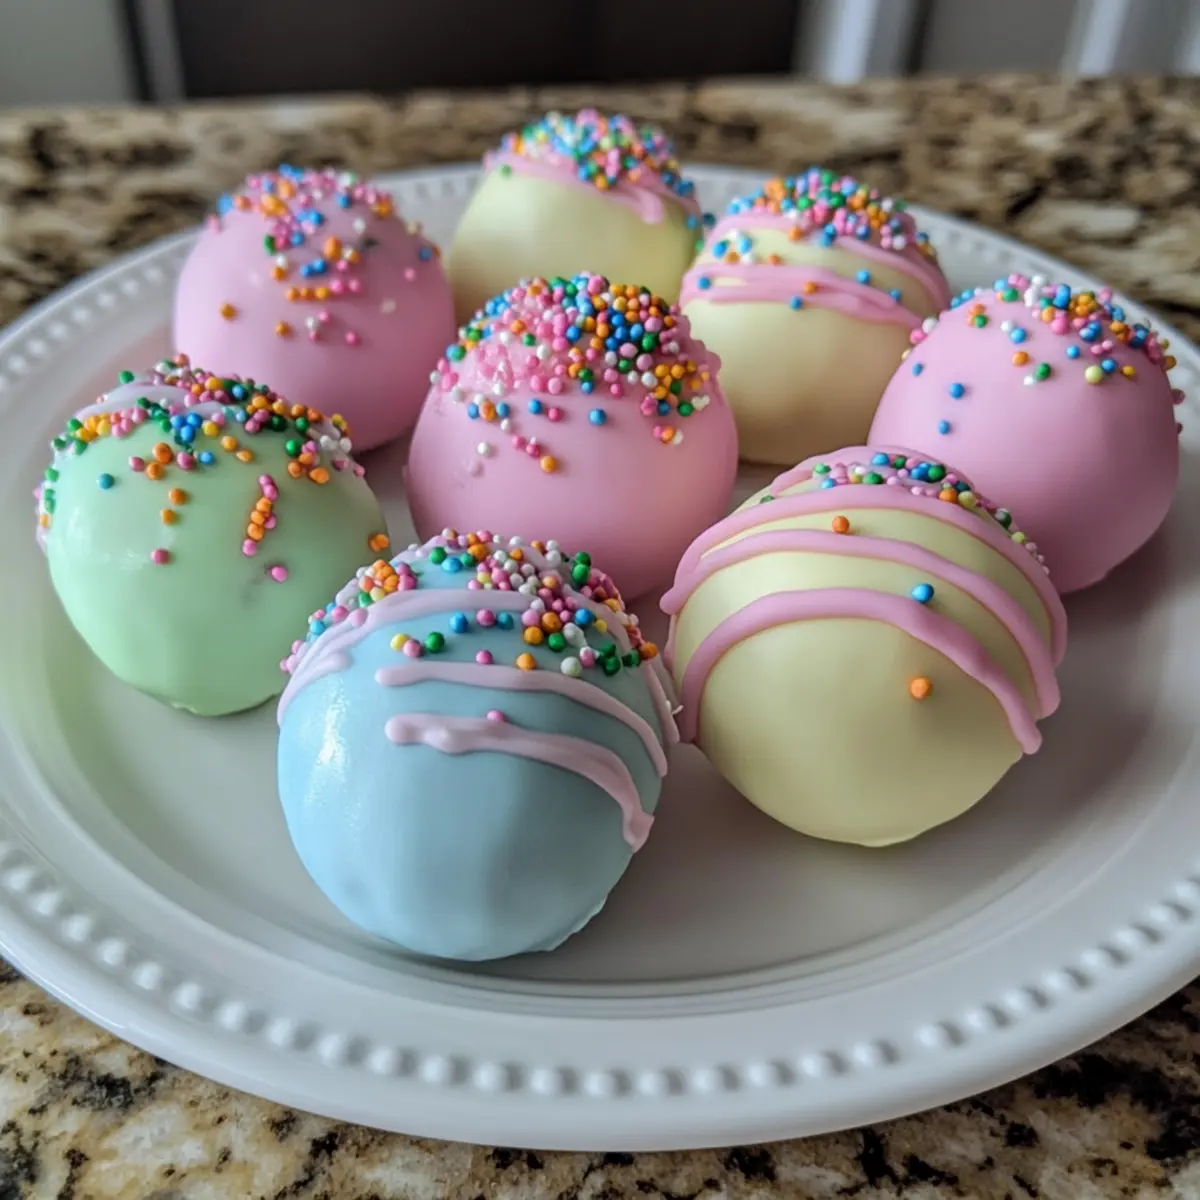
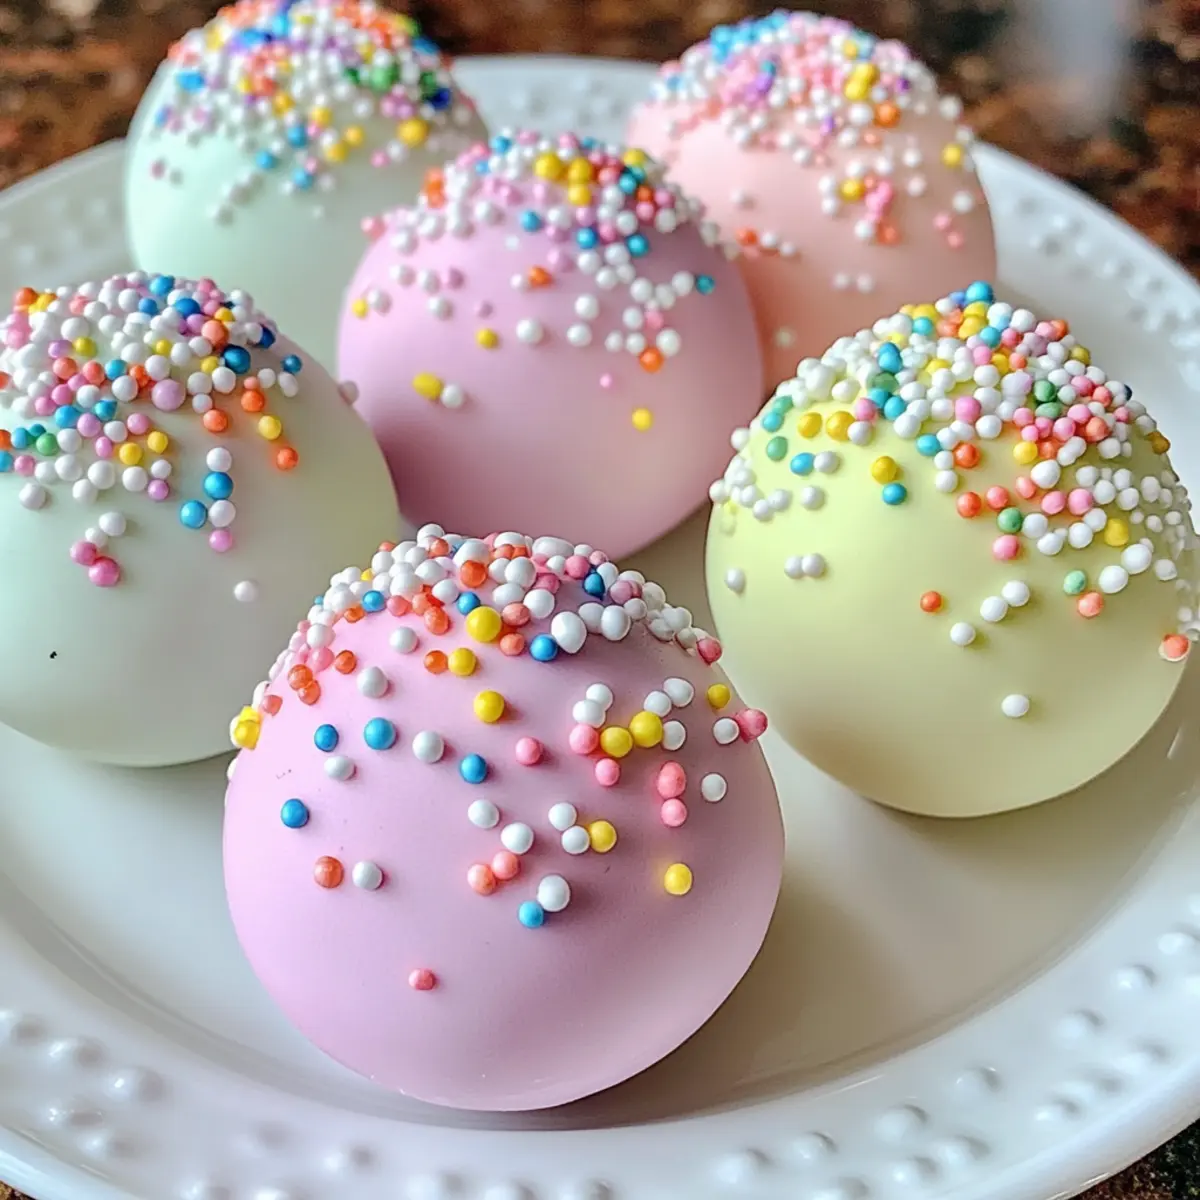
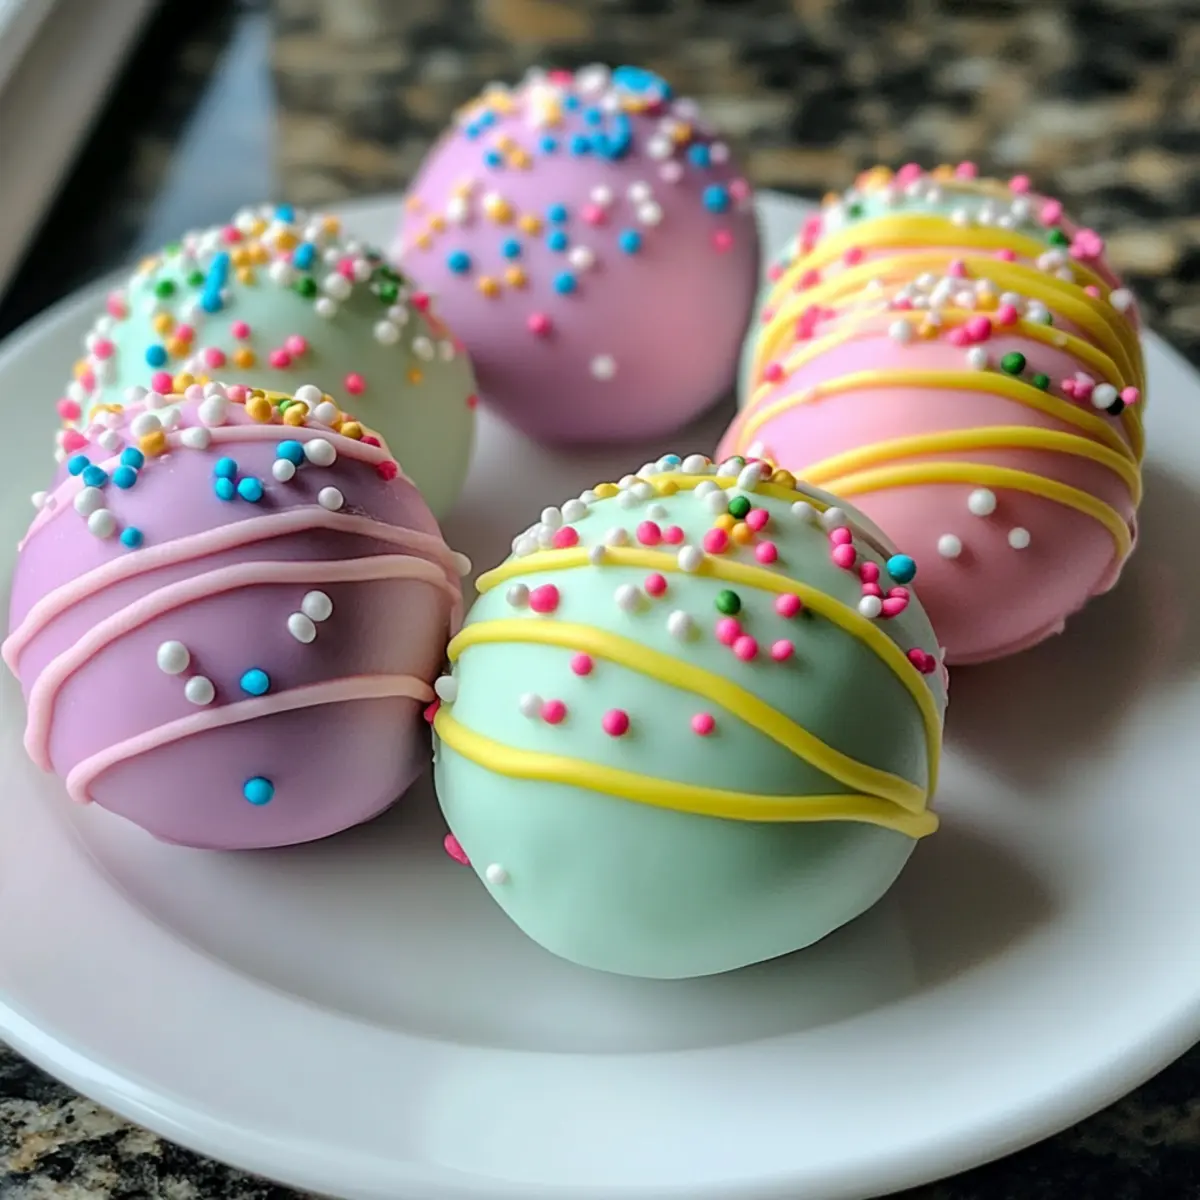
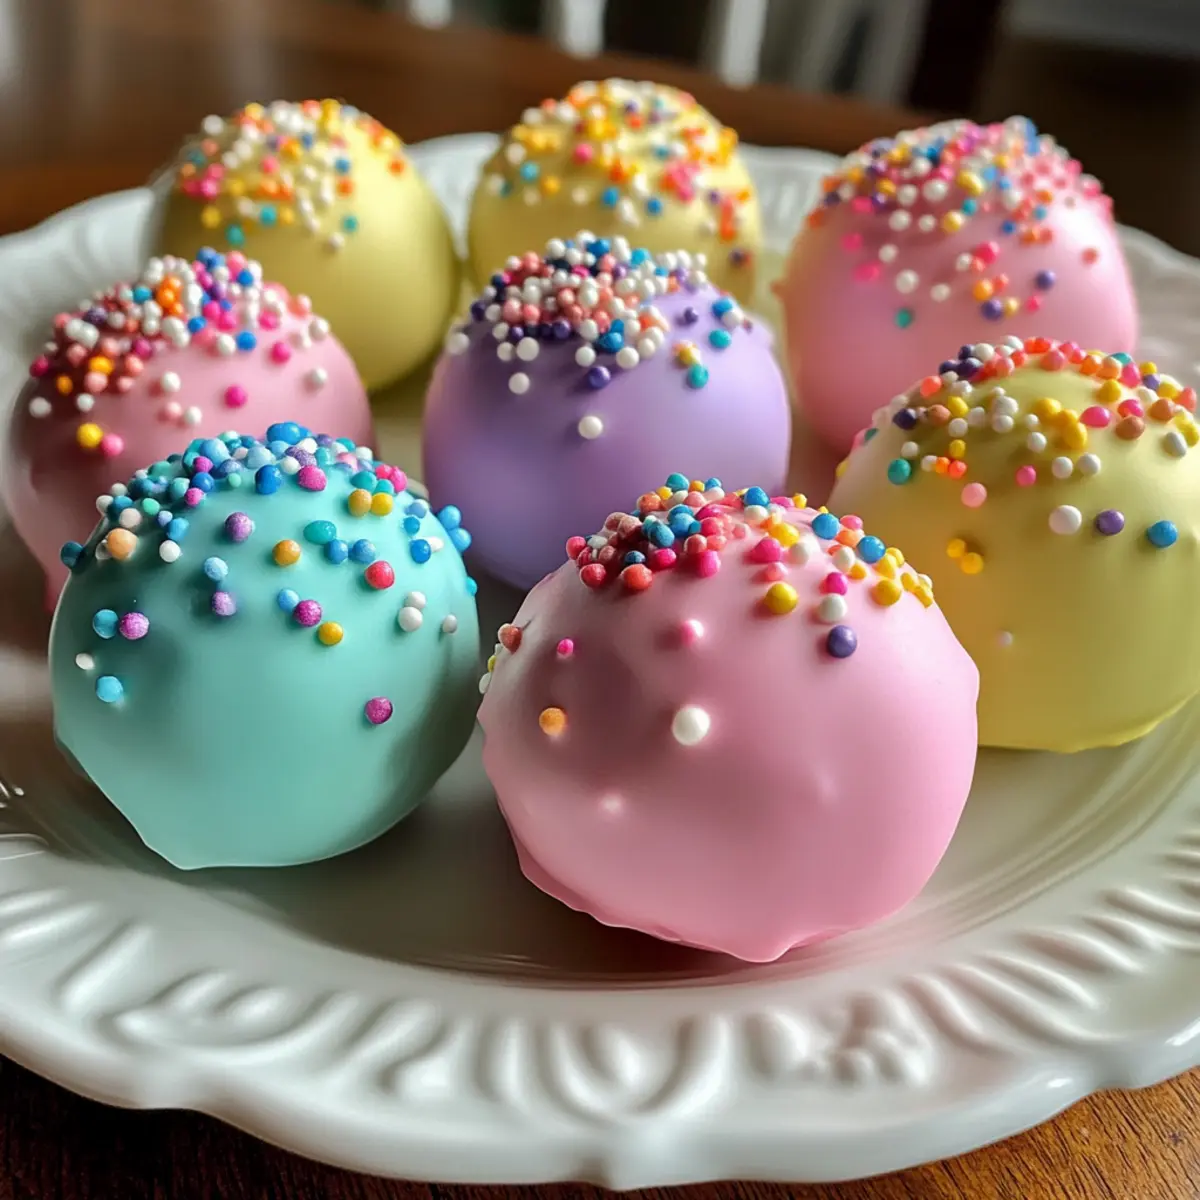
Easter is just around the corner, and I can’t help but feel a rush of excitement thinking about colorful treats that make gatherings feel extra special. Among my favorite festive desserts are these delightful no-bake Easter Egg Oreo Balls. They combine the rich, fudgy goodness of Oreos with a creamy filling, all wrapped up in a vibrant candy shell. Not only are they a breeze to whip up, but they also let you unleash your creativity with customizable decorations—perfect for impressing friends and family! Imagine serving these at your Easter brunch, bringing smiles to both adults and kids alike. Are you ready to dive into a sweet adventure that’s easy to make and even easier to enjoy? Let’s hop into the fun of creating these festive delights!
Why Are These Oreo Balls So Special?
Irresistible no-bake treat: These Easter Egg Oreo Balls come together in a snap, making them a go-to for busy bakers who crave something sweet.
Colorful creativity: With pastel food coloring and fun decorations, you can personalize each treat to match your festive theme!
Rich and creamy: The combination of Oreos and cream cheese creates a decadent interior that will leave everyone craving more.
Perfect for gatherings: These delightful bites appeal to all ages, ensuring they’ll be a hit at your Easter brunch or spring gatherings.
Make-ahead friendly: Prepare them in advance and store them in the fridge or freezer, saving you time and stress on celebration day.
Get inspired to create even more delicious treats, like Savory Egg Muffins or if you’re in the mood for something sweet, try my Ultimate Oreo Cheesecake Recipe.
Easter Egg Oreo Balls Ingredients
For the Filling
• Oreo cookies – The base of these treats, providing rich chocolate flavor and a fudgy texture; feel free to substitute with Golden Oreos for a lighter variation.
• Cream cheese – Adds a creamy texture and binds everything together; reduced-fat or dairy-free cream cheese can work if you’re looking for lighter options.
• Vanilla extract – Optional but enhances the flavor beautifully.
For the Coating
• White candy melts (or white chocolate chips) – Forms the vibrant outer coating; adding coconut oil can improve melting consistency and smoothness.
• Pastel food coloring – Infuses the candy coating with festive colors; gel food coloring is recommended for a more vivid finish.
For Decorations
• Sprinkles, sanding sugar – Optional additions for visual appeal that will elevate your Easter Egg Oreo Balls; personalize them based on your theme!
Get ready to treat your family to these delightful Easter Egg Oreo Balls, the perfect no-bake festive dessert!
Step‑by‑Step Instructions for Easter Egg Oreo Balls
Step 1: Crush Oreos
Start by crushing the Oreo cookies into fine crumbs using a food processor or placing them in a zip-top bag and using a rolling pin. Aim for a sandy texture without any large pieces. This will ensure a smooth filling for your Easter Egg Oreo Balls. Transfer the crumbs to a mixing bowl for the next step.
Step 2: Mix Filling
In the bowl with the crushed Oreos, add softened cream cheese and vanilla extract if desired. Using a spatula or your hands, combine the ingredients until a thick, cohesive dough forms. The mixture should be well-blended, with no visible cream cheese pieces, creating a fudgy base for your delightful treats.
Step 3: Shape Eggs
Scoop out tablespoons of the Oreo mixture and roll each one into an egg shape, about the size of a large walnut. Place each shaped egg on a parchment-lined baking sheet, ensuring they are spaced apart to prevent sticking. This step lays the foundation for your beautiful Easter Egg Oreo Balls.
Step 4: Chill
Refrigerate the shaped eggs for 30 minutes or freeze for about 15 minutes until they are firm to the touch. This chilling process makes them easier to dip later without losing their shape, ensuring that your Easter Egg Oreo Balls maintain a perfect form when coated.
Step 5: Melt Coating
While the eggs are chilling, melt the white candy melts or white chocolate chips according to the package instructions, using a microwave or double boiler. If using chocolate chips, you can add a teaspoon of coconut oil for a smoother consistency. Stir until completely melted and glossy, ready for dipping.
Step 6: Color Coatings
Divide the melted candy into separate bowls if you’d like multiple colors, then mix in pastel food coloring until you achieve your desired hues. The colors should be bright and festive, perfect for your Easter celebration. This step adds an exciting visual touch to your Easter Egg Oreo Balls.
Step 7: Dip Eggs
Remove the chilled egg shapes from the fridge and dip each one into a bowl of colored coating. Allow any excess to drip back into the bowl before placing the coated eggs back on the lined baking sheet. This ensures a lovely, even coating that looks beautiful and festive.
Step 8: Decorate
Before the coating sets, add your chosen sprinkles or sanding sugar on top of each dipped egg. The extra decorations not only enhance appearance but also allow you to personalize each Easter Egg Oreo Ball for your gathering, making them even more special.
Step 9: Set
Allow the coating to harden at room temperature for about 15 minutes or refrigerate for 10 minutes. Once the candy shell is firm, your Easter Egg Oreo Balls will be ready to serve. Enjoy the festive treats that are sure to delight both kids and adults at your Easter gathering!
What to Serve with Easter Egg Oreo Balls
Indulge in a delightful feast by pairing these sweet treats with flavors that complement their rich, creamy interior and vibrant coating.
Creamy Vanilla Ice Cream: A classic pairing, the cold creaminess of vanilla ice cream balances the sweetness of the Oreo balls while enhancing their rich flavors.
Fresh Fruit Salad: Bright, refreshing fruit adds a zesty contrast to the sweetness, making every bite feel lighter and more colorful. Think juicy strawberries, zesty kiwi, and succulent blueberries.
Chocolate Dipped Strawberries: Elevate your dessert table with chocolate-covered strawberries that echo the chocolatey goodness of the Oreo balls, creating a decadent duo everyone loves.
Coffee or Latte: A warm cup of coffee or a frothy latte can provide a perfect contrast to the chilled treats, balancing sweetness and enhancing the overall experience.
Minty Limeade: This refreshing drink offers a tart, zesty kick that complements the rich flavors beautifully, making it a great non-alcoholic option for warm Easter gatherings.
Carrot Cake Cupcakes: Embrace the season’s theme with moist and spiced carrot cake cupcakes, bringing a nostalgic touch that pairs wonderfully with the sweet and creamy Oreo treats.
Chocolate Milkshake: Sipping on a rich and thick chocolate milkshake feels like a celebration of flavors—perfect for kids and adults alike enjoying the festive atmosphere.
Storage Tips for Easter Egg Oreo Balls
Fridge: Store your Easter Egg Oreo Balls in an airtight container in the refrigerator for up to 5 days, keeping them fresh and delicious for your family to enjoy.
Freezer: For longer storage, you can freeze the Oreo Balls in a single layer on a baking sheet, then transfer them to a freezer-safe bag for up to 2 months; just allow them to thaw in the fridge before serving.
Reheating: There’s no need to reheat these treats; simply remove from the fridge or freezer 15-30 minutes before serving to allow them to soften slightly for the best taste and texture.
Wrapping: If you plan to freeze them, ensure each ball is individually wrapped or separated with parchment paper to prevent sticking and preserve their festive appearance.
Expert Tips for Easter Egg Oreo Balls
Blend It Well: Make sure the Oreo mixture is thoroughly combined. This prevents clumps of cream cheese, yielding a smoother consistency in your Easter Egg Oreo Balls.
Egg Size Matters: Aim for consistent egg shapes. This ensures even coating and makes your treats visually appealing, perfect for impressing guests.
Chill for Success: Don’t skip the chilling step! It’s vital for helping the eggs maintain their shape during the coating process, ensuring they look as good as they taste.
Get Creative with Colors: Use gel food coloring for vibrant pastel shades. This enhances the festive look of your Easter Egg Oreo Balls, making them irresistible.
Decoration Delight: Add sprinkles or sanding sugar immediately after coating while it’s still wet. This gives your treats that extra festive touch and a personalized look.
Easter Egg Oreo Balls Variations
Feel free to get creative with your Easter Egg Oreo Balls and tailor them to your taste buds!
- Golden Oreo Twist: Substitute regular Oreos with Golden Oreos for a lighter, vanilla-flavored treat that still delivers on sweetness.
- Dairy-Free Delight: Swap cream cheese with dairy-free alternatives for a vegan-friendly version that everyone can enjoy during the festive season.
- Dark Chocolate Dip: Use dark chocolate instead of white candy melts for a rich, decadent layer that adds depth to each bite.
- Coconut Bliss: Roll the shaped egg balls in shredded coconut instead of candy coating for a tropical flavor that brings sunshine to your celebration.
- Nutty Crunch: Mix in finely chopped nuts, like almonds or hazelnuts, into the Oreo filling for added texture and a delightful crunch.
- Spicy Kick: Add a pinch of cayenne pepper or chili powder to the filling for a surprising heat that contrasts beautifully with the sweetness.
- Minty Freshness: Mix in a few drops of mint extract for a refreshing twist that will awaken your senses, perfect for springtime festivities!
And if you’re inspired to create other sweet treats, consider whipping up some Irresistible No-Bake Oreo Truffles or an Easy No-Bake Oreo Cheesecake to keep the celebration going!
Make Ahead Options
These Easter Egg Oreo Balls are perfect for busy home cooks looking to save time during the holiday rush! You can prepare the filling by mixing the crushed Oreos with cream cheese up to 24 hours in advance. Simply shape the balls and refrigerate them until you’re ready to dip. For best quality, store the shaped eggs in an airtight container to prevent them from drying out. When it’s time to finish, just melt the candy coating, color it as desired, and dip your chilled Oreo balls, allowing them to set before serving. This way, you’ll have delicious Easter Egg Oreo Balls that are just as delightful, with minimal effort on the day of your gathering!
Easter Egg Oreo Balls Recipe FAQs
How do I choose the right Oreos for this recipe?
Absolutely! You can use classic Oreo cookies for a rich chocolate flavor, or if you’re looking for a lighter taste, Golden Oreos make a great substitute. The choice is yours, and both options will create delicious Easter Egg Oreo Balls!
What is the best way to store Easter Egg Oreo Balls?
These delightful treats can be stored in an airtight container in the refrigerator for up to 5 days. If you want to keep them fresh longer, freeze them in a single layer on a baking sheet first, and then transfer them to a freezer-safe bag for up to 2 months. Just remember to let them thaw in the fridge for a few hours before serving!
Can I freeze Easter Egg Oreo Balls?
Yes, you can! To freeze them, first chill the Oreo balls until firm, then place them in a single layer on a baking sheet. Freeze until solid, about 1-2 hours. Once frozen, transfer them to a freezer-safe bag or container, separating each with parchment paper. They can be stored for up to 2 months. When you’re ready to indulge, let them thaw in the fridge for a few hours!
What if my Oreo mixture is too crumbly?
If your mixture seems too dry or crumbly, it likely needs more cream cheese. Start by adding just a tablespoon more, mixing thoroughly, until it reaches a thick, moldable consistency. If it’s still too crumbly, add additional cream cheese a little at a time until you achieve the right texture. This ensures your Easter Egg Oreo Balls are deliciously creamy and hold together perfectly!
Are there any dietary considerations I should keep in mind?
Definitely! If you or someone you’re serving has dietary restrictions, you can use reduced-fat or dairy-free cream cheese as a substitute. You can also opt for gluten-free Oreo cookies. Make sure to check the labels of your pastel food coloring and decorations to confirm they meet any allergy or sensitivity requirements. Enjoy making these Easter Egg Oreo Balls while catering to everyone’s needs!
Delicious Easter Egg Oreo Balls You’ll Love to Make
Ingredients
Equipment
Method
- Start by crushing the Oreo cookies into fine crumbs using a food processor or placing them in a zip-top bag and using a rolling pin.
- In the bowl with the crushed Oreos, add softened cream cheese and vanilla extract if desired. Mix until a thick dough forms.
- Scoop out tablespoons of the Oreo mixture and roll each one into an egg shape, placing them on a parchment-lined baking sheet.
- Refrigerate the shaped eggs for 30 minutes or freeze for about 15 minutes until firm.
- Melt the white candy melts or white chocolate chips according to package instructions.
- Divide the melted candy into separate bowls and mix in pastel food coloring until desired hues are achieved.
- Dip each egg into a bowl of colored coating and allow excess to drip back before placing them back on the baking sheet.
- Before the coating sets, add your chosen sprinkles or sanding sugar on top of each dipped egg.
- Allow the coating to harden at room temperature for about 15 minutes.