

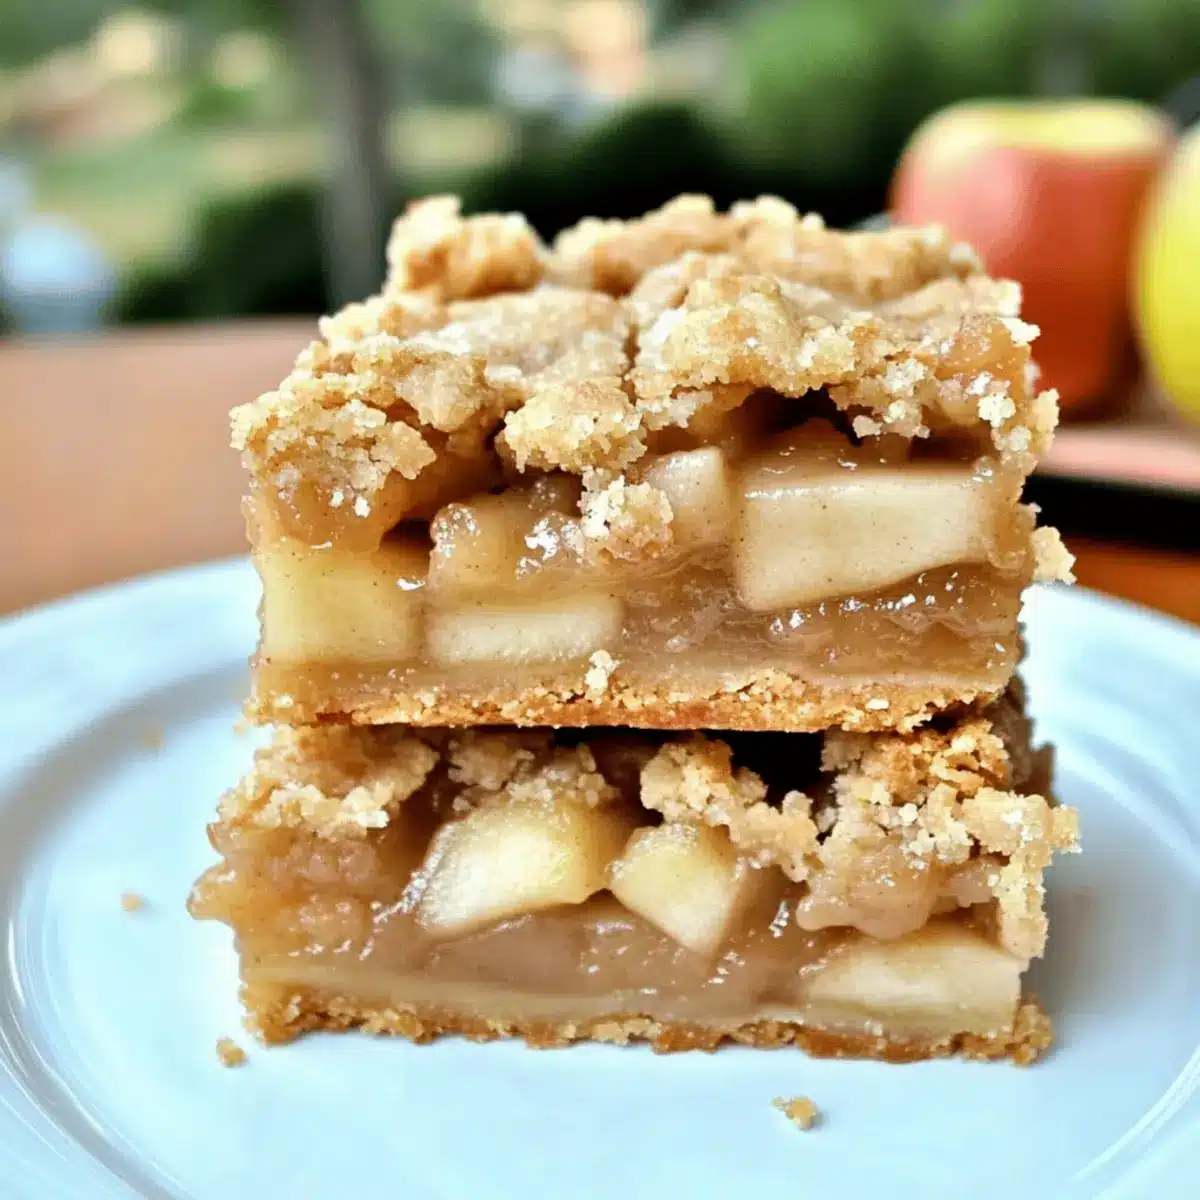
As I strolled through the vibrant farmers’ market last weekend, the aroma of caramelized apples wafting from a nearby stall caught my attention. It reminded me of the cozy fall afternoons spent baking Ina Garten’s Apple Pie Bars. These delightful goodies deliver all the nostalgia of apple pie but in the form of easy-to-eat squares! Not only are they incredibly simple to whip up, but they also lend themselves beautifully to customization based on your favorite apple varieties or spice levels. Whether you’re seeking a crowd-pleaser for a gathering or a comforting treat for a quiet evening at home, these bars are sure to win hearts. Curious about how to create this perfect autumn dessert? Let’s dive into the recipe!
Why Are You Going to Love These Bars?
Simplicity: Making Ina’s Apple Pie Bars is a breeze! With just a few ingredients and simple steps, even novice bakers can impress their family and friends.
Crowd-Pleasing: These bars are perfect for any gathering. Just imagine bringing this delectable treat to a potluck or family dinner — they’re sure to disappear fast!
Customizable: Feel free to switch up the apple varieties or spice levels to make it your own. Whether you prefer tart Granny Smiths or sweet Fujis, the choice is yours!
Time-Saving: Forget the hassle of rolling out pie crust! These bars are quick to prepare and even easier to slice and serve, making them ideal for busy schedules.
Comforting Flavor: With the warm scent of cinnamon and freshly baked apples wafting through your kitchen, these bars evoke the cozy feeling of autumn any time of the year. Enjoy them warm with a scoop of ice cream or a dollop of whipped cream for a delightful treat.
For more delicious dessert ideas, you can check out my Raspberry Cream Pie or my Strawberry Rhubarb Bars for inspiration!
Ina’s Apple Pie Bars Ingredients
For the Crust
- All-Purpose Flour – Provides structure for the crust; substitute with a gluten-free flour blend if needed.
- Unsalted Butter – Adds richness and flavor; margarine can work as a substitute in a pinch.
- Granulated Sugar – Sweetens the crust and filling; consider reducing for a less sweet option.
For the Filling
- Brown Sugar – Adds depth and moisture to the flavorful apple filling.
- Cinnamon – Key spice enhancing the apple flavor; nutmeg can be used for a different spice profile.
- Apples (3 lbs) – The star ingredient providing texture and taste; adjust the type based on your preference.
- Lemon Juice – Balances the sweetness of the apples; vinegar can be a suitable alternative.
Optional Add-ins
- Walnuts – Adds crunch and flavor; omit for a nut-free version.
Indulge in the comforting flavors of Ina’s Apple Pie Bars, where every bite brings home the essence of sweet apples and warm spices.
Step‑by‑Step Instructions for Ina’s Apple Pie Bars
Step 1: Prepare the Crust
Preheat your oven to 350°F (175°C). In a stand mixer, combine all-purpose flour, granulated sugar, and chilled unsalted butter. Blend on low speed until the mixture resembles coarse crumbs, about 2–3 minutes. Press two-thirds of the mixture evenly into a parchment-lined 9×13-inch baking pan, creating a solid base. Reserve the remaining mixture for the topping.
Step 2: Cook the Apples
In a large skillet over medium heat, melt a tablespoon of butter and add the sliced apples, brown sugar, lemon juice, and cinnamon. Sauté for about 10 minutes, stirring occasionally until the apples are just tender, but still hold their shape. Remove from heat, allowing the mixture to cool slightly before spreading it over the crust in the baking pan.
Step 3: Assemble the Bars
Once the apple filling is evenly distributed over the crust, sprinkle the reserved crumb mixture on top. Ensure that the topping covers the apples but allows some visibility of the filling beneath. This will create a delightful crunch once baked.
Step 4: Bake
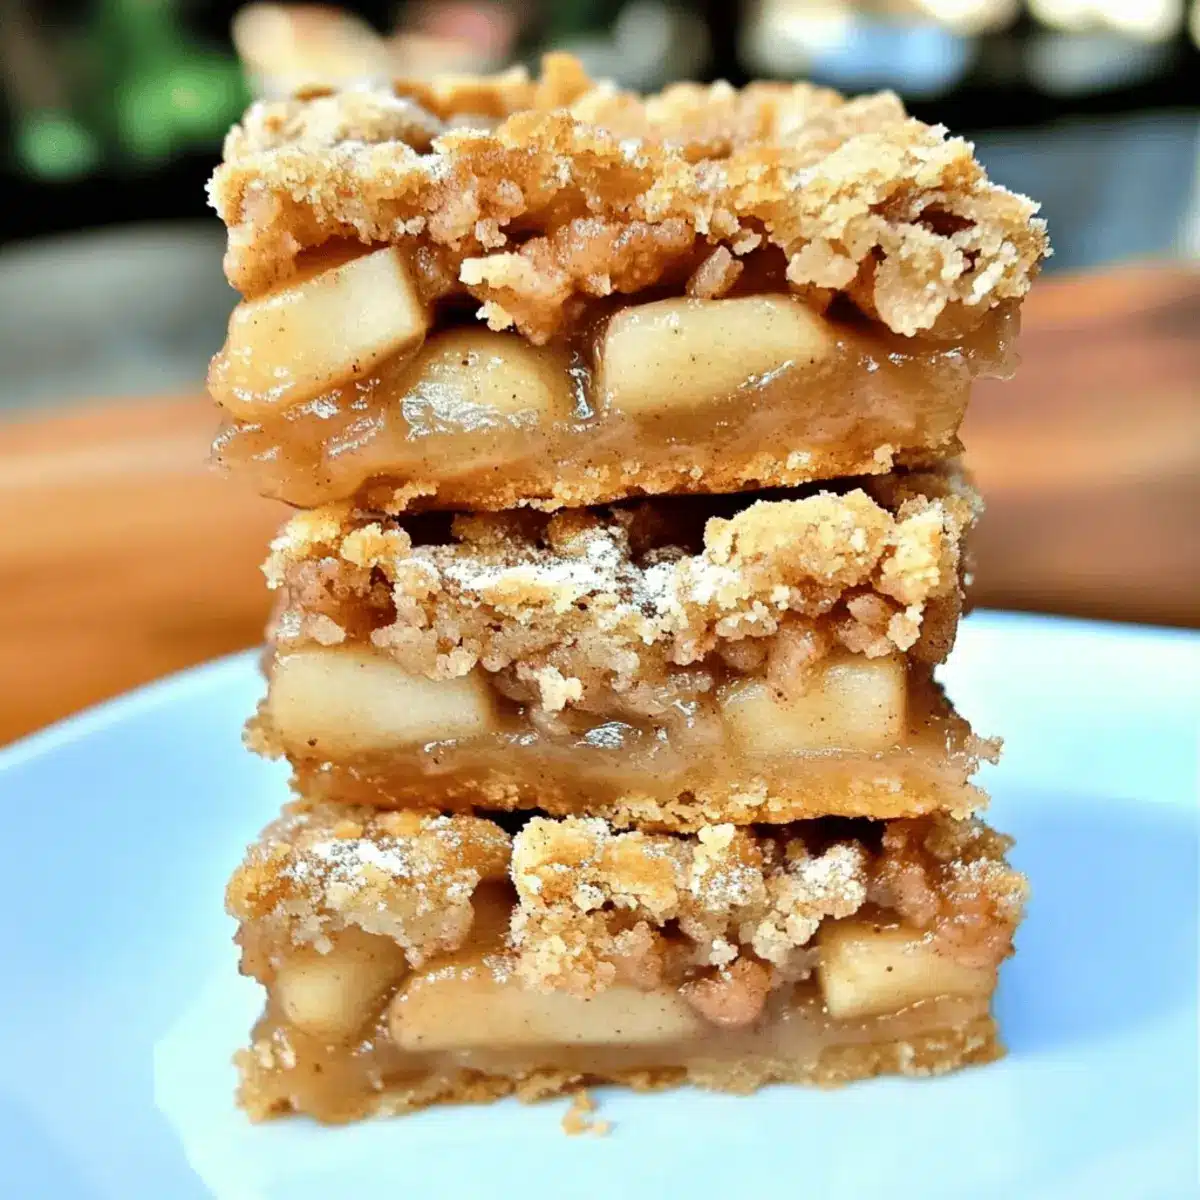
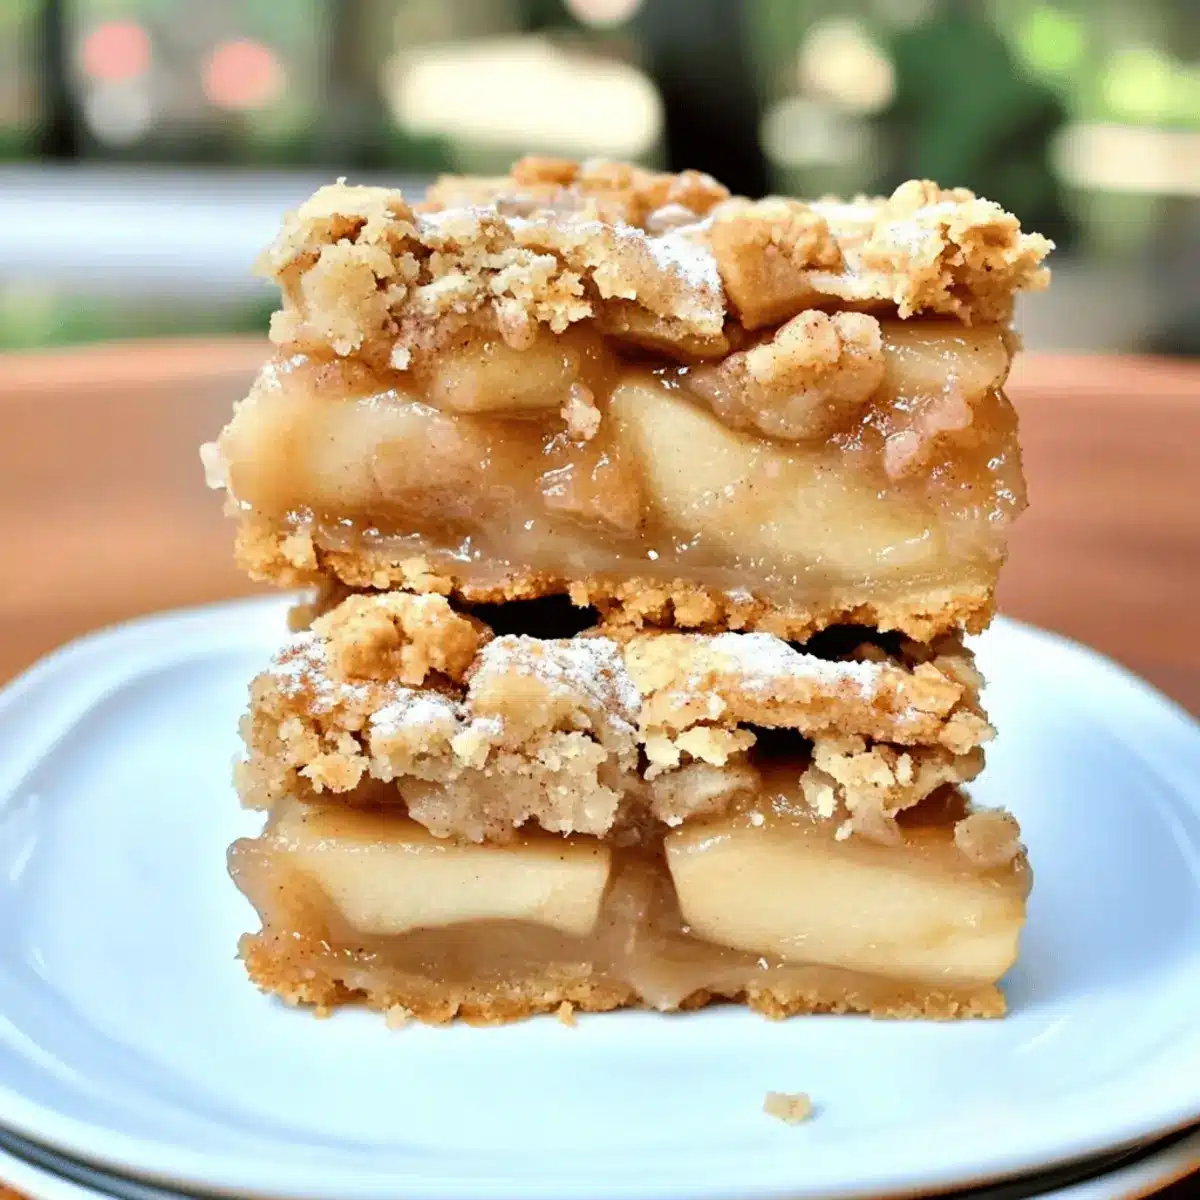
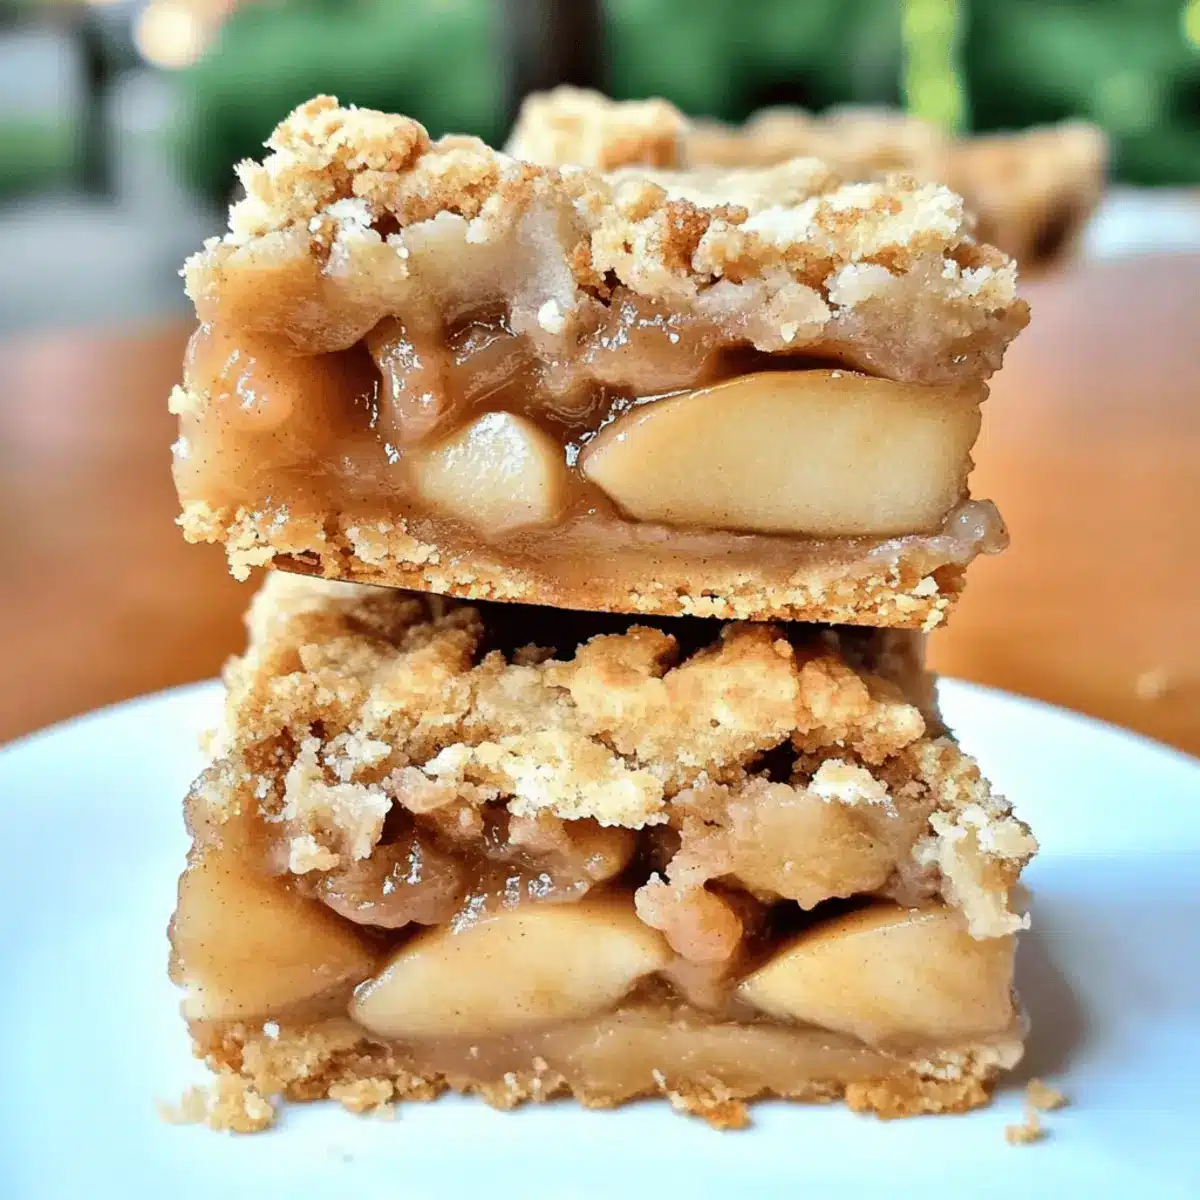
Place the assembled baking pan in the preheated oven. Bake for 45–55 minutes, or until the top is golden brown and the filling is bubbly around the edges. Keep an eye on the color to ensure it doesn’t overbake; a perfect golden crust signals that your Ina’s Apple Pie Bars are ready.
Step 5: Cool and Slice
After baking, remove the pan from the oven and allow it to cool at room temperature for at least 30 minutes. This cooling period helps the bars set properly. Once cooled, slice into squares using a sharp knife, and serve warm, perhaps with a scoop of vanilla ice cream for an extra treat!
What to Serve with Ina’s Apple Pie Bars
Let’s elevate your dessert experience with delightful pairings that enhance the warm and comforting essence of these apple pie bars.
- Creamy Vanilla Ice Cream: The luscious creaminess melts perfectly atop warm bars, creating a joyful contrast of temperatures.
- Whipped Cream: Light and airy, a dollop of fresh whipped cream adds a lovely finish, making each bite a bit more luxurious. Enjoying it this way brings an indulgent feel to the classic dessert.
- Caramel Sauce: Drizzling rich caramel adds a decadent sweetness that pairs beautifully with the spiced apple filling. It’s an irresistible touch that makes each bite even more delightful!
- Chai Latte: With aromatic spices that mimic the flavor profile of the bars, this warm drink will transport you to a cozy café setting. Sip alongside your dessert for a perfect pairing!
- Hot Apple Cider: Channel those autumn vibes with a hot cup of spiced apple cider, enhancing the overall apple experience with each sip. This comforting combo is sure to warm your heart!
- Cheddar Cheese: A hint of sharp cheddar offers an intriguing contrast to the sweetness of the bars, truly celebrating a classic flavor pairing in an unexpected way.
- Lemon Sorbet: A refreshing and bright dessert palate cleanser, this treat will cleanse your taste buds and complement the apple pie bars’ richness.
- Pumpkin Spice Latte: This seasonal favorite mirrors the spices found in the bars and creates an autumnal atmosphere, making for a cozy gathering dish. Perfect for sharing with friends!
- Chocolate Drizzle: A touch of melted dark chocolate can add richness and a delightful bitterness that contrasts beautifully with the sweet apple filling.
Expert Tips for Ina’s Apple Pie Bars
-
Choose the Right Apples: Use a mix of tart (like Granny Smith) and sweet (like Fuji) apples for a balanced flavor. Avoid soft varieties that turn mushy when baked.
-
Don’t Overcook Apples: Sauté the apples just until tender. Overcooking can lead to a filling that’s too soft—aim for a bit of firmness for texture in your Ina’s Apple Pie Bars.
-
Use Parchment Paper: Line your pan with parchment paper to make it easy to lift out the bars after baking. This prevents sticking and makes slicing a breeze.
-
Adjust Sweetness: If you prefer less sweetness, consider reducing the granulated sugar or using a sugar substitute. Taste the apple mixture for balanced flavor before assembling.
-
Let Cool Before Slicing: Allow your bars to cool for at least 30 minutes before slicing. This helps them set and prevents messy, crumbly cuts!
-
Store Properly: Keep leftover bars in an airtight container; they stay fresh at room temperature for up to 3 days and can be refrigerated for longer longevity.
How to Store and Freeze Ina’s Apple Pie Bars
Room Temperature: Store in an airtight container at room temperature for up to 3 days to maintain freshness and flavor.
Fridge: If you want to keep them longer, refrigerate your apple pie bars for up to 1 week. Ensure they’re in a sealed container to prevent them from drying out.
Freezer: These bars freeze wonderfully! Wrap individual squares in plastic wrap and store them in a freezer bag for up to 2–3 months.
Reheating: For a delightful treat, reheat the bars in the microwave for 15-20 seconds or warm them in the oven at 350°F (175°C) for a few minutes until warmed through. Enjoy every bite of your Ina’s Apple Pie Bars!
Ina’s Apple Pie Bars Variations
Feel free to get creative and personalize your Ina’s Apple Pie Bars to suit your taste and dietary needs!
- Gluten-Free: Substitute all-purpose flour with a gluten-free flour blend to cater to those with gluten sensitivities.
- Nut-Free: Omit walnuts entirely or replace them with sunflower seeds for a crunchy texture without nuts. This makes it perfect for school lunches!
- Spice Twist: Experiment with seasonal spices such as ginger or allspice for a unique flavor profile that dances on your taste buds.
- Different Apples: Try a mixture of Granny Smith and Honeycrisp apples for a delightful balance of tartness and sweetness in your filling.
- Caramel Drizzle: Drizzle some caramel sauce over the bars before serving for an indulgent touch that will keep everyone coming back for more!
- Coconut Flakes: Add shredded coconut on top for a tropical twist that adds both flavor and texture, bringing a whole new vibe to this classic dessert.
- Chai Spice: Swap cinnamon for chai spice mix for a warm and aromatic flavor that evokes cozy autumn vibes year-round.
- Lemon Zest: Add lemon zest to the apple filling for an extra zing; it brightens the flavor and complements the sweetness beautifully.
For even more dessert inspiration, dive into my delectable Rhubarb Cinnamon Pie or whip up a batch of my delightful Chipotle Pineapple Chicken Tacos!
Make Ahead Options
These Ina’s Apple Pie Bars are perfect for busy home cooks who want to streamline their meal planning! You can prepare the crust and apple filling up to 24 hours in advance. Simply mix the crust and press it into the baking pan, then sauté the apples, letting them cool before placing them in an airtight container in the refrigerator. When you’re ready to bake, just layer the filling on the prepared crust, sprinkle the reserved crumb topping, and pop it in a preheated oven. To maintain quality, store any leftover bars covered at room temperature for up to 3 days, or refrigerate for longer freshness. Enjoy the convenience of delicious homemade dessert with minimal effort!
Ina’s Apple Pie Bars Recipe FAQs
What type of apples should I use for the filling?
Absolutely! For the best flavor, I recommend mixing tart apples like Granny Smith with sweet ones like Fuji. The tartness complements the sweetness of the sugar and spices beautifully. Avoid soft apples that may turn mushy when baked; you want a firm, chunky texture in your filling.
How should I store the leftover bars?
To keep your delicious Ina’s Apple Pie Bars fresh, store them in an airtight container at room temperature for up to 3 days. If you plan to enjoy them longer, refrigerate them for up to a week. Just ensure they’re well sealed to maintain moisture and flavor.
Can I freeze these apple pie bars?
Yes! These bars freeze beautifully. To do this, wrap each square in plastic wrap and place them in a freezer-safe bag or container. They can be frozen for up to 2-3 months. When you’re ready to indulge, simply reheat in the microwave for about 15-20 seconds or in a preheated oven at 350°F (175°C) for a few minutes until warmed through—perfect for a quick treat!
What if my apple filling became too mushy?
Very! If you find your filling is too soft, the key is to sauté the apples just until they’re tender—about 10 minutes should do it. You want them to retain some bite and moisture without becoming mushy. If you encounter this issue, consider adding an extra tablespoon or two of cornstarch to help thicken the filling next time!
Are these bars nut-free, and can I make them for someone with nut allergies?
Yes! While the recipe includes optional walnuts, you can easily omit them for a nut-free version. Just be sure to double-check all ingredient labels to confirm they are nut-free if you’re cooking for someone with severe allergies. You can also add extra spices for that lovely crunch if desired!
Ina's Apple Pie Bars: Easy, Delicious, and Customizable!
Ingredients
Equipment
Method
- Preheat your oven to 350°F (175°C). In a stand mixer, combine all-purpose flour, granulated sugar, and chilled unsalted butter. Blend on low speed until the mixture resembles coarse crumbs, about 2–3 minutes. Press two-thirds of the mixture evenly into a parchment-lined 9x13-inch baking pan, creating a solid base. Reserve the remaining mixture for the topping.
- In a large skillet over medium heat, melt a tablespoon of butter and add the sliced apples, brown sugar, lemon juice, and cinnamon. Sauté for about 10 minutes, stirring occasionally until the apples are just tender, but still hold their shape. Remove from heat, allowing the mixture to cool slightly before spreading it over the crust in the baking pan.
- Once the apple filling is evenly distributed over the crust, sprinkle the reserved crumb mixture on top. Ensure that the topping covers the apples but allows some visibility of the filling beneath.
- Place the assembled baking pan in the preheated oven. Bake for 45–55 minutes, or until the top is golden brown and the filling is bubbly around the edges.
- After baking, remove the pan from the oven and allow it to cool at room temperature for at least 30 minutes. Once cooled, slice into squares using a sharp knife, and serve warm.