

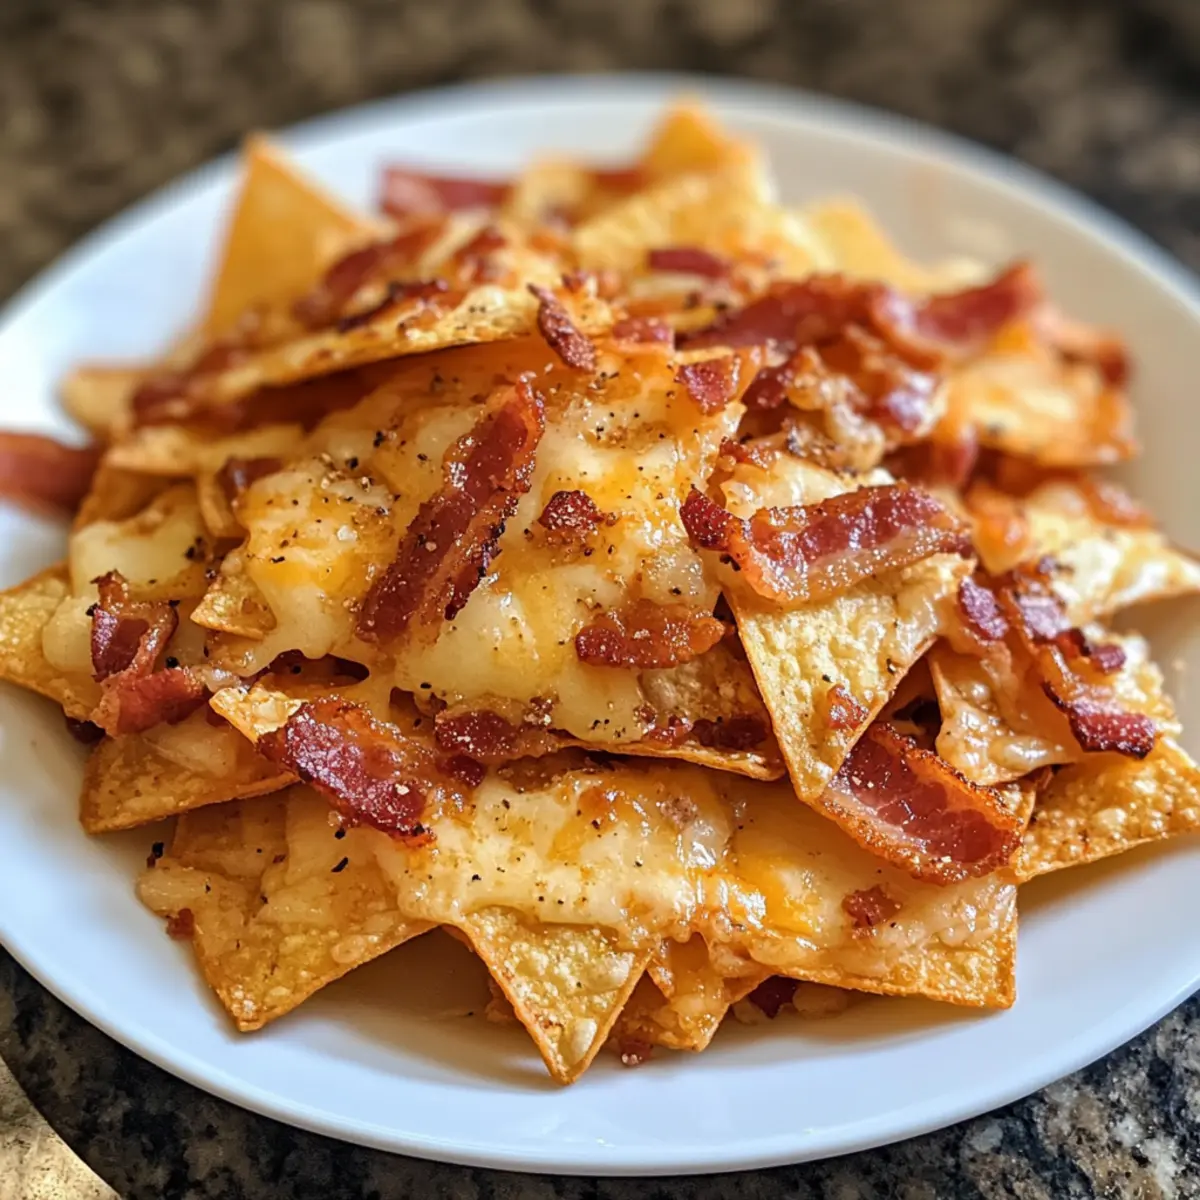
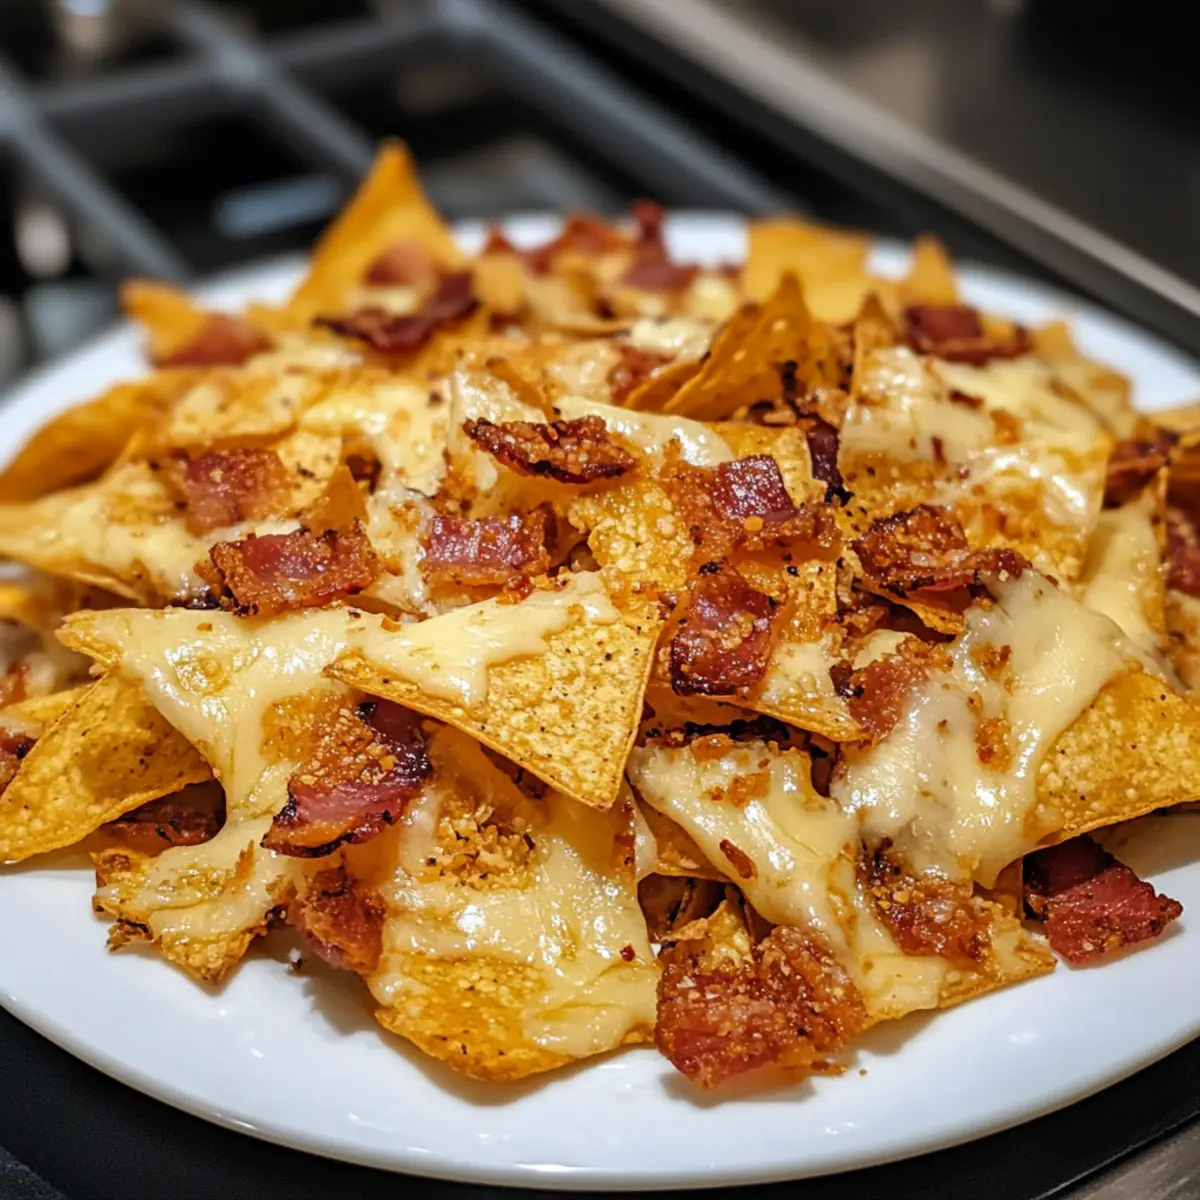
As I reached into the crunchy bag of traditional nacho chips, a fleeting thought made me pause: why not create my own version that fits the keto lifestyle? That’s how these Homemade Keto Cheese Bacon Nachos Chips came to life—crispy, cheesy, and utterly satisfying. Not only are they a fantastic low-carb snack option, but they come together in mere minutes, making them a go-to for any occasion. With each bite, you’ll experience the delightful combination of melted Emmental and cheddar cheese, perfectly complemented by crispy bacon bits, serving as the ultimate indulgence without the guilt. Whether you’re hosting friends or just craving a comforting snack, these nachos deliver big on flavor and texture. Who’s ready to enjoy a guilt-free treat that feels just like a cheat day?

Why Make Keto Cheese Bacon Nachos?
Irresistible Flavor: The bold combination of Emmental and cheddar creates a cheesy depth that’s simply unforgettable.
Quick & Easy: This recipe comes together in just a few minutes, making it perfect for last-minute cravings or laid-back gatherings.
Crispy Delight: Experience ultra-crispy nachos that rival traditional chips, ensuring you won’t miss the carbs at all.
Versatile Snacking: Pair them with guacamole, sour cream, or your favorite salsa for an even more delightful snack experience—ideal for parties!
Health-Conscious Choice: With only about 18 calories per serving, these nachos fit perfectly into your keto or low-carb lifestyle without compromising on taste.
With such an incredible mix of flavor and texture, these Keto Cheese Bacon Nachos are sure to become a staple in your snack rotation!
Keto Cheese Bacon Nachos Chips Ingredients
• Ready to create the ultimate low-carb snack? Let’s dive into what you’ll need!
For the Chips
- Grated Emmental Cheese – This cheese forms the crunchy base and adds a nutty richness; always shred it fresh for the best flavor.
- Grated Cheddar Cheese – Enhances the chip’s flavor with its sharpness; hard cheese works best for optimal crunch.
- Bacon Bits – They provide a savory and crispy element; opt for pre-cooked bits for a quick assembly.
With these simple ingredients, you’re on your way to making delightful Keto Cheese Bacon Nachos Chips that will satisfy your cravings without the carbs!
Step‑by‑Step Instructions for Keto Cheese Bacon Nachos Chips
Step 1: Preheat the Oven
Begin by preheating your oven to 200°C (390°F). This step is crucial to ensure that your Keto Cheese Bacon Nachos Chips bake evenly and achieve that perfect crispy texture. While the oven warms up, make sure to prepare your baking sheet with parchment paper—this will prevent sticking and facilitate easy cleanup later.
Step 2: Prepare the Cheese
Next, grab your block of Emmental cheese and shred it fresh to maximize flavor and avoid any additives. You’ll want to use a course grater for a chunky texture. Repeat this process with the Cheddar cheese. It’s essential to work with fresh cheese for the best results, so set aside a generous amount of both cheeses for layering.
Step 3: Arrange the Cheese Layer
Once your cheeses are shredded, spread an even layer of Emmental cheese across the prepared parchment-lined baking sheet. Make sure to cover the surface fully, creating a solid base for your delicious nachos. This step ensures that each chip delivers that delightful nuttiness characteristic of your Keto Cheese Bacon Nachos Chips.
Step 4: Add the Bacon
Sprinkle the crispy bacon bits evenly over the Emmental cheese layer. This is where the savory goodness begins to shine! The bits should be distributed well to ensure each nacho chip gets that delicious bacon flavor. You’ll love seeing the rich blend of colors as your chip base starts to come together.
Step 5: Top with Cheddar
Now, cover your bacon-topped layer with shredded Cheddar cheese, ensuring it blankets the mix completely. This adds a beautiful sharpness and helps bind everything together as it bakes. The contrasting colors of the cheeses will make your nachos look appetizing. You’re just moments away from a delightful crunchy snack!
Step 6: Bake to Perfection
Slide the baking sheet into your preheated oven and allow the mixture to bake for approximately 9 minutes. Watch closely as the cheese melts and starts to bubble—this is a sign that your Keto Cheese Bacon Nachos Chips are getting delicious! The aroma of melted cheese and crispy bacon will surely fill your kitchen with delight.
Step 7: Cool and Cut
After baking, remove the baking sheet from the oven and let the cheesy nacho creation cool for a few minutes. Once slightly firm, take a pair of kitchen scissors or a sharp knife and carefully cut the cheese mixture into strips. This method is ideal for preserving the chips’ integrity and results in even shapes.
Step 8: Triangle Time
With your strips ready, cut each strip into triangular pieces that mimic traditional nachos. For an extra crispy finish, return them to the oven on the baking sheet. Broil for an additional 1-2 minutes, keeping a close eye to avoid burning. You’ll know they’re ready when they’re golden and crispy, making for an irresistible snack!
Step 9: Serve and Enjoy
Once crispy, remove from the oven and let your Keto Cheese Bacon Nachos Chips cool for just a moment. Serve them warm with your favorite dips like guacamole or sour cream for an extra scrumptious treat. Feel free to savor each crunchy bite while knowing you’ve made a fantastic low-carb snack that everyone will love!
Expert Tips for Keto Cheese Bacon Nachos Chips
• Fresh Cheese Only: Always shred cheese from a block rather than using pre-shredded cheese to avoid added starches that affect crispiness.
• Don’t Overbake: Keep an eye on the nachos while baking; they should be bubbly but not burnt for the best flavor and texture.
• Cut with Care: Use scissors for cutting the chips to maintain their shape and prevent breakage, ensuring your Keto Cheese Bacon Nachos Chips are perfectly uniform.
• Broil for Extra Crisp: If you crave extra crunch, a brief broil at the end will enhance the texture beautifully—just watch them closely!
• Storage Tips: Store any leftovers in an airtight container at room temperature; they stay crispy longer that way.
• Customize Your Flavor: Experiment by adding herbs or spices before baking to give your nachos a personal twist, elevating the flavor even more!
What to Serve with Homemade Keto Cheese Bacon Nachos Chips
Creating a mouthwatering spread to enjoy alongside these delightful crisps brings your snacking experience to a whole new level.
-
Guacamole: This creamy avocado dip adds a smooth texture and healthy fats, perfectly balancing the crunchiness of the nachos. It’s also a crowd-pleaser at gatherings!
-
Sour Cream: A cool dollop of sour cream enhances each bite with its tangy richness, making it a classic pairing that never disappoints. The contrast between the crispy nachos and smooth sour cream is pure bliss.
-
Spicy Salsa: A zesty salsa brings freshness and zing to the nachos, lighting up your taste buds with a burst of flavor. The acidity from the tomatoes beautifully complements the savory elements of the nachos.
-
Cheddar Cheese Sauce: Drizzling on warm cheese sauce takes your nacho experience to decadent heights, ensuring every chip is bathed in cheesy goodness. This indulgent option is especially popular during game nights!
-
Olives: Black or green olives offer a briny pop that contrasts wonderfully with the cheesy, crunchy nachos. They add a lovely Mediterranean twist that many will adore.
-
Wine or Craft Beer: Pair this savory snack with a light-bodied wine or a refreshing craft beer to elevate your at-home experience. The carbonation in beer or the acidity in wine cuts through the richness, creating harmony with the nachos.
By serving these delightful options alongside your Homemade Keto Cheese Bacon Nachos Chips, you’re sure to impress guests and indulge in a truly satisfying meal!
Make Ahead Options
These Homemade Keto Cheese Bacon Nachos Chips are perfect for meal prep and can save you time during your busy week! You can prepare the cheese and bacon layers up to 24 hours in advance by shredding the cheeses and combining them with the bacon bits. Simply store them in an airtight container in the refrigerator. When you’re ready to serve, spread the mixture on a parchment-lined baking sheet and bake as directed. For the best quality, be sure to let the mixture sit at room temperature for about 15-20 minutes before baking, ensuring your chips turn out just as delicious and crispy as when made fresh!
Storage Tips for Keto Cheese Bacon Nachos Chips
Room Temperature: Store the nachos in an airtight container at room temperature to maintain their delightful crispiness for up to 3 days.
Refrigeration: If you prefer, you can refrigerate the nachos, but they may lose their crunch. Enjoy within 1-2 days for the best texture.
Freezer: For longer storage, freeze the chips in a single layer, then transfer to an airtight container or freezer bag for up to 1 month. Reheat in the oven to regain crispness.
Reheating: To reheat, place the nachos on a baking sheet and bake at 180°C (350°F) for about 5-7 minutes, or until crispy again. Enjoy your Keto Cheese Bacon Nachos Chips with their original crunch!
Keto Cheese Bacon Nachos Chips: Delicious Variations
Feel free to let your creativity shine as you make these delightful nachos truly your own!
-
Cheese Swap: Opt for Gouda or Swiss instead of Emmental for a different flavor twist; each brings its unique richness.
-
Spicy Kick: Add jalapeños or crushed red pepper flakes to the cheese layer for a zesty kick that perfectly complements the savoriness.
-
Herbed Upgrade: Incorporate Italian herbs like oregano or basil into the cheese before baking to elevate the taste; this adds an aromatic touch.
-
Texture Twist: For a unique crunch, consider adding finely chopped nuts, such as almonds or pecans, in addition to the bacon; they lend a delightful contrast.
-
Shape Variations: Use a Dash Chaffle Maker for cute mini nacho chips that are perfect for snacks or sharing; these mini delights pack the same great taste!
-
Smoky Flavors: Try smoked paprika or a dash of liquid smoke in the cheese mix to add depth and complexity to your nacho flavor profile.
-
Creamy Base: Introducing a layer of cream cheese spread can add a luscious texture beneath the shredded cheese; it melts beautifully into an indulgent layer.
-
Sweet Twist: Pair with a small drizzle of sugar-free barbecue sauce after baking for a surprising sweet and savory combination that perfectly complements the chips.
Enjoy experimenting with these variations, and don’t miss out on trying them alongside classic options like Pulled Pork Nachos or Bbq Chicken Nachos to keep snack time exciting!
Keto Cheese Bacon Nachos Chips Recipe FAQs
How do I choose the best cheese for the nachos?
Absolutely! I recommend using freshly shredded Emmental and cheddar cheeses for the best flavor and texture. Avoid pre-shredded options as they often contain additives that can affect the crispiness. Look for hard cheeses—Emmental provides a nutty richness, while cheddar adds sharpness.
How should I store the nachos after making them?
To keep your Keto Cheese Bacon Nachos Chips crispy, store them in an airtight container at room temperature for up to 3 days. If you want to save them longer, you can refrigerate them, but I find that they lose some crunch. For longer storage, consider freezing—this will keep them fresh for up to 1 month!
Can I freeze these nachos?
Yes, you can! Allow the nachos to cool completely, then arrange them in a single layer on a baking sheet and place it in the freezer for 1 hour. Once frozen, transfer the chips to an airtight container or freezer bag. When you’re ready to enjoy them again, reheat in the oven at 180°C (350°F) for about 5-7 minutes to restore their crispiness.
What if my chips don’t get crispy?
No worries! If they’re not crispy, it could be due to using pre-shredded cheese or baking at a lower temperature. Make sure to shred your cheese fresh from a block and keep an eye on them while baking. If underbaked, return them to the oven and broil for 1-2 additional minutes for a perfect crisp!
Are these nachos suitable for special diets?
Definitely! These Keto Cheese Bacon Nachos Chips are gluten-free, low-carb, and diabetic-friendly, making them a fantastic snack for various dietary needs. Always double-check your specific cheese and bacon products to ensure they align with your dietary preferences. Enjoy without guilt!
Keto Cheese Bacon Nachos Chips for the Ultimate Crunchy Snack
Ingredients
Equipment
Method
- Preheat your oven to 200°C (390°F) and prepare a baking sheet with parchment paper.
- Shred the Emmental and Cheddar cheese fresh using a course grater.
- Spread an even layer of Emmental cheese across the parchment-lined baking sheet.
- Sprinkle the bacon bits evenly over the Emmental cheese layer.
- Cover the bacon layer with shredded Cheddar cheese.
- Bake in the preheated oven for approximately 9 minutes until cheese melts and bubbles.
- Remove from the oven, cool for a few minutes, and cut into strips.
- Cut each strip into triangular pieces and broil for an additional 1-2 minutes for extra crisp.
- Let cool slightly, then serve warm with dips like guacamole or sour cream.