

As I stood in my kitchen, the sweet aroma of chocolate wafted through the air, instantly lifting my spirits. Today, I’m excited to share my recipe for Loaded Brownie Cheesecake Cups – the ultimate dessert mashup that combines the best of both worlds: fudgy brownies and rich cheesecake. These delightful little cups are not only visually stunning but are also incredibly easy to whip up, making them perfect for impressing guests or indulging during a cozy night in. Plus, they can be made ahead of time, which is a lifesaver for busy weekends! Whether you choose to stick with the classic version or dive into variations like Peanut Butter Swirl or Mint Chocolate, I promise each bite will transport you to dessert bliss. Ready to dive into a world of creamy decadence? Let’s get started!
Why are Loaded Brownie Cheesecake Cups irresistible?
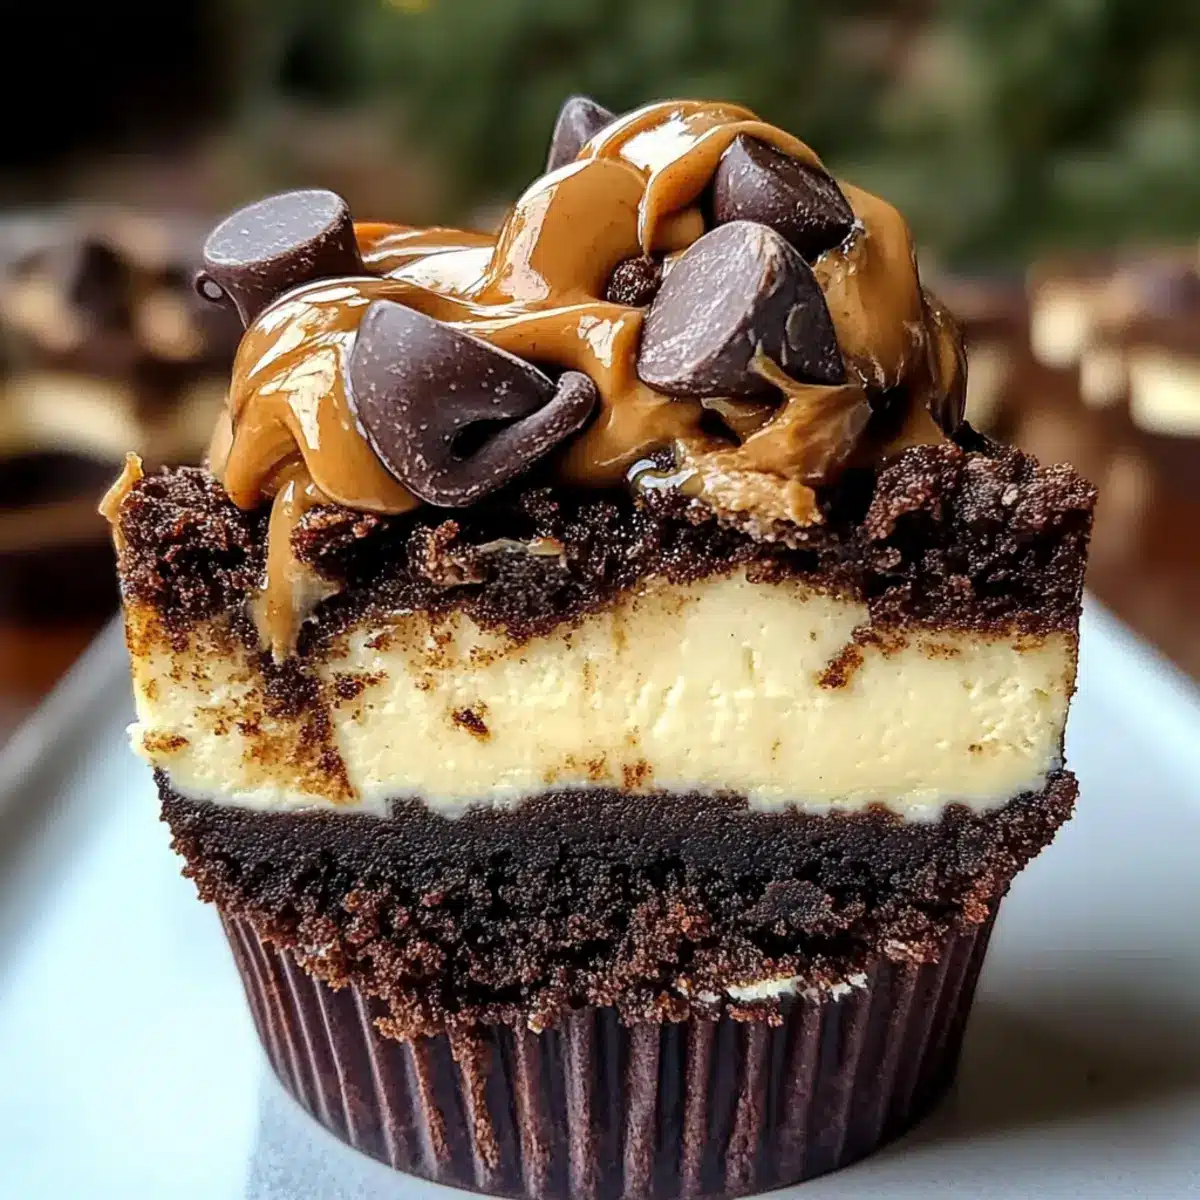
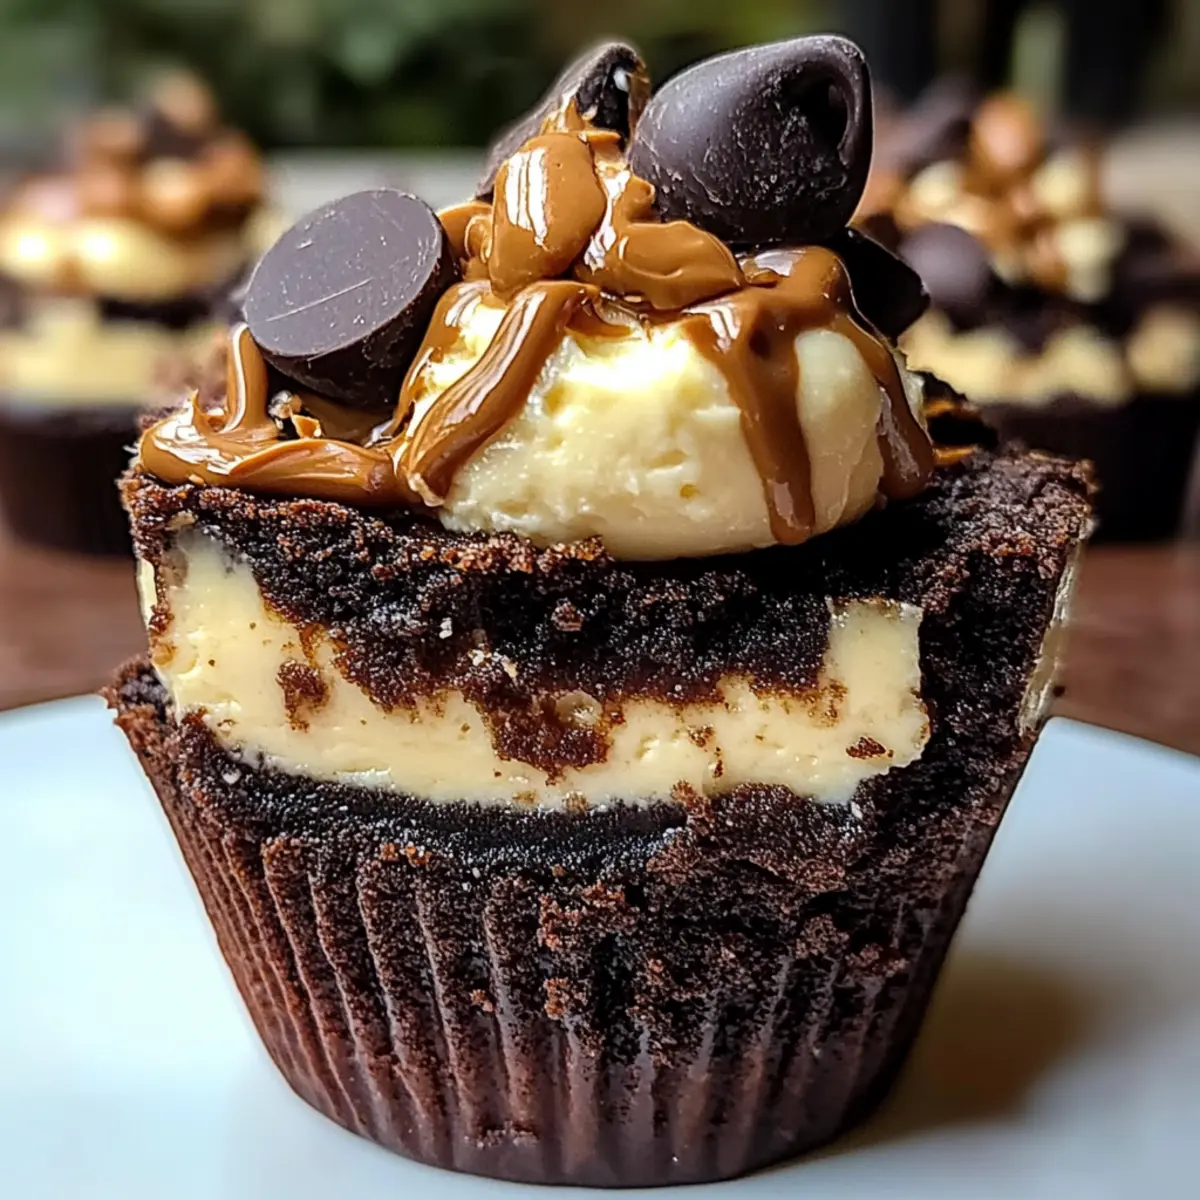
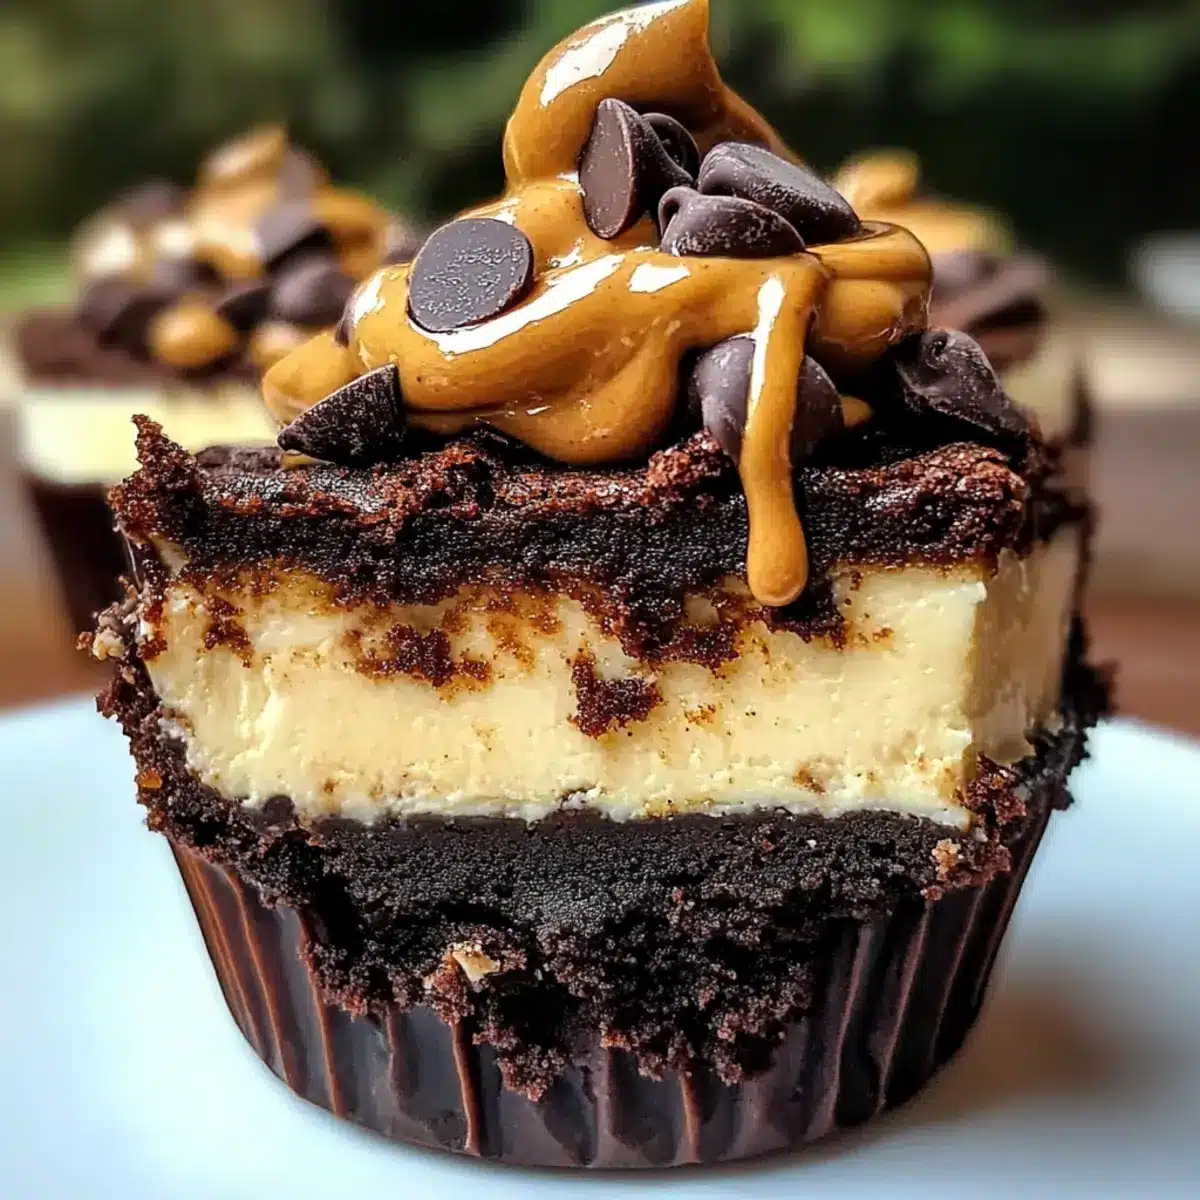
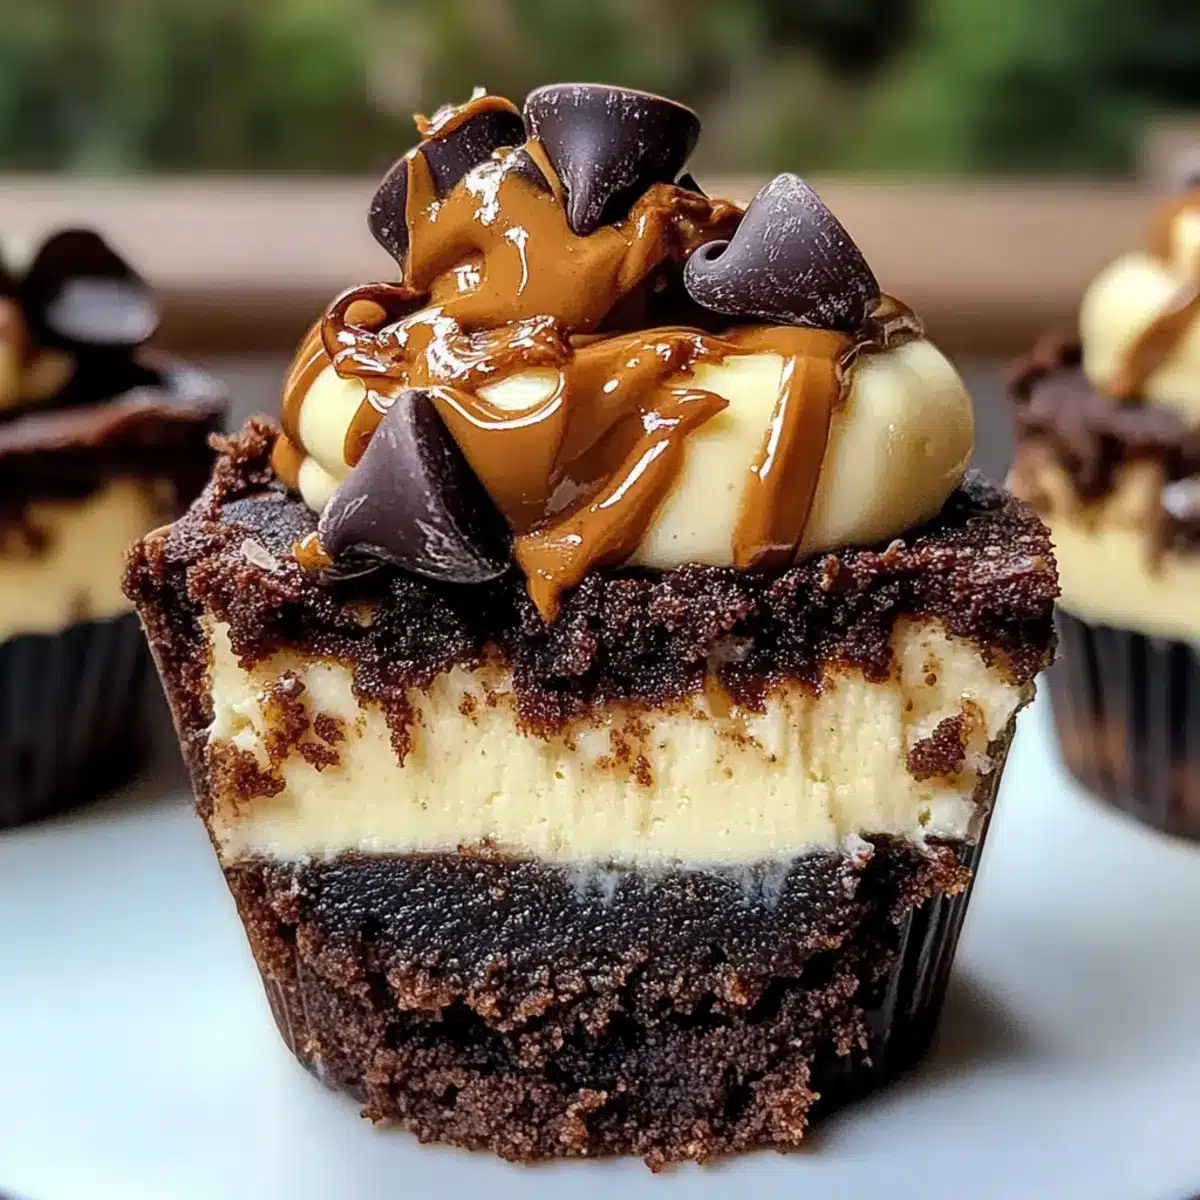
Decadent Layers: The rich, fudgy brownie base combined with a smooth cheesecake layer creates a flavor explosion that’ll keep you coming back for more.
Quick to Make: Even with these irresistible layers, the process is brilliantly straightforward, making it easy for both novice cooks and seasoned chefs.
Make-Ahead Magic: Perfect for busy weeks, these cups can be prepared in advance and chilled, allowing you to enjoy a delicious dessert without the last-minute rush.
Versatile Variations: Whether you choose a Peanut Butter Swirl or Mint Chocolate twist, there’s a flavor for every dessert lover.
Crowd-Pleasing Delight: Ideal for gatherings, these loaded cups look and taste like they came from a bakery, sure to impress friends and family alike.
For more delightful desserts, try the Oreo Cheesecake Indulge or explore the tangy Rhubarb Streusel Cheesecake.
Loaded Brownie Cheesecake Cup Ingredients
For the Brownie Base
• Melted Butter – Adds richness and moisture to the brownie base; substitute with coconut oil for a dairy-free option.
• Granulated Sugar – Provides sweetness to balance the bittersweet cocoa perfectly.
• Eggs – Bind the mixture and add structure; ensure they are at room temperature for better emulsification.
• Vanilla Extract – Enhances the overall flavor; use pure vanilla for the best results.
• Cocoa Powder – Imparts a deep chocolate flavor; opting for high-quality cocoa makes a noticeable difference.
• All-Purpose Flour – Gives structure to the brownie; a gluten-free option can be made using a 1:1 gluten-free flour blend.
• Salt – Balances sweetness and enhances the overall flavor.
• Mini Chocolate Chips – Adds bursts of chocolate; they’re optional but highly recommended.
For the Cheesecake Layer
• Cream Cheese – The base of the cheesecake layer, providing richness; use full-fat for the creamiest texture.
• Granulated Sugar (for cheesecake) – Sweetens the creamy layer, blending perfectly with the cream cheese.
• Sour Cream – Adds moisture and tanginess to the cheesecake filling.
Optional Toppings
• Peanut Butter – Drizzle in or swirl before baking for that extra richness in your Peanut Butter Swirl variation.
• Mint Extract – Add to the cheesecake for a refreshing Mint Chocolate variation; mix in mint chocolate chips for an extra punch.
Diving into making these Loaded Brownie Cheesecake Cups means treating yourself to an indulgent experience that combines the best elements of both dessert worlds!
Step‑by‑Step Instructions for Loaded Brownie Cheesecake Cup
Step 1: Prepare the Brownie Base
Preheat your oven to 325°F (165°C) and line a muffin tin with cupcake liners. In a mixing bowl, combine melted butter and granulated sugar until well blended. Next, whisk in room temperature eggs and vanilla extract. In a separate bowl, mix together cocoa powder, all-purpose flour, and salt, then fold this dry mixture into your wet ingredients. Finally, stir in mini chocolate chips for added delight.
Step 2: Bake Brownie Layer
Spoon the brownie batter into each cupcake liner, filling them about one-third full. Place the muffin tin in the preheated oven and bake for approximately 10-12 minutes, or until set around the edges but still slightly soft in the center. Keep an eye out for the brownie base to no longer appear glossy, signaling it’s ready for the next step.
Step 3: Make the Cheesecake Filling
While the brownie layer bakes, prepare the cheesecake filling. In a mixing bowl, beat softened cream cheese until smooth and creamy. Gradually mix in granulated sugar until fully incorporated, then add eggs one at a time, mixing well after each addition. Lastly, blend in sour cream and vanilla extract until the mixture is completely smooth and silky, making it the perfect topping for your Loaded Brownie Cheesecake Cups.
Step 4: Assemble and Bake
Once the brownie layer is done baking, remove it from the oven and pour the cheesecake mixture over the top, filling each cup to the brim. For even baking, place the muffin tin inside a larger pan filled with hot water, creating a water bath. Return the setup to the oven and bake for an additional 20-25 minutes, until the edges are firm but the centers retain a gentle jiggle.
Step 5: Cool Gradually
To prevent cracking, turn off the oven and leave the door ajar, allowing the Loaded Brownie Cheesecake Cups to cool for 30 minutes inside. Afterward, let them cool completely at room temperature before transferring to the refrigerator. For best results, chill for at least 4 hours, or overnight, to set the layers beautifully and enhance the flavors.
What to Serve with Loaded Brownie Cheesecake Cups
Elevate your dessert experience with delightful pairings that complement these decadent treats beautifully.
-
Fresh Berries: Adding a handful of strawberries, raspberries, or blueberries balances the rich flavors with a burst of freshness. Their natural sweetness and acidity cut through the creamy cheesecake, providing a pleasing contrast.
-
Whipped Cream: A dollop of lightly sweetened whipped cream provides a light, airy texture that enhances the richness of the brownie and cheesecake combination. It adds a fluffy component that makes each bite a blissful experience.
-
Chocolate Drizzle: An elegant drizzle of melted chocolate over the top adds an indulgent touch, accentuating the dessert’s flavor while offering an appealing visual element. This simple decoration enhances the chocolate experience further.
-
Vanilla Ice Cream: The creamy simplicity of vanilla ice cream pairs wonderfully, creating a delightful temperature contrast that elevates the dessert to new heights. The cold, creamy ice cream perfectly balances the warm notes of the brownie base.
-
Coffee: A warm cup of coffee or espresso serves as a perfect companion to these cups, bringing out the chocolate notes even more. The slight bitterness of coffee complements the sweetness beautifully and enhances the overall flavor profile.
-
Mint Tea: For those looking for a refreshing drink, a warm cup of mint tea offers a wonderful palate cleanser between bites. It refreshes your taste buds and enhances any mint variations of the Loaded Brownie Cheesecake Cups.
Loaded Brownie Cheesecake Cup Variations
Feel free to unleash your creativity by customizing these delightful dessert cups to make them uniquely yours!
- Peanut Butter Swirl: Stir in warm peanut butter before baking for a luscious layer, or top with chopped peanut butter cups for added crunch. The peanut butter enhances the richness while balancing the chocolate beautifully.
- Mint Chocolate: Add peppermint extract to the cheesecake filling and fold in mint chocolate chips for a refreshing twist. This variation feels like enjoying a classic mint chocolate treat in cupcake form!
- Dairy-Free Delight: Substitute cream cheese and sour cream with dairy-free alternatives, like cashew cream, for a similar creamy texture without dairy. The results are still indulgent and satisfying!
- Dark Chocolate: Use dark chocolate cocoa powder and chocolate chips to create a deeper, richer chocolate flavor. This twist is perfect for true chocolate lovers craving a more intense experience.
- Nutty Crunch: Fold in chopped nuts like walnuts or pecans into the brownie batter. This not only adds texture but also an enjoyable nutty flavor that pairs perfectly with the cheesecake layer.
- Fruity Fusion: Top the cheesecake layer with a mix of seasonal fruits, like raspberries or strawberries, for a burst of freshness. This fruity addition brightens the dessert, making it a delightful option for warm days.
- Spicy Kick: For those who love a bit of heat, add a pinch of cayenne pepper or chili powder to the brownie layer. This unexpected twist will delight adventurous eaters with a surprising flavor kick!
- Caramel Drizzle: Swirl caramel sauce into the cheesecake mixture before baking for a sweet, gooey surprise in each bite. This indulgent addition makes your Loaded Brownie Cheesecake Cups feel even more luxurious!
Ready to dive into more delightful desserts? Check out the Oreo Cheesecake Indulge or explore the tangy Rhubarb Streusel Cheesecake for sweet inspirations!
Storage Tips for Loaded Brownie Cheesecake Cups
Fridge: Store your Loaded Brownie Cheesecake Cups in an airtight container for up to 5 days. Let them sit at room temperature for 15-20 minutes before serving to enhance flavor.
Freezer: For longer storage, wrap each cup individually and freeze for up to 3 months. Thaw overnight in the refrigerator before enjoying them again.
Reheating: If you prefer them warm, gently microwave for 10-15 seconds. Be cautious not to overheat, as this may alter the creamy texture of the cheesecake layer.
Serving Tip: These delightful cups are best enjoyed chilled, allowing the rich flavors to shine through; consider garnishing with whipped cream or fresh berries!
Make Ahead Options
These Loaded Brownie Cheesecake Cups are perfect for meal prep enthusiasts! You can prepare the brownie base up to 24 hours in advance; simply mix and bake, letting them cool completely before refrigerating. The cheesecake filling can also be made ahead and stored in the refrigerator for up to 3 days in an airtight container. When you’re ready to impress, pour the cheesecake mixture over the brownie base and bake as instructed. For the best results, allow the assembled cups to cool gradually as described, then refrigerate them overnight. This way, you’ll have a luscious dessert ready to serve with minimal effort on your busy day!
Expert Tips for Loaded Brownie Cheesecake Cups
Room Temperature Ingredients: Use room temperature cream cheese and eggs to mix seamlessly, avoiding those unsightly lumps in your cheesecake layer.
Water Bath Wonder: Incorporate a water bath while baking to prevent cracks in your cheesecake. This ensures even baking and a smooth texture for your Loaded Brownie Cheesecake Cups.
Don’t Rush Cooling: Let the cups cool gradually in the oven with the door ajar; rushing this step can lead to sinking or cracking in the cheesecake layer.
Quality Cocoa Matters: Opt for high-quality cocoa powder for a superior chocolate flavor that will make your brownies and cheesecake truly stand out.
Chill for Flavor: Allow the Loaded Brownie Cheesecake Cups to chill overnight for enhanced flavor and texture; this makes a world of difference in the overall experience!
Loaded Brownie Cheesecake Cups Recipe FAQs
How do I choose the best cocoa powder for my Loaded Brownie Cheesecake Cups?
It’s best to opt for high-quality cocoa powder, as it can significantly enhance the flavor of your brownies. Look for brands that are made from 100% cocoa with no additives. It should have a rich, dark color and aroma. Dutch cocoa is a great choice if you want a smoother, milder flavor, while natural cocoa offers a more potent taste.
What’s the best storage method for my Loaded Brownie Cheesecake Cups?
For optimal freshness, store your Loaded Brownie Cheesecake Cups in an airtight container in the refrigerator. They can be kept for up to 5 days. Let them sit at room temperature for about 15-20 minutes before serving; this allows the flavors to develop fully and the texture to soften, giving that deliciously creamy cheesecake experience.
Can I freeze the Loaded Brownie Cheesecake Cups?
Absolutely! You can freeze these delectable treats for up to 3 months. Wrap each cup individually in plastic wrap, then place them inside a resealable freezer bag to prevent freezer burn. When you’re ready to enjoy them, transfer the cups to the refrigerator and let them thaw overnight before serving.
What should I do if my cheesecake layer cracks while baking?
No worries, it happens to the best of us! To minimize cracking, ensure you use a water bath during baking; it helps regulate temperature and keeps the cheesecake moist. If a crack does appear, consider topping it with whipped cream or a drizzle of chocolate to give it a lovely finish!
Are there any dietary considerations for the Loaded Brownie Cheesecake Cups?
Yes! For a gluten-free option, just substitute the all-purpose flour with a 1:1 gluten-free flour blend. Additionally, you can use coconut oil instead of butter if you’re looking for a dairy-free option. Always check that your chocolate chips and other ingredients are labeled gluten-free if you’re serving them to someone with allergies or dietary restrictions.
Indulge in Loaded Brownie Cheesecake Cups for Sweet Bliss
Ingredients
Equipment
Method
- Preheat your oven to 325°F (165°C) and line a muffin tin with cupcake liners. In a mixing bowl, combine melted butter and granulated sugar until well blended. Next, whisk in room temperature eggs and vanilla extract.
- In a separate bowl, mix together cocoa powder, all-purpose flour, and salt, then fold this dry mixture into your wet ingredients. Finally, stir in mini chocolate chips.
- Spoon the brownie batter into each cupcake liner, filling them about one-third full. Bake for approximately 10-12 minutes, or until set around the edges but still slightly soft in the center.
- In a mixing bowl, beat softened cream cheese until smooth and creamy. Gradually mix in granulated sugar until fully incorporated, then add eggs one at a time, mixing well after each addition. Lastly, add sour cream and vanilla extract until smooth.
- Pour the cheesecake mixture over the brownie layer, filling each cup to the brim. Place the muffin tin in a larger pan filled with hot water and bake for an additional 20-25 minutes.
- To prevent cracking, turn off the oven and leave the door ajar, allowing the cups to cool for 30 minutes. Cool completely at room temperature before refrigerating for at least 4 hours or overnight.