

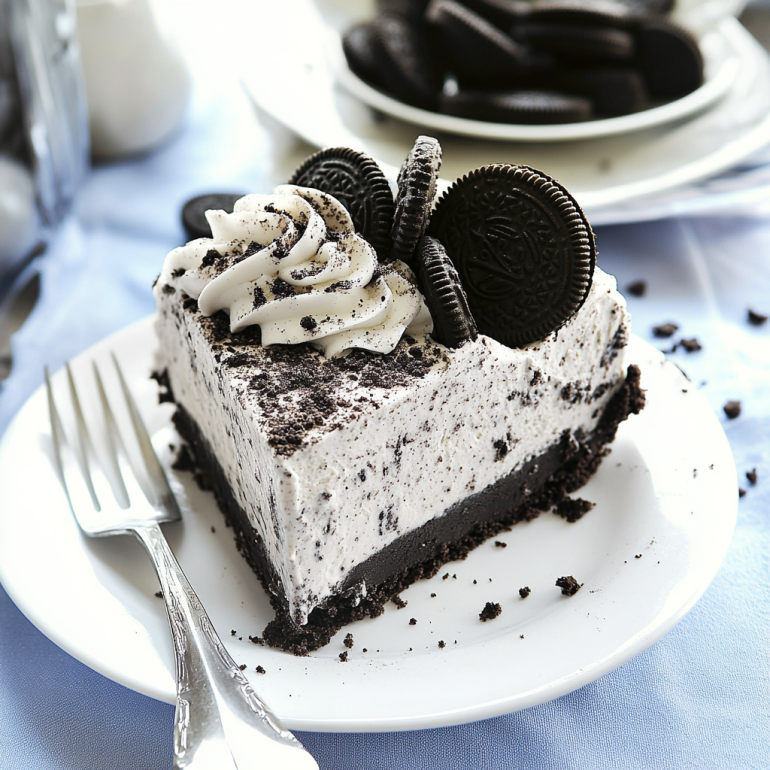
Introduction to No-Bake Oreo Cheesecake
There’s something magical about desserts that require no baking, especially when they involve Oreos.
The No-Bake Oreo Cheesecake is a delightful treat that combines rich creaminess with the nostalgic crunch of everyone’s favorite cookie.
Whether you’re hosting a gathering or just craving something sweet after a long day, this cheesecake is your go-to solution.
It’s quick, easy, and sure to impress your friends and family.
With just a few simple ingredients, you can whip up a dessert that feels indulgent without the fuss of an oven.
Let’s dive into this creamy delight!
Why You’ll Love This No-Bake Oreo Cheesecake
This No-Bake Oreo Cheesecake is a game-changer for dessert lovers.
It’s incredibly easy to make, requiring no oven time, which means less hassle for you.
In just 20 minutes of prep, you’ll have a rich, creamy dessert that’s perfect for any occasion.
The combination of smooth cream cheese and crunchy Oreos creates a flavor explosion that will leave everyone asking for seconds.
Trust me, this is a dessert you’ll want to keep in your back pocket!
Ingredients for No-Bake Oreo Cheesecake
Creating a No-Bake Oreo Cheesecake is all about gathering the right ingredients.
Here’s what you’ll need to bring this creamy dream to life:
- Cream Cheese: The star of the show! Softened cream cheese gives the cheesecake its rich and velvety texture.
- Powdered Sugar: This sweetener blends seamlessly into the cream cheese, adding just the right amount of sweetness without any graininess.
- Vanilla Extract: A splash of vanilla enhances the overall flavor, making each bite even more delightful.
- Heavy Whipping Cream: Whipped to perfection, this ingredient adds lightness and a fluffy texture to the cheesecake.
- Oreo Cookies: The classic chocolate sandwich cookies provide both flavor and crunch. Feel free to crush a few extra for garnish!
- Unsalted Butter: This helps bind the crust together, giving it a rich taste that complements the filling.
- Granulated Sugar: A touch of granulated sugar in the crust balances the flavors and adds a bit of sweetness.
- Salt: Just a pinch enhances the flavors, making the dessert even more delicious.
- Pre-made Graham Cracker Crust: For convenience, a store-bought crust saves time and effort, but you can always make your own if you prefer.
For those looking to switch things up, consider adding a bit of cocoa powder for a chocolate twist or substituting the Oreos with your favorite chocolate sandwich cookies.
Exact measurements for each ingredient can be found at the bottom of the article, ready for printing!
How to Make No-Bake Oreo Cheesecake
Making a No-Bake Oreo Cheesecake is a breeze, and I’m here to guide you through each step.
With just a few simple actions, you’ll create a dessert that’s sure to impress.
Let’s get started!
Step 1: Prepare the Crust
First things first, let’s tackle the crust.
In a medium bowl, combine the crushed Oreo cookies, melted butter, granulated sugar, and a pinch of salt.
Mix everything together until it resembles wet sand.
Then, press this mixture firmly into the bottom of your pre-made graham cracker crust.
Make sure it’s even; this will be the foundation of your cheesecake!
Step 2: Make the Cream Cheese Mixture
Now, grab a large mixing bowl and beat the softened cream cheese with an electric mixer.
You want it to be smooth and creamy, so take your time.
Gradually add in the powdered sugar and vanilla extract, mixing until fully incorporated.
This step is crucial for achieving that rich flavor we all love in a cheesecake.
Step 3: Whip the Cream
In another bowl, it’s time to whip the heavy cream.
Using a hand mixer, beat it until stiff peaks form.
This will add a light, airy texture to your cheesecake.
Be gentle when folding the whipped cream into the cream cheese mixture.
You want to keep that fluffiness intact!
Step 4: Combine and Pour
Once the whipped cream is folded in, pour the creamy mixture over your prepared crust.
Spread it evenly with a spatula, making sure every corner is filled.
This is where the magic happens, as the layers come together to create a luscious dessert.
Step 5: Chill and Serve
Finally, cover your cheesecake and pop it in the refrigerator.
Let it chill for at least 4 hours, or until it’s set.
This waiting game is worth it!
Before serving, sprinkle some extra crushed Oreos on top for that finishing touch.
Slice it up, and get ready to enjoy a slice of heaven!
Tips for Success
- Make sure your cream cheese is at room temperature for easy mixing.
- Don’t overwhip the heavy cream; stop when stiff peaks form.
- For a firmer cheesecake, let it chill overnight if you can wait!
- Use a spatula to spread the cream cheese mixture evenly for a polished look.
- Feel free to experiment with different cookie flavors for a unique twist!
Equipment Needed
- Mixing Bowls: A set of various sizes will help you combine ingredients easily.
- Electric Mixer: A hand mixer works great, but a stand mixer can save time.
- Spatula: Use a rubber spatula for folding and spreading the mixture.
- Measuring Cups: Essential for accurate ingredient portions.
- Refrigerator: To chill your cheesecake until it’s perfectly set.
Variations
- Chocolate Lovers: Add 1/4 cup of cocoa powder to the cream cheese mixture for a rich chocolate flavor.
- Fruit Twist: Fold in some fresh berries or fruit puree for a refreshing fruity cheesecake.
- Nutty Delight: Incorporate crushed nuts like pecans or walnuts into the crust for added texture.
- Gluten-Free Option: Use gluten-free chocolate sandwich cookies and a gluten-free crust to make it suitable for gluten-sensitive friends.
- Vegan Version: Substitute cream cheese with a vegan alternative and use coconut cream instead of heavy whipping cream.
Serving Suggestions
- Pair with Coffee: A rich cup of coffee complements the sweetness of the cheesecake perfectly.
- Fresh Berries: Serve with a side of strawberries or raspberries for a pop of color and freshness.
- Chocolate Drizzle: Drizzle some chocolate sauce on top for an extra indulgent touch.
- Presentation: Garnish with mint leaves for a beautiful finish.
FAQs about No-Bake Oreo Cheesecake
Can I make No-Bake Oreo Cheesecake ahead of time?
Absolutely! This cheesecake is perfect for making ahead. Just prepare it a day in advance and let it chill overnight. It’ll be even more delicious the next day!
How long does No-Bake Oreo Cheesecake last in the fridge?
Stored properly in an airtight container, your No-Bake Oreo Cheesecake can last up to 5 days in the fridge. Just be sure to keep it covered to maintain its freshness.
Can I freeze No-Bake Oreo Cheesecake?
Yes, you can freeze it! Wrap individual slices in plastic wrap and then place them in a freezer-safe container. It can last up to 2 months in the freezer. Just thaw in the fridge before serving.
What can I use instead of Oreos?
If you want to switch things up, any chocolate sandwich cookies will work. You could even try vanilla wafers for a different flavor profile!
Is this No-Bake Oreo Cheesecake suitable for vegetarians?
Yes, this recipe is vegetarian-friendly! Just ensure that the cream cheese you use is made without animal rennet.
Final Thoughts
Creating a No-Bake Oreo Cheesecake is more than just whipping up a dessert; it’s about crafting a moment of joy.
Each slice is a celebration of flavors, combining the nostalgia of Oreos with the creamy richness of cheesecake.
Whether you’re sharing it with friends at a gathering or enjoying a quiet evening at home, this dessert brings smiles and satisfaction.
It’s a simple yet indulgent treat that proves you don’t need to be a master chef to create something special.
So, grab your ingredients and let the magic unfold in your kitchen!
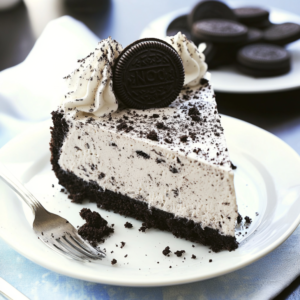
No-Bake Oreo Cheesecake: A Decadent Delight Awaits!
Ingredients
Method
- In a medium bowl, combine the crushed Oreo cookies, melted butter, granulated sugar, and salt. Mix until well combined and press the mixture into the bottom of the graham cracker crust to form an even layer.
- In a large mixing bowl, beat the softened cream cheese with an electric mixer until smooth and creamy. Gradually add the powdered sugar and vanilla extract, mixing until fully incorporated.
- In another bowl, whip the heavy cream until stiff peaks form. Gently fold the whipped cream into the cream cheese mixture until combined.
- Pour the cream cheese mixture over the crust and spread it evenly. Refrigerate for at least 4 hours, or until set.
- Before serving, garnish with additional crushed Oreo cookies on top. Slice and enjoy!
Nutrition
Notes
- For a chocolate twist, add 1/4 cup of cocoa powder to the cream cheese mixture.
- You can substitute the Oreo cookies with any chocolate sandwich cookies for a different flavor.