

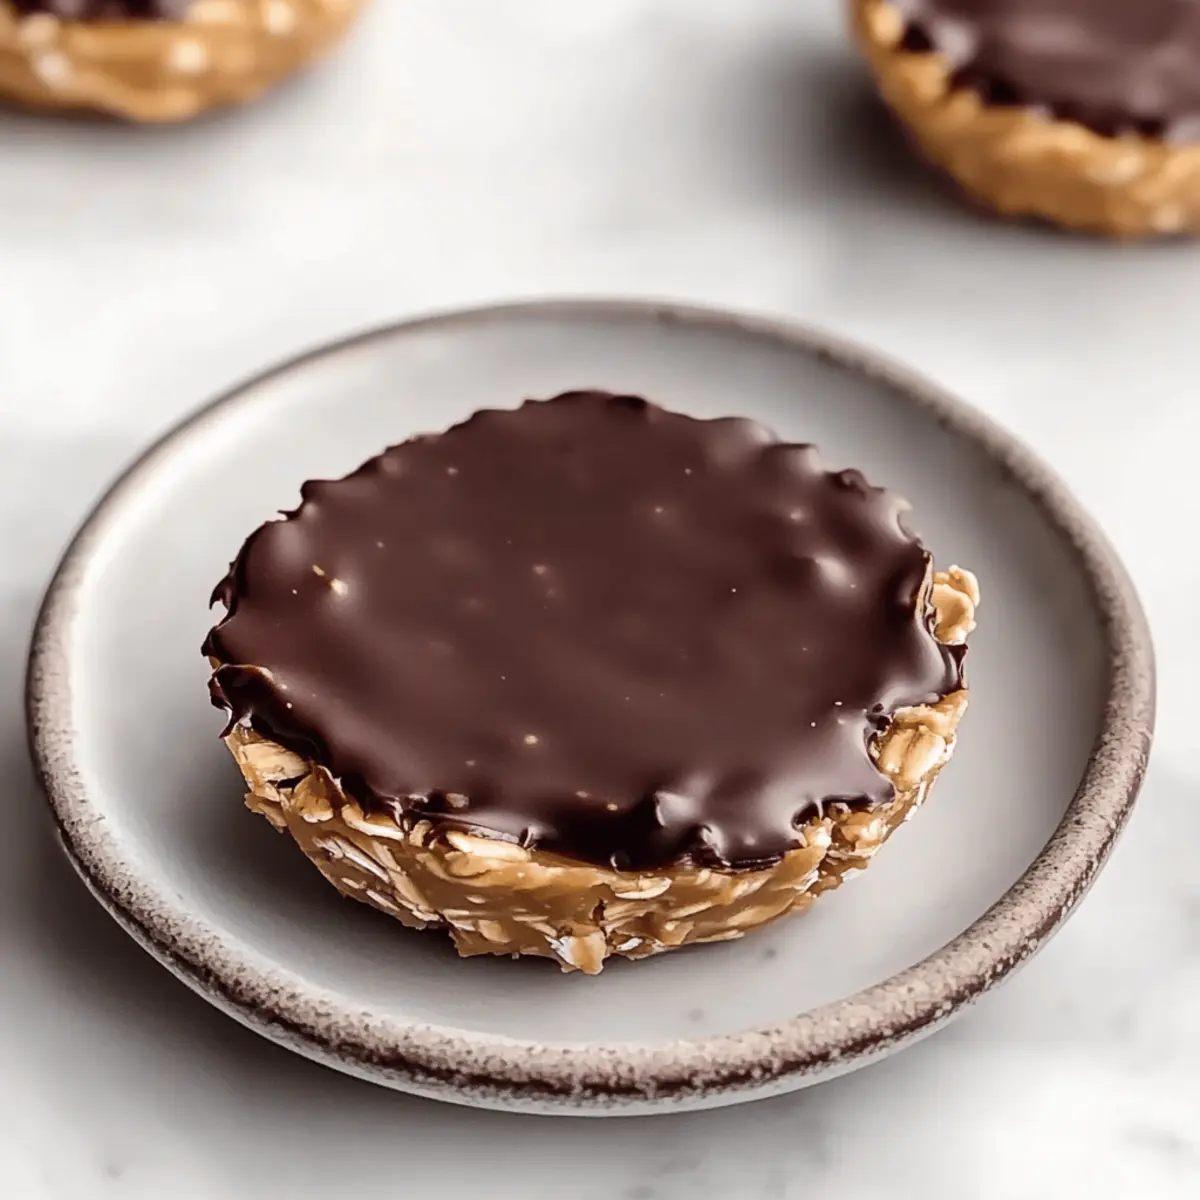
The kitchen is a bustling haven of possibilities, especially when it comes to crafting quick snacks that delight the senses. Today, I’m excited to share my recipe for No-Bake Peanut Butter Oat Cups—a wonderfully simple treat that blends chewy rolled oats, creamy peanut butter, and rich chocolate goodness without ever touching an oven. You won’t believe how easy it is to whip these up! Not only do they provide a delicious solution for busy days, but they’re also a healthier alternative to traditional snacks, making them perfect for those times when you crave something sweet but want to fuel your body right. Curious about how these delightful cups come together? Let’s dive in!
Why are these cups a must-try?
No-Bake Convenience: These oat cups require zero baking, making them the ultimate quick snack or dessert for busy days.
Deliciously Rich: The creamy peanut butter and chocolate combination creates an indulgent flavor that satisfies any sweet tooth.
Flexible and Fun: Customize your cups with favorite mix-ins like nuts or dried fruit for an extra nutritional boost.
Healthy Indulgence: Packed with oats and natural ingredients, they’re a guilt-free treat that feels wonderfully decadent.
Make Ahead Magic: Easily prepared in advance and stored, these peanut butter oat cups are perfect for meal prep—just grab and go!
If you love quick, delightful snacks, you might also enjoy our Cheesy Broccoli Bake for another easy meal idea that the whole family will love!
No Bake Peanut Butter Oat Cups
• Get ready to discover the delightful ingredients!
For the Oat Mixture
- Rolled Oats – Provides structure and chewiness; avoid quick oats for the best texture.
- Natural Peanut Butter – Adds creaminess and flavor; ensure it’s well-stirred and at room temperature for easier mixing.
- Honey – Acts as a natural sweetener and binding agent; adjust the quantity to achieve your desired consistency.
- Vanilla Extract – Enhances the flavor profile; opt for pure vanilla for the best taste.
For the Topping
- Chocolate Chips – A decadent top layer; melt with coconut oil for a smooth finish, and sprinkle with sea salt for an extra treat.
- Coconut Oil – Aids in achieving that smooth-melting chocolate; can be omitted if you don’t have it on hand.
These No Bake Peanut Butter Oat Cups will surely satisfy your sweet cravings while keeping things easy and wholesome!
Step‑by‑Step Instructions for No Bake Peanut Butter Oat Cups
Step 1: Combine Ingredients
In a medium bowl, mix together 2 cups of rolled oats, 1 cup of natural peanut butter, ½ cup of honey, and 1 teaspoon of vanilla extract. Use a sturdy spatula to blend these ingredients until the mixture is well incorporated and sticky, about 2–3 minutes. The mixture should hold together when pressed, creating the delicious base for your No Bake Peanut Butter Oat Cups.
Step 2: Prepare the Muffin Tin
Lightly spray a standard muffin tin with nonstick spray or line it with paper liners to make removal easy. Spoon the oat mixture into each muffin cup, filling them about three-quarters full. Use your fingers or the back of a spoon to press the mixture firmly into the cups, ensuring they are packed tightly to maintain their shape once set, which should take about 5 minutes.
Step 3: Melt the Chocolate
In a microwave-safe bowl, combine 1 cup of chocolate chips and 1 tablespoon of coconut oil. Microwave the chocolate on high in 30-second intervals, stirring in between to ensure it melts evenly without burning—this should take about 1–2 minutes total. The chocolate should be smooth and glossy, ready to lavish on top of your No Bake Peanut Butter Oat Cups.
Step 4: Top with Chocolate
Using a spoon, carefully drizzle the melted chocolate over each peanut butter oat cup, making sure to cover the tops completely for that rich indulgence. Spread the chocolate evenly if desired, and add a sprinkle of sea salt on top for a delightful contrast in flavor. This coating process should only take around 5 minutes to complete.
Step 5: Let Them Set
Place the muffin tin into the freezer, allowing the cups to set for about 1 hour. This chilling time helps the chocolate harden and the oat cups firm up, making them easy to remove. You’ll know they’re ready when the chocolate feels solid to the touch, ensuring a delightful crunch when you bite into the finished No Bake Peanut Butter Oat Cups.
Step 6: Remove and Enjoy
Once the cups are firm, gently remove them from the muffin tin by carefully twisting the cups or using a butter knife to loosen the edges. Serve immediately for a delightful snack or place them in an airtight container for storage in the refrigerator for up to 2 weeks. Enjoy these tasty No Bake Peanut Butter Oat Cups straight from the fridge for a refreshing treat!
No Bake Peanut Butter Oat Cups Variations
Feel free to put your personal twist on these delightful treats and make them your own!
- Nut-Free: Substitute peanut butter with sunbutter or tahini for a nut-free version that’s just as creamy and delicious.
- Cocoa Delight: Mix in 2-3 tablespoons of cocoa powder to the oat mixture for an extra chocolatey flavor that will indulge chocolate lovers.
- Fruity Addition: Add half a cup of chopped dried fruits like cranberries or apricots for a chewy sweetness that brightens up each bite.
- Crunchy Texture: Toss in a handful of chopped nuts or seeds for added crunch. Walnuts or sunflower seeds can add a delightful nutty flavor.
- Spiced Up: Sprinkle in a teaspoon of cinnamon or nutmeg for a warm, spiced flavor that beautifully complements the sweetness.
- Dark Chocolate Indulgence: Swap semi-sweet chocolate chips with dark chocolate for a deeper, richer chocolate experience that’s perfect for dark chocolate fans.
- Vegan-Friendly: Use maple syrup instead of honey and ensure your chocolate chips are dairy-free for a completely vegan treat.
- Protein Boost: Mix in a scoop of your favorite protein powder into the oat mixture for a satisfying snack that will boost your energy.
With these variations, you can enjoy your No Bake Peanut Butter Oat Cups in countless delicious ways! And if you’re searching for more easy treats, why not try our Oreo Truffles Bake for a quick, sweet fix?
Expert Tips for No Bake Peanut Butter Oat Cups
-
Mixing Temp: Ensure your peanut butter is at room temperature for easy blending. Cold peanut butter can cause your mixture to be too stiff.
-
Chocolaty Goodness: Melt chocolate carefully using short bursts in the microwave. Overheating can lead to burning, ruining your top layer.
-
Press Firmly: When filling the muffin tin, press the mixture down firmly. This helps maintain the shape and prevents crumbling when you remove the cups.
-
Set Time: Allow the oat cups to set completely in the freezer. Rushing this step can result in soft cups that fall apart when eaten.
-
Flavor Variations: Don’t hesitate to experiment! Adding mix-ins like dried fruit or nuts can personalize your No Bake Peanut Butter Oat Cups to suit your taste.
What to Serve with Easy No Bake Peanut Butter Oat Cups
These delightful cups bring together a harmony of flavors and textures, creating a truly inviting treat to complement your meal.
-
Cold Milk: A classic pairing that enhances the creamy peanut butter and rich chocolate, making every bite even more indulgent.
-
Fresh Berries: Strawberries or raspberries add a pop of freshness and acidity, balancing the sweetness of the oat cups beautifully.
-
Sliced Bananas: Creamy bananas offer a lovely texture contrast, while their natural sweetness complements the rich flavors of the peanut butter.
-
Greek Yogurt: Serve alongside a dollop of Greek yogurt for a protein boost—perfect for pre- or post-workout snacking.
-
Nutty Trail Mix: Pairing with a handful of nutty trail mix not only provides crunch but also enhances the healthy vibe of your sweet treat.
-
Iced Coffee: A chilled cup of coffee pairs wonderfully with the flavors, adding a caffeine kick that balances the sweetness of the oat cups.
-
Dark Chocolate: For the true chocolate lovers, serving extra dark chocolate on the side creates an indulgent experience that’s irresistible.
-
Coconut Chips: A sprinkle of toasted coconut chips provides a delightful crunch and hints of tropical flavor that harmonize wonderfully with the cups.
-
Chia Seed Pudding: This creamy, nutrient-rich pudding gives a lovely texture contrast while contributing to a wholesome snacking experience.
Make Ahead Options
These No Bake Peanut Butter Oat Cups are perfect for meal prep enthusiasts looking to save time during busy weeknights! You can prepare the oat mixture and press it into the muffin tin up to 24 hours in advance; simply refrigerate it to maintain freshness. For the best quality, melt the chocolate topping when you’re ready to indulge—this way, it remains perfectly smooth and glossy. After topping with chocolate, let them set in the freezer for 1 hour. Once firm, store the cups in an airtight container in the refrigerator for up to 2 weeks. With these make-ahead options, you’ll have a delightful treat ready to grab and enjoy at a moment’s notice!
How to Store and Freeze No Bake Peanut Butter Oat Cups
-
Fridge: Store your No Bake Peanut Butter Oat Cups in an airtight container to keep them fresh for up to 2 weeks. This allows for easy snacking during the week.
-
Freezer: For long-term storage, freeze the oat cups in a single layer with parchment paper between them. They can last up to 3 months, perfect for those unexpected cravings!
-
Defrosting: When you’re ready to enjoy a cup from the freezer, simply let it sit at room temperature for about 10-15 minutes, or pop it in the microwave for 10-20 seconds.
-
Serving Tip: For an extra treat, drizzle some melted chocolate over the top after thawing or serve them with fresh fruits for a delightful combination!

No-Bake Peanut Butter Oat Cups Recipe FAQs
How do I choose the right rolled oats?
Absolutely! When selecting rolled oats, look for the label that specifically mentions “old-fashioned” or “rolled” oats. These provide the best texture for your No-Bake Peanut Butter Oat Cups. Avoid quick oats as they tend to absorb moisture too quickly, resulting in a chewy rather than a pleasantly chewy texture.
What’s the best way to store No-Bake Peanut Butter Oat Cups?
Very simple! Store your No-Bake Peanut Butter Oat Cups in an airtight container in the refrigerator for up to 2 weeks. This keeps them fresh and ready for snacking anytime. Just make sure to separate layers with parchment paper if you’re stacking them, to prevent sticking!
Can I freeze these oat cups, and how?
Definitely! To freeze your No-Bake Peanut Butter Oat Cups, first, arrange them in a single layer on a baking sheet and freeze until firm. Then, transfer them to an airtight container or zip-top bag, separated by parchment paper, for easy access. They will last up to 3 months. Whenever you’re ready to indulge, just let them thaw at room temperature for 10-15 minutes!
What if my chocolate seizes while melting?
Don’t worry; this can happen! If your chocolate seizes, meaning it becomes clumpy or grainy, try adding a small amount of coconut oil (1 teaspoon at a time) while re-melting it in the microwave. Heat it in short bursts, stirring in between, to restore that silky smooth texture you want for your topping. Patience is key!
Are these oat cups suitable for people with allergies?
Very much so! If you’re concerned about allergies, be cautious with the ingredients. You can substitute natural peanut butter with almond butter or sunbutter for those with nut allergies. Additionally, check the labels on your honey and chocolate chips, as some products may contain allergens like dairy or gluten. Always opt for products that meet your dietary needs!
How can I make these cups healthier?
Great question! To enhance the health benefits of your No-Bake Peanut Butter Oat Cups, consider using a natural sweetener like maple syrup instead of honey for a lower glycemic index. Incorporating ingredients like ground flaxseed or chia seeds can add fiber and omega-3 fatty acids as well. What’s more, adding a handful of chopped nuts or dried fruits can give you added crunch and nutrients!

No Bake Peanut Butter Oat Cups for a Quick Sweet Fix
Ingredients
Equipment
Method
- In a medium bowl, mix together rolled oats, natural peanut butter, honey, and vanilla extract until well incorporated and sticky.
- Lightly spray a muffin tin with nonstick spray or line it with paper liners. Spoon the oat mixture into each muffin cup, filling them three-quarters full.
- In a microwave-safe bowl, combine chocolate chips and coconut oil. Microwave in 30-second intervals, stirring in between, until melted.
- Drizzle the melted chocolate over each oat cup making sure to cover the tops completely. Sprinkle with sea salt if desired.
- Place the muffin tin into the freezer for about 1 hour to allow the cups to set.
- Once firm, gently remove the cups from the muffin tin and serve or store in an airtight container.