

The aroma wafting from my oven the other day was pure nostalgia—a sizzling reminder of family gatherings filled with laughter and comfort food. Enter Oven-Baked Cheesy Tacos, the quick dinner that brings joy to both busy weeknights and festive celebrations. In just 35 minutes, these crispy, loaded tacos come together, topped with gooey cheese and the savory flavors of perfectly seasoned beef. And the best part? They’re incredibly customizable! Whether you prefer ground turkey, chicken, or a vegetarian twist with black beans, everyone at your table can indulge in their favorite toppings. Imagine a dish that not only delights the taste buds but also saves time for what truly matters—sharing moments with loved ones. Ready to spice up your routine with a family favorite? Let’s dive into this irresistible recipe!
Why Are Oven-Baked Cheesy Tacos a Must-Try?
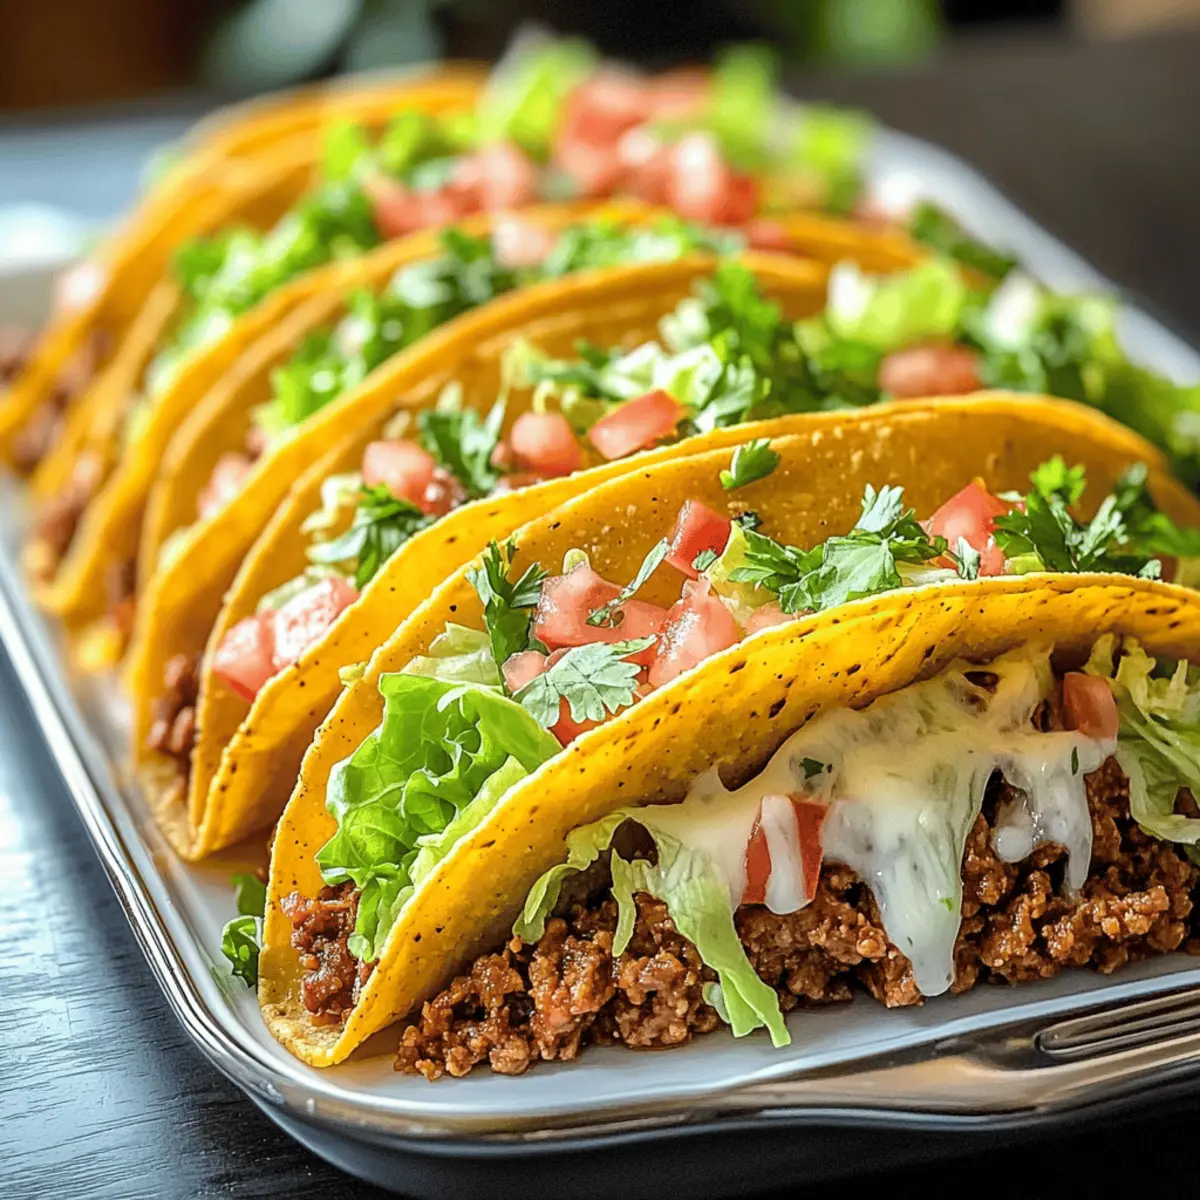
Crispy Perfection: These tacos are baked to golden, crunchy perfection, providing a delightful contrast to the gooey cheese inside.
Customizable to Fit Everyone: Whether you’re a meat lover or seeking vegetarian options, your family can enjoy their own flavorful twist. Consider trying black beans or even our delicious Smashed Cheeseburger Tacos for a fun variation!
Quick and Effortless: With just 35 minutes from start to finish, you’ll have a satisfying meal ready without sacrificing taste.
Flavor Packed: Infused with seasoned beef and complemented by a blend of spices, these tacos explode with flavor in every bite.
Crowd-Pleasing Appeal: Perfect for gatherings, they’re sure to be a hit at any occasion. Add fresh toppings like cilantro and guacamole for an elevated experience!
Oven-Baked Cheesy Taco Ingredients
For the Filling
- Ground Beef – Main protein source; substitute with ground turkey or chicken for a leaner option, or use black beans for a vegetarian twist.
- Taco Seasoning – Adds essential flavor; feel free to opt for homemade blends to customize the spice level.
- Tomato Sauce – Moisture and flavor booster; swap it out with salsa for a zesty kick!
- Onion – Base flavor that deepens the taste; choose within red or yellow onions, or leave it out if you prefer a milder option.
- Garlic – Essential for enhancing the taco filling; fresh garlic provides the best flavor, but dried can work in a pinch.
For the Assembly
- Taco Shells – These provide the beloved structure; choose gluten-free varieties to accommodate dietary needs.
- Shredded Cheese – Offers that gooey, melty texture; a mix of cheddar or Mexican blend is ideal, or opt for vegan cheese if preferred.
For Cooking
- Olive Oil – Needed to sauté vegetables and add richness; any neutral oil is a great substitute if needed.
With these ingredients for your Oven-Baked Cheesy Tacos, you’re set to create a delightful meal bursting with flavors, perfect for quick dinners and family gatherings!
Step‑by‑Step Instructions for Oven-Baked Cheesy Tacos
Step 1: Preheat the Oven
Begin by preheating your oven to 375°F (190°C). This crucial step ensures that your Oven-Baked Cheesy Tacos will cook evenly, allowing the cheese to melt beautifully and the taco shells to achieve that delightful crispness. While the oven warms up, gather your ingredients for a seamless cooking experience.
Step 2: Sauté the Aromatics
In a large skillet, heat 1 tablespoon of olive oil over medium heat. Add in the diced onion and minced garlic, stirring for about 2-3 minutes until they’re fragrant and the onions become translucent. This step builds the flavor base for your filling, paving the way for a richly textured and delicious taco experience.
Step 3: Cook the Meat Mixture
Next, add in 1 pound of ground beef to the skillet, breaking it apart as it browns over medium-high heat. Cook until it’s fully browned, approximately 5-7 minutes. Then, stir in your taco seasoning and 1/2 cup of tomato sauce, allowing the mixture to simmer for an additional 5 minutes. Make sure the filling is well combined and heated through before moving on.
Step 4: Assemble the Tacos
Now it’s time to assemble your Oven-Baked Cheesy Tacos! Take your taco shells and carefully spoon in the seasoned beef mixture, filling each shell generously. Then, top your filled shells with a hearty handful of shredded cheese. This is where you can get creative—feel free to add a variety of cheese blends to suit your family’s taste.
Step 5: Bake the Tacos
Place the assembled tacos upright in a greased baking dish, making sure they fit snugly. Bake them in the preheated oven for 10-15 minutes. Keep an eye out for that golden-brown color and bubbly cheese to ensure they are perfectly cooked and ooze with delicious flavors.
Step 6: Add Fresh Toppings and Serve
Once out of the oven, let your Oven-Baked Cheesy Tacos cool for a minute before adding your favorite fresh toppings. Consider adding shredded lettuce, diced tomatoes, and chopped cilantro for a refreshing touch. Now they are ready to be served—enjoy every delicious bite with your loved ones!

Make Ahead Options
These Oven-Baked Cheesy Tacos are a meal prep dream! You can prepare the beef filling up to 3 days in advance and refrigerate it in an airtight container. Simply sauté the onions and garlic, then brown the ground beef with the taco seasoning and tomato sauce, letting it cool completely before storing. This not only saves time during busy weeknights but also ensures the flavors have time to meld. When you’re ready to enjoy your tacos, just scoop the filling into the taco shells, top with cheese, and bake for 10-15 minutes at 375°F (190°C) until crispy and bubbly. This way, you’ll savor the deliciousness without the fuss!
Expert Tips for Oven-Baked Cheesy Tacos
- Preheat Perfectly: Always preheat the oven to ensure even cooking—this helps achieve that ideal crispness in the taco shells.
- Check Cooking Time: Keep an eye on your tacos during baking; remove them when the cheese is bubbly and golden to prevent sogginess.
- Filling Flexibility: Prepare your ground beef filling ahead of time and store it. Assemble your oven-baked cheesy tacos just before baking to maximize flavor and freshness.
- Creative Customization: Experiment with various proteins and toppings; mixing black beans or using chicken can make your tacos even more delightful!
- Perfect Pairing: Serve with fresh toppings like sour cream, guacamole, or zesty salsa for an extra burst of flavor with your oven-baked cheesy tacos.
Storage Tips for Oven-Baked Cheesy Tacos
Fridge: Store your leftover Oven-Baked Cheesy Tacos in an airtight container for up to 3-4 days. This keeps them fresh and ready for quick meals!
Freezer: For longer storage, freeze assembled but unbaked tacos in a freezer-safe container for up to 2 months. Just thaw and bake when you’re ready to enjoy!
Reheating: Reheat leftover tacos in the oven at 350°F (175°C) for 10-15 minutes to retain their crispy texture. Alternatively, use an air fryer for quick, crunchy results!
Assembling Ahead: If making them ahead, fill the taco shells and store them in the fridge for up to 24 hours before baking. This can save precious time during your meal prep!
What to Serve with Oven-Baked Cheesy Tacos?
Elevate your meal with delightful sides that enhance every savory bite, turning your dinner into a feast.
- Creamy Guacamole: This smooth, avocado-based dip adds a rich flavor that beautifully contrasts the crunchy tacos.
- Fresh Salsa: Bright and zesty, fresh salsa offers a refreshing kick that complements the seasoned filling perfectly.
- Mexican Street Corn: Charred corn slathered in creamy sauce brings a sweet and smoky element that pairs wonderfully with tacos.
- Crispy Tortilla Chips: Great for dipping! Their crunch will echo the delightful crispiness of your tacos, making for a perfect match.
End your meal on a sweet note.
- Churros with Chocolate Sauce: These warm, cinnamon-sugar treats deliver a satisfying crunch and a touch of sweetness after savory bites.
- Limeade: This citrusy, refreshing drink cuts through the richness of the tacos, making each bite feel light and enjoyable.
Oven-Baked Cheesy Tacos Variations
Feel free to get creative with these Oven-Baked Cheesy Tacos and make them uniquely yours—just imagine the delightful flavors and textures you can create!
- Vegetarian Delight: Use black beans or lentils instead of meat for a hearty but meat-free option. Pair with fresh veggies for added crunch and flavor!
- Spicy Kick: Add jalapeños or diced green chilies to your meat mixture for an extra layer of heat that’ll make your taste buds dance.
- Gluten-Free: Opt for gluten-free taco shells to accommodate dietary needs without sacrificing flavor or crunch. Delightfully tasty for everyone!
- Cheesy Upgrade: Try mixing different cheeses like pepper jack or a sprinkle of feta for an unforgettable tex-mex twist. The more, the merrier!
- Salsa Substitution: Replace tomato sauce with your favorite salsa for a zesty kick that enhances flavor and adds some acidity.
Imagine the joy of serving your family a fun taco night where they can choose their own adventure! For another twist on taco night, check out our delicious Huli Chicken Tacos. You could also try our amazing Chipotle Pineapple Chicken Tacos for a tropical flair!
- Meat Swap: Use ground turkey or chicken for a leaner alternative that doesn’t skimp on flavor; just be mindful of cooking times to avoid drying out.
- Texture Boost: Consider adding crushed tortilla chips to the filling for added crunch, giving your tacos a fun and hearty bite that everyone will love!

Oven-Baked Cheesy Tacos Recipe FAQs
How do I choose the right level of ripeness for my tomatoes?
Absolutely! When selecting tomatoes for your toppings, look for ones that are firm but slightly yielding to gentle pressure. Avoid any with dark spots or blemishes. Ripe, red tomatoes will provide a burst of freshness and flavor in your tacos!
How can I store leftovers, and how long will they last?
Very good question! Store your leftover Oven-Baked Cheesy Tacos in an airtight container in the fridge for up to 3-4 days. This keeps them fresh and ready for quick meals! For optimal taste, reheat in the oven until warmed through.
Can I freeze the unbaked tacos for later use?
Yes, you can! To freeze, assemble your tacos without baking them and place them upright in a freezer-safe container. They can be frozen for up to 2 months. When you’re ready, just thaw them in the fridge overnight, then bake as directed!
What should I do if my taco shells become soggy after baking?
If that happens, don’t worry! Check your taco shells for crispness during the last few minutes of baking: they should be golden brown and bubbly. To prevent sogginess, avoid overfilling them with the beef mixture. You can also toast the shells before assembly for extra crunch!
Are there any dietary considerations I should keep in mind when making these tacos?
Absolutely! For gluten-free options, ensure you choose certified gluten-free taco shells. If anyone at your table has dairy allergies, use dairy-free cheese alternatives for a deliciously inclusive meal. Always check seasoning packets and store-bought sauces for potential allergens.
Can I prepare the filling ahead of time for quicker assembly?
Definitely! You can prepare your ground beef filling a day in advance and store it in the refrigerator. This prepped filling can save you time when you’re ready to assemble and bake your Oven-Baked Cheesy Tacos, making dinner even easier!

Oven-Baked Cheesy Tacos for a Crispy, Flavor-Packed Dinner
Ingredients
Equipment
Method
- Preheat your oven to 375°F (190°C).
- In a large skillet, heat 1 tablespoon of olive oil over medium heat. Add in the diced onion and minced garlic, stirring for about 2-3 minutes until fragrant.
- Add 1 pound of ground beef to the skillet, breaking it apart as it browns. Cook until fully browned, about 5-7 minutes. Stir in taco seasoning and 1/2 cup of tomato sauce, simmer for an additional 5 minutes.
- Assemble your tacos by spooning the meat mixture into taco shells and topping with shredded cheese.
- Place the tacos upright in a greased baking dish and bake for 10-15 minutes until golden and bubbly.
- Let the tacos cool for a minute then add fresh toppings before serving.