

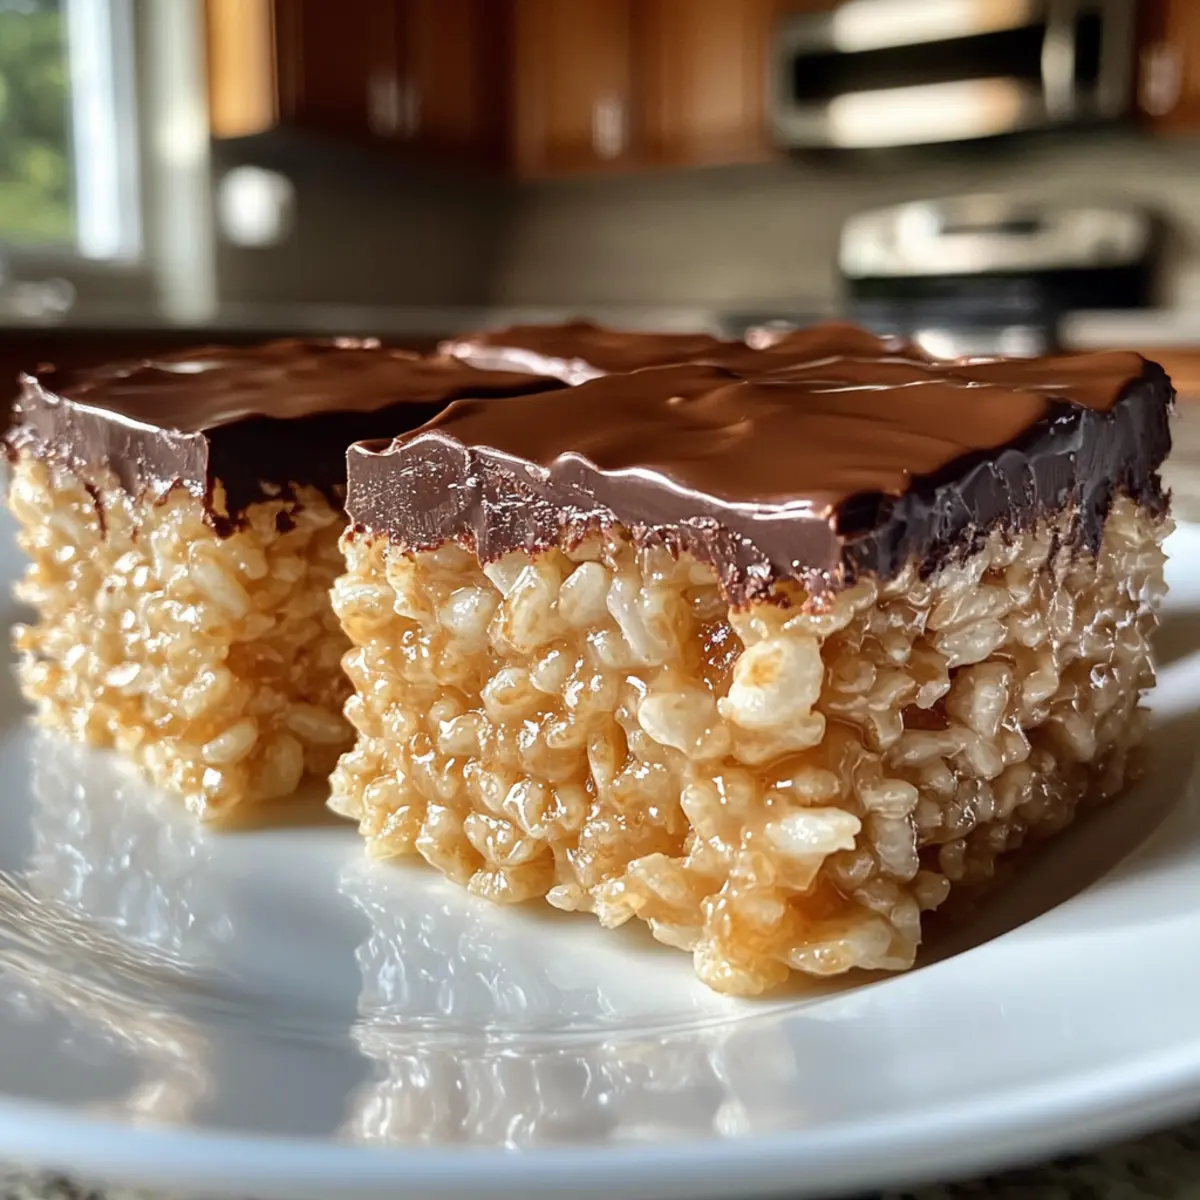
As the aroma of toasted coconut wafts through my kitchen, I can’t help but feel transported to memories of sunny days and sweet treats. These Samoa Rice Krispie Treats are my favorite no-bake dessert that pays tribute to the beloved Girl Scout Samoa cookie, combining winning elements of chocolate, caramel, and coconut in a fun, crispy bar. What I love most about this recipe is its effortless preparation and the ability to impress family and friends with minimal fuss. Whether you’re hosting a gathering or simply satisfying a sweet tooth, these treats are sure to leave everyone asking for seconds. Ready to dive into this delightful treat that’s as indulgent as it is easy? Let’s get started!
Why are Samoa Rice Krispie Treats a Must-Try?
Decadent Fusion: These treats masterfully blend the beloved flavors of the Samoa cookie into a chewy, crispy delight.
No-Bake Convenience: Whip them up in no time—perfect for quick desserts or last-minute gatherings.
Crowd-Pleasing Appeal: Everyone loves a good Rice Krispie treat! These are sure to impress both kids and adults alike, making them ideal for parties and picnics.
Customizable Options: Feel free to experiment! Swap out the dulce de leche for homemade caramel or add your favorite nuts for an extra crunch.
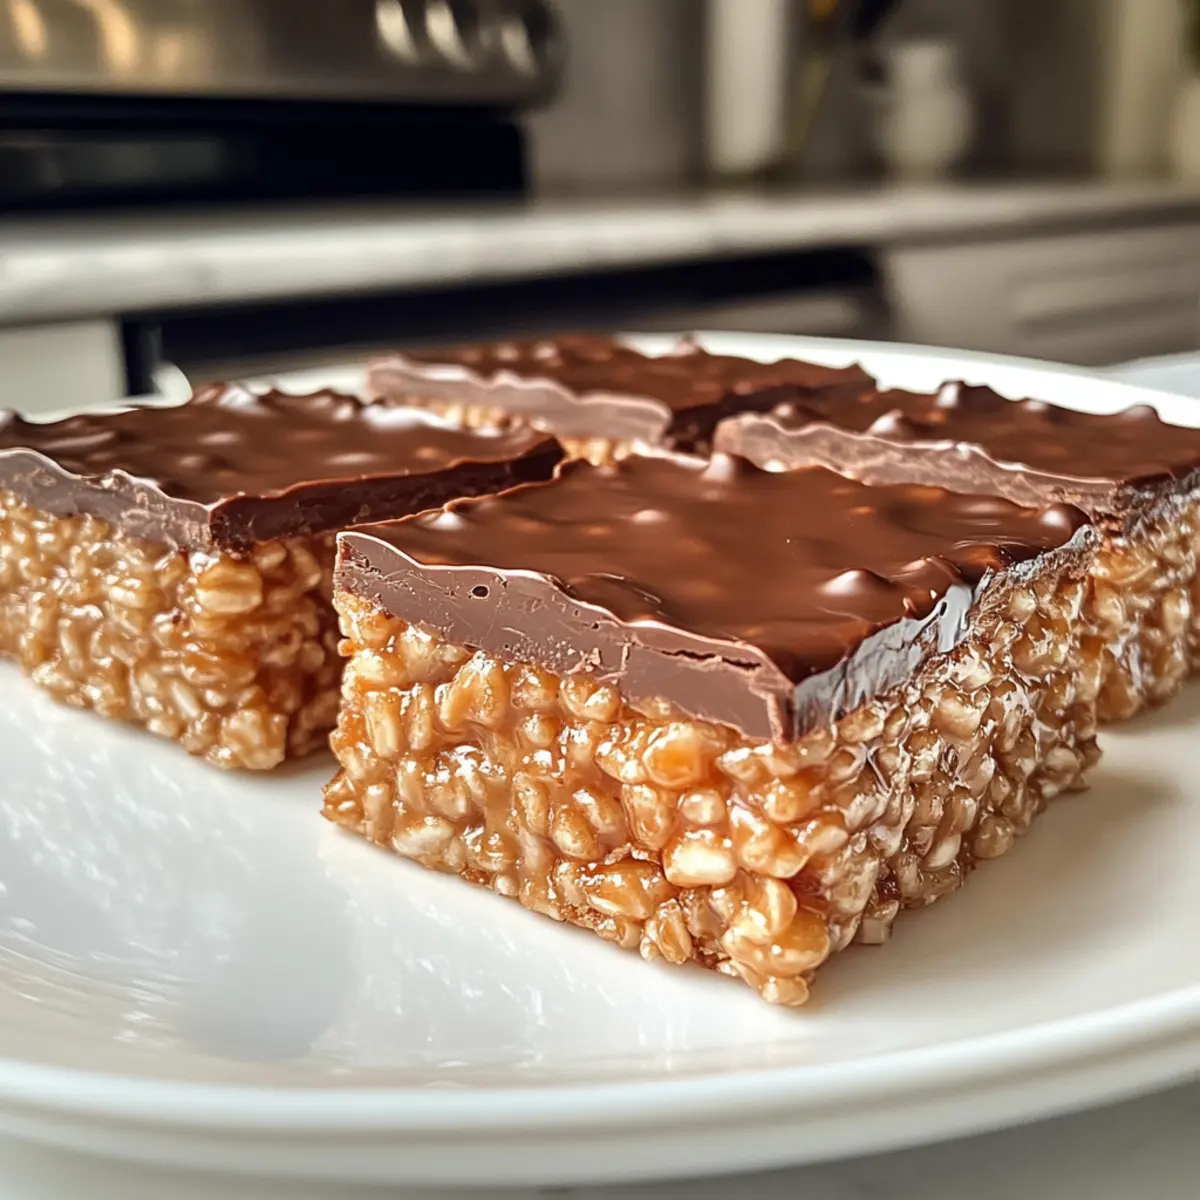
Satisfy Your Sweet Tooth: With layers of chocolate, caramel, and coconut, every bite is a sweet escape. If you love this treat, you might also want to try my Corn Chicken Rice for a savory twist!
Samoa Rice Krispie Treats Ingredients
For the Base
• Mini Marshmallows – Provides sweetness and structure to the base. Ensure they are fresh for the best texture.
• Butter – Adds richness and helps bind the marshmallows with the cereal. Can substitute with plant-based butter for dairy-free versions.
• Rice Krispie Cereal – Forms the main structure of the treat. Other puffed cereals can be used as a substitute.
For the Coconut Layer
• Sweetened Shredded Coconut – Imparts tropical flavor and texture. Unsweetened coconut can be used for a less sugary version.
• Dulce de Leche – Acts as a caramel layer, providing sweetness and a creamy texture. Can be replaced with homemade caramel or a vegan alternative.
• Milk – Thins out the dulce de leche for easier mixing. Any milk or milk alternative can work.
For the Chocolate Topping
• Semisweet Chocolate – Coats the top for a rich finish. Dark chocolate or milk chocolate can be used based on preference.
Optional Garnish
• Reserved Toasted Coconut – Use to sprinkle on top for added texture and aesthetic appeal.
Step‑by‑Step Instructions for Samoa Rice Krispie Treats
Step 1: Toast the Coconut
In a sauté pan set over medium-high heat, add the entire bag of sweetened shredded coconut. Stir it continuously for about 5–7 minutes, until the coconut is toasted to a golden brown, ensuring it doesn’t burn. Once done, remove from heat and set aside ½ cup of the toasted coconut for garnish later.
Step 2: Prepare the Dulce de Leche
In a microwave-safe bowl, combine the dulce de leche with 2 tablespoons of milk. Heat the mixture for about 1.5 minutes on high, stirring halfway through, until it becomes smooth and easy to pour. This thinned dulce de leche will create a delightful, creamy layer in your Samoa Rice Krispie Treats.
Step 3: Combine Coconut and Dulce de Leche
Add the majority of the toasted coconut to the thinned dulce de leche and mix until fully incorporated. This coconut-dulce de leche mixture will serve as a luscious filling that contrasts perfectly with the crunchy Rice Krispie base. Set this mixture aside as you prepare the marshmallow layer.
Step 4: Melt Marshmallows and Butter
In another microwave-safe bowl, combine the mini marshmallows and butter. Microwave on high for approximately 2 minutes, pausing to stir until the mixture is completely melted and smooth. This gooey mixture creates the binding foundation for your Samoa Rice Krispie Treats.
Step 5: Mix Cereal
Once the marshmallow and butter are fully melted, add the Rice Krispie cereal into the bowl. Gently fold the cereal into the marshmallow mixture, ensuring each piece is evenly coated. This step is crucial for creating that delightful, crispy texture throughout the Samoa Rice Krispie Treats.
Step 6: Layer the Mixture
Grease an 8×12 inch pan with cooking spray or butter to prevent sticking. Press half of the cereal mixture firmly into the bottom of the pan, creating an even layer. Next, spread the coconut and dulce de leche mixture over this base, smoothing it out before topping with the remaining cereal mixture. Gently press down to combine all layers.
Step 7: Chocolate Finish
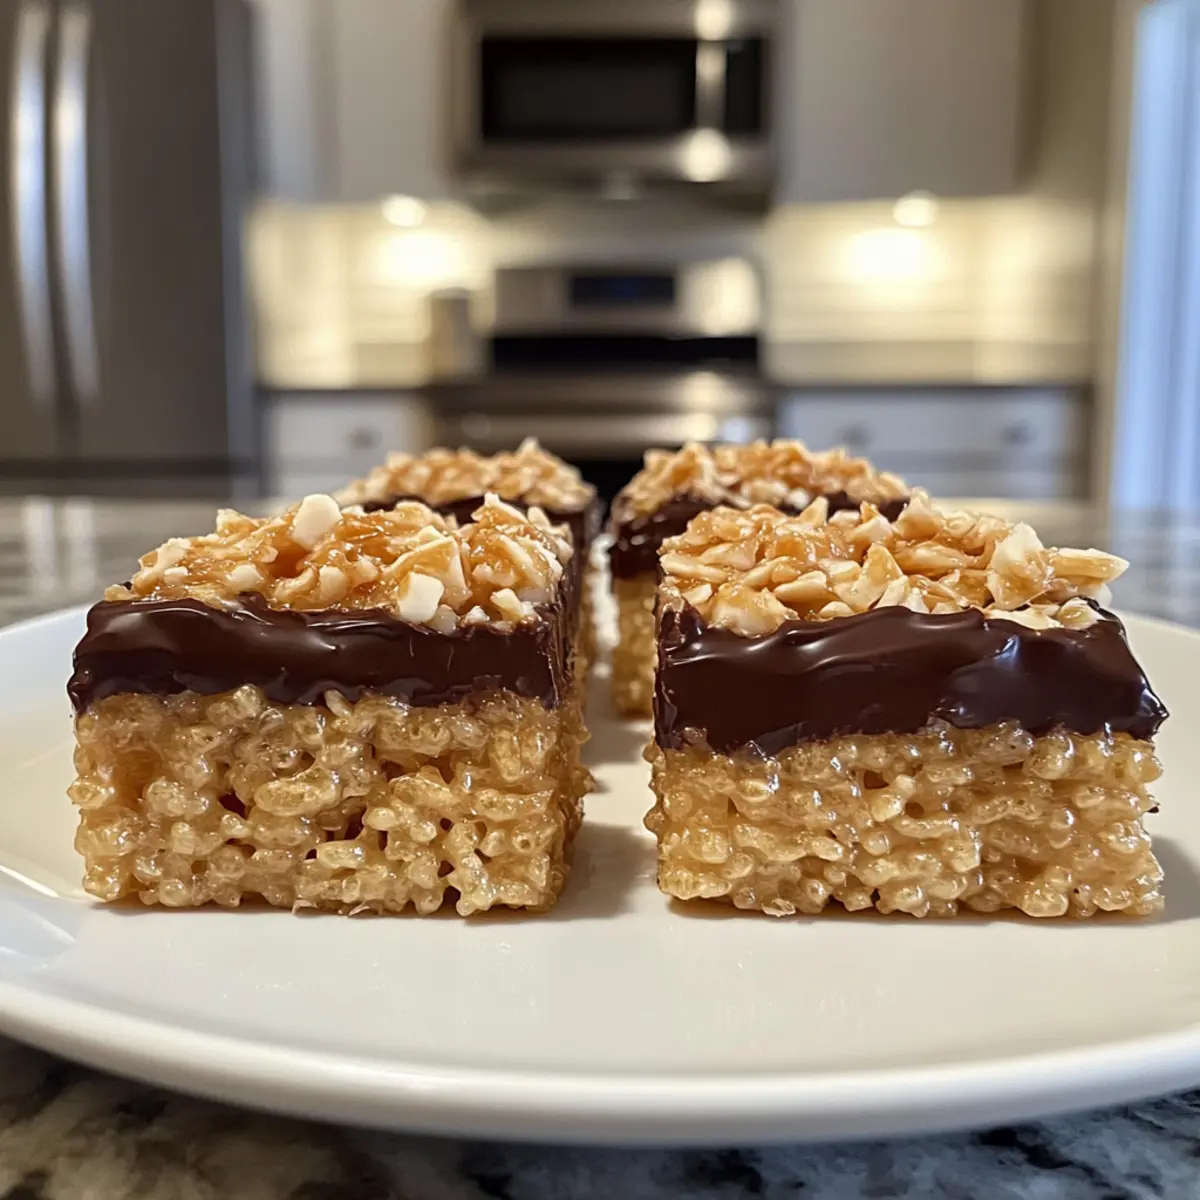
Melt the semisweet chocolate in a microwave-safe bowl, heating it in short bursts of 30 seconds and stirring until fully melted and smooth. Pour the melted chocolate over the top of the assembled bars and use a spatula to spread it evenly. Immediately sprinkle the reserved toasted coconut on top for added crunch and presentation.
Step 8: Set and Serve
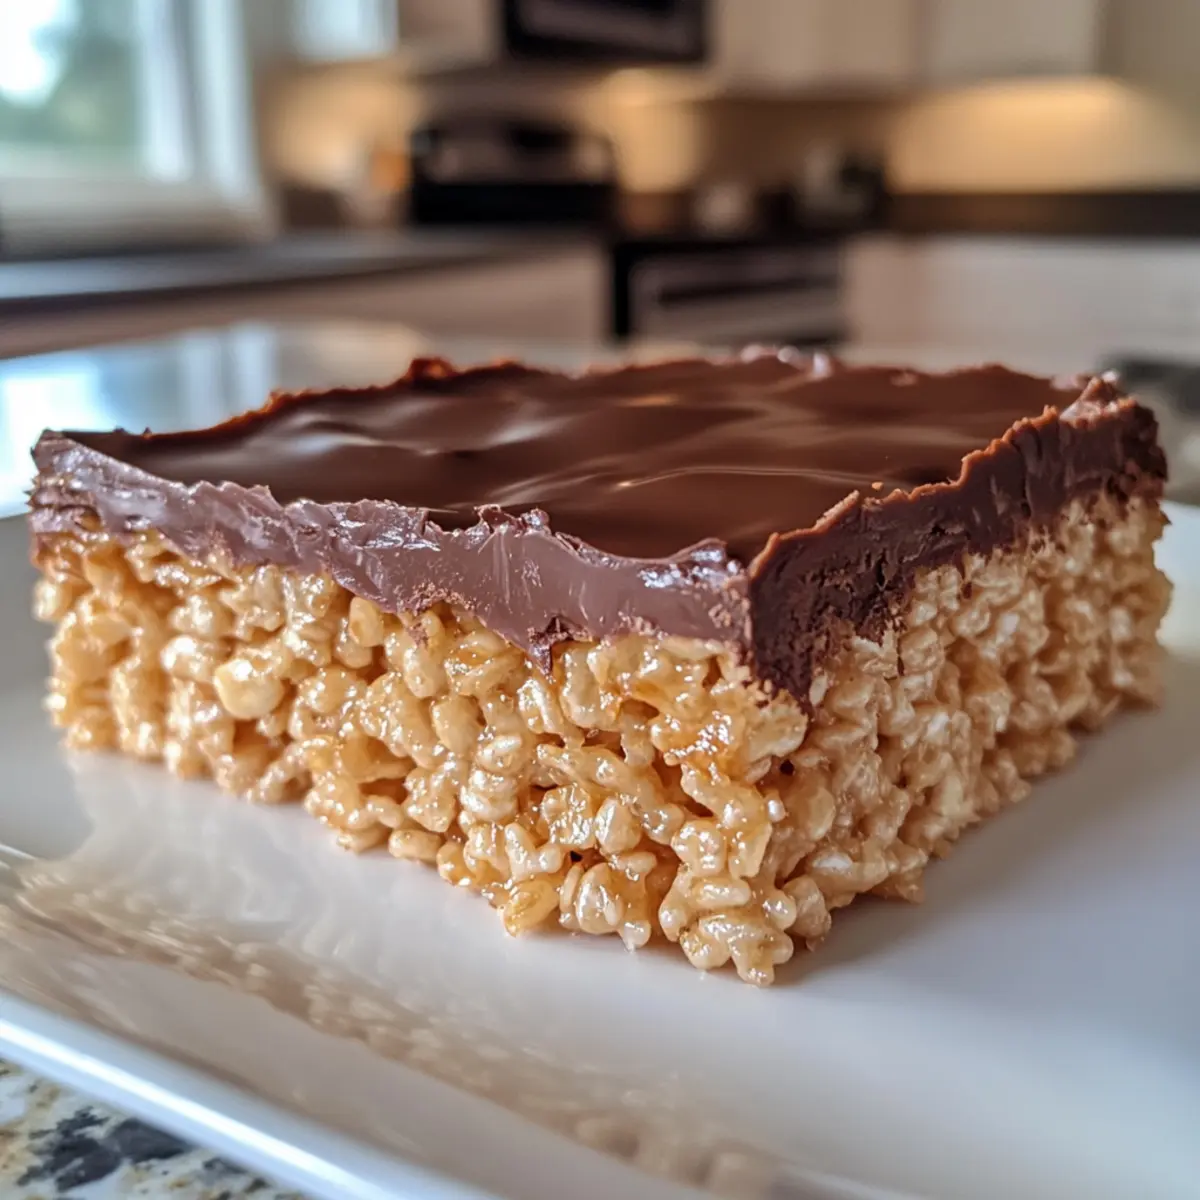
Allow the chocolate to harden at room temperature for approximately 30 minutes before cutting into squares. This will ensure that your Samoa Rice Krispie Treats hold together beautifully. Once set, they are ready to serve and enjoy at any gathering or as a sweet snack!
Samoa Rice Krispie Treats Variations
Feel free to get creative and customize these treats to match your taste or dietary needs!
- Dairy-Free: Substitute butter with plant-based butter and use dairy-free chocolate for a completely dairy-free treat.
- Nutty Crunch: Add chopped nuts like pecans or almonds for an extra layer of crunch and flavor. Nuts can elevate the texture and provide a delightful contrast to the soft center.
- Flavor Boost: Swap semisweet chocolate for dark chocolate or even white chocolate for a sweeter twist. Each option brings its unique flavor profile that can change the whole treat.
- Coconut-Free: Replace shredded coconut with crushed graham crackers for a different texture while keeping the essence of the treat alive. This option is great for those who may not enjoy coconut.
- Spicy Kick: For a little heat, add a pinch of cayenne pepper to the melted chocolate topping. It creates an unexpected and delicious flavor contrast.
- Caramel Switch: Use homemade caramel sauce instead of dulce de leche for a personal touch. This will deepen the rich, gooey experience. If you’re looking for a fun spin, check out my Corn Chicken Rice for a savory option to balance out the sweetness.
- Layered Delight: Make mini treat sandwiches! Create layers with coconut and chocolate in between two layers of Rice Krispie mixture for a fun surprise.
- Personalized Toppings: Top with sprinkles, toasted nuts, or a drizzle of your favorite flavored syrup before the chocolate hardens for added flair. This not only enhances the visual appeal but also personalizes each treat!
With these variations, you can tailor your Samoa Rice Krispie Treats for every occasion, ensuring they are enjoyed by everyone!
Expert Tips for Samoa Rice Krispie Treats
- Toast with Care: Continuously stir the coconut while toasting to prevent burning, as it can quickly turn from golden to scorched.
- Measure Precisely: Use measuring cups for the Rice Krispie cereal and marshmallows to ensure the right texture; too much can make it overly dry.
- Hot Hands: Coat your hands with cooking spray when pressing down the cereal mixture; this prevents stickiness and makes layering easier.
- Cooling Time: Let the chocolate harden fully before cutting the Samoa Rice Krispie Treats to maintain a clean cut and perfect layers.
- Custom Adjustments: Feel free to modify the dulce de leche with your preferred caramel or a vegan alternative to enjoy these treats your way.
- Enjoy in Moderation: While these Samoa Rice Krispie Treats are indulgent, keep in mind their high sugar content and savor them as a special treat!
What to Serve with Samoa Rice Krispie Treats
As you treat your taste buds to these decadent bites, consider pairing them with complementary dishes and flavors that enhance your dessert experience.
- Creamy Vanilla Ice Cream: The cool creaminess beautifully contrasts with the rich layers of chocolate and caramel in the treats.
- Fresh Berries: Bright, juicy strawberries or raspberries add a refreshing pop of acidity that balances the sweetness of the Samoa Rice Krispie Treats.
- Whipped Cream: A dollop of light whipped cream adds an airy texture and helps tone down the richness, making each bite feel light and fluffy.
- Caramel Sauce Drizzle: For an extra touch of indulgence, drizzle warm caramel sauce over the treats before serving; it pairs perfectly with the flavors.
- Chocolate Milk: A classic pairing, a glass of cold chocolate milk enhances the chocolate topping and makes for a nostalgic dessert experience.
- Coffee or Espresso: The bitterness of coffee beautifully contrasts the sweetness of your treats, creating a delightful balance to perfectly round off your evening.
- Nutty Granola: Serve alongside a scoop of nutty granola for added crunch and texture, enhancing that crispy satisfaction in each bite.
- Coconut Flavored Smoothie: A tropical smoothie made with coconut milk and banana harmonizes with the coconut flavor, turning the dessert into a fun themed treat.
- Chilled Sparkling Water: A refreshing option, sparkling water will cleanse your palate and provide a fizzy counterpoint to the chewy dessert.
Make Ahead Options
These Samoa Rice Krispie Treats are a fantastic choice for busy home cooks looking to save time! You can prepare the Rice Krispie base and the coconut-dulce de leche layer up to 24 hours in advance. To do this, simply follow the recipe instructions and layer the cereal mixture and coconut filling in a pan. Cover tightly with plastic wrap and refrigerate to maintain freshness. When you’re ready to serve, melt the semisweet chocolate and pour it over the assembled base, then sprinkle with reserved toasted coconut. This allows for delicious treats that taste just as fresh as if made on the same day, ensuring your sweet tooth is satisfied with minimal effort!
Storage Tips for Samoa Rice Krispie Treats
Room Temperature: Store your Samoa Rice Krispie Treats in an airtight container at room temperature for up to 1 week. This helps maintain their chewy texture and delicious flavor.
Fridge: If you prefer a firmer texture, you can refrigerate them. Just remember to let them sit at room temperature for a few minutes before serving to soften slightly.
Freezer: These treats can be frozen for up to 3 months. Wrap each piece individually in plastic wrap and place them in a freezer-safe container. Thaw them in the fridge overnight when you’re ready to enjoy.
Reheating: If you want to soften your Samoa Rice Krispie Treats after freezing, simply let them sit at room temperature for about 30 minutes or microwave for a few seconds until they’re just warm.
Samoa Rice Krispie Treats Recipe FAQs
How do I choose the right coconut for my Samoa Rice Krispie Treats?
When selecting shredded coconut, I recommend choosing sweetened shredded coconut for that delightful balance of flavor and sweetness. If you prefer a less sugary option, unsweetened shredded coconut can work too; just keep in mind it may alter the overall flavor profile slightly.
What’s the best way to store Samoa Rice Krispie Treats?
Store your Samoa Rice Krispie Treats in an airtight container at room temperature for up to 1 week. This keeps them chewy and delicious. If you prefer a firmer texture, pop them in the fridge, but let them sit out for a few minutes before serving to soften slightly.
Can I freeze Samoa Rice Krispie Treats? How?
Absolutely! To freeze your Samoa Rice Krispie Treats, wrap each piece individually in plastic wrap and place them in an airtight freezer-safe container. They can be stored in the freezer for up to 3 months. When you’re ready to enjoy them, simply thaw in the refrigerator overnight or let sit at room temperature for about 30 minutes.
What if my coconut is burning while toasting?
I highly recommend stirring continuously while toasting coconut to prevent burning. Keep a close eye on it; it can go from golden to burnt in a matter of seconds! If you notice dark spots forming, take it off the heat immediately and let it cool before using.
Are Samoa Rice Krispie Treats safe for people with nut allergies?
While this recipe is nut-free, always ensure that your ingredients are processed in a nut-free facility if you have severe allergies. If you choose to add nuts as a variation, omit them for a nut-safe treat. Always check labels to confirm compliance with dietary restrictions.
Can I use dairy-free ingredients for Samoa Rice Krispie Treats?
Yes, definitely! Substitute regular butter with plant-based butter or coconut oil to make this recipe dairy-free. Additionally, use a dairy-free dulce de leche or homemade caramel to keep these treats safe for dairy sensitivities while still enjoying that rich, sweet flavor.
Samoa Rice Krispie Treats: A Sweet Twist on a Classic!
Ingredients
Equipment
Method
- Toast the Coconut: In a sauté pan set over medium-high heat, add the coconut and stir continuously for about 5–7 minutes until toasted to a golden brown. Reserve ½ cup for garnish.
- Prepare the Dulce de Leche: Combine dulce de leche with milk in a microwave-safe bowl and heat for about 1.5 minutes, stirring halfway through, until smooth.
- Combine Coconut and Dulce de Leche: Mix the majority of the toasted coconut into the dulce de leche until fully incorporated. Set aside.
- Melt Marshmallows and Butter: In another bowl, combine marshmallows and butter. Microwave on high for approximately 2 minutes, stirring until melted and smooth.
- Mix Cereal: Fold the Rice Krispie cereal into the melted marshmallow mixture until evenly coated.
- Layer the Mixture: Grease an 8x12 inch pan. Press half of the cereal mixture into the bottom, then spread the coconut and dulce de leche mixture over it. Top with the remaining cereal, pressing down gently.
- Chocolate Finish: Melt semisweet chocolate in short bursts in a microwave-safe bowl. Pour over the bars and spread evenly. Sprinkle reserved toasted coconut on top.
- Set and Serve: Allow the chocolate to harden at room temperature for approximately 30 minutes before cutting into squares.