

As I stood in the kitchen, spoon in hand, a rich wave of nostalgia hit me—the scent of warm chocolate wafting through the air, instantly transporting me back to blissful childhood moments. Today, I’m excited to share a recipe for a Warm and Gooey Single Serve Mug Brownie that perfectly captures that comforting essence. This quick dessert is not only a chocolate lover’s dream but also a lifesaver for those late-night cravings when you want something sweet without the fuss. With just a few simple ingredients, you can whip up a fudgy delight in minutes, making it an ideal treat for solo indulgence or a cozy get-together. So, what toppings will you choose to personalize your mug brownie?
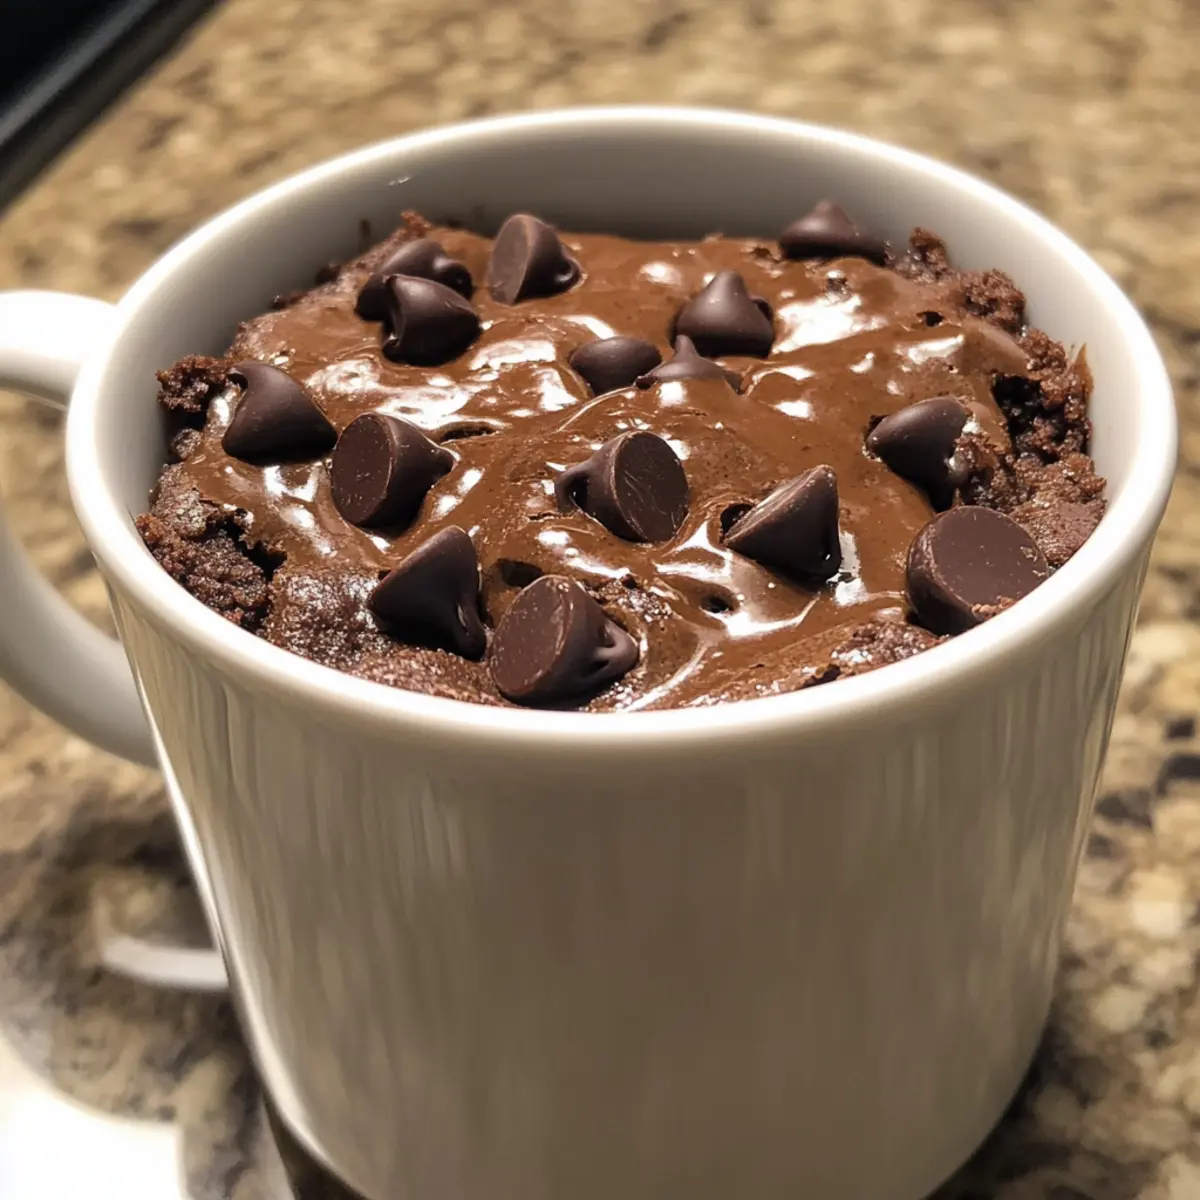
Why is a Mug Brownie a Must-Try?
Quick and Easy: In just minutes, you can enjoy a warm dessert right from your microwave. No complex steps—just mix, bake, and savor!
Personalizable Delight: From crunchy nuts to creamy peanut butter, the topping possibilities are endless. This way, each mug brownie can reflect your unique taste!
Fudgy and Rich: The gooey, soft center paired with slightly crisp edges makes for a perfect chocolate treat. Every bite is indulgent and satisfying, offering a slice of heaven.
Perfect Portions: Want a dessert without leftovers? This single-serving treat satisfies your cravings while keeping portion sizes in check, ideal for chocolate lovers.
For more delightful desserts, check out our guide on quick dessert ideas that can elevate your sweet game!
Single Serve Mug Brownie Ingredients
• Get ready to delight yourself!
For the Brownie
- Unsalted Butter – Adds moisture and richness to the brownie. Substitution: Use coconut oil for a dairy-free option.
- Light Brown Sugar – Provides sweetness and helps create a chewy texture. Substitution: Use granulated sugar, but the flavor may differ slightly.
- Egg Yolk – Provides richness and structure. Substitution: For egg-free, use 1 tablespoon of apple sauce.
- Vanilla Extract – Enhances flavor with warm notes. Use an equal amount of almond extract for a different flavor profile.
- Cocoa Powder – Delivers a bold chocolate taste. Substitution: Carob powder is a caffeine-free option.
- All-Purpose Flour – Ensures the brownie has the right structure. Substitution: Gluten-free flour can be used for a gluten-free version.
- Pinch of Salt – Enhances sweetness and overall flavor. No substitutions necessary.
- Chocolate Chips – Adds melty chocolate goodness. Substitution: Substitute with nuts or dried fruit for a different texture.
Step‑by‑Step Instructions for Single Serve Mug Brownie
Step 1: Prep the Mug
Begin by greasing a microwave-safe mug with cooking spray to prevent sticking. This ensures that your single serve mug brownie releases easily once baked. Preheat your microwave to 350°F if you plan to bake it, or simply set your cooking timer to allow for optimal melting of the ingredients.
Step 2: Melt Butter and Sugar
In the prepared mug, combine a tablespoon of softened unsalted butter and two tablespoons of light brown sugar. Microwave this mixture for about 30 seconds or until the butter is completely melted. Stir gently with a spoon until the mixture is well combined and smooth, creating a rich base for your brownie.
Step 3: Add Wet Ingredients
Incorporate one egg yolk and half a teaspoon of vanilla extract into the melted butter and sugar mixture. Whisk these ingredients together vigorously for about 30 seconds until the mixture becomes light and creamy in consistency, signaling that your single serve mug brownie is getting a lovely structure.
Step 4: Mix in Dry Ingredients
Gradually add two tablespoons of cocoa powder, two tablespoons of all-purpose flour, and a pinch of salt to the mug. Stir continuously to combine these dry ingredients into the wet mixture, finishing with chocolate chips for that melts-in-your-mouth experience. The batter should be thick and cohesive, indicating it’s ready for baking.
Step 5: Cook the Brownie
Place the mug in the microwave and cook the brownie for approximately 1 minute. Keep a close eye on it as microwaves vary; the brownie is done when it appears slightly set but still gooey in the center. If baking in the oven, transfer the mug to the oven and bake for 15-17 minutes until a toothpick comes out with just a few moist crumbs.
Step 6: Cool and Serve
Once baked, carefully remove the mug from the microwave or oven as it will be hot. Let the single serve mug brownie cool slightly for about 2-3 minutes to set. This short wait enhances the fudgy texture and makes it perfect for indulging. Enjoy warm, straight from the mug, or add your favorite toppings for an extra treat!
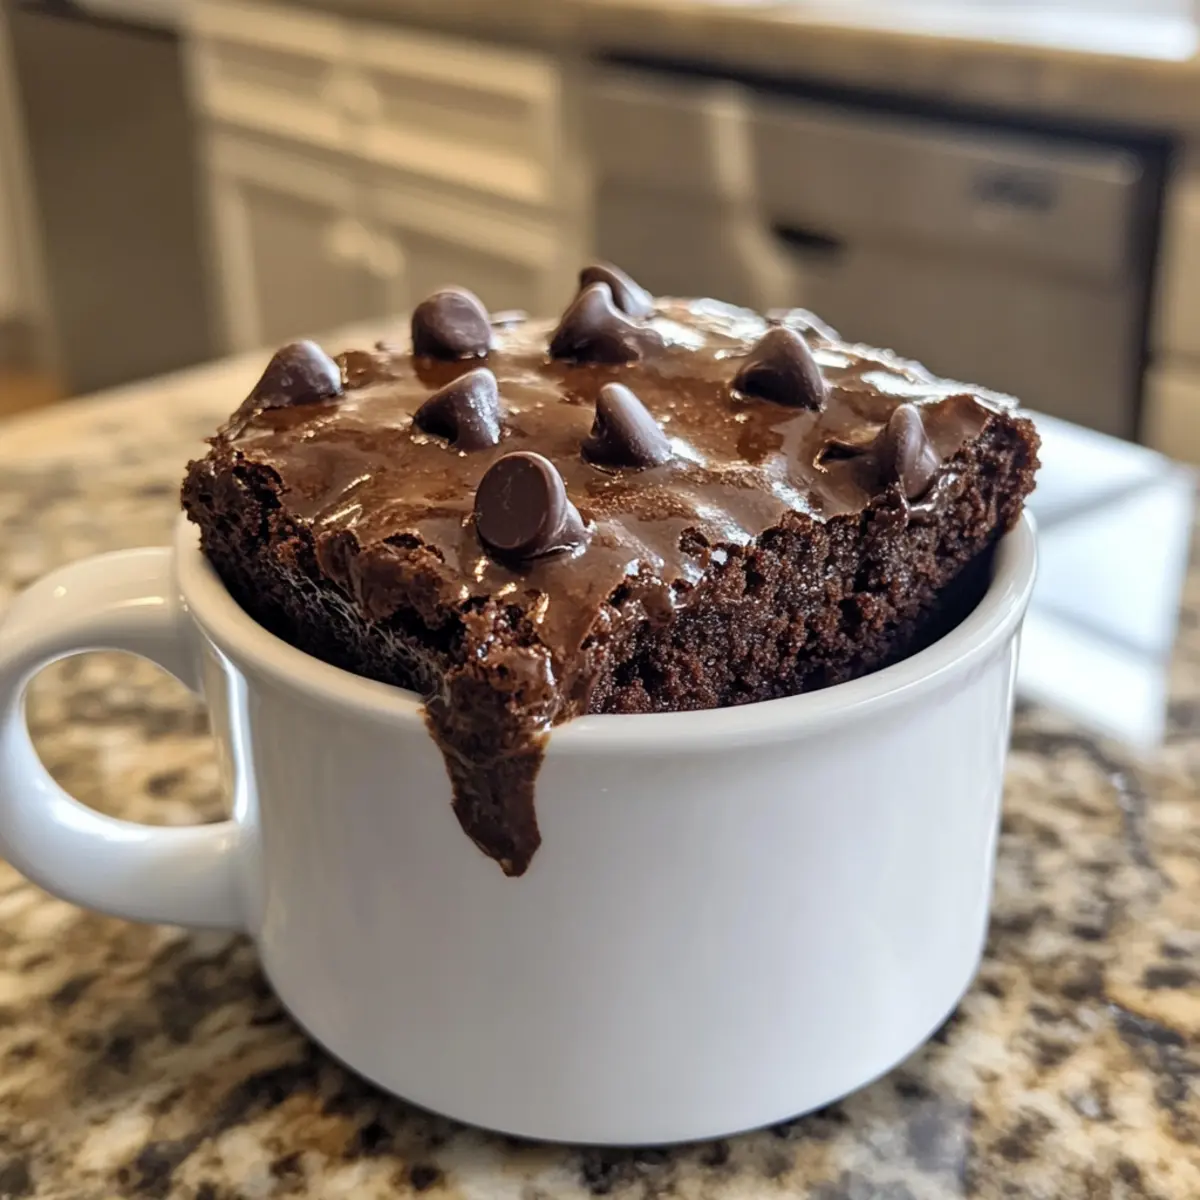
Expert Tips
• Mug Size Matters: Use a large mug to prevent overflow. A smaller mug may cause the brownie to rise and spill over while cooking.
• Mixing Technique: Avoid overmixing the batter; it can lead to a cakey texture instead of the desired fudginess in your single serve mug brownie.
• Microwave Power Check: Keep an eye on your brownie while baking. Since microwaves can vary in power, check for doneness at 50 seconds to prevent overcooking.
• Cooling Time: Allow the brownie to cool for a few minutes before digging in—this enhances the gooey, fudgy texture that makes every bite delightful!
• Customizable Toppings: Feel free to experiment with toppings! A sprinkle of sea salt or a drizzle of caramel can elevate your mug brownie experience.
Make Ahead Options
These Single Serve Mug Brownies are perfect for busy home cooks who want to save time without sacrificing flavor! You can prepare the dry ingredients (cocoa powder, flour, salt, and sugar) in advance and store them in an airtight container for up to 3 days. When you’re ready to enjoy your brownie, simply combine your prepared dry mix in a mug with the wet ingredients (melted butter, egg yolk, and vanilla) and give it a quick stir. To maintain the best quality, ensure that your dry mixture is sealed tightly to avoid moisture. When it’s time to indulge, just bake or microwave the mixture as directed for a swiftly satisfying treat!
How to Store and Freeze Single Serve Mug Brownie
Room Temperature: Store your mug brownie at room temperature for up to 2 days in an airtight container to maintain its fudge-like goodness.
Fridge: If you prefer a cooler treat, you can refrigerate it for up to 3 days. Just allow it to come to room temperature before enjoying for the best texture.
Freezer: For longer storage, freeze the mug brownie in a freezer-safe container for up to 1 month. Thaw in the fridge overnight and reheat in the microwave for a warm treat.
Reheating: To reheat, pop it in the microwave for about 10-15 seconds until warmed through. Enjoy the gooey goodness of your single serve mug brownie once again!
What to Serve with Warm and Gooey Single Serve Mug Brownie
Dive into a world of delightful pairings that elevate your warm, fudgy creation into a complete dessert experience.
Vanilla Ice Cream: A scoop of creamy vanilla ice cream on top creates a delightful contrast to the warm brownie, melting into each bite.
Fresh Berries: Juicy strawberries or raspberries add a burst of freshness and a hint of tartness, balancing the rich chocolate flavor beautifully.
Whipped Cream: Light and airy, whipped cream enhances the brownie’s decadent texture while keeping your dessert feeling light and indulgent.
Chocolate Sauce: Drizzle some chocolate sauce over the top for a double dose of chocolatey goodness; it’s a chocolate lover’s dream!
Caramel Sauce: Smooth caramel adds a sweet, gooey flavor that pairs wonderfully with the rich brownie, elevating it to new heights of indulgence.
Cafe Au Lait: Sip on a warm cafe au lait alongside your brownie; the coffee’s smoothness perfectly complements the chocolate’s richness, creating a comforting treat.
Espresso: A shot of espresso enhances the chocolate flavor, bringing out deep notes that make every bite even more satisfying.
Mini Cookies: Pair your brownie with some crunchy mini cookies for a textural contrast; take a bite of brownie followed by a cookie for ultimate bliss.
Enjoy the various combinations and let your creativity shine as you dive into this deliciously gooey experience!
Single Serve Mug Brownie Variations
Feel free to explore these fun twists for your single serve mug brownie, making it uniquely yours with every bite!
- Nut-Free: Substitute nut-based toppings with seeds like sunflower or pumpkin seeds for a delightful crunch.
- Vegan Delight: Swap the egg yolk for 1 tablespoon of flaxseed meal mixed with 2.5 tablespoons of water for an egg-free option!
- Decadent Chocolate: Enhance the chocolatey flavor by adding a tablespoon of chocolate syrup to the batter for indulgent richness.
- Mocha Magic: Mix in a teaspoon of instant coffee granules for a sophisticated coffee-chocolate combo that’s sure to impress.
- Fruity Flavor: Fold in a few fresh berries, like raspberries or cherries, for a delightful tartness that complements the richness perfectly.
- Cinnamon Spice: Add a dash of ground cinnamon to the batter for a warm, cozy flavor, reminiscent of a brownie-churro hybrid.
- Higher Protein: Stir in a scoop of your favorite protein powder for a chocolate fix that still keeps you fueled for the day.
- Chili Heat: Add a pinch of cayenne pepper or chili powder for a surprising and delightful kick that balances the sweetness beautifully.
For more inspiring variations, check out our guide on substituting ingredients in baking for even more ideas!
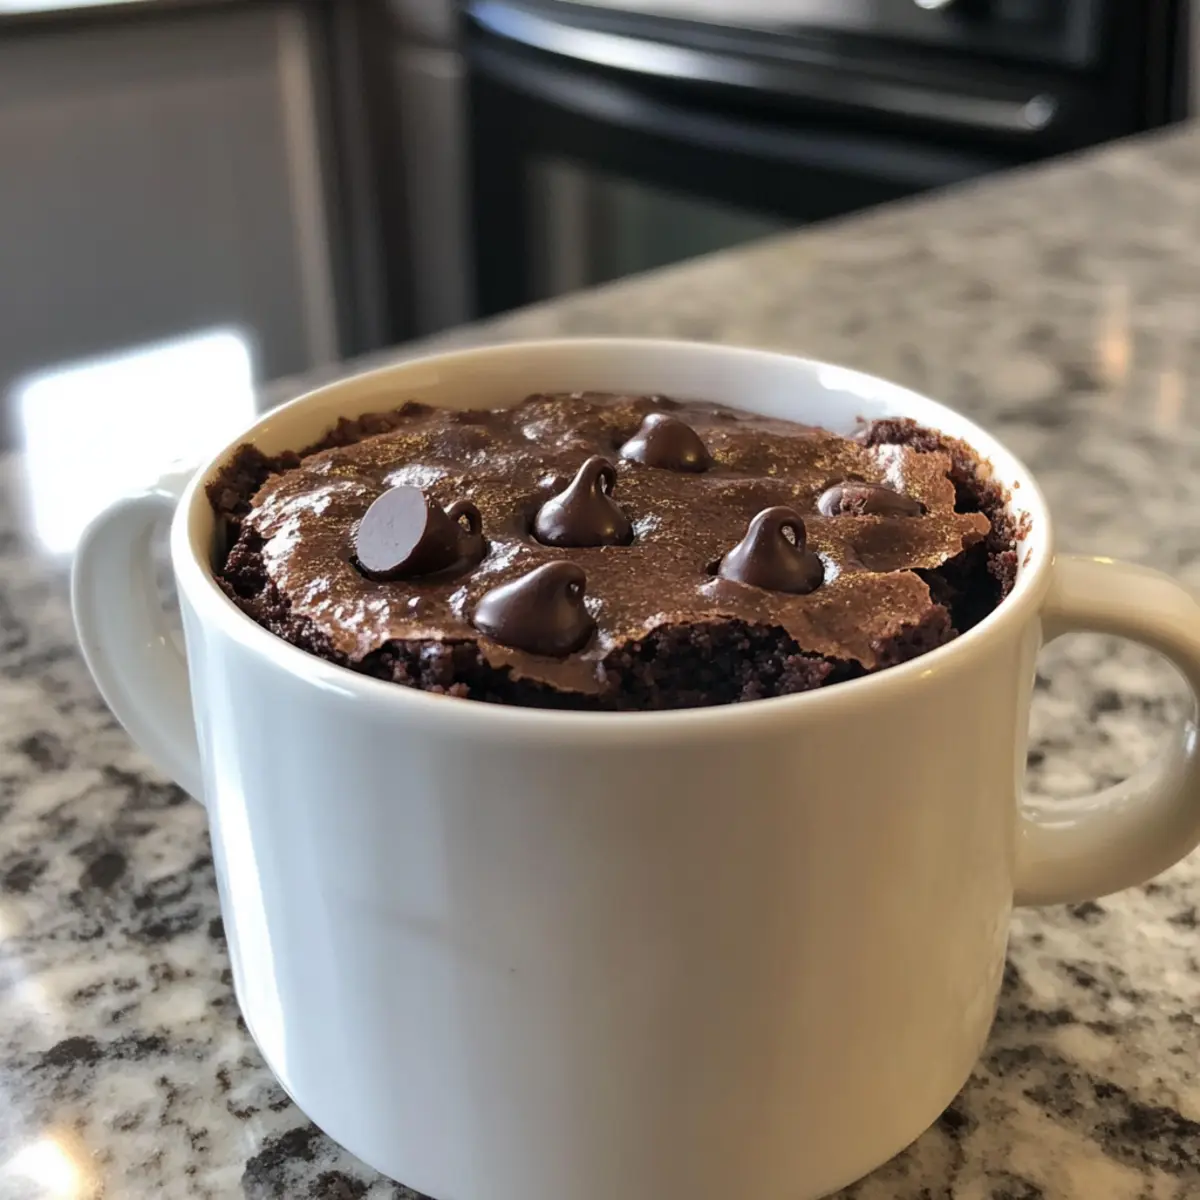
Single Serve Mug Brownie Recipe FAQs
How do I select the best ingredients for my mug brownie?
Absolutely! For the best flavor and texture in your mug brownie, look for high-quality unsalted butter, as it adds richness. Choose light brown sugar for that chewy texture; if it’s too hard, gently warm it in the microwave for 10 seconds. Make sure your cocoa powder is fresh, as stale cocoa can lead to a lackluster taste.
How should I store my mug brownie after making it?
Very! To keep your mug brownie soft and fudgy, store it at room temperature in an airtight container for up to 2 days. If you’d like to keep it longer, you can refrigerate it for up to 3 days. Just remember to allow it to come back to room temperature before enjoying for the best experience.
Can I freeze my mug brownie for later?
Absolutely! To freeze your single serve mug brownie, let it cool completely first. Then, place it in a freezer-safe container or wrap it in plastic wrap and aluminum foil to prevent freezer burn. It can be frozen for up to 1 month. When you’re ready to enjoy it again, thaw it in the fridge overnight and reheat in the microwave for about 10-15 seconds until warmed through.
What should I do if my brownie turns out dry or crumbly?
I often recommend checking your mixing technique! Overmixing can create a cakey texture. To combat dryness, make sure you’re using the correct liquid ratios and don’t skip that egg yolk, as it adds moisture. If you find yourself with a dry brownie, serving it with a scoop of ice cream can help bring back that gooey goodness.
Can I make this brownie recipe vegan-friendly?
Very! You can substitute the egg yolk with 1 tablespoon of apple sauce for egg-free options, and use coconut oil instead of butter for a dairy-free alternative. Additionally, ensure that the chocolate chips you’re using are dairy-free; many brands offer delicious vegan chocolate chips that would work perfectly here.
Is there a way to customize the sweetness for dietary concerns?
Of course! If you want to reduce the sugar in your mug brownie, consider using a sugar substitute like stevia or erythritol that measures cup-for-cup. Just keep in mind that these alternatives may slightly change the taste and texture of your brownie. Adjusting the sweetness can make it friendly for lower-sugar diets while still satisfying those chocolate cravings.
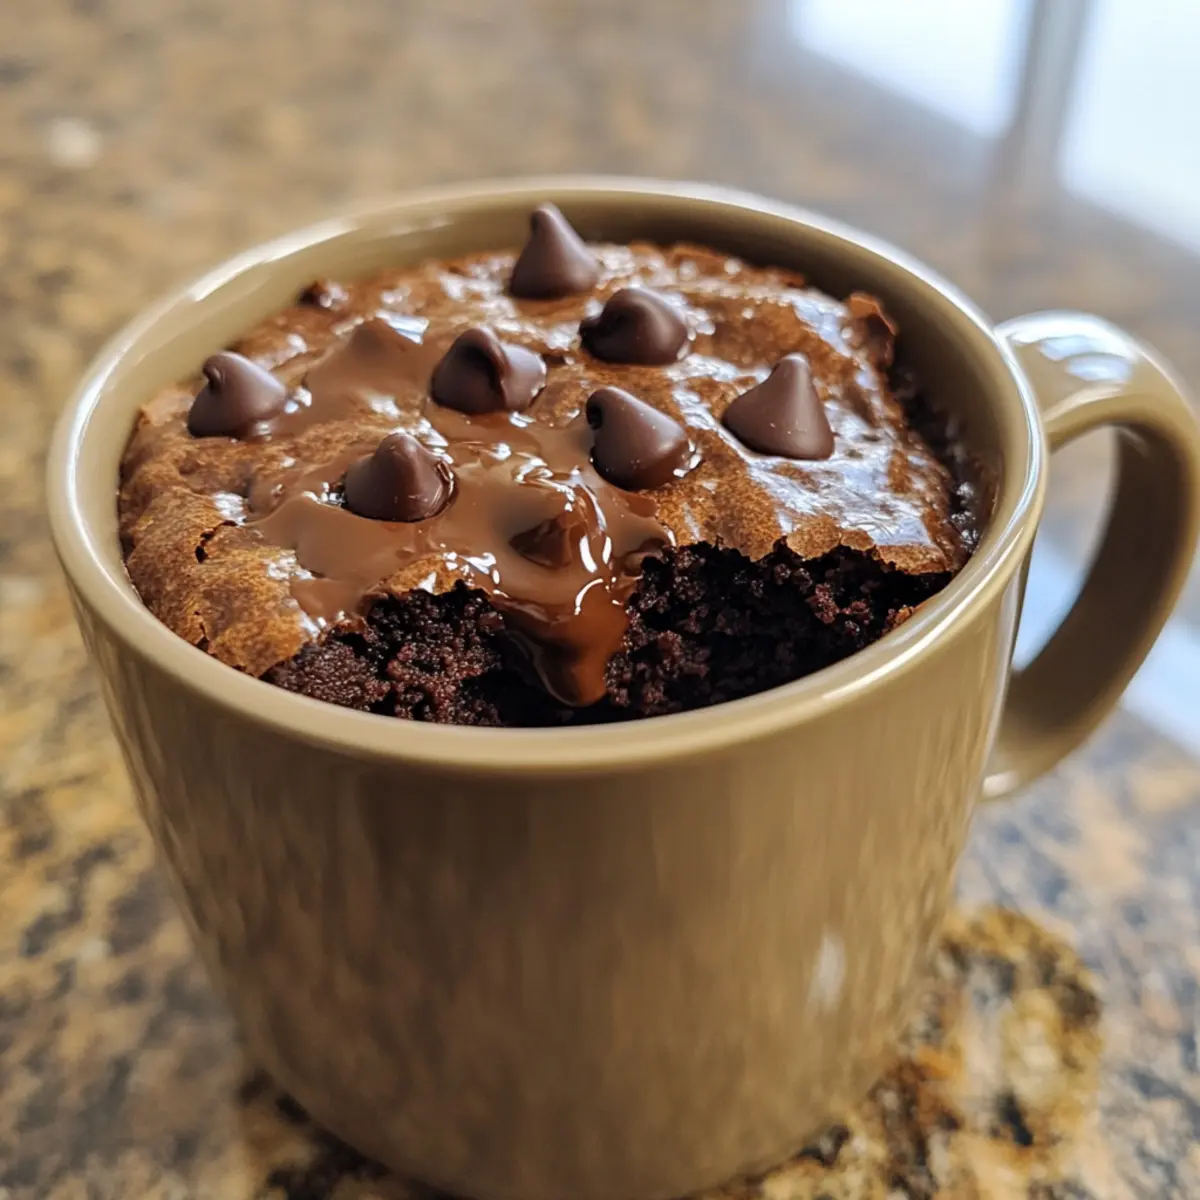
Irresistibly Fudgy Single Serve Mug Brownie in Minutes
Ingredients
Equipment
Method
- Prep the Mug: Grease a microwave-safe mug with cooking spray to prevent sticking. Preheat your microwave to 350°F.
- Melt Butter and Sugar: In the prepared mug, combine a tablespoon of softened unsalted butter and two tablespoons of light brown sugar. Microwave for about 30 seconds until melted, and stir to combine.
- Add Wet Ingredients: Incorporate one egg yolk and half a teaspoon of vanilla extract into the mixture. Whisk vigorously for about 30 seconds until creamy.
- Mix in Dry Ingredients: Gradually add two tablespoons of cocoa powder, two tablespoons of flour, and a pinch of salt. Stir to combine and finish with chocolate chips.
- Cook the Brownie: Place the mug in the microwave and cook for approximately 1 minute. It is done when it appears slightly set but gooey in the center.
- Cool and Serve: Carefully remove the mug, let cool for 2-3 minutes, and enjoy warm or with toppings.