

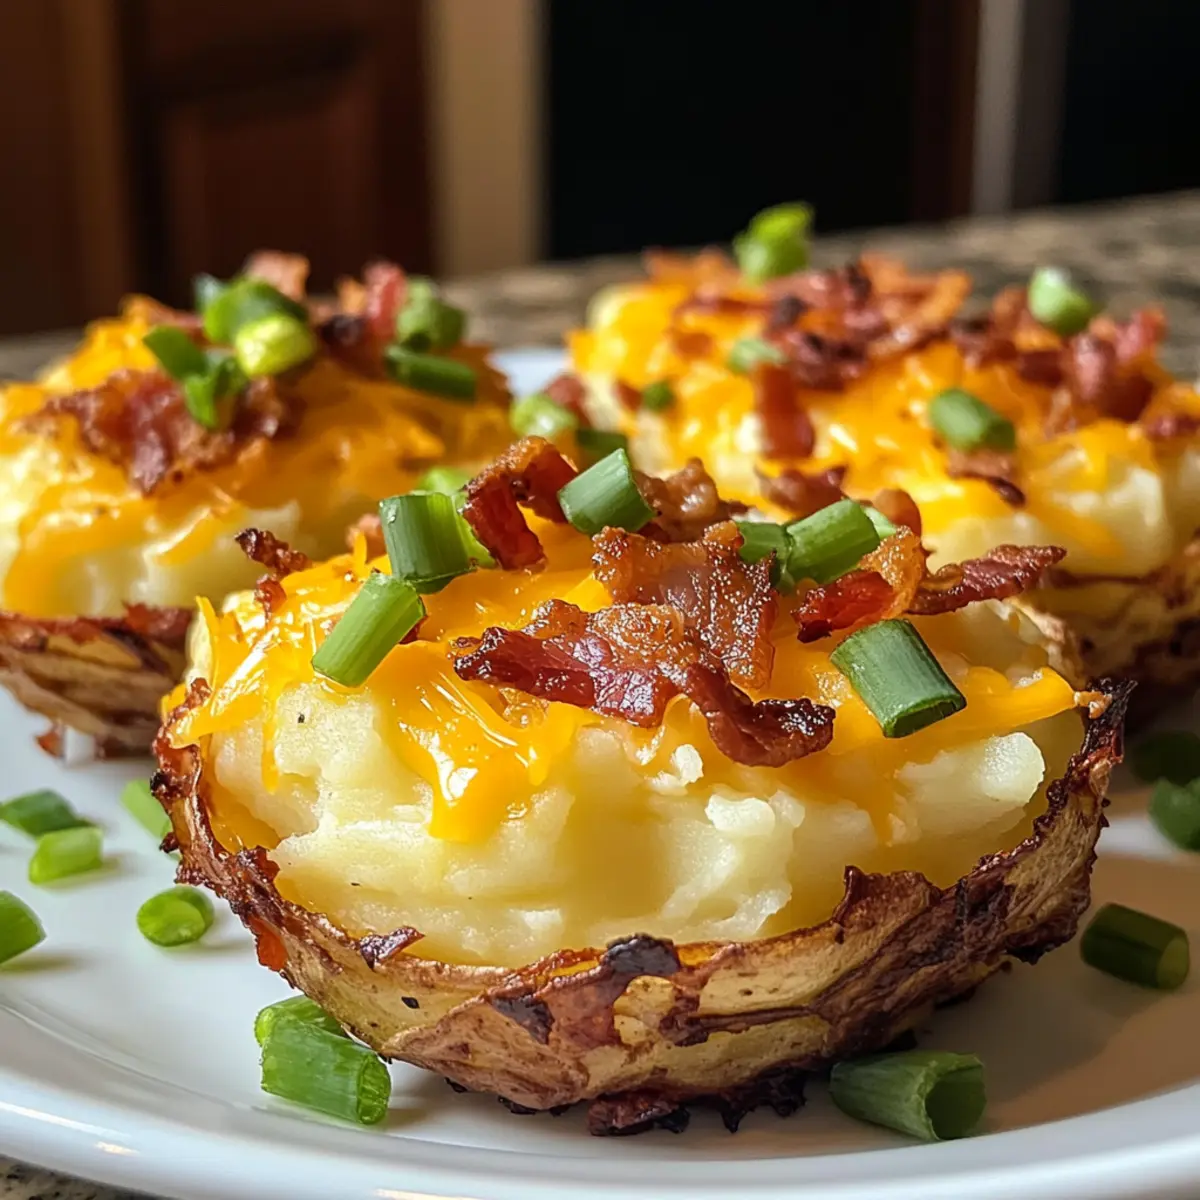
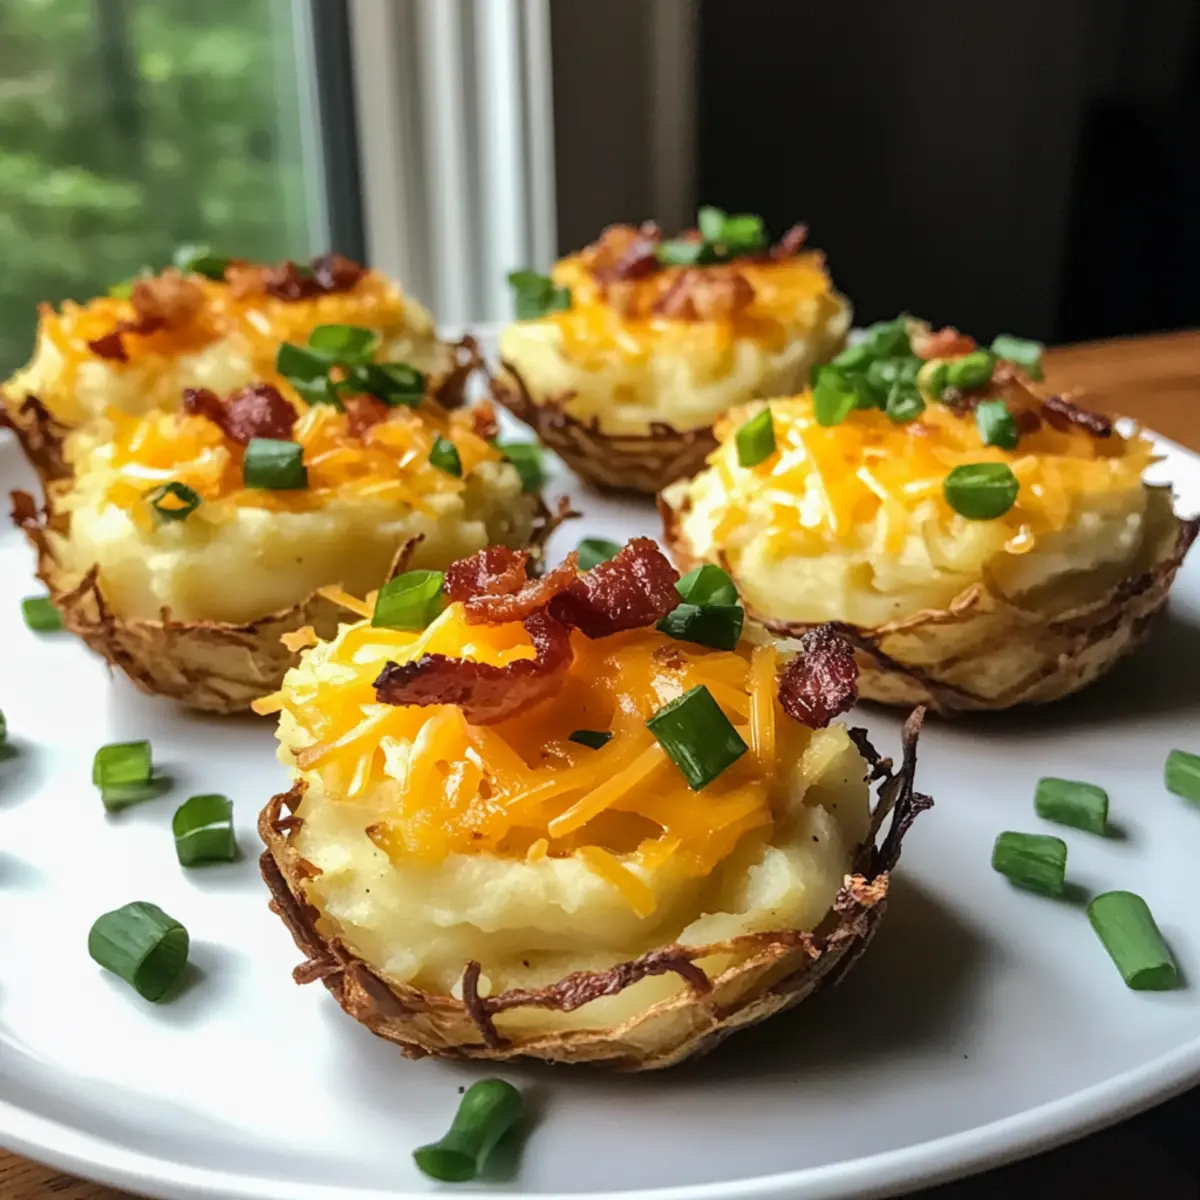
As the oven hums, a warm golden crust starts to form, teasing your senses with the promise of comfort food glory. Stuffed Mashed Potato Nests are not just visually delightful; they are a delicious blend of creamy mashed potatoes, savory cheese, crispy bacon, and vibrant green onions—all nestled in a crunchy potato shell. These little gems bring joy to any table, whether it’s a lively potluck or a relaxed family dinner. Plus, they are a fantastic make-ahead option, easily stashing in the freezer for those unexpected guests or last-minute cravings. Curious to see how you can create this scrumptious dish in your kitchen? Let’s jump into the recipe!
Why Will You Love Stuffed Potato Nests?
Comforting Delight: These Stuffed Mashed Potato Nests blend creamy mash with crispy exteriors, offering a unique bite-sized treat that warms the heart.
Family-Friendly Fun: Perfect for all ages, these nests are great for getting kids involved in the kitchen.
Versatile Filling Options: Swap in your favorite cheese or add vegetables like spinach for extra nutrition.
Make-Ahead Marvel: Prep them a day in advance or freeze for later to enjoy a gourmet dish anytime. Pair them with a hearty main, or enjoy them as a delightful appetizer!
Stuffed Mashed Potato Nests Ingredients
For the Potato Base
• Potatoes – Yukon Gold varieties yield the creamiest texture for your nests.
• Butter – Adds a rich, comforting taste; use olive oil for a lighter option.
• Milk or Cream – Ensures a velvety mash; swap for any dairy-free alternative if desired.
For the Savory Filling
• Cheddar Cheese – Melts beautifully and enhances the flavor; try Gruyère for a twist.
• Bacon – Offers a smoky flavor; omit or replace with turkey bacon for a lighter version.
• Green Onions – Adds freshness and color; chives or shallots work well for substitution.
For Baking
• Cooking Spray or Oil – Grease your muffin tin to ensure easy removal of the nests.
These Stuffed Mashed Potato Nests are not just delicious but come with the added bonus of being customizable for any occasion!
Step‑by‑Step Instructions for Stuffed Mashed Potato Nests
Step 1: Prepare Potatoes
Peel and chop your Yukon Gold potatoes into even chunks, ensuring they’re roughly the same size for uniform cooking. Place the chopped potatoes in a large pot, then cover with salted water and bring to a boil. Cook for 15-20 minutes until the potatoes are tender and easily pierced with a fork, then drain and set aside.
Step 2: Make Mash
While the potatoes are still warm, return them to the pot and add butter and milk. Use a potato masher to combine everything until smooth and creamy, taking care not to over-mash to avoid a gluey texture. Allow the mashed potatoes to cool slightly while you prepare the filling; this ensures they’re easy to handle later.
Step 3: Mix Filling
In a large mixing bowl, gently fold in shredded cheddar cheese, crumbled bacon, and chopped green onions into the creamy mashed potatoes. Mix until the ingredients are evenly distributed throughout the potatoes, creating a delightful blend of flavors that will elevate your Stuffed Mashed Potato Nests.
Step 4: Form Nests
Preheat your oven to 400°F (200°C) while you grease a muffin tin with cooking spray or oil. Scoop generous spoonfuls of the potato mixture into each muffin cup, pressing firmly to create a nest shape. Ensure that the nests are well-formed to maintain their structure during baking, making each bite delightful.
Step 5: Bake
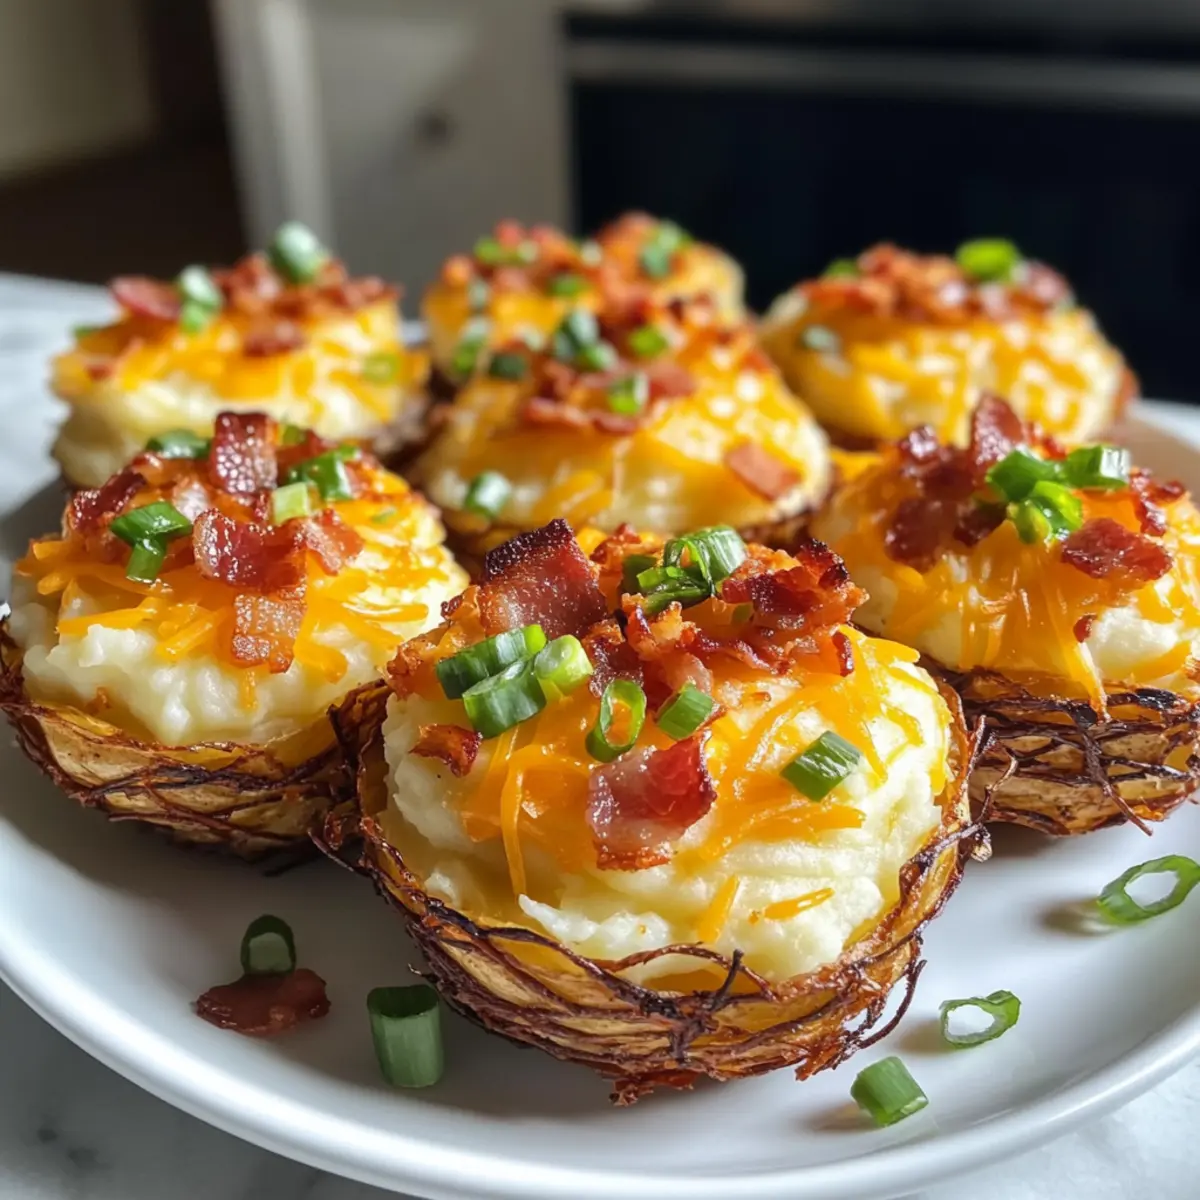
Place the muffin tin in the preheated oven and bake the stuffed potato nests for about 25-30 minutes. Keep an eye on them; they should develop a beautiful golden-brown color around the edges, indicating they’re crispy and ready to be enjoyed. The aroma will fill your kitchen with anticipation!
Step 6: Cool & Serve
Once baked, remove the muffin tin from the oven and allow the Stuffed Mashed Potato Nests to cool for a few minutes. This resting period helps them firm up for easy removal. Carefully lift them out of the tin with a fork and serve warm for a deliciously comforting treat that’s sure to impress!
Stuffed Mashed Potato Nests Variations
Feel free to add your personal touch and make these tasty nests even more delightful!
-
Dairy-Free: Use almond or oat milk and replace butter with olive oil to keep the creaminess without dairy.
-
Spicy Kick: Substitute standard cheddar cheese with Pepper Jack or add jalapeños for an exciting heat that’ll wake up your taste buds.
-
Veggie Boost: Fold in wilted spinach or sautéed mushrooms to increase nutrition and flavor. These additions add depth and freshness, creating a heartier bite.
-
Bacon-Less Delight: Omit bacon entirely for a vegetarian version or swap for crispy tempeh. You can still enjoy all that comforting flavor with a slight twist!
-
Savory Herb Mix: Incorporate fresh herbs like thyme or rosemary into the potato mixture for a fragrant aroma. It adds an elegant touch similar to gourmet mashed potatoes.
-
Leftover Magic: Transform yesterday’s mashed potatoes into nests. Simply mix in some cheese, bacon bits, and green onions and follow the same baking process. Easy peasy!
-
Mini Nests: For bite-sized appetizers, use a mini muffin tin. Perfect for gatherings alongside your favorite sliders, like Smashed Cheeseburger Tacos.
-
Sweet Potato Twist: Substitute half or all of the regular potatoes with sweet potatoes to introduce a sweet, earthy flavor. Pair them with a light maple glaze for a delicious surprise!
No matter which variation you choose, your family is sure to adore these comforting and customizable Stuffed Mashed Potato Nests! Enjoy experimenting and sharing joy with every delightful bite.
Expert Tips for Stuffed Mashed Potato Nests
-
Choose the Right Potatoes: Opt for starchy potatoes like Yukon Gold for the creamiest texture. Waxy varieties can result in a gluey mash.
-
Avoid Over-Mashing: Mix just until creamy; over-mashing can lead to a less appealing texture in your Stuffed Mashed Potato Nests.
-
Firmly Press Mixture: When forming the nests in the muffin tin, press the potato mixture firmly. This creates better structure and prevents them from falling apart during baking.
-
Cool Slightly Before Serving: Let the nests cool in the tin for a few minutes. This helps them set and makes removal easier without breaking.
-
Customize Your Fillings: Feel free to swap the fillings to suit your taste! Try different cheeses or add veggies like spinach for added nutrition.
What to Serve with Stuffed Mashed Potato Nests
As the savory scent of golden, crispy nests fills your kitchen, you’ll want to think about perfect pairings to complete your comforting meal.
- Garlic Roasted Chicken: Its tender juiciness complements the crispy potato nests, providing a hearty contrast of textures and flavors.
- Steamed Broccoli: This vibrant green vegetable adds freshness, balancing the richness of the nests while offering a boost of nutrition.
- Creamy Coleslaw: The crispness and tanginess of coleslaw contrast beautifully with the warm, cheesy potato nests, adding a refreshing crunch.
- Savory Meatloaf: A classic comfort dish, meatloaf brings a flavorful, homestyle element that pairs wonderfully with the creamy interiors of the nests.
- Tomato Basil Salad: Bright and zesty, this salad brings a burst of flavor and color to the table, enhancing the overall dining experience.
- Buttery Corn on the Cob: Sweet, juicy corn slathered in butter provides a delightful sweetness that harmonizes well with the savory potatoes.
- Crisp White Wine: A chilled glass of Sauvignon Blanc or Pinot Grigio offers a refreshing contrast, highlighting the richness of the nests without overpowering them.
- Chocolate Chip Cookies: For dessert, these warm, chewy cookies serve as the perfect sweet ending to your comforting, savory meal.
With these pairings, your Stuffed Mashed Potato Nests will shine as the centerpiece of a joyous gathering or a cozy night in!
Make Ahead Options
These Stuffed Mashed Potato Nests are perfect for meal prep enthusiasts looking to save time during busy weeknights! You can prepare the potato mixture up to 24 hours in advance. Simply follow steps 1 through 3, allow the mixture to cool, then store it in an airtight container in the refrigerator. When you’re ready to serve, just preheat the oven to 400°F (200°C), form the nests in your greased muffin tin, and bake them as instructed. This not only saves you valuable time but also allows the flavors to meld beautifully, resulting in equally delicious nests that taste freshly made!
How to Store and Freeze Stuffed Mashed Potato Nests
Fridge: Store baked Stuffed Mashed Potato Nests in an airtight container for up to 3 days. Reheat in the oven at 350°F (175°C) for about 10-15 minutes to restore crispiness.
Freezer: Freeze unbaked nests by placing them in the muffin tin, then covering with plastic wrap. Once frozen, transfer to a freezer-safe bag for up to 2 months. Bake directly from frozen, adding about 5-10 minutes to the cooking time.
Make-Ahead: Prepare the potato mixture a day in advance. Keep it covered in the fridge, then assemble and bake when ready for a fresh, comforting dish.
Reheating: If you have leftovers, pop them in the oven to keep the exteriors crispy or microwave for a quicker option, although texture may vary.

Stuffed Mashed Potato Nests Recipe FAQs
What type of potatoes should I use for the best texture?
Absolutely! For the creamiest stuffed nests, I recommend using starchy potatoes like Yukon Gold. They mash beautifully and provide the right consistency. Avoid waxy potatoes as they may lead to a gluey texture.
How should I store leftover Stuffed Mashed Potato Nests?
You can store baked nests in an airtight container in the fridge for up to 3 days. When ready to enjoy, reheat them in the oven at 350°F (175°C) for about 10-15 minutes to restore their delightful crispiness.
Can I freeze the Stuffed Mashed Potato Nests?
Very! To freeze unbaked nests, place them in the muffin tin and cover tightly with plastic wrap. Once frozen, transfer to a freezer-safe bag and store for up to 2 months. Bake directly from frozen, adding an extra 5-10 minutes to the cooking time for perfectly crispy results.
What can I do if the nests fall apart when removing them from the tin?
If your nests are crumbling, I suggest letting them cool in the muffin tin for a few minutes before removing. This cooling period helps them set better. Also, make sure to press the potato mixture firmly into the muffin cups before baking to improve their structure.
Are there any dietary considerations for the ingredients used?
Yes! For a vegetarian option, simply omit the bacon or use turkey bacon for a lighter twist. You can also swap out the butter for olive oil and use any plant-based milk to make these nests dairy-free and vegan-friendly. Always check for any allergies related to dairy, gluten, or specific fillers.
Stuffed Mashed Potato Nests – A Cozy Comfort Food Treat
Ingredients
Equipment
Method
- Peel and chop the Yukon Gold potatoes into even chunks, cover with salted water, and bring to a boil. Cook for 15-20 minutes until tender, then drain.
- While warm, return potatoes to the pot, add butter and milk, and mash until smooth. Allow to cool slightly.
- In a mixing bowl, fold in shredded cheese, crumbled bacon, and chopped green onions into the mashed potatoes until evenly mixed.
- Preheat the oven to 400°F (200°C) and grease a muffin tin. Scoop the potato mixture into each cup, pressing firmly to create nests.
- Bake the nests for 25-30 minutes until golden-brown around the edges.
- Allow to cool for a few minutes before removing from the tin and serve warm.