

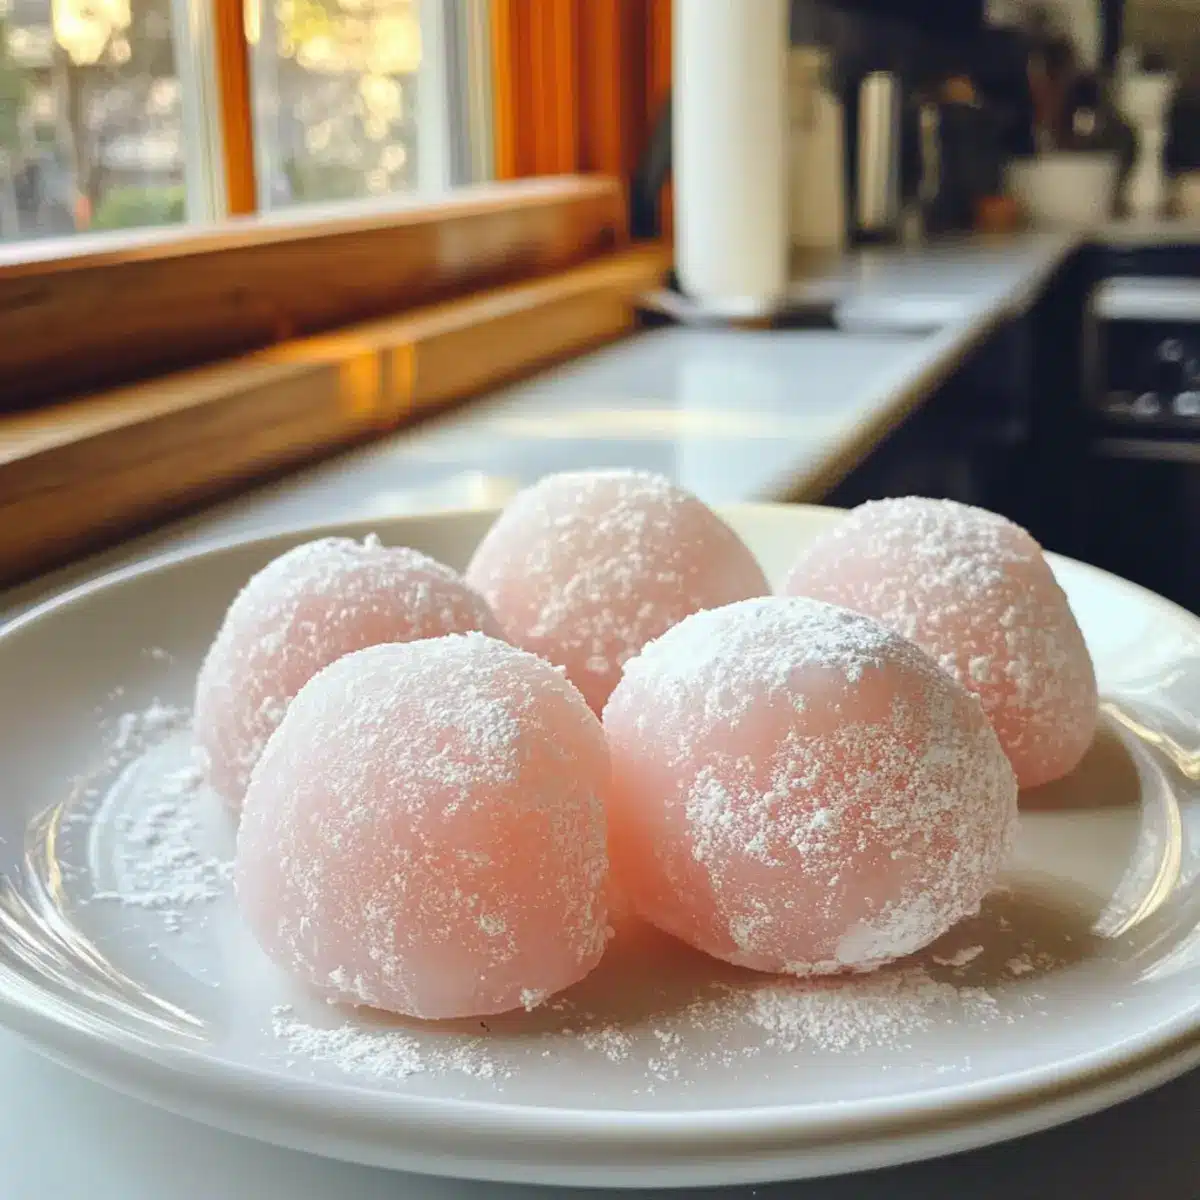
Standing in my kitchen on a sun-drenched summer day, the air filled with the sweet scent of ripe watermelon, I felt an irresistible urge to create something refreshing. That’s when the idea struck me: why not whip up some Watermelon Mochi? This vibrant vegan and gluten-free treat requires just three simple ingredients, making it the perfect way to impress friends at your next picnic or simply satisfy your midday cravings. The chewy texture of mochi combined with the natural sweetness of watermelon provides a uniquely delightful experience. Plus, it’s incredibly easy to make, allowing you to indulge without the guilt of complicated recipes. Curious about how you can make this summer delight come alive in your own kitchen?
Why You Should Try Watermelon Mochi?
Simplicity at Its Best: With just three ingredients, this Watermelon Mochi is a breeze to prepare, even for novice cooks.
Vegan and Gluten-Free: This treat caters to various dietary needs, allowing everyone to enjoy it without worry.
Bursting with Flavor: The combination of fresh watermelon juice and chewy mochi results in a deliciously sweet and refreshing snack.
Perfect for Summer: Whether you’re at a picnic or lounging by the pool, this mochi is the ultimate summer treat that everyone will love.
Make Ahead and Store: You can easily prepare these in advance and store them for a quick, guilt-free snack anytime! Don’t miss out—check out our storage tips to keep your treats fresh!
Watermelon Mochi Ingredients
For the Mochi
- Glutinous Rice Flour – Essential for creating that perfect chewy texture; mochiko flour can be used as a substitute.
- Fresh Watermelon Juice – Adds a natural sweetness that pairs beautifully with the mochi; ensure it’s ripe and at room temperature for best results.
- Granulated Sugar – Sweetens the mochi to enhance its flavor; feel free to adjust this based on the watermelon’s own sweetness.
For Dusting
- Cornstarch – A must-have to prevent sticking when shaping the mochi; dust generously on your hands and workspace.
This simple combination transforms into a delightful Watermelon Mochi, a treat you’ll want to share with everyone!
Step‑by‑Step Instructions for Watermelon Mochi
Step 1: Blend Watermelon
Start by cutting a ripe watermelon into chunks and place them in a blender. Blend the watermelon until smooth, then use a fine-mesh sieve to strain the liquid into a bowl, discarding the pulp. You should have a vibrant juice that will add natural sweetness and flavor to your Watermelon Mochi.
Step 2: Mix Ingredients
In a mixing bowl, combine glutinous rice flour and granulated sugar. Gradually pour in the fresh watermelon juice while whisking until you achieve a smooth and lump-free mixture. The consistency should be thick yet pourable, resembling pancake batter, which will form the delightful base of your Watermelon Mochi.
Step 3: Microwave Mixture
Transfer the mixture into a microwave-safe bowl and microwave on high for 1 minute. After each interval, take it out and stir until the mixture becomes glossy and translucent, which usually takes about 4 to 5 minutes in total. Keep an eye on it to ensure it cooks evenly, signaling readiness when it resembles a thick, sticky dough.
Step 4: Cool and Shape
Dust a clean plate generously with cornstarch to prevent sticking. Carefully transfer the hot mochi mixture onto the plate and allow it to cool slightly, about 5 minutes. Once it’s manageable, dust your hands and workspace with cornstarch, then shape the mixture into small balls or discs, ensuring they’re evenly formed for a delightful presentation.
Step 5: Store and Serve
Let the shaped Watermelon Mochi cool completely at room temperature. Once cooled, dust off any excess cornstarch and transfer them to an airtight container. They’re best enjoyed fresh, but can be stored up to 2 days in the fridge. Serve these chewy delights at gatherings, and watch friends and family relish in their sweetness!
Expert Tips for Watermelon Mochi
Room Temperature Juice: Using watermelon juice at room temperature helps avoid a lumpy texture in your mochi dough.
Smooth Straining: Strain the blended watermelon juice thoroughly to eliminate any pulp, ensuring a smooth, sweet base for your Watermelon Mochi.
Proper Cooking Time: If the mixture appears white instead of glossy, it may need additional microwaving. Keep cooking in short intervals until correctly done.
Dusting Technique: Generously dust your hands and workspace with cornstarch to prevent sticking when shaping the mochi, making the process easier and cleaner.
Serving Fresh: These treats are best enjoyed fresh. Serve them within 2 days after making, as they might lose their delightful texture over time.
Make Ahead Options
These Watermelon Mochi are perfect for busy home cooks looking to save time while enjoying a delightful summer treat! You can prepare the mochi mixture up to 24 hours in advance by blending the watermelon and mixing it with glutinous rice flour and sugar. Store the mixture in an airtight container in the refrigerator to maintain its quality. When ready to serve, simply microwave the prepped mixture until glossy and translucent—about 4-5 minutes, stirring after each minute. Keep in mind to dust your hands and workspace with cornstarch to prevent sticking during shaping. With these make ahead options, you can enjoy fresh Watermelon Mochi with minimal effort!
Watermelon Mochi Variations & Substitutions
Feel free to let your creativity shine as you customize this delicious Watermelon Mochi recipe, making it uniquely yours!
Mixed Fruit Twist: Use a combination of watermelon, mango, or strawberry juice for varied flavors. This fruity blend elevates the sweetness and adds a vibrant touch!
Coconut Cream: Add coconut milk to the mixture for enhanced chewiness and a delightful tropical flavor. Imagine tasting a beach holiday in every bite!
Citrus Zest: Incorporate lemon or lime zest to brighten the mochi’s flavor with refreshing acidity. A little zest goes a long way in making it taste even more lively.
Sweetener Swap: Substitute sugar with agave syrup or maple syrup for a more natural sweetness that caters to your preference. It’s all about finding the sweetness that suits you best!
Nutty Crunch: Fold finely chopped nuts into the mochi mixture for added texture. A collision of chewy and crunchy is sure to excite your taste buds!
Chocolate Drizzle: Drizzle melted dark chocolate on top for an indulgent finish that adds richness. Who doesn’t love a little chocolate to elevate their summer treats?
Matcha Infusion: Mix in matcha powder to give your mochi an earthy flavor and stunning green hue. This twist adds a touch of sophistication and unique taste to your treat!
Dairy-Free Yogurt Dip: Serve with a side of dairy-free yogurt as a dip to bring in a creamy contrast. This accompaniment enhances the overall tasting experience, making it even more enjoyable!
Adapting your Watermelon Mochi recipe has never been so fun and tasty. If you’re interested in exploring more exciting variations and storage techniques, don’t forget to check out our storage tips!
What to Serve with Easy 3-Ingredient Watermelon Mochi
Elevate your summer gatherings with delightful accompaniments that complement the refreshing taste of mochi.
- Chilled Coconut Water: A hydrating beverage that enhances the tropical vibe while keeping your palate refreshed.
- Grilled Pineapple Skewers: Sweet and smoky, these add a caramelized touch that pairs beautifully with the chewy mochi.
- Minty Fruit Salad: A mixture of melons and berries dressed with fresh mint delivers brightness and contrast to the sweetness of the mochi.
- Matcha Iced Tea: The earthy notes of matcha offer a lovely balance, creating an invigorating contrast to the watermelon flavor.
- Dark Chocolate Dipping Sauce: Indulge your sweet tooth by drizzling luxurious melted chocolate for a decadent finishing touch.
- Citrus Sorbet: A light, zesty dessert that adds a freezing pop of flavor, perfectly cleansing your palate after the mochi.
- Sparkling Water with Lime: Effervescent and refreshing, this drink brightens up your snack time and keeps things light and enjoyable.
Pairing these enticing options ensures a memorable experience every time you serve the Watermelon Mochi!
How to Store and Freeze Watermelon Mochi
Room Temperature: Store Watermelon Mochi at room temperature for a few hours, ensuring they’re kept away from direct sunlight to maintain their delightful texture.
Fridge: Keep the mochi in an airtight container for up to 2 days, dusted with cornstarch to prevent sticking and preserve their chewiness.
Freezer: For longer storage, freeze the mochi for up to 1 month. Layer them between parchment paper to avoid sticking, and thaw at room temperature before enjoying their chewy goodness.
Reheating: To enjoy later, simply let them sit at room temperature or briefly microwave the refrigerated mochi for a few seconds to soften them back up.
Watermelon Mochi Recipe FAQs
How do I select the best watermelon for this recipe?
Absolutely! When choosing a watermelon, look for one that’s firm and feels heavy for its size. The skin should have a dull finish with a uniform color, avoiding any dark spots, which may indicate overripeness. A small yellow spot on the underside is a good sign of ripeness as it shows that the watermelon has sat on the ground long enough to ripen.
How should I store leftover Watermelon Mochi?
You can easily store leftover Watermelon Mochi in an airtight container in the refrigerator for up to 2 days. Just be sure to dust them with cornstarch to prevent sticking! If you want to keep them longer, you can freeze them for up to 1 month. Just layer them with parchment paper before placing them in a freezer-safe container to maintain their shape and texture.
Can I freeze Watermelon Mochi? How?
Yes, you can freeze Watermelon Mochi! To do so, after shaping, lay them out on a baking sheet lined with parchment paper, ensuring they don’t touch. Freeze them until solid, then transfer the frozen mochi to an airtight container, separated by layers of parchment paper. They can be stored this way for up to 1 month. When you’re ready to enjoy, thaw at room temperature for a few minutes or microwave for just a few seconds to soften.
What should I do if my mochi mixture appears lumpy?
If your mochi mixture appears lumpy, don’t worry! This often happens if the watermelon juice is cold or if it’s not mixed thoroughly. To fix this, let your watermelon juice come to room temperature before mixing. Then, whisk the ingredients together until you achieve a smooth consistency, resembling pancake batter. If lumps persist even after mixing, gently microwave the mixture in short intervals, stirring between each, to help dissolve any lumps.
Are there any dietary concerns I should be aware of with Watermelon Mochi?
Very much so! This Watermelon Mochi is naturally vegan and gluten-free, making it accessible for many dietary preferences. However, be mindful of any allergies related to the ingredients—while the main components are safe for most, always check for corn allergies linked to cornstarch. If serving to kids or pets, keep portions small, as mochi can be chewy and a choking hazard. Enjoy this delightful treat in moderation!
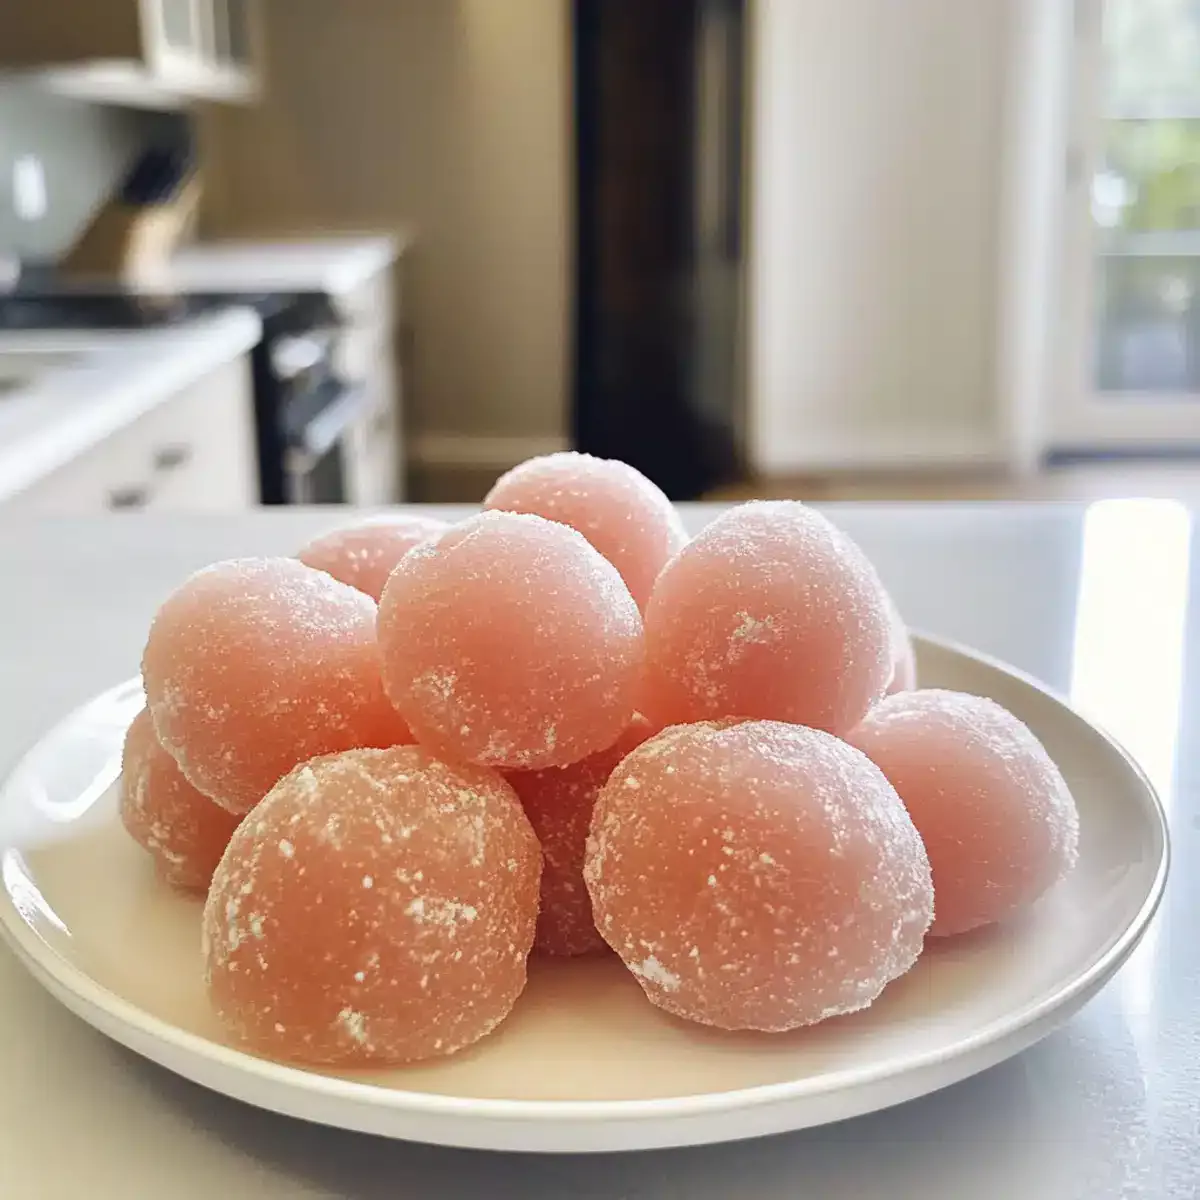
Irresistibly Chewy Watermelon Mochi for Summer Bliss
Ingredients
Equipment
Method
- Start by cutting a ripe watermelon into chunks and place them in a blender. Blend until smooth, strain the liquid into a bowl using a fine-mesh sieve, discarding the pulp.
- In a mixing bowl, combine glutinous rice flour and granulated sugar. Gradually pour in the fresh watermelon juice while whisking until you achieve a smooth, lump-free mixture.
- Transfer the mixture into a microwave-safe bowl and microwave on high for 1 minute. Stir and continue microwaving in intervals until glossy and translucent, about 4 to 5 minutes.
- Dust a clean plate with cornstarch. Transfer the hot mochi mixture onto the plate and allow it to cool slightly, about 5 minutes.
- Dust your hands and workspace with cornstarch, then shape the mixture into small balls or discs.
- Let the shaped Watermelon Mochi cool completely at room temperature, then dust off excess cornstarch and store in an airtight container.