

As I peeled back the vibrant orange skin, a burst of citrus aroma filled the air, transporting me to sun-soaked orchards. It’s these little moments that inspire my love for crafting Classic Homemade Orange Candy. This straightforward recipe lets you create delightful sweet-tart treats in the comfort of your kitchen, leaving store-bought candy in the dust. Not only are these candies perfect for gifting, but they also serve as a flavorful way to elevate your afternoon snack. The chewy texture combined with that aromatic freshness will have everyone reaching for more! Plus, if you’re feeling adventurous, swapping oranges for lemons, grapefruits, or even blood oranges can offer a delightful twist. Ready to make a batch that’s sure to impress? Let’s dive into the irresistible world of homemade candy!
Why Make Classic Homemade Orange Candy?
Irresistible Flavor: The natural sweetness of oranges combined with a hint of tang creates a delicious balance that’s hard to resist.
Unique Gift Idea: These candies are perfect for gifting; present them in a jar, and you’ve got a personal and thoughtful treat.
Versatile Options: Feel free to swap in lemons or grapefruits for a fun twist. Imagine biting into a zesty lemon candy!
Simplicity: With just a few ingredients and easy steps, anyone can master this recipe—no fancy techniques required.
Perfect for Any Occasion: Whether it’s a cozy gathering or a festive celebration, these candies bring a touch of sunshine to your table.
Filled with delightful flavors, they make an excellent addition to your tea time or as a garnish for cakes. For more citrus-inspired delights, check out my Orange Dreamsicle Smoothie, where the fresh taste shines through!
Classic Homemade Orange Candy Ingredients
• Let’s gather the essentials for this sweet adventure!
For the Candy
- Oranges – Fresh citrus delivers vibrant flavor and juiciness, but feel free to experiment with lemons, grapefruits, or blood oranges if you’re feeling adventurous!
- Granulated Sugar – Provides sweetness and serves to preserve the candies; you can try coconut sugar for a richer hint of flavor.
- Water – Necessary for dissolving the sugar to create the syrup.
For Extra Flavor (Optional)
- Vanilla Extract – A splash can enhance the flavor profile of the syrup while cooking.
- Cinnamon or Other Spices – Adding a touch of spice can deepen the flavor complexity, especially during cozy seasons.
Prepare these ingredients, and get ready to transform your kitchen into a citrus wonderland with your Classic Homemade Orange Candy!
Step‑by‑Step Instructions for Classic Homemade Orange Candy
Step 1: Prepare Oranges
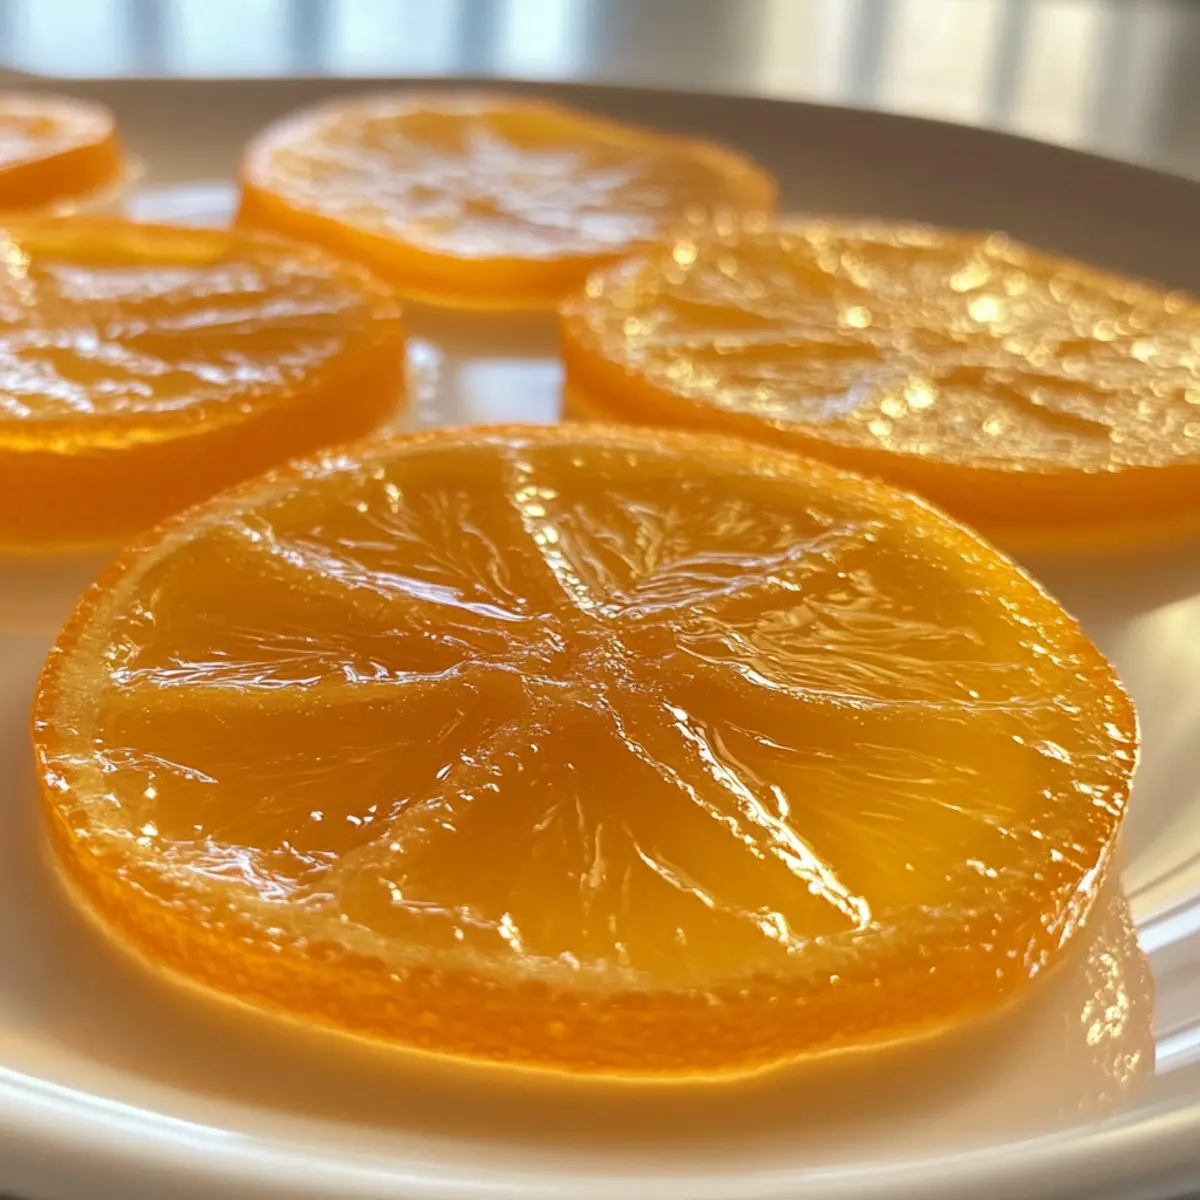
Start by thoroughly washing your fresh oranges to remove any wax or pesticides. Slice them thinly, about 1/8 to 1/4 inch, ensuring you keep the rind intact for added texture. Arrange the orange slices on a plate, so they’re ready to go. The vibrant color and citrus aroma will fill your kitchen, hinting at the delicious Classic Homemade Orange Candy you’re about to create.
Step 2: Make Syrup
In a medium saucepan, combine equal parts granulated sugar and water—this will form the syrup. Heat the mixture over medium-low heat, stirring gently until the sugar completely dissolves, which should take about 5 minutes. Keep an eye on it to prevent boiling. You’ll know it’s ready when the syrup appears clear and slightly thickened, creating the perfect base for your orange slices.
Step 3: Cook Oranges
Carefully add the prepared orange slices to the pot with the warm syrup. Reduce the heat to low and let them simmer gently for about 30 to 40 minutes. Stir occasionally to prevent the slices from sticking to the bottom of the pot. You’ll notice the oranges turning translucent and softening, which indicates they are absorbing all the wonderful syrupy goodness.
Step 4: Dry Candies
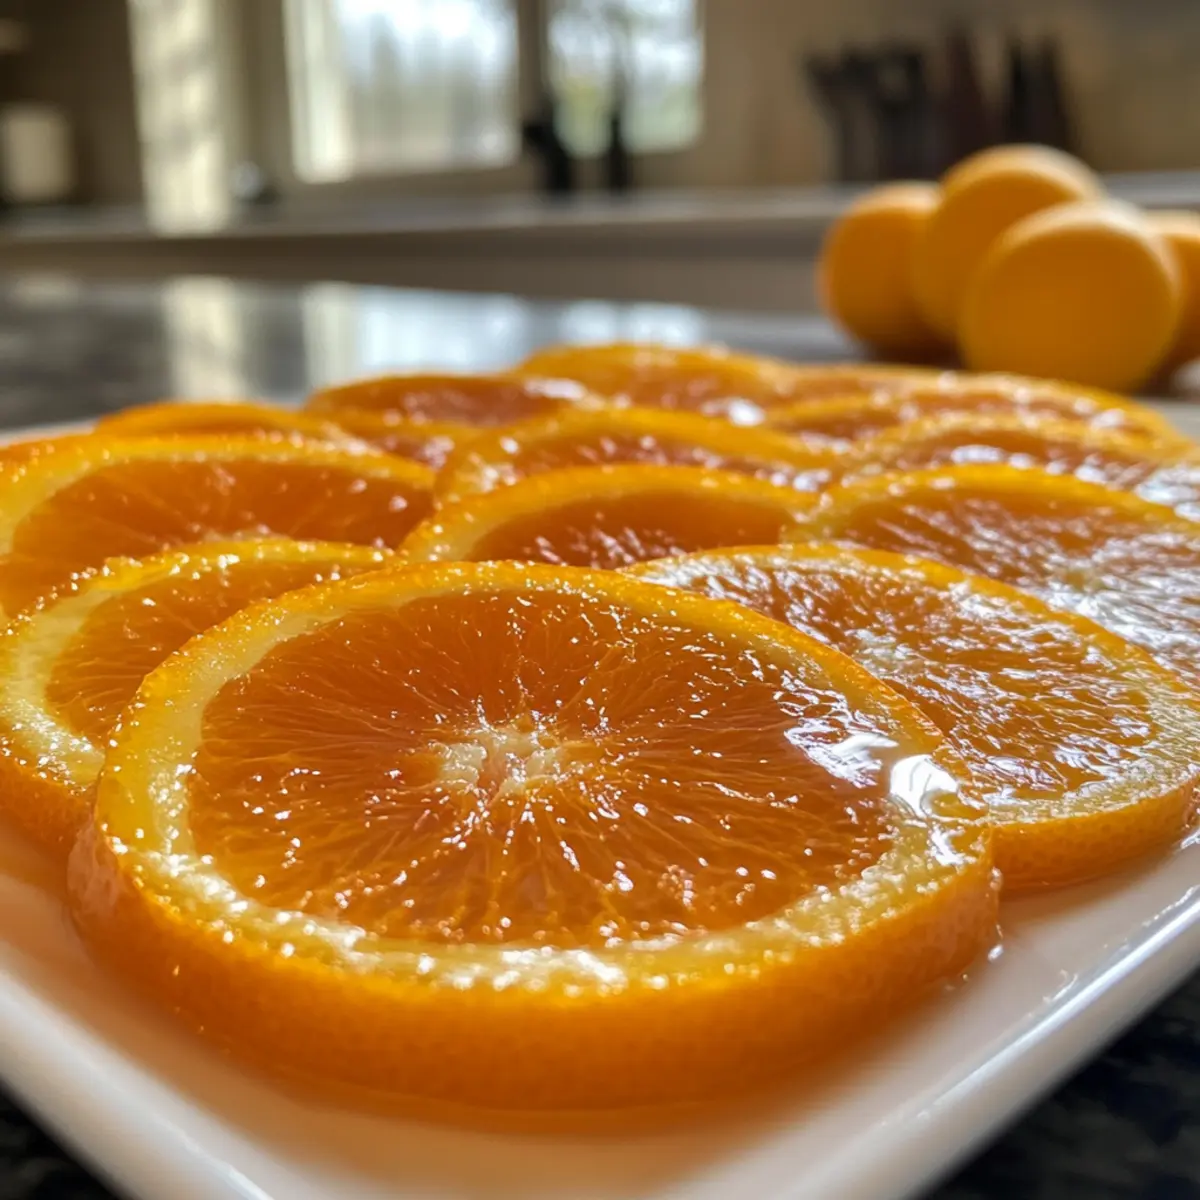
Once the orange slices are translucent and tender, remove the saucepan from heat. Using a slotted spoon, carefully transfer the candied oranges onto a parchment-lined baking sheet, allowing them to drain and cool slightly. Spread them out in a single layer, ensuring they aren’t touching. Allow them to dry completely at room temperature for at least 8 hours or overnight for the best results.
Step 5: Finish
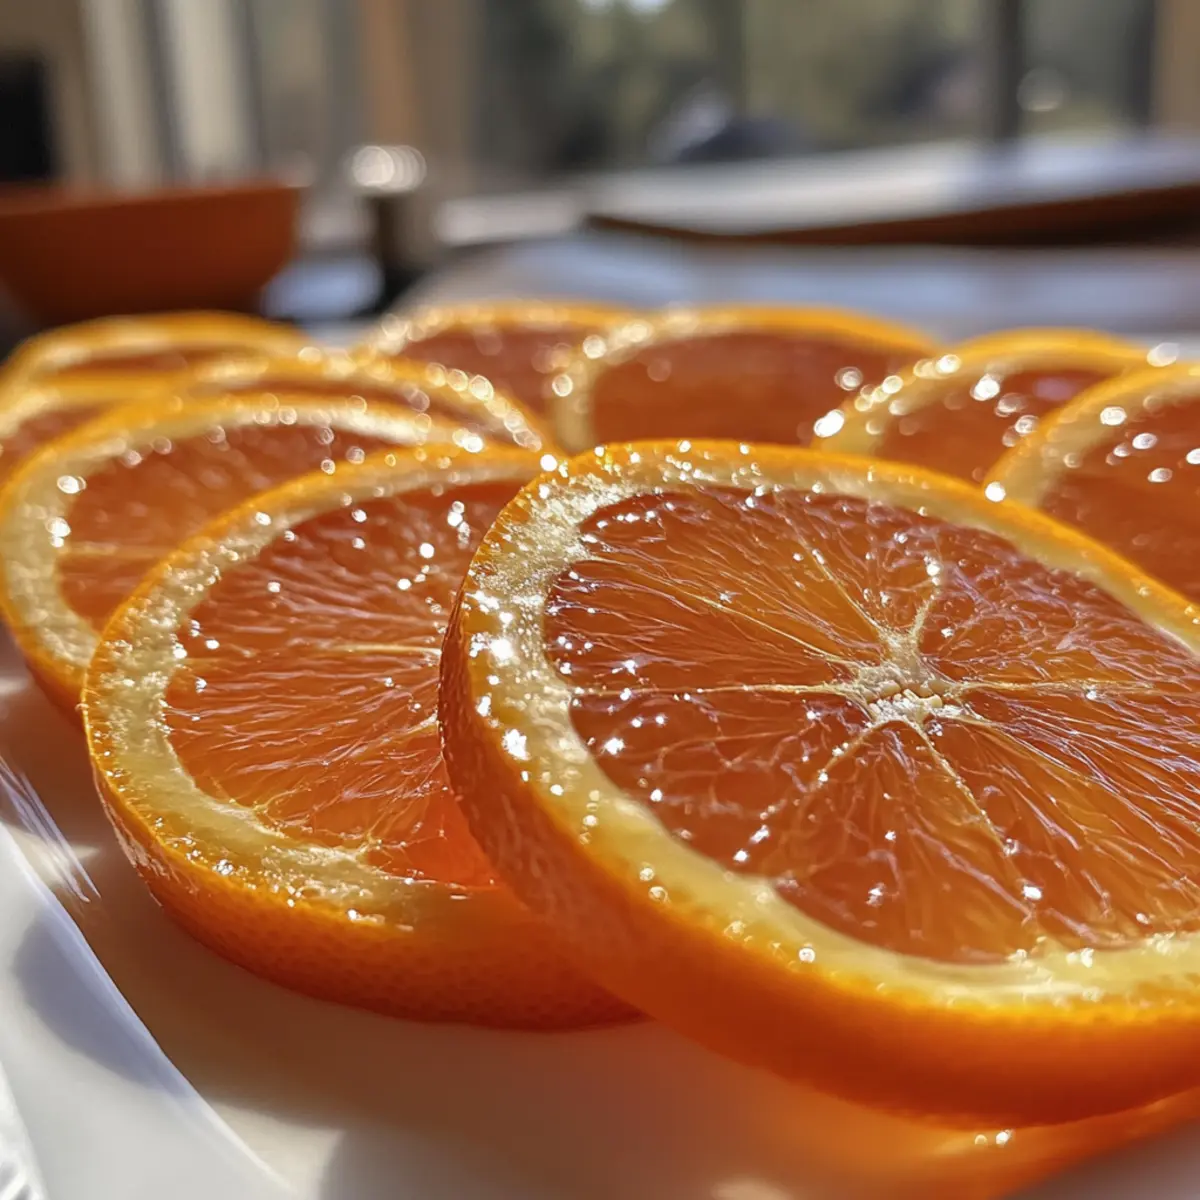
For that gleaming finish on your Classic Homemade Orange Candy, gently brush each dried slice with any remaining warm syrup, then sprinkle a light dusting of granulated sugar to enhance the glossiness. This step is optional but adds an eye-catching touch. Place the finished candies back on the parchment, allowing them to set for another hour before storing or gifting.
Make Ahead Options
These Classic Homemade Orange Candies are perfect for busy home cooks looking to save time during hectic weeks! You can prepare the orange slices and cook them in syrup up to 24 hours in advance. Once cooked, allow the slices to dry completely, then store them in an airtight container at room temperature for up to 3 days. To maintain their glossy finish and prevent stickiness, you can lightly dust the candies with sugar before storing. When you’re ready to enjoy or gift these delightful treats, simply refresh their shine with a light brush of warm syrup and a sprinkle of sugar, and they’ll taste just as delicious as the day you made them!
Classic Homemade Orange Candy Variations
Get ready to unleash your creativity! These variations will inspire you to craft your very own signature twist on a classic treat.
-
Lemon Twist: Swap out the oranges for fresh lemons to create zesty lemon candies that are bright and refreshing.
-
Blood Orange Magic: Use blood oranges to make your candies not only delicious but also strikingly beautiful with a rich, ruby hue.
-
Grapefruit Delight: Opt for grapefruit slices for a unique bittersweet flavor that offers a delightful surprise to your palate.
-
Chocolaty Dipping: After drying, dip half of each candy in dark chocolate for a decadent twist that adds a luxurious touch.
-
Spiced Up Candy: Incorporate cinnamon or ginger into your syrup for a warm, inviting flavor that’s perfect for cozy gatherings.
-
Infused Flavors: Experiment by adding a splash of vanilla extract or almond extract to the syrup for deeper flavor notes that elevate your candies.
-
Citrus Combo: Combine different citrus fruits like oranges, limes, and lemons for a vibrant candy medley that’s visually appealing and bursting with flavor.
-
Citrus Zest Boost: Grate some zest from the citrus you’re using and mix it into the syrup to intensify the citrus flavor in each delightful bite.
Each of these variations invites you to explore and personalize your candy-making journey. And if you’re looking for more citrus delights, why not try these classic recipes? The Homemade Pancakes Elevates are delicious with a side of orange candy, or pair them with a refreshing Salad Mediterranean Twist for a lovely snack!
How to Store and Freeze Classic Homemade Orange Candy
Room Temperature: Store the candies in an airtight container at room temperature for up to 1 week to maintain their chewy texture and vibrant flavor.
Fridge: For extended freshness, keep the candies in the refrigerator for up to 2 weeks. Just ensure they’re in a sealed container to prevent drying out.
Freezer: While not recommended for long-term freezing, if you choose to freeze your Classic Homemade Orange Candy, place layers of parchment paper between the candies and store them in a freezer-safe bag. They can last up to 3 months.
Reheating: To enjoy the candies after refrigeration, let them sit at room temperature for 15-20 minutes. This will help return their delightful texture.
Tips for the Best Classic Homemade Orange Candy
-
Slice Thickness: Keep your orange slices uniform: Aim for a consistent thickness of 1/8 to 1/4 inch to ensure even cooking and optimal texture in your Classic Homemade Orange Candy.
-
Low Heat is Key: Prevent bitterness: Cook the orange slices on low heat to avoid burning the syrup, which can ruin the delicate flavor of your candies.
-
Drying Time: Don’t rush the drying process: Allow the candies to fully dry overnight to prevent stickiness. A cool oven with the light on can speed up this step if needed.
-
Humidity Awareness: Store wisely: Avoid high humidity days for storage to keep the candies from becoming sticky. An airtight container with parchment paper layers works best.
-
Variations: Get creative: Feel free to swap oranges for lemons, grapefruits, or blood oranges to introduce unique flavors and visual appeal to your Classic Homemade Orange Candy.
What to Serve with Classic Homemade Orange Candy
Indulging in homemade delights can be elevated with the right companions—here’s how to create a full experience.
-
Herbal Tea: The soothing aroma of chamomile or mint tea pairs well with the citrusy sweetness, enhancing the relaxing vibe.
-
Creamy Cheesecake: A slice of rich cheesecake offers a delightful contrast to the chewy texture of the orange candy, making each bite truly decadent.
-
Savory Cheese Board: Well-aged cheeses, like sharp cheddar or creamy brie, balance the sweetness and create a delightful grazing experience for your gatherings.
Served with a selection of nuts and olives, it adds earthy tones, creating a flavor party that harmonizes beautifully.
-
Vanilla Ice Cream: A scoop of creamy vanilla ice cream serves as a refreshing contrast, making for an elegant dessert pairing after the zesty treat.
-
White Wine Spritzer: A chilled wine spritzer with citrus notes complements the candy’s flavor perfectly, turning an afternoon snack into a sophisticated affair.
-
Dark Chocolate Dipping Sauce: Dipping the candies in rich dark chocolate transforms them into a gourmet treat, offering a luscious depth of flavor.
Whichever combinations you choose, these pairings will surely enhance your tasting experience, ensuring every bite is a moment to savor!

Classic Homemade Orange Candy Recipe FAQs
What kind of oranges should I use for this recipe?
Absolutely! Fresh, ripe oranges are essential for that vibrant flavor and juiciness. Look for fruits that feel heavy for their size and have smooth skin without dark spots. You can also experiment with lemons, blood oranges, or grapefruits, each lending a unique twist to your Classic Homemade Orange Candy.
How should I store my homemade orange candies?
To keep your candies fresh, store them in an airtight container at room temperature for up to one week. Keep them away from direct sunlight, and consider placing parchment paper between layers to prevent sticking. If you want to enjoy them for a longer time, they can be stored in the refrigerator for up to two weeks.
Can I freeze Classic Homemade Orange Candy?
Yes! While not typically necessary, if you’d like to freeze your orange candies, you can certainly do so. Layer them between parchment paper and place them in a freezer-safe bag, making sure to remove as much air as possible. They can last up to three months in the freezer. When you’re ready to enjoy them, let them thaw at room temperature for about 15-20 minutes.
What should I do if my candy is too sticky?
Very! A common issue is that the candies haven’t dried out fully. Ensure they are completely dry; if they are sticky after drying, sprinkle a little granulated sugar on them, which can help absorb moisture. To dry faster, you can try placing them in a cool oven with the light on for about an hour.
Are there any dietary considerations I should keep in mind?
Yes! If you’re making these candies for others, keep allergies in mind. The recipe is naturally gluten-free and vegan, but double-check that anyone you’re sharing with doesn’t have a citrus allergy. If you’re concerned about sugars, you can swap granulated sugar for coconut sugar for a lower glycemic index option. Always ensure your ingredients suit the dietary needs of your loved ones!
How can I enhance the flavor of my orange candy?
You can elevate the flavor of your Classic Homemade Orange Candy in several delightful ways! Consider adding a splash of vanilla extract to the syrup for a warmer undertone, or incorporate spices like cinnamon or nutmeg for seasonal flair. Zesting an orange to add into the syrup can amplify the citrus notes, bringing brightness and depth to the finished candies. Enjoy experimenting!
Savoring Classic Homemade Orange Candy for a Sweet Treat
Ingredients
Equipment
Method
- Start by thoroughly washing your fresh oranges to remove any wax or pesticides. Slice them thinly, about 1/8 to 1/4 inch, ensuring you keep the rind intact for added texture. Arrange the orange slices on a plate, so they’re ready to go.
- In a medium saucepan, combine equal parts granulated sugar and water—this will form the syrup. Heat the mixture over medium-low heat, stirring gently until the sugar completely dissolves, about 5 minutes.
- Carefully add the prepared orange slices to the pot with the warm syrup. Reduce the heat to low and let them simmer gently for about 30 to 40 minutes.
- Once the orange slices are translucent and tender, remove the saucepan from heat. Using a slotted spoon, carefully transfer the candied oranges onto a parchment-lined baking sheet to drain and cool slightly.
- For a gleaming finish, gently brush each dried slice with remaining warm syrup, then sprinkle a light dusting of granulated sugar to enhance the glossiness. Allow the finished candies to set for another hour before storing or gifting.