

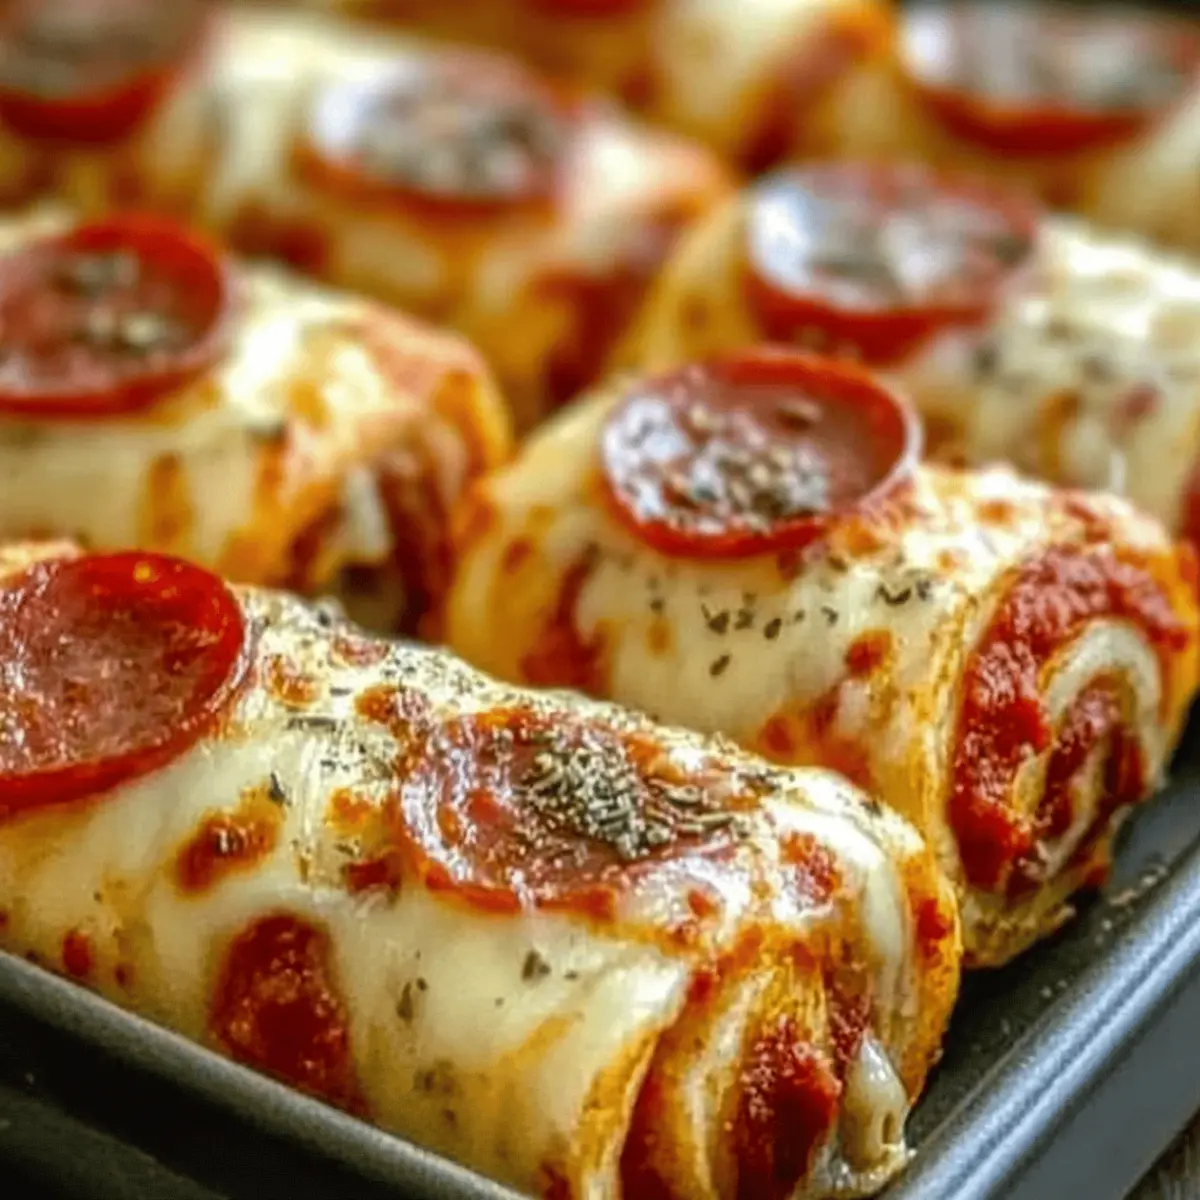
As I was rummaging through my pantry for a quick snack, the idea of cheesy pepperoni pizza roll-ups popped into my mind like a delicious memory. These Cheesy Low-Carb Pepperoni Pizza Roll-Ups combine the comforting flavors of a classic pizza, but with a healthy twist that keeps my cravings in check. Ready in just 30 minutes, they’re perfect for anyone tired of fast food yet craving something flavorful, making them ideal for appetizers or a satisfying snack. The glorious melding of gooey cheese and savory pepperoni, neatly wrapped in low-carb tortillas, creates a delightful bite that’s surprisingly easy to whip up. Ready to dive into this scrumptious journey with me?

Why are These Pizza Roll-Ups Irresistible?
Simplicity: These Cheesy Pepperoni Pizza Roll-Ups come together in just 30 minutes, making them a quick and easy solution for busy days.
Gooey Goodness: Imagine biting into a crispy exterior, revealing a molten center of cheese and pepperoni that melts in your mouth.
Versatile Options: Feel free to customize with your favorite ingredients or experiment with different meats and veggies for a unique twist.
Crowd-Pleaser: Perfect as appetizers at gatherings or a snack for movie nights, everyone is sure to enjoy this indulgent yet low-carb treat.
Health-Conscious: With fewer carbs and high protein, these roll-ups cater to your cravings without derailing your diet—unlike greasy fast food options.
In the mood for more cheesy goodness? Don’t miss out on my favorite Cheesy Broccoli Casserole or the Cheesy Hash Brown for a delightful meal!
Cheesy Pepperoni Pizza Roll-Ups Ingredients
For the Roll-Ups
- Low-Carb Tortillas – These tortillas provide the perfect low-carb structure to hold all the delicious ingredients; gluten-free options work too!
- Pepperoni – This classic topping adds savory flavor and protein—try turkey pepperoni for a lighter twist.
- Cheese (e.g., mozzarella or a blend) – Use gooey, melty cheese that complements the pepperoni for that irresistible filling; lactose-free cheese is a great substitute for those with sensitivities.
- Italian Seasoning – This herb blend elevates the flavor profile; swap it with dried oregano or basil for variety.
With these tasty, wholesome ingredients, your Cheesy Pepperoni Pizza Roll-Ups will be a delightful treat that keeps those pesky fast-food cravings at bay!
Step‑by‑Step Instructions for Cheesy Low-Carb Pepperoni Pizza Roll-Ups
Step 1: Preheat the Oven
Begin by preheating your oven to 400°F (200°C). This step is crucial for achieving that perfectly golden and crispy finish on your Cheesy Pepperoni Pizza Roll-Ups. As the oven warms, you can prepare your ingredients, ensuring everything is ready to roll, literally!
Step 2: Prepare the Tortilla
Lay out a low-carb tortilla on a flat, clean surface. Make sure the tortilla is flexible and warm to prevent cracking when you roll it. This will create a sturdy foundation for your pizza roll-up, allowing the tasty ingredients to be wrapped snugly inside.
Step 3: Add Cheese
Sprinkle a generous amount of gooey cheese evenly over the tortilla, leaving a small edge all around—this ensures the cheese won’t ooze out during baking. The melty cheese is the heart of your Cheesy Pepperoni Pizza Roll-Ups, adding delectable flavor and texture.
Step 4: Layer the Pepperoni
Next, place your pepperoni slices over the layer of cheese, spreading them out evenly to cover the surface. Feel free to add a little extra pepperoni if you’re looking for a more indulgent treat. The savory goodness of pepperoni will complement the cheese beautifully!
Step 5: Seasoning for Flavor
Optionally, sprinkle Italian seasoning over the filling for an aromatic boost. This step elevates your Cheesy Pepperoni Pizza Roll-Ups to the next level, infusing them with a delightful blend of herbs that harmonizes perfectly with the cheese and pepperoni.
Step 6: Roll It Up
Carefully roll the tortilla tightly from one end to the other, making sure to secure all those delicious fillings inside. The tighter the roll, the better they will hold together while baking. Your roll-up should now resemble a hearty little log of cheesy goodness!
Step 7: Arrange on the Baking Sheet
Position each roll-up seam side down on a baking sheet lined with parchment paper. This will prevent any sticking and allow for even baking. Make sure to space them out a bit to ensure they bake uniformly and develop that crispy exterior we crave.
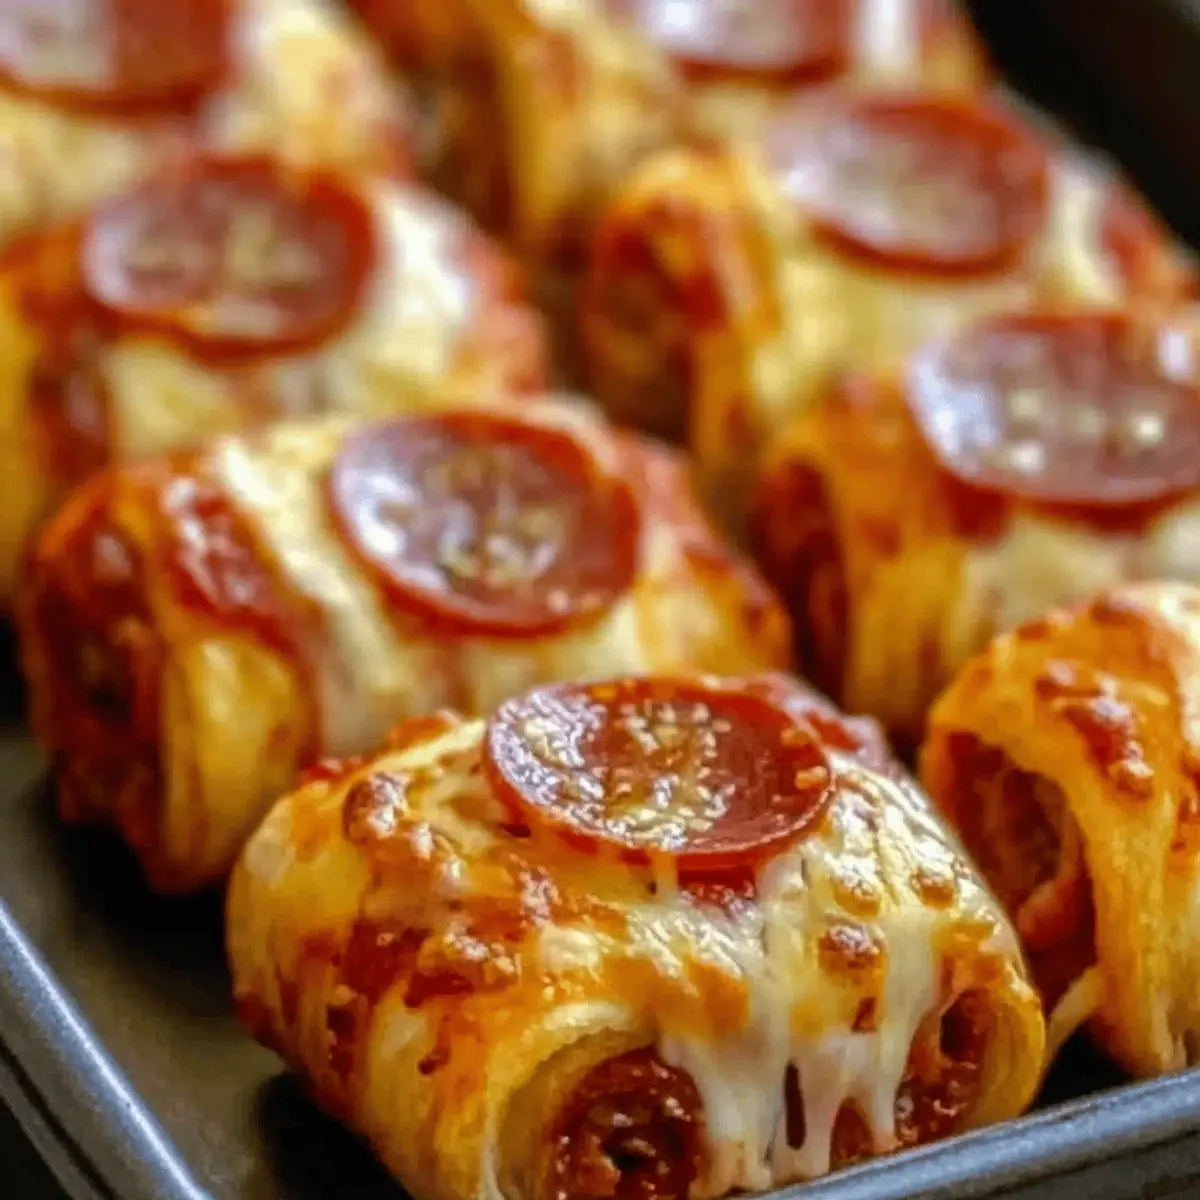
Step 8: Bake to Perfection
Slide the baking sheet into the oven and bake for 15-20 minutes. Keep an eye on the roll-ups; you’re looking for them to be golden brown with cheese visibly bubbling out. This delightful transformation is what makes these Cheesy Pepperoni Pizza Roll-Ups so irresistible!
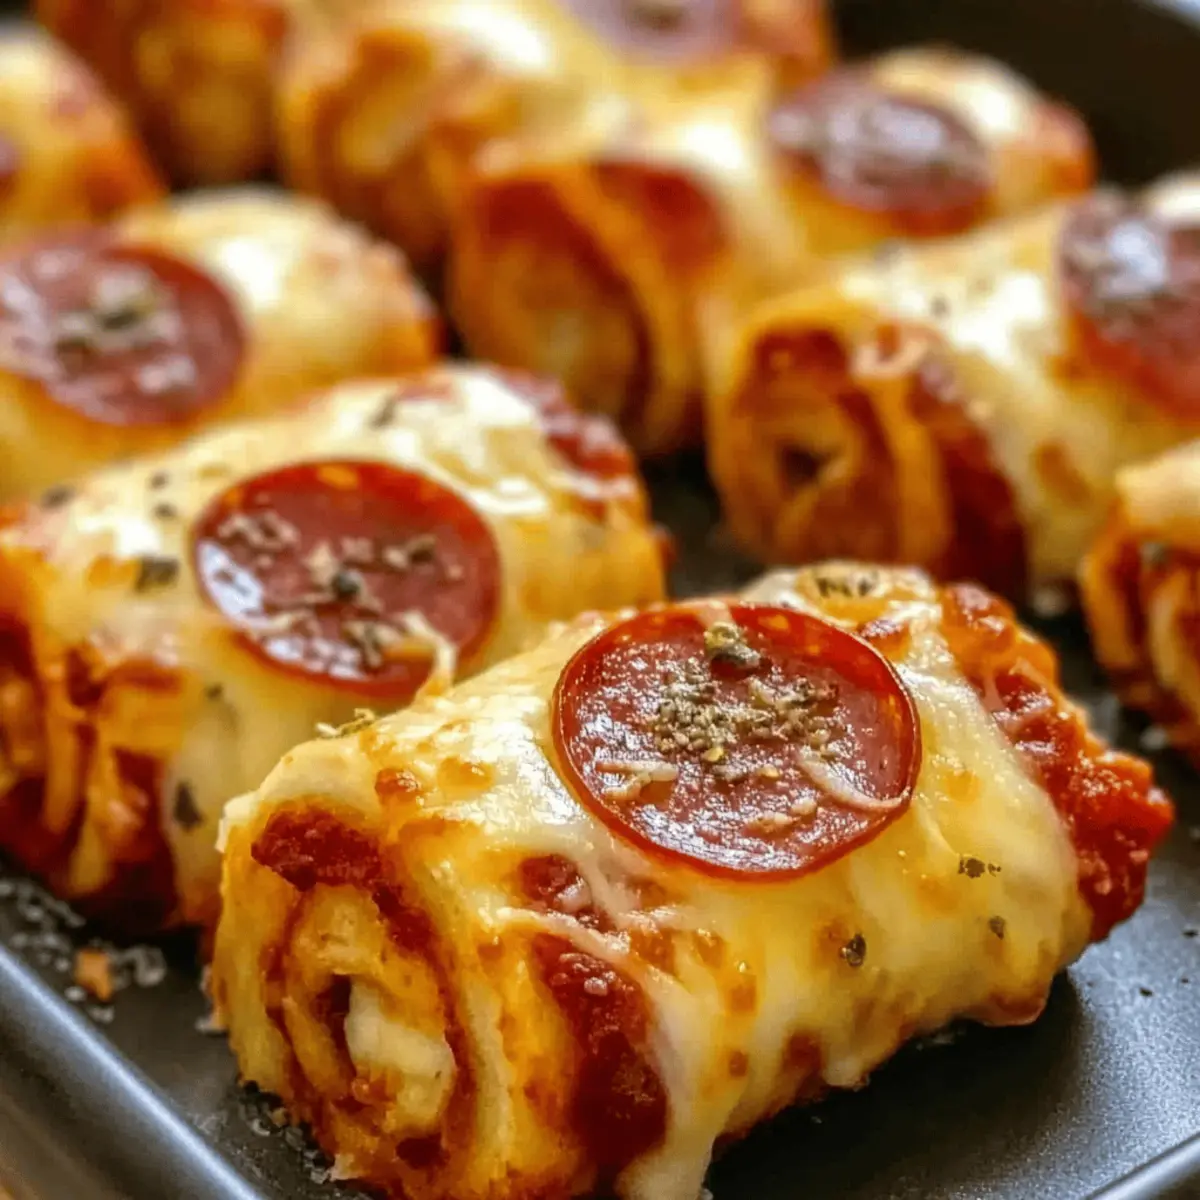
Step 9: Slice and Serve
After baking, let the roll-ups cool slightly before slicing them into pinwheels. This cooling period helps with cutting and prevents burns from hot cheese. Serve your Cheesy Pepperoni Pizza Roll-Ups with marinara sauce or ranch dressing for dipping—these finishing touches add extra flavor and fun!
Cheesy Pepperoni Pizza Roll-Ups Variations
Feel free to explore these delicious variations, allowing your creativity to shine in the kitchen!
-
Dairy-Free: Use coconut or almond cheese alternatives for a dairy-free version that still packs flavor.
-
Spicy Kick: Add a sprinkle of crushed red pepper flakes within the filling for an exciting heat that tantalizes your taste buds.
-
Veggie Delight: Swap out pepperoni for sautéed bell peppers and mushrooms, creating a vibrant, wholesome roll-up that’s bursting with flavor.
-
Low-Carb Crunch: Substitute grated cauliflower for cheese in the filling for a unique texture while maintaining that comforting pizza essence.
-
Herb Infusion: Mix in fresh chopped basil or parsley into the cheese before rolling for a fragrant herbaceous note.
-
Meaty Medley: Combine pepperoni with diced cooked chicken or crumbled sausage for a hearty mix of flavors transcending the traditional roll-up.
-
Zesty Marinara: Serve with a side of spicy marinara instead of the classic, providing a zesty contrast to the cheesy goodness.
-
Cheesy Variation: Experiment with sharp cheddar or pepper jack cheese for a bold flavor twist, enhancing the richness of each bite.
Looking for more cheesy ideas? Check out my delicious Cheesy Hamburger Potato or the crowd-pleasing Cheesy Broccoli Bake for more ways to satisfy those cheesy cravings!
What to Serve with Cheesy Pepperoni Pizza Roll-Ups
Elevate your delightful pepperoni pizza roll-ups into a complete feast that tantalizes every taste bud.
-
Marinara Sauce: A classic pairing, marinara adds a zesty, tomato-y dip that complements the cheesy, savory flavors beautifully.
-
Ranch Dressing: Creamy ranch provides a cool contrast, enhancing each bite with a burst of refreshing flavor that makes the roll-ups even more irresistible.
-
Garlic Breadsticks: Crispy, buttery breadsticks offer a satisfying crunch alongside your roll-ups, making for a heartwarming meal reminiscent of pizzeria nights.
-
Caesar Salad: The crisp greens and tangy dressing bring a refreshing balance to the richness of the roll-ups, creating a well-rounded dining experience.
-
Crispy Veggies: Fresh carrot and celery sticks served with hummus not only add crunch but also imbue your meal with vibrant colors and nutrition.
-
Sparkling Water: A light, fizzy drink refreshes your palate, perfectly cleansing it between bites of warm, cheesy goodness.
-
Chocolate Chip Cookies: For dessert, these warm, gooey cookies provide a sweet ending to your meal that echoes the happiness of childhood treats.
With these scrumptious side suggestions, your Cheesy Pepperoni Pizza Roll-Ups are destined to be the star of the table!
Make Ahead Options
These Cheesy Pepperoni Pizza Roll-Ups are a fantastic option for meal prep, saving you time on busy weeknights! You can prepare the roll-ups in advance and refrigerate them for up to 24 hours before baking. Simply assemble the roll-ups, place them seam side down on a baking sheet, then cover tightly with plastic wrap to prevent drying out. When you’re ready to enjoy them, just remove the wrap and bake as directed—adding a couple of extra minutes to the baking time if they’re coming from the fridge. This way, you’ll still achieve that crispy crust and gooey cheese, delivering delicious results with minimal effort!
Expert Tips for Cheesy Pepperoni Pizza Roll-Ups
-
Warm Tortillas: Warm the low-carb tortillas in the microwave for 10-15 seconds before rolling to prevent cracking. This ensures they remain pliable and easy to wrap.
-
Cheese Choices: Use a combination of mozzarella and provolone for the best cheesy pull. Avoid pre-shredded cheese that contains anti-caking agents for a smoother melt.
-
Baking Watch: Keep an eye on the roll-ups as they bake. Remove them when they reach a golden color to avoid over-browning, which can affect texture and flavor.
-
Cutting Technique: Use a sharp knife to slice the roll-ups into pinwheels for a cleaner cut. This makes for a more appealing presentation when serving your Cheesy Pepperoni Pizza Roll-Ups.
-
Dip Options: Serve with a variety of dips like marinara, ranch, or spicy mustard. Each dip adds another layer of flavor and enjoyment to your cheesy appetizer!
-
Leftover Storage: Store leftovers in an airtight container in the fridge to maintain freshness. Reheat in a toaster oven for a crispy texture rather than a microwave, which can make them soggy.
How to Store and Freeze Cheesy Pepperoni Pizza Roll-Ups
Fridge: Store leftover Cheesy Pepperoni Pizza Roll-Ups in an airtight container for up to 3 days. Ensure they’re completely cooled before sealing to maintain freshness.
Freezer: For longer storage, freeze the roll-ups individually wrapped in plastic wrap, then place them in a freezer-safe bag. They can last up to 2 months in the freezer.
Reheating: To reheat, thaw in the fridge overnight if frozen. Use a toaster oven at 350°F (175°C) for about 10-15 minutes for a crisp texture. Avoid microwaving, as it may make them soggy.
Make-Ahead Tip: Prepare and roll up the pizza roll-ups in advance, then refrigerate until ready to bake. They can be a great last-minute snack or appetizer!
Cheesy Pepperoni Pizza Roll-Ups Recipe FAQs
What kind of tortillas should I use for these pizza roll-ups?
For the best results, I recommend using low-carb tortillas to keep these Cheesy Pepperoni Pizza Roll-Ups on the healthier side. If you need a gluten-free option, you can easily substitute with gluten-free tortillas—just make sure they are flexible and warm to prevent cracking!
How do I store leftover pizza roll-ups?
Store any leftover Cheesy Pepperoni Pizza Roll-Ups in an airtight container in the fridge for up to 3 days. Ensure they are completely cooled before sealing, as this will help maintain their freshness and avoid sogginess.
Can I freeze these roll-ups?
Absolutely! You can freeze the roll-ups for up to 2 months. To do this, wrap each roll-up individually in plastic wrap, then place them in a freezer-safe bag. When you’re ready to enjoy, thaw them in the fridge overnight and reheat in a toaster oven at 350°F (175°C) for about 10-15 minutes to restore their crispiness.
What should I do if my roll-ups are falling apart?
If your Cheesy Pepperoni Pizza Roll-Ups are falling apart, it may be due to the tortilla being too cold or having too much filling. Ensure the tortillas are warm and pliable before rolling. Additionally, don’t overload them with fillings to keep the structure intact!
Are these pizza roll-ups suitable for my dietary needs (GF, LF, etc.)?
Yes! You can easily adapt these Cheesy Pepperoni Pizza Roll-Ups to suit various dietary needs. Use gluten-free tortillas for a gluten-free version, turkey pepperoni for a lighter option, and lactose-free cheese for a dairy-sensitive alternative. Everyone can enjoy these tasty snacks!
Cheesy Pepperoni Pizza Roll-Ups for a Low-Carb Feast
Ingredients
Equipment
Method
- Preheat your oven to 400°F (200°C).
- Lay out a low-carb tortilla on a flat, clean surface.
- Sprinkle a generous amount of gooey cheese evenly over the tortilla, leaving a small edge.
- Place pepperoni slices over the layer of cheese evenly.
- Optionally, sprinkle Italian seasoning over the filling.
- Carefully roll the tortilla tightly from one end to the other.
- Position each roll-up seam side down on a baking sheet lined with parchment paper.
- Bake for 15-20 minutes until golden brown.
- Let cool slightly before slicing into pinwheels and serve with dips.