

As the warm scent of buttery pastry fills the kitchen, I can’t help but sneak a glance at the oven—my anticipation bubbling just like the choux pastry inside. Today, I’m sharing a recipe for Classic Cream Puffs that effortlessly combine elegance with homemade comfort. These delightful treats are perfect for any occasion, offering a light and airy texture that will impress anyone you serve them to. Plus, with the option of a luscious chocolate whipped cream filling, you can truly customize your dessert experience. Whether you whip these up for a dinner party or as a sweet treat for yourself, they are quick to make and surprisingly satisfying. Ready to elevate your dessert game? Let’s dive into crafting these delicious puffs together!

How do you elevate your dessert game?
Simplicity is the name of the game with these Classic Cream Puffs. Not only do they require minimal ingredients, but they are also a delightful option for home bakers of all skill levels. Versatility shines through as you can easily swap in different fillings like vanilla pastry cream or fruit-flavored whipped creams for a unique twist. Crowd-Pleasing appeal: serve these at gatherings, and you’ll see smiles all around! Time-Saving too, as they bake in just under 40 minutes, allowing you to whip up a stunning dessert in no time. Lastly, the ethereal texture of the airy choux combined with rich, creamy filling creates an unforgettable experience, proving that homemade can be both elegant and easy. If you’re interested in more sweet treats, don’t forget to check out my Raspberry Cream Pie and Fruit Dip for inspiration!
Classic Cream Puffs Ingredients
• To create these delightful Classic Cream Puffs, gather these simple yet essential ingredients.
For the Choux Pastry
- Water – Provides moisture for the choux pastry; you can use milk for a creamier flavor.
- Unsalted Butter – Adds richness and flavor; make sure it’s softened for easy melting.
- Granulated Sugar – Enhances sweetness and contributes to that lovely golden-brown color.
- Salt – Balances sweetness and amplifies the overall flavor profile.
- All-Purpose Flour – Gives structure to the pastry; bread flour can be used for a sturdier puff.
- Large Eggs – Essential for moisture and helps the pastry rise to airy perfection.
For the Chocolate Whipped Cream Filling
- Powdered Sugar – Sweetens and stabilizes the chocolate whipped cream.
- Dutch Process Cocoa Powder – Imparts a rich chocolate flavor; unsweetened cocoa is a lighter alternative.
- Heavy Cream – Creates a silky texture and holds the whipped cream shape.
- Vanilla Extract – Adds a warm, aromatic flavor that complements the chocolate beautifully.
Gather these ingredients, and you’re well on your way to impressing family and friends with your homemade Classic Cream Puffs!
Step‑by‑Step Instructions for Classic Cream Puffs
Step 1: Prepare the Oven
Start by preheating your oven to 425°F (220°C). As the oven heats, position a cookie sheet lined with parchment paper or a silicone liner. This important step ensures your Classic Cream Puffs will bake evenly and won’t stick, allowing you to achieve that perfectly puffy texture.
Step 2: Melt Ingredients
In a medium saucepan, combine 1 cup of water, 1/2 cup of unsalted butter, 1 tablespoon of granulated sugar, and a pinch of salt. Heat this mixture over medium heat, stirring until it comes to a gentle simmer—avoid boiling! The butter should be fully melted, blending beautifully into the water for a rich, aromatic base for your choux pastry.
Step 3: Make Dough
Once simmering, remove the saucepan from the heat and stir in 1 cup of all-purpose flour. Mix vigorously with a wooden spoon until a smooth, thick paste forms. Return the saucepan to medium-low heat for about 1-2 minutes, stirring continuously until the dough pulls away from the sides and resembles a cohesive ball—this indicates it’s ready for the next step.
Step 4: Mix in Stand Mixer
Transfer the dough to the bowl of a stand mixer and allow it to cool slightly for about 5 minutes. Using the paddle attachment, beat the mixture on medium speed for approximately 1 minute until steam dissipates. This step helps cool the dough, making it easier to incorporate the eggs while maintaining the lightness needed for your Classic Cream Puffs.
Step 5: Incorporate Eggs
Now, add 4 large eggs one at a time to the mixer, beating well after each addition. Keep mixing until each egg is fully incorporated and the mixture turns smooth and glossy—this process can take around 5 minutes. The dough should be thick but should drop from the spoon, indicating it’s ready to be shaped into puffs.
Step 6: Shape the Puffs
Using a cookie scoop or piping bag fitted with a large round tip, scoop or pipe the dough onto the prepared baking sheet, spacing each puff about 1 inch apart. Aim for mounds that are roughly 1-2 inches in diameter. The Classic Cream Puffs should be uniform to ensure even baking and create those delightful airy interiors.
Step 7: Bake
Place the puffs in the preheated oven at 425°F (220°C) and bake for 10 minutes. Then, without opening the door, reduce the temperature to 375°F (190°C) and continue baking for an additional 25 minutes. Watch for the puffs to turn golden brown and puff up without deflating—this is a key moment for achieving that lovely crispy exterior.
Step 8: Cool
After baking, carefully remove the puffs from the oven. Use a sharp knife to cut a small slit in the side of each puff to release steam. Let them cool completely on a wire rack, which will ensure they don’t become soggy as they breathe—this is crucial for maintaining their airy texture and perfect shape.
Step 9: Prepare Filling
While the puffs cool, chill a mixing bowl for about 10 minutes in the freezer. In this bowl, combine 1 cup of heavy cream, 1/4 cup of powdered sugar, 1/4 cup of Dutch process cocoa powder, and 1 teaspoon of vanilla extract. Whip this mixture using an electric mixer on medium speed until stiff peaks form, creating a luscious chocolate filling for your Classic Cream Puffs.
Step 10: Fill Puffs
Once the puffs are completely cool, carefully slice each one in half horizontally. Pipe or spoon a generous amount of the chocolate whipped cream filling into the bottom half of each puff, then top with the other half. For that final touch, dust with powdered sugar to add an eye-catching sweetness—your Classic Cream Puffs are now ready to be savored!

What to Serve with Classic Cream Puffs?
Create a delightful dining experience by pairing these enchanting treats with complementary flavors and textures.
-
Fresh Berries: Their natural sweetness and acidity provide a refreshing contrast to the rich chocolate filling. A vibrant assortment will bring brightness to your dessert table.
-
Vanilla Ice Cream: The creamy, smooth texture of vanilla ice cream pairs beautifully with the lightness of the puffs, enhancing the overall sweetness in an indulgent way.
-
Coffee or Espresso: The bold flavors of coffee perfectly balance the sweetness of the cream puffs, making for a sophisticated after-dinner treat that warms the soul.
-
Chocolate Sauce: Drizzling warm chocolate sauce over your cream puffs intensifies the chocolate flavor and adds a touch of decadence, making each bite even more luxurious.
-
Whipped Cream: Lightly sweetened whipped cream served alongside provides a lovely, airy texture that complements the cream puffs without overpowering them.
-
Caramel Sauce: A drizzle of homemade caramel will add a rich, buttery flavor that contrasts nicely with the airy pastry, turning each bite into a decadent experience.
-
Mint Leaves: Adding fresh mint leaves as a garnish not only beautifies the presentation but also brings a refreshing herbal note that brightens each mouthful.
-
Sparkling Wine: A glass of bubbly rosé or Prosecco pairs splendidly, offering refreshing effervescence that enhances the overall dessert experience and livens up the gathering.
-
Chocolate-Covered Strawberries: These decadent treats echo the chocolate theme and add a fruity element, creating a harmonious dessert ensemble that will delight everyone.
Make Ahead Options
These Classic Cream Puffs are perfect for busy home cooks looking to streamline dessert preparation! You can prepare the choux pastry up to 24 hours in advance and store it in an airtight container in the refrigerator. Simply bake the cream puffs as directed, then cool completely before filling. The chocolate whipped cream filling can be made up to 3 days ahead; just keep it refrigerated in a covered bowl to maintain that delightful texture and prevent it from separating. When you’re ready to serve, slice the chilled puffs, pipe in the filling, and dust with powdered sugar—resulting in a sweet treat that stays just as delicious!
How to Store and Freeze Classic Cream Puffs
Room Temperature: Store unused Classic Cream Puffs at room temperature for up to 1 hour to keep them crispy; avoid prolonged exposure to moisture.
Fridge: If you have leftovers, keep them in an airtight container in the refrigerator for up to 1 day. Enjoy them fresh for the best taste and texture!
Freezer: For longer storage, freeze unfilled puffs on a baking sheet until solid, then transfer to a zip-top bag for up to 1 month. Thaw before filling!
Reheating: To revive the crispiness, reheat filled puffs in a preheated oven at 350°F (175°C) for about 5 minutes; avoid microwaving, as it can make them soggy.
Classic Cream Puffs Variations
Embrace your culinary creativity with these exciting twists on Classic Cream Puffs that will have your taste buds dancing!
-
Flavorful Fillings: Try swapping the chocolate whipped cream for vanilla pastry cream or tangy fruit-flavored whipped creams for a refreshing twist. Each offers a delightful taste and allows for seasonal variations!
-
Dairy-Free Delight: Use coconut cream or almond milk in place of heavy cream for a dairy-free option that retains rich and creamy goodness. This way, everyone can enjoy those fluffy puffs!
-
Nutty Undertone: Add a splash of almond or hazelnut extract to the chocolate whipped cream for a fragrant nutty flavor boost. Imagine each bite bursting with a deeper essence, elevating your cream puff experience.
-
Fruity Fusion: Incorporate fresh fruit purees like raspberry or mango into your fillings for a fruity surprise. You could even create a layered effect, alternating between creamy and fruity flavors!
-
Spicy Kick: For the adventurous, mix in a pinch of cayenne pepper or chili powder into your chocolate whipped cream for a rich filling that packs a flavorful punch, surprising your guests!
-
Flavored Chocolate: Experiment with flavored chocolate like orange or mint when making your whipped cream. This will add a lovely aroma and uniqueness to each bite, enchanting your dessert spread.
-
Crunchy Texture: Incorporate crushed nuts or crispy toffee pieces into the filling for an added crunch that perfectly contrasts the airy texture of the puffs. This brings a delightful texture that keeps everyone coming back for more!
-
Savory Puffs: Why not try savory variations? Swap the sweet fillings for things like herbed cream cheese or pesto for an appetizer-style twist—ideal for parties!
Feel inspired? Why not check out my White Chicken Enchiladas or create a delightful pairing with some Mushroom Soup Savory. The possibilities are endless!
Expert Tips for Classic Cream Puffs
- Fully Cook Dough: Ensure the choux pastry is thoroughly cooked in the saucepan; this prevents soggy puffs and helps achieve the perfect airy texture.
- Avoid Oven Door: Resist the temptation to open the oven while baking; doing so can cause the cream puffs to collapse, ruining their beautiful puffiness.
- Monitor Bottom Color: If your puffs darken too quickly, place an additional baking sheet below to absorb excess heat, ensuring even baking without burning.
- Chill Your Bowl: For the best chocolate whipped cream consistency, chill your mixing bowl before whipping. Cold cream whips up fluffier and holds its shape better.
- Custom Filling Options: Feel free to get creative with fillings—experiment with fruit-flavored whipped creams or pastry cream for refreshing alternatives to classic chocolate.

Classic Cream Puffs Recipe FAQs
What type of flour is best for Classic Cream Puffs?
For Classic Cream Puffs, all-purpose flour is typically used as it provides the right amount of structure. However, if you’re looking for a sturdier puff, you can substitute bread flour, which will give a chewier texture, but I usually recommend sticking with all-purpose for that light, airy finish.
How should I store leftover Classic Cream Puffs?
To maintain their delicious texture, store unfilled Classic Cream Puffs at room temperature for up to an hour. If you have leftovers, transfer them to an airtight container in the refrigerator where they can last up to 1 day. However, for the best flavor and texture, they are best enjoyed fresh.
Can Classic Cream Puffs be frozen?
Absolutely! To freeze unfilled Classic Cream Puffs, place them on a baking sheet in a single layer and flash freeze until solid. Then, transfer them to a zip-top bag and store for up to 1 month. Just remember to thaw them in the refrigerator before filling—this helps maintain the integrity of the pastry.
What should I do if my cream puffs don’t rise?
If your cream puffs fail to rise, it could be due to a few reasons. First, ensure that your dough was adequately cooked on the stove—cook it until it forms a cohesive ball. Also, avoid opening the oven door while they’re baking, as this can cause them to collapse. Each step is crucial, so don’t rush!
Are there any dietary considerations for Classic Cream Puffs?
For those with dietary restrictions, you can tailor the recipe to some extent. If you’re looking to make it gluten-free, try using a 1-to-1 gluten-free flour blend. For dairy-free options, substitute the butter with a dairy-free alternative such as coconut oil, and use a plant-based milk in the dough. Always check labels for ingredients that may contain allergens!
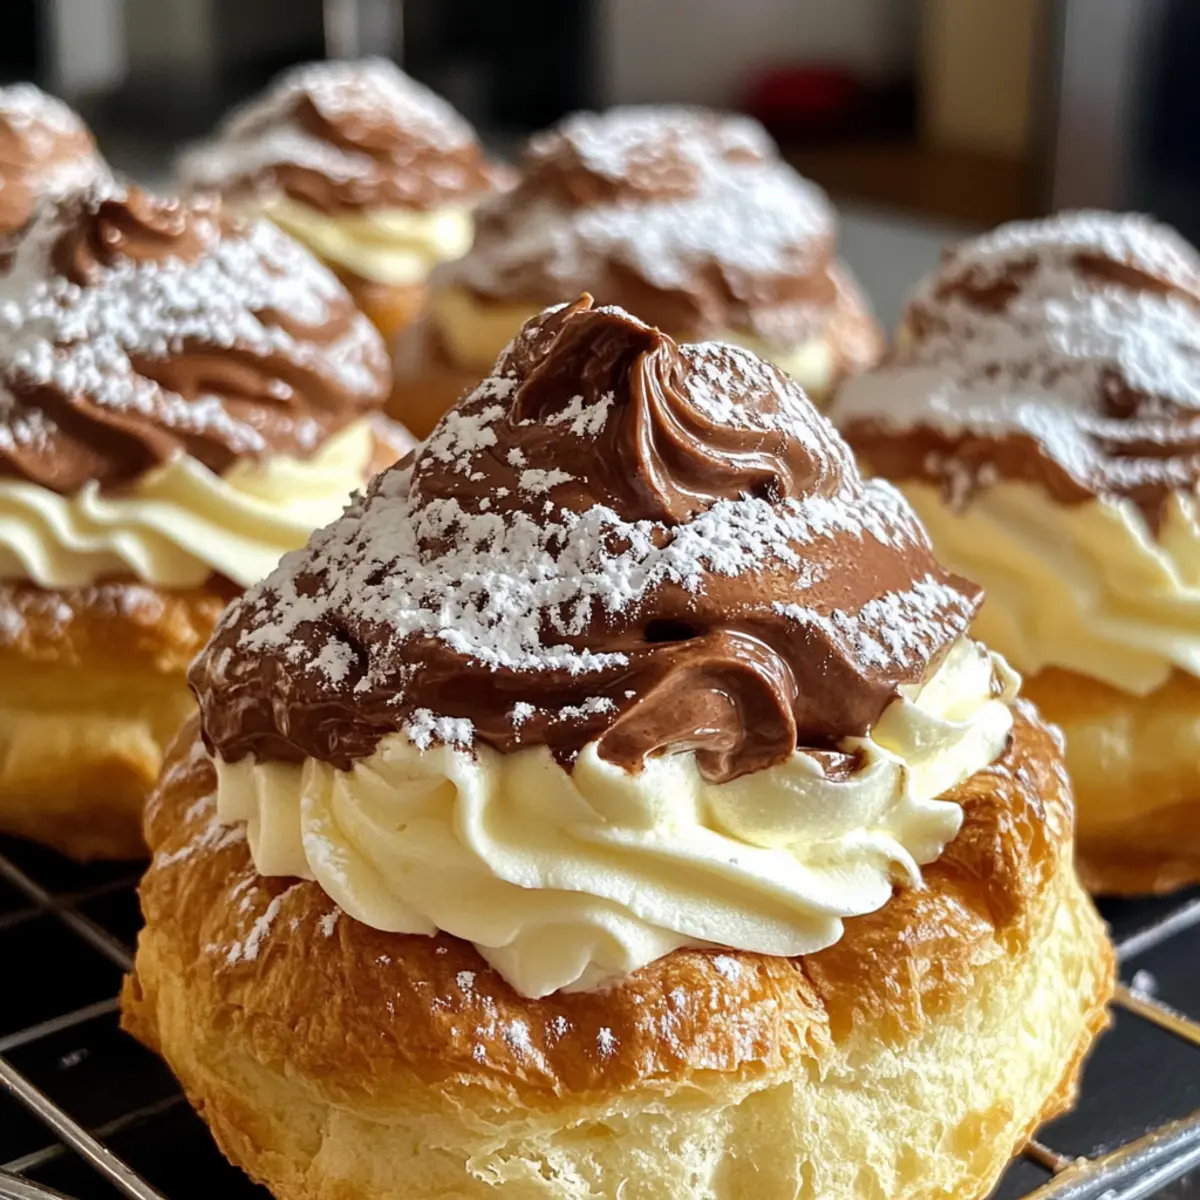
Classic Cream Puffs: Light, Airy Treats that Impress Every Time
Ingredients
Equipment
Method
- Preheat the oven to 425°F (220°C). Prepare a cookie sheet lined with parchment or silicone liner.
- In a saucepan, combine water, butter, sugar, and a pinch of salt. Heat until simmering.
- Remove from heat and stir in flour until a smooth paste forms. Return to low heat for 1-2 minutes.
- Transfer dough to a stand mixer bowl, let cool for 5 minutes, then mix on medium speed.
- Add eggs one at a time, mixing until smooth and glossy; should drop from spoon.
- Scoop or pipe dough onto baking sheet, spacing 1 inch apart, aiming for 1-2 inch mounds.
- Bake at 425°F for 10 minutes, then lower to 375°F for another 25 minutes without opening the door.
- Remove from oven and cut a small slit in each puff to release steam. Cool on wire rack.
- Chill mixing bowl. Combine heavy cream, powdered sugar, cocoa powder, and vanilla; whip to stiff peaks.
- Slice each puff in half, fill with chocolate whipped cream, and dust with powdered sugar.