

The other day, as I snacked on my usual afternoon chips, I couldn’t help but feel a twinge of guilt. Enter Baked Cucumber Chips—a crunchy, guilt-free answer to my snack cravings that’s both light and healthy. With just a handful of simple ingredients and a breeze of a preparation process, these delightful chips transform crisp cucumbers into a satisfying alternative to their potato-based counterparts. Perfect for those looking to cut back on carbs without sacrificing flavor, they make an exciting party treat or an energizing addition to lunch boxes. Plus, the kids will love them just as much as the adults! Are you ready to discover how to make these irresistible snacks? Keep reading for the step-by-step guide!
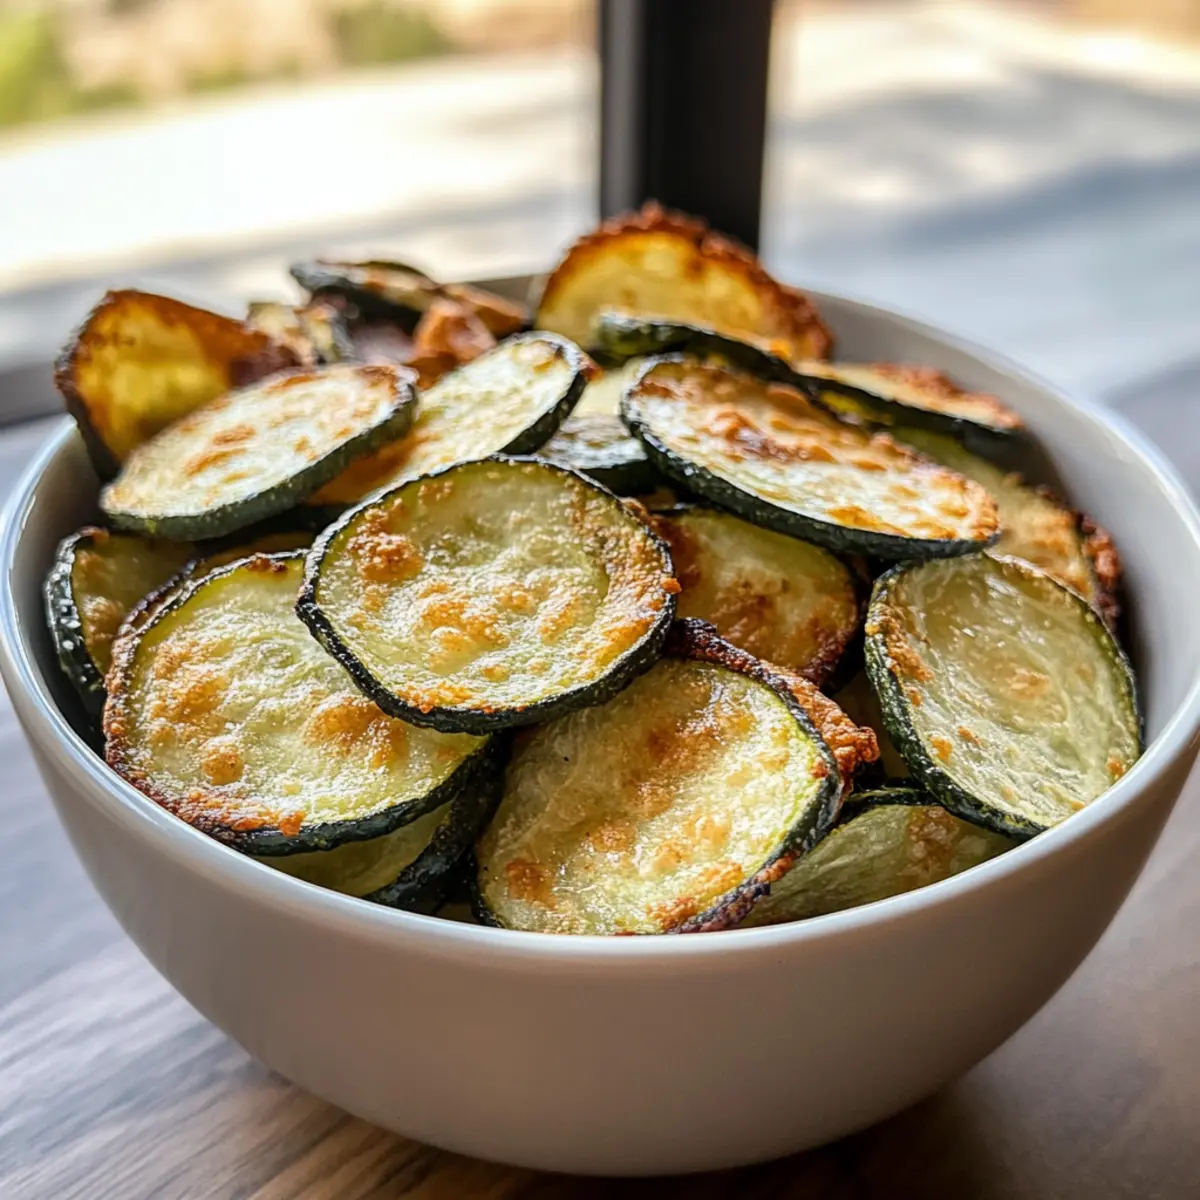
Why are Baked Cucumber Chips a Must-Try?
Health-Conscious Delight: These Baked Cucumber Chips are a guilt-free indulgence, perfect for anyone looking to snack smarter without compromising on taste.
Quick and Easy: With just a handful of ingredients and straightforward steps, you’ll have a delicious treat ready in no time!
Versatile Snack: Enjoy them as a crunchy addition to salads or pair your chips with homemade dips like tzatziki for a flavor-packed experience.
Family-Friendly: Kids and adults alike will fall for these crunchy delights, transforming snack time into a delightful family moment.
Low Carb Abundance: Each serving is around 100 calories, making these chips a fantastic option for low-carb eating plans. For more healthy ideas, check out my Mango Cucumber Salad or a flavorful Baked BBQ Chicken.
Baked Cucumber Chips Ingredients
For the Chips
• Large Cucumbers – Choose firm, fresh cucumbers for the best texture in your Baked Cucumber Chips.
• Olive Oil – This helps crisp the chips while enhancing flavor; avocado oil is a great substitute.
• Salt – Essential for seasoning, it elevates the natural taste of the cucumbers.
• Paprika – This delivers a mild, smoky profile; feel free to swap with chili powder for a bolder flavor.
• Garlic Powder – Adds a savory kick; onion powder can work just as well for variety.
For Additional Seasoning
• Italian Herbs – Experiment with this blend for a Mediterranean twist on your chips.
• Ranch Seasoning – A fun way to flavor your chips, perfect for dipping!
For Dipping
• Tzatziki – A refreshing, yogurt-based dip that pairs beautifully with the chips.
• Hummus – Adds creaminess and flavor, making it a wonderful pairing for a healthy snack.
Step‑by‑Step Instructions for Baked Cucumber Chips
Step 1: Preheat the Oven
Begin by preheating your oven to 200°F (93°C). This low temperature is crucial for ensuring that your Baked Cucumber Chips become perfectly crispy without burning. While the oven warms up, you can prepare your cucumbers for slicing, setting the stage for a delightful snack.
Step 2: Slice the Cucumbers
Next, take your large cucumbers and slice them as thinly as possible. A sharp knife or a mandoline slicer works wonders for achieving even thickness, which promotes uniform cooking. Aim for slices around 1/8 inch thick, ensuring they are consistent in size for optimal crispness.
Step 3: Season the Slices
In a large mixing bowl, toss the cucumber slices with olive oil, salt, paprika, and garlic powder until each slice is thoroughly coated. This step infuses the Baked Cucumber Chips with rich flavors while the oil helps them crisp up nicely in the oven. Make sure all slices are evenly seasoned for a delicious crunch.
Step 4: Arrange on Baking Sheet
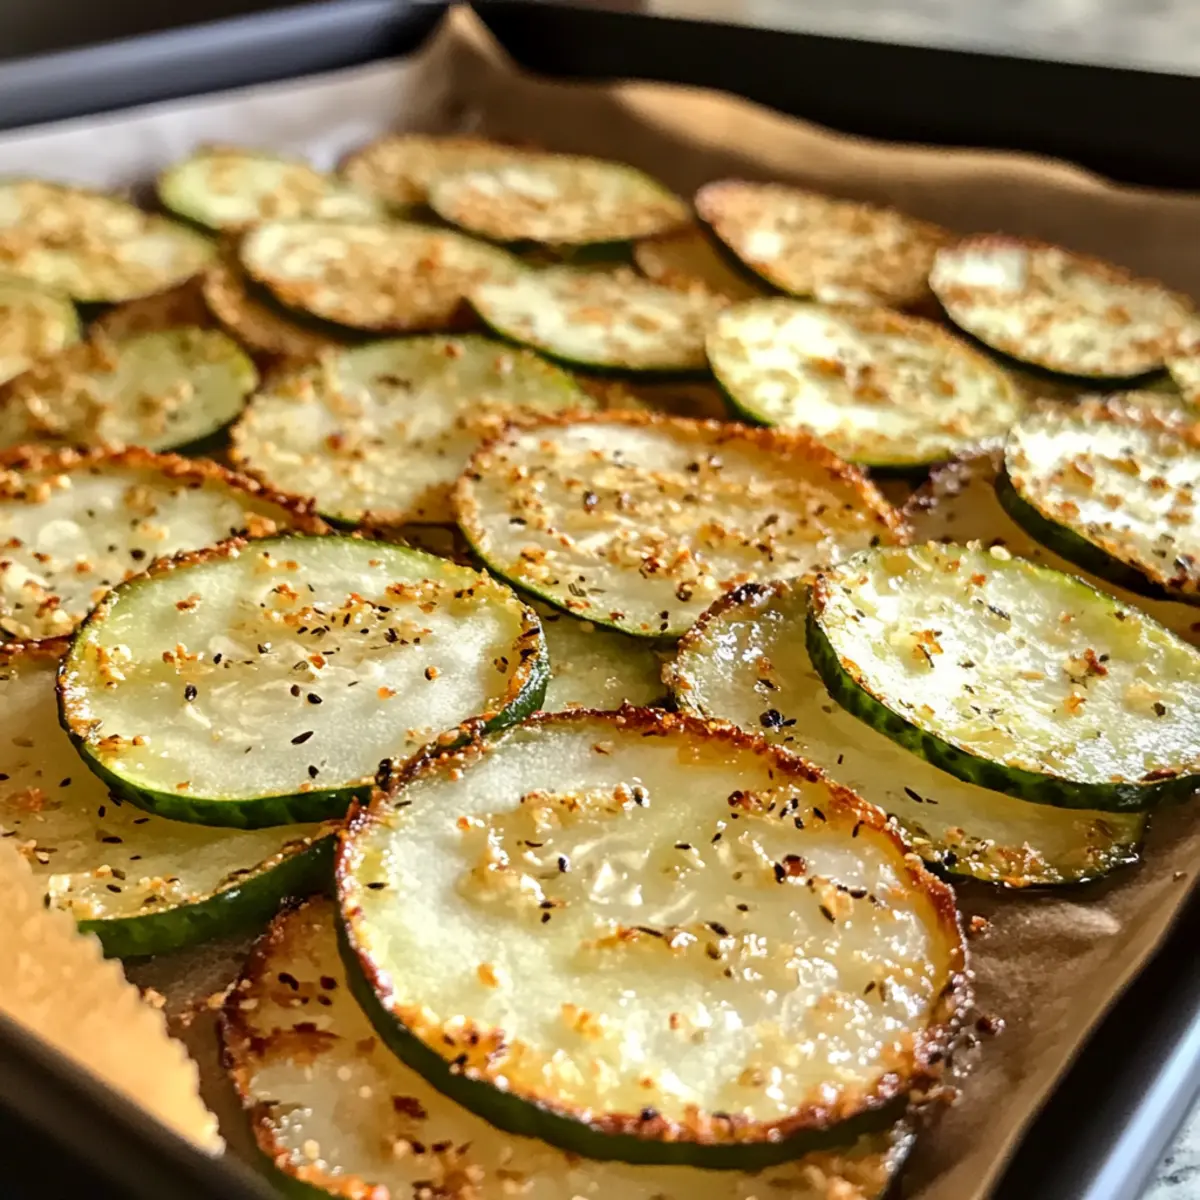
Carefully spread the seasoned cucumber slices in a single layer on a baking sheet lined with parchment paper. Using parchment prevents sticking and makes cleanup a breeze. Avoid overlapping the slices; this allows for even baking and ensures each chip can achieve that satisfying crunch.
Step 5: Bake to Perfection
Place the baking sheet in your preheated oven and bake for about 2 hours. Keep a close eye on your Baked Cucumber Chips during this time, occasionally checking for doneness. They should turn golden and crispy, signaling that they are ready to be removed from the oven.
Step 6: Cool and Crisp
Once the cucumbers are crispy and appealingly golden, take them out of the oven and let them cool on the baking sheet. Cooling helps enhance their crunch factor, so resist the urge to dig in right away. After about 10 minutes, your Baked Cucumber Chips will be the perfect texture for snacking!
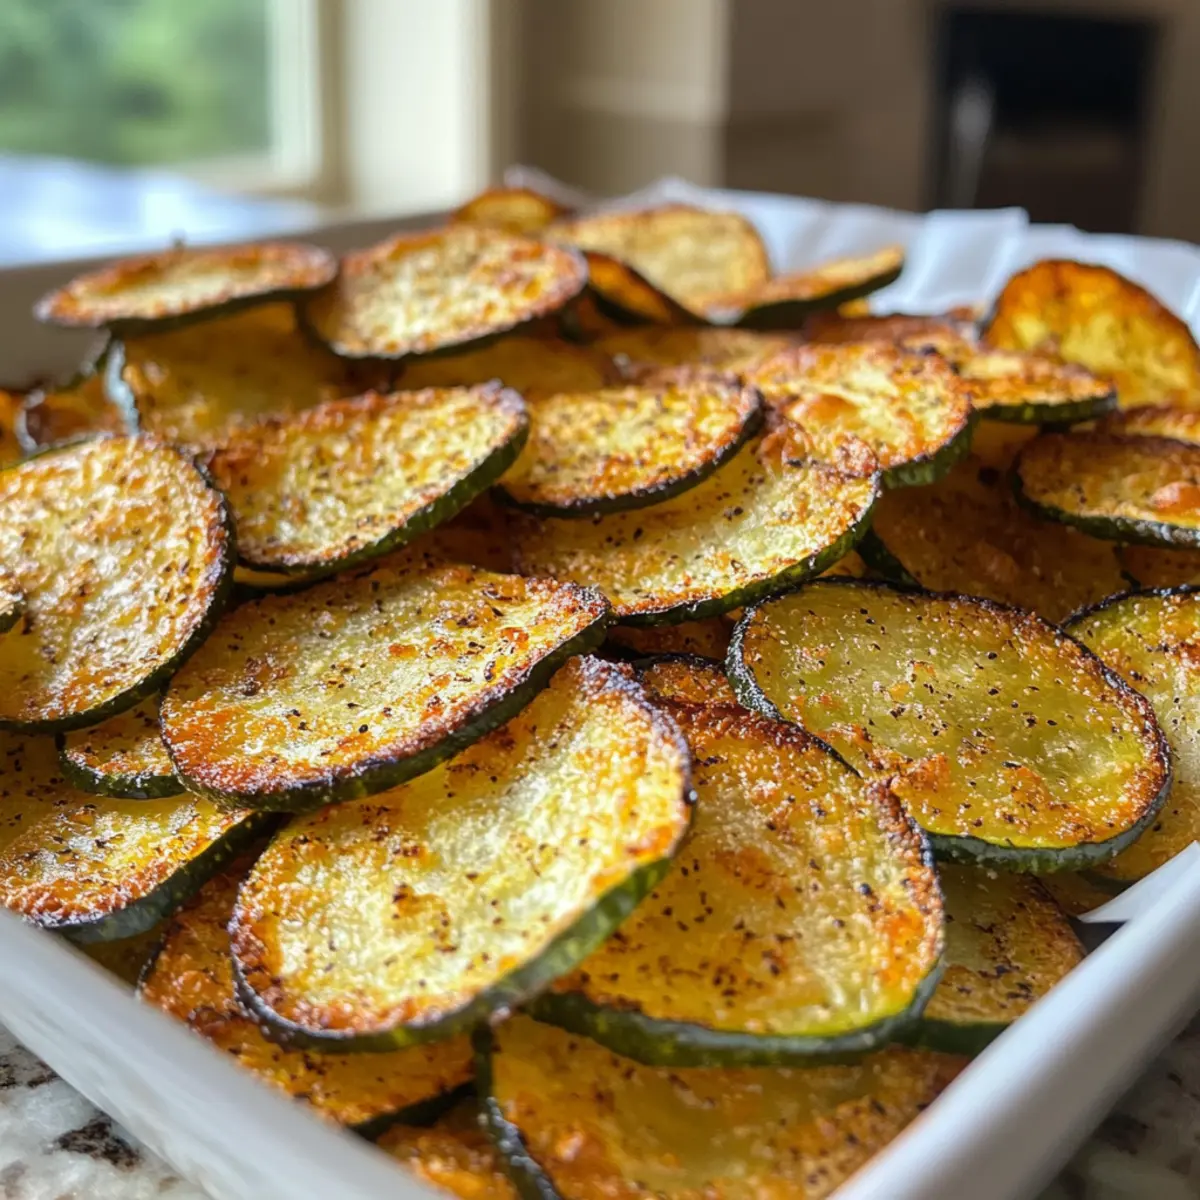
What to Serve with Baked Cucumber Chips?
Get ready to elevate your snack game with delightful pairings that complement every crisp bite!
- Creamy Hummus: This rich and flavorful dip adds a satisfying creaminess, perfect for scooping up your crunchy chips.
- Tzatziki Sauce: Refreshing and tangy, this yogurt-based dip enhances the cucumber flavor while offering a zesty touch.
- Cheese Platter: A spread of soft cheeses like goat or feta adds a luxurious twist, creating an appealing contrast to the crunch of your chips.
- Fresh Veggie Sticks: Bright and colorful veggies like carrots and bell peppers introduce a variety of flavors and textures to your snack table.
- Mediterranean Salad: A light salad featuring tomatoes, olives, and feta can neatly balance the crunch of the cucumber chips while providing a fresh burst of flavor.
- Sparkling Water with Lemon: A refreshing drink option that cleanses your palate, making each chip taste even more delightful!
- Olive Oil Drizzle: Drizzling your chips with a high-quality olive oil adds richness and depth, elevating their overall experience.
- Fruit Skewers: Sweet, juicy pieces of fruit can create a delightful contrast to the savory chips, making for a dynamic and tasty combination.
How to Store and Freeze Baked Cucumber Chips
Room Temperature: Store your Baked Cucumber Chips in an airtight container for up to 3 days to keep them crispy. If you notice humidity, consider layering them between paper towels to absorb excess moisture.
Fridge: For a longer shelf life, you can refrigerate the chips in an airtight container, but expect some loss of crispness. They should be consumed within 5 days for the best flavor.
Freezer: While not recommended for freezing due to texture changes, you can freeze leftover chips in a freezer-safe bag. Just remember to eat them within 1 month for optimal taste. Recrisp in the oven before serving!
Reheating: If your chips lose their crunch, pop them back in a preheated oven at 200°F (93°C) for 5-10 minutes to restore that irresistible crispiness. Enjoy your Baked Cucumber Chips fresh!
Make Ahead Options
These Baked Cucumber Chips are perfect for meal prep, allowing you to enjoy this crunchy delight without any last-minute fuss! You can slice the cucumbers and season them up to 24 hours in advance; simply store them in an airtight container in the fridge to keep them fresh and flavorful. When you’re ready to bake, spread the seasoned slices on a baking sheet and pop them in the oven. For the best results, keep an eye on them as they bake, ensuring they reach that golden crispiness. This way, you can savor homemade snacks with minimal effort, making busy weeknights a breeze!
Expert Tips for Baked Cucumber Chips
• Even Slicing Matters: Ensure cucumber slices are uniform for even baking; this prevents some chips from burning while others remain soggy.
• Watch Your Oven: Keep an eye on your Baked Cucumber Chips as they bake. The low temperature is key, but timing can vary based on your oven.
• Cool for Crunch: Allow chips to cool completely after baking for the fullest crispness; warm chips may lose their texture quickly.
• Storage Savvy: To maintain freshness, store leftover chips in an airtight container with paper towels, which absorb moisture.
• Flavor Variations: Don’t hesitate to experiment with different spices! Italian herbs or ranch seasoning can elevate your Baked Cucumber Chips to new heights.
Baked Cucumber Chips: Fun Variations to Try
Feel free to let your creativity shine and customize these delightful chips to match your taste preferences!
- Dairy-Free: Swap traditional dips for dairy-free options like guacamole or a vibrant salsa to complement the chips perfectly.
- Spicy Twist: Add crushed red pepper flakes to the seasoning mix for an exhilarating kick that will awaken your taste buds. A little heat goes a long way in elevating the flavor profile of your snack!
- Herb-Infused: Experiment with fresh herbs like dill or oregano sprinkled on top before baking for an aromatic and refreshing twist. This delightful variation brings a lovely Mediterranean flair to your chips.
- Cheesy Delight: Sprinkle nutritional yeast or a dairy-free cheese alternative after baking for a cheesy finish without the guilt. This adds savory depth and a flavor booster to every bite!
- Sweet Variation: For a unique take, sprinkle a tiny bit of cinnamon and sugar (or a sugar substitute) for sweet, apple-style chips. These are great for a healthy dessert option that feels indulgent.
- Crunchy Add-in: Toss in some sesame seeds or crushed nuts to the cucumber slices before baking for added texture and a nutty flavor. Each chip gets a delightful crackle with this addition!
- Flavor Fusion: Mix paprika with lemon zest for a zesty, citrusy flavor that brightens up the chips and makes them even more irresistible. It’s a refreshing twist that pairs nicely with a variety of dishes.
- Topping Inspiration: Try serving your chips topped with fresh avocado slices or dollops of hummus for an extra layer of creaminess and nutrition. Elevate your snack experience with these delicious accompaniments!
No matter how you choose to vary your Baked Cucumber Chips, they’re sure to be a hit! And don’t forget, these make a wonderful addition to dishes like my refreshing Mango Cucumber Salad or as a crunchy side to your flavorful Baked BBQ Chicken.
Baked Cucumber Chips Recipe FAQs
What kind of cucumbers should I use for Baked Cucumber Chips?
I recommend using large, firm cucumbers for the best texture. Look for cucumbers that are free from dark spots or soft spots to ensure your chips turn out crispy and flavorful.
How long can I store Baked Cucumber Chips, and what’s the best method?
Your Baked Cucumber Chips will keep their crunch for up to 3 days when stored in an airtight container at room temperature. For optimal freshness, consider layering them between paper towels to absorb any moisture that might make them soggy. If stored correctly, you can enjoy them for about 5 days refrigerated, although they may lose some crispness.
Can I freeze Baked Cucumber Chips?
While freezing isn’t ideal due to texture changes, you can freeze leftover chips in a freezer-safe bag. Make sure to consume them within 1 month for the best flavor. To recrisp, bake them in a preheated oven at 200°F (93°C) for about 5-10 minutes before serving.
What should I do if my chips turn out soggy?
Soggy chips can be disappointing, but don’t fret! Ensure your cucumber slices are evenly sliced about 1/8 inch thick, as uneven sizing can lead to some chips being overcooked while others remain soggy. If they come out soft, try baking them a little longer next time, or return them to the oven after cooling to restore their crunch.
Are Baked Cucumber Chips safe for pets, and do they have any allergens?
Baked Cucumber Chips are generally safe for pets, but always check for seasonings like garlic powder, which can be harmful to dogs and cats. For those with allergies, this recipe is gluten-free and can be made vegetarian. Be sure to read labels on any pre-made dips or seasonings you use to ensure they meet your dietary needs.
Can I modify the seasonings in the recipe?
Absolutely! The beauty of Baked Cucumber Chips lies in their versatility. You can experiment with various seasonings like Italian herbs or ranch seasoning to suit your taste. Just sprinkle a little extra on before baking and enjoy the new flavor twist!
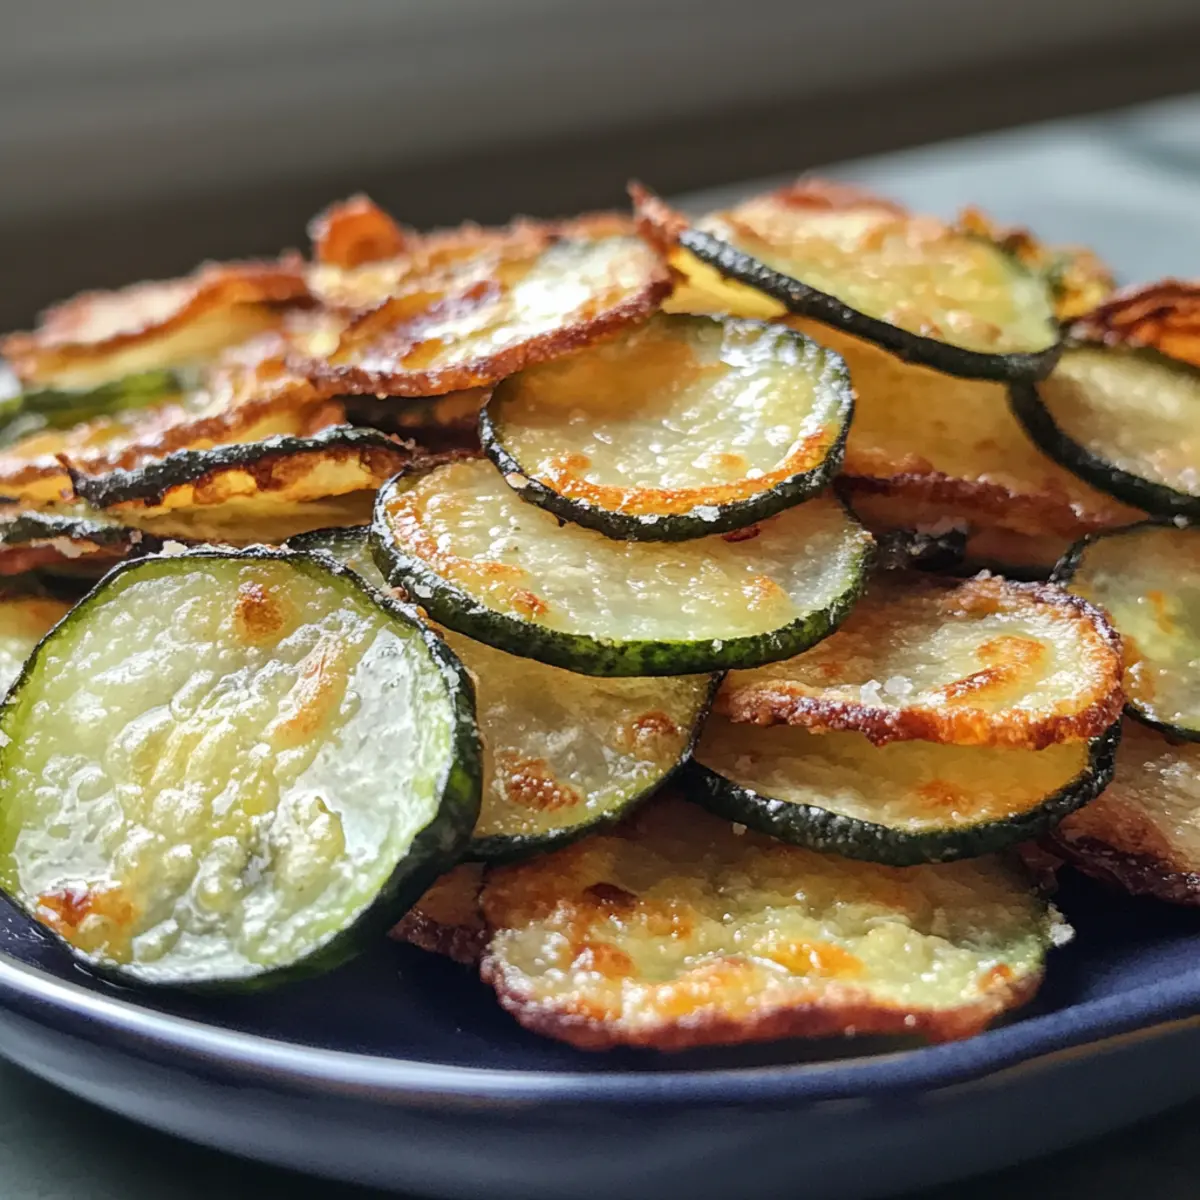
Baked Cucumber Chips: Guilt-Free Crunch for Snack Lovers
Ingredients
Equipment
Method
- Preheat your oven to 200°F (93°C).
- Slice the cucumbers thinly, around 1/8 inch thick.
- Toss the cucumber slices with olive oil, salt, paprika, and garlic powder until coated.
- Spread the seasoned cucumber slices in a single layer on a baking sheet lined with parchment paper.
- Bake for about 2 hours, checking occasionally for doneness.
- Let the cucumbers cool on the baking sheet for about 10 minutes.