

There I was, standing in my kitchen with a fresh bounty of Kirby cucumbers, pondering what to create with this summer’s harvest. That’s when the idea of making crispy refrigerator dill pickles hit me—simple, quick, and oh-so-delicious! This easy recipe for Crispy Refrigerator Dill Pickles is a game-changer for anyone looking to swap out fast food for something homemade. With just a few ingredients, you’ll have vibrant, crunchy pickles brimming with the sharp flavors of garlic and peppercorns, perfect for snacking or adding to your favorite sandwiches. Plus, they make a fantastic option for canning novices since there’s no cooking involved! Curious to know how to achieve that perfect crunch? Let’s dive into this delightful pickling journey!
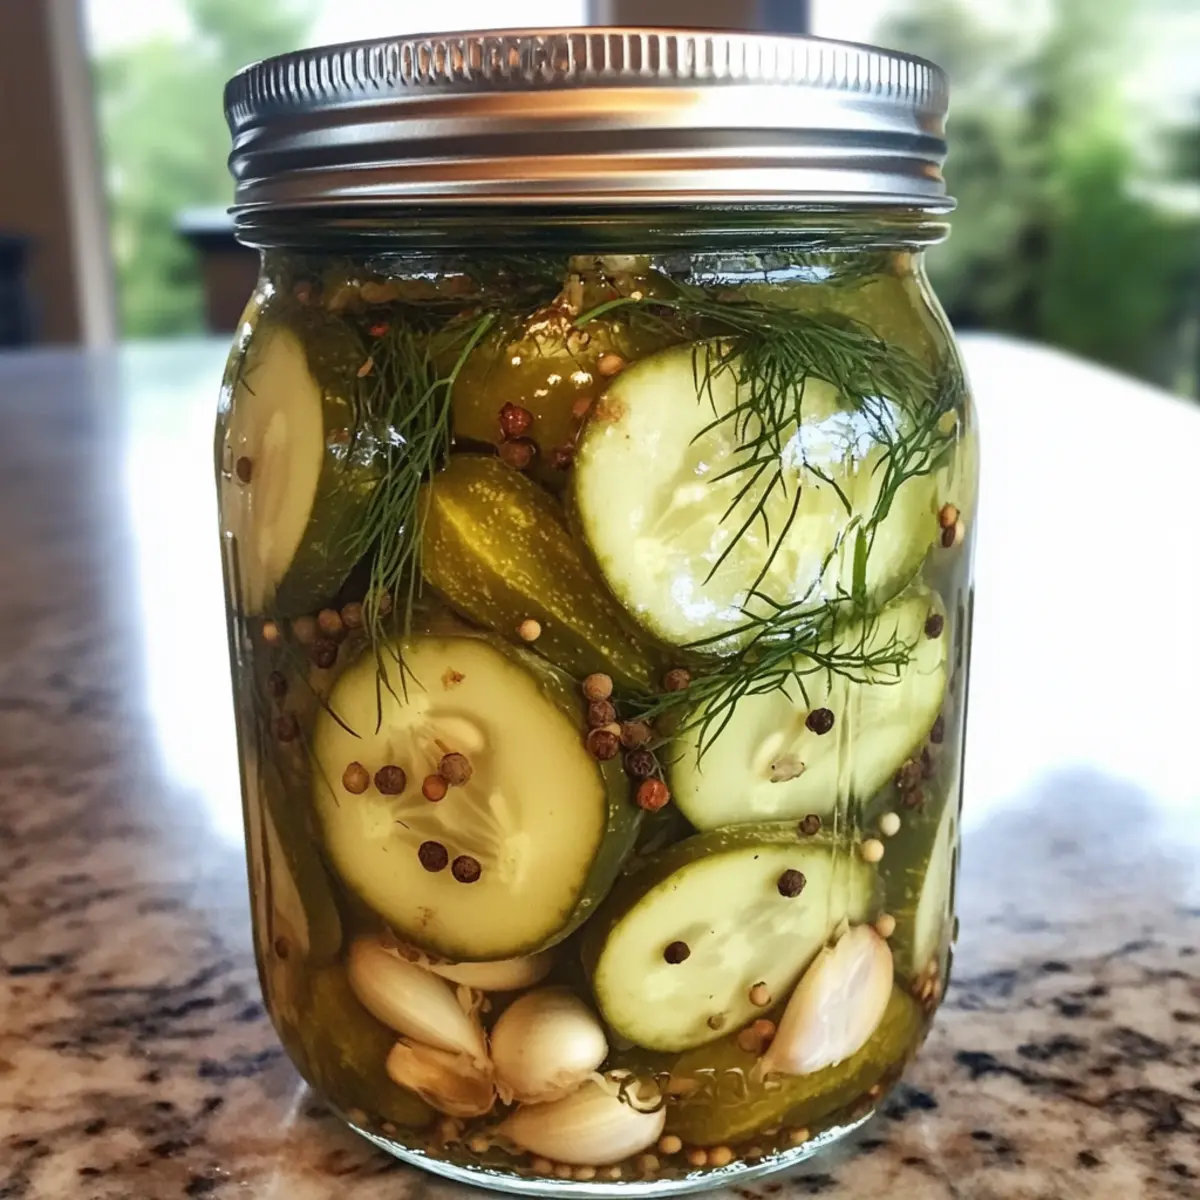
Why Are These Pickles Exceptional?
Crispy Refrigerator Dill Pickles are a delight for any home chef looking for a burst of flavor. Easy preparation makes this recipe accessible, ensuring anyone can make these goodies without fuss. Bold flavors from garlic and peppercorns elevate the humble cucumber, creating a snack that’s far more satisfying than store-bought options. Perfect for sharing, they’re great as a side with sandwiches or on a charcuterie board. Plus, they’re gluten-free and dairy-free, accommodating a variety of dietary preferences! Transform your cooking experience today and savor the taste of summer with homemade goodness!
Crispy Refrigerator Dill Pickles Ingredients
For the Pickles
• Kirby Cucumbers – The best choice for crunchiness; they hold their shape beautifully during pickling.
• Salt – Essential for preserving and enhancing flavor; use kosher salt for the best results.
• White Vinegar – Provides necessary acidity for brining; apple cider vinegar can be a flavorful alternative.
For Flavor
• Garlic – Adds aromatic richness; feel free to use garlic powder in a pinch for a subtler flavor.
• Whole Peppercorns – Impart a complex flavor without clouding the brine; experimenting with mustard seeds can yield tasty results.
• Fresh Dill – Offers vibrant herbal notes; dried dill can work but won’t pack as much punch.
• Sugar – Balances the acidity; you can omit it for a tart pickle or try honey for unique sweetness.
These delightful Crispy Refrigerator Dill Pickles are easy to make and incredibly flavorful, perfect for anyone looking to embrace the homemade taste over fast food!
Step‑by‑Step Instructions for Crispy Refrigerator Dill Pickles
Step 1: Prepare Cucumbers
Begin by thoroughly washing your Kirby cucumbers under cool running water to remove any dirt. Next, slice the cucumbers into thick rounds, about half an inch, ensuring maximum crunch. Set the sliced cucumbers aside in a large mixing bowl, eagerly anticipating their transformation into crispy refrigerator dill pickles.
Step 2: Salting
Sprinkle a generous amount of salt over the cucumber slices in the bowl. Toss the cucumbers gently to coat them evenly with salt, allowing them to sit for 30 minutes. This process draws out excess moisture, which is essential for achieving that desired crisp texture and flavor in your pickles.
Step 3: Make Brine
While the cucumbers are salting, prepare the brine. In a medium saucepan, combine white vinegar, minced garlic, whole peppercorns, fresh dill, sugar, and the remaining salt. Heat the mixture over medium heat, stirring occasionally until the sugar dissolves, about 3-5 minutes, being careful not to boil it. This flavorful brine will elevate your crispy refrigerator dill pickles.
Step 4: Cool Brine
Once the sugar has dissolved, remove the saucepan from heat and let the brine cool down to room temperature. Cooling the brine is crucial to maintaining the crispness of the cucumbers when you pour it over them. As the brine cools, the aroma of garlic and dill will start to fill your kitchen, whetting your appetite for the pickles to come.
Step 5: Pack Jars
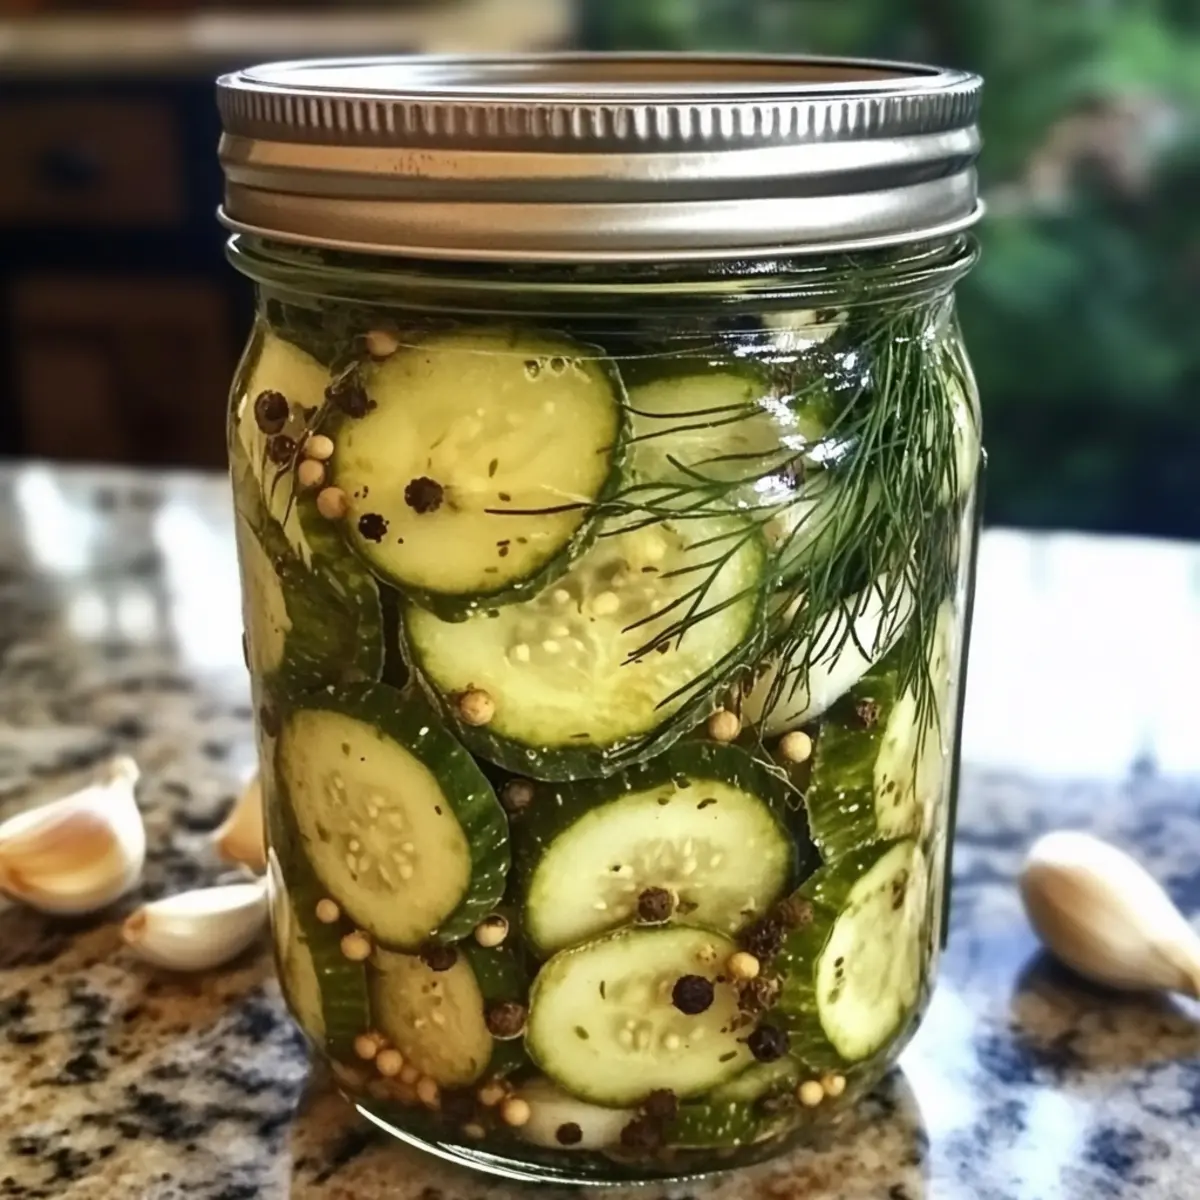
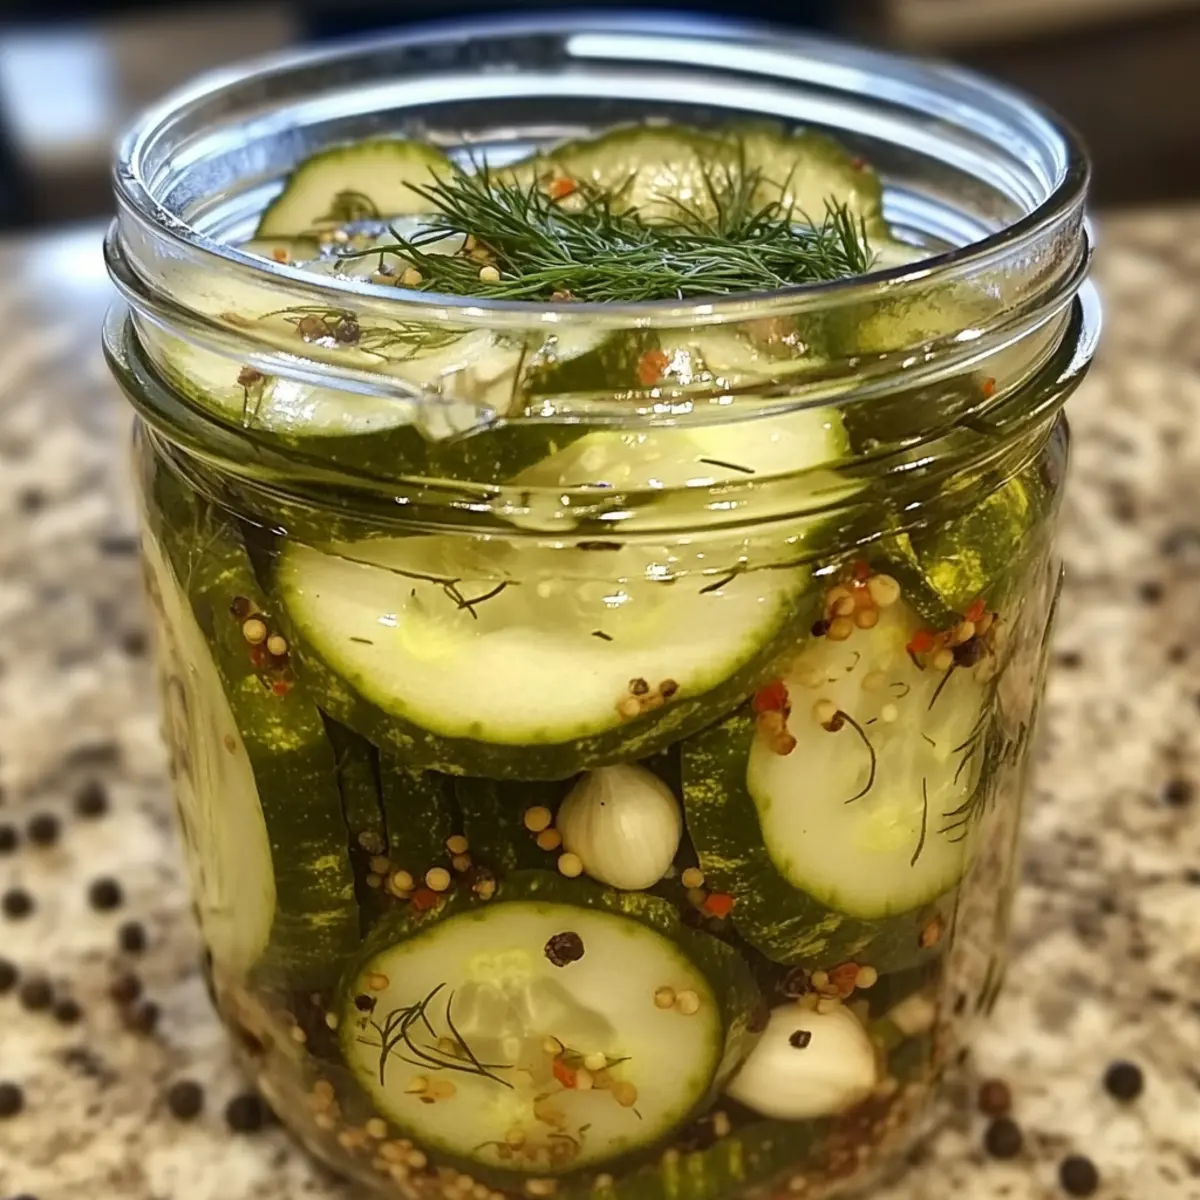
Now, grab a clean mason jar and start packing the cucumber slices tightly inside. Layer them vertically or horizontally according to your preference, creating a vibrant display. Once the cucumbers are snugly packed, pour the cooled brine over them, ensuring every slice is fully submerged to enhance absorption during marination.
Step 6: Seal and Refrigerate
Secure the jar tightly with its lid, sealing in the flavors and aromas. Place the jar in the refrigerator and allow the crispy refrigerator dill pickles to marinate for at least 48 hours, though waiting up to 3 days will yield even more flavorful pickles. This resting period allows the cucumbers to soak up the brine and transform into a tangy delight!
Crispy Refrigerator Dill Pickles Variations
Feel free to play around with this recipe to create your perfect crunchy companion! Let your imagination—and taste buds—run wild.
-
Spicy Kick: Add red pepper flakes or sliced jalapeños to give your pickles a fiery twist. The heat will bring an exciting zing to every bite.
-
Herb Garden: Experiment with different herbs! Try including fresh thyme or coriander to offer a delightful change in flavor, giving your pickles a unique twist.
-
Sweet and Spicy: Toss in a teaspoon of honey alongside the sugar for a sweet contrast to the tanginess. You might find this surprisingly addictive.
-
Garlic Lovers: For a bold garlic flavor, add additional cloves of minced garlic or roasted garlic, infusing your pickles with a rich and fragrant finish.
-
Ginger Zing: Incorporate fresh ginger slices into the brine for a zesty punch. This adds a unique flavor profile and a refreshing sensation.
-
Vinegar Swap: Swap white vinegar for apple cider vinegar to deepen the flavor profile, offering hints of sweetness and complexity.
Just imagine those inviting jars filled with colorful cucumbers and briny goodness! And for more delicious adventures, check out our guide on how to make garlic pickles or learn about delicious sandwich ideas to enjoy with your pickles!
How to Store and Freeze Crispy Refrigerator Dill Pickles
Fridge: Keep your crispy refrigerator dill pickles sealed in an airtight container in the refrigerator. They’re best enjoyed within 3 weeks for maximum freshness and crunch.
Freezer: Freezing is not recommended for these pickles, as the texture can become mushy upon thawing. Best to enjoy them fresh!
Room Temperature: Do not store at room temperature. The pickles need to remain refrigerated to maintain their crispness and flavor.
Reheating: Serve cold right from the fridge without any reheating to enjoy their optimal crunch and flavor profile.
Expert Tips for Crispy Refrigerator Dill Pickles
• Choose the Right Cucumbers: Use Kirby cucumbers for optimal crunch. Other varieties may yield softer pickles, losing that desired texture.
• Salting Time Matters: Allow cucumbers to sit with salt for at least 30 minutes. Skipping this step can lead to mushier pickles as moisture isn’t properly drawn out.
• Brine Cooling is Key: Always cool the brine to room temperature before pouring it over cucumbers. Hot brine can cause them to lose their crispness.
• Prevent Floating: To keep cucumbers submerged, place a fermentation weight on top or use a small zip-top bag filled with brine; floating can lead to spoilage.
• Storage Duration: While your Crispy Refrigerator Dill Pickles will last up to 3 weeks, for maximum freshness and crunch, enjoy them within the first two weeks!
What to Serve with Crispy Refrigerator Dill Pickles?
Delightfully crunchy and packed with flavor, these pickles are the perfect addition to elevate any meal or snack spread.
-
Hearty Sandwiches: Serve alongside your favorite deli sandwiches for a refreshing crunch that balances rich flavors. Their acidity cuts through creamy spreads beautifully.
-
Potato Salad: These pickles enhance classic potato salad, adding a crisp texture and zesty flavor that brightens the dish. Toss them in for an unexpected pop!
-
Charcuterie Board: Create a stunning charcuterie board with cheese, cured meats, and our crispy pickles. They offer a refreshing contrast to savory bites, making them irresistible.
-
Burgers: Place a pickle atop your juicy burger for a tangy twist that complements the savory beef perfectly. Their vibrant crunch contrasts wonderfully with melted cheese.
-
Grilled Meats: Pair with grilled chicken or pork dishes, as the pickles provide a zesty bite that cuts the richness, enhancing each mouthful.
-
Salads: Toss slices into a mixed greens salad for an unexpected crunch that brings life to fresher flavors—ideal for summer gatherings and picnics.
-
Cold Beverages: Sip on a crisp lager or a tangy lemonade alongside these pickles. The refreshing drinks amplify their flavors while cooling you off in the summer heat.
-
Chocolate Desserts: For the adventurous palate, serve with dark chocolate desserts. The sweet and salty contrast can be a surprisingly delightful culinary experience.
Enjoy the versatility of your Crispy Refrigerator Dill Pickles as you create meal memories that are sure to delight!
Make Ahead Options
These Crispy Refrigerator Dill Pickles are perfect for busy home cooks looking to save time! You can prepare the cucumber slices and brine up to 24 hours in advance; simply wash and slice your Kirby cucumbers, sprinkle them with salt, and leave them to draw out moisture overnight. For the brine, you can whip it up ahead of time, too—just heat the vinegar, sugar, and seasonings, then let it cool completely before combining with the cucumbers. After packing everything in a jar, simply seal and refrigerate for at least 48 hours, allowing flavors to meld brilliantly. This method ensures your pickles will still taste just as delicious when it’s time to serve!
Crispy Refrigerator Dill Pickles Recipe FAQs
How do I choose the right cucumbers?
Absolutely! For the crispiest refrigerator dill pickles, opt for Kirby cucumbers. They have a firm texture that holds up beautifully during the pickling process. Avoid softer varieties like English cucumbers, as they may result in mushy pickles.
How should I store these pickles once made?
Very! Store your crispy refrigerator dill pickles in a sealed jar in the refrigerator. They can stay fresh for up to 3 weeks. Always check for any off smells or signs of spoilage before consuming to ensure they’re still good.
Can I freeze crispy refrigerator dill pickles?
Unfortunately, freezing isn’t advisable! Freezing can alter the texture, causing the cucumbers to become mushy when thawed. Enjoy them fresh from the fridge, where their crunch and vibrant flavor truly shine!
What if my pickles are floating in the brine?
No worries! To prevent your cucumbers from floating, press them down using a fermentation weight or even a small zip-top bag filled with brine. This will keep them submerged in the pickling liquid, allowing for even marination.
Are these pickles safe for people with dietary restrictions?
Absolutely! These crispy refrigerator dill pickles are gluten-free and dairy-free, making them suitable for many dietary needs. Just double-check the ingredient labels, especially for items like vinegar, to ensure they fit any specific allergies or sensitivities.
How can I enhance the flavor of my pickles?
Very! You can experiment with additional spices or herbs. Try adding fresh ginger slices for a zesty kick or throw in some red pepper flakes if you like heat! You can also substitute fresh dill with other herbs like thyme for a different flavor profile.
Crispy Refrigerator Dill Pickles for a Flavorful Crunch
Ingredients
Equipment
Method
- Wash the Kirby cucumbers under cool running water. Slice them into thick rounds, about half an inch thick.
- Sprinkle a generous amount of salt over the cucumber slices. Toss to coat and let sit for 30 minutes.
- Prepare the brine by combining white vinegar, minced garlic, whole peppercorns, fresh dill, sugar, and remaining salt in a saucepan. Heat, stir until sugar dissolves.
- Remove the saucepan from heat and let the brine cool to room temperature.
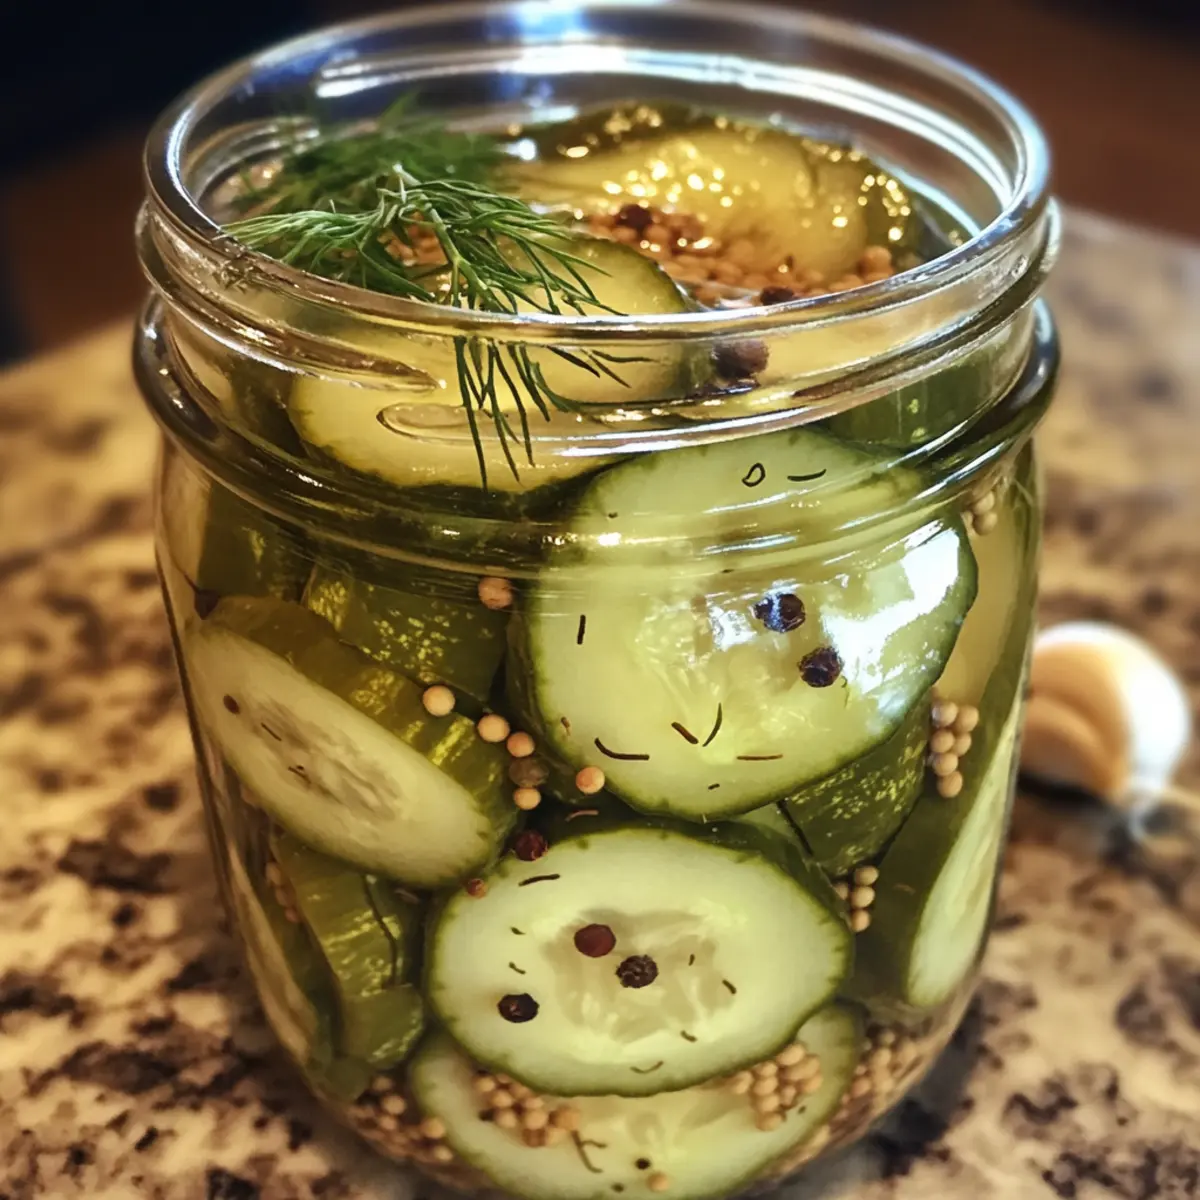
- Pack cucumber slices tightly in a clean mason jar. Pour the cooled brine over to ensure they are fully submerged.
- Seal the jar tightly and refrigerate for at least 48 hours before enjoying.