

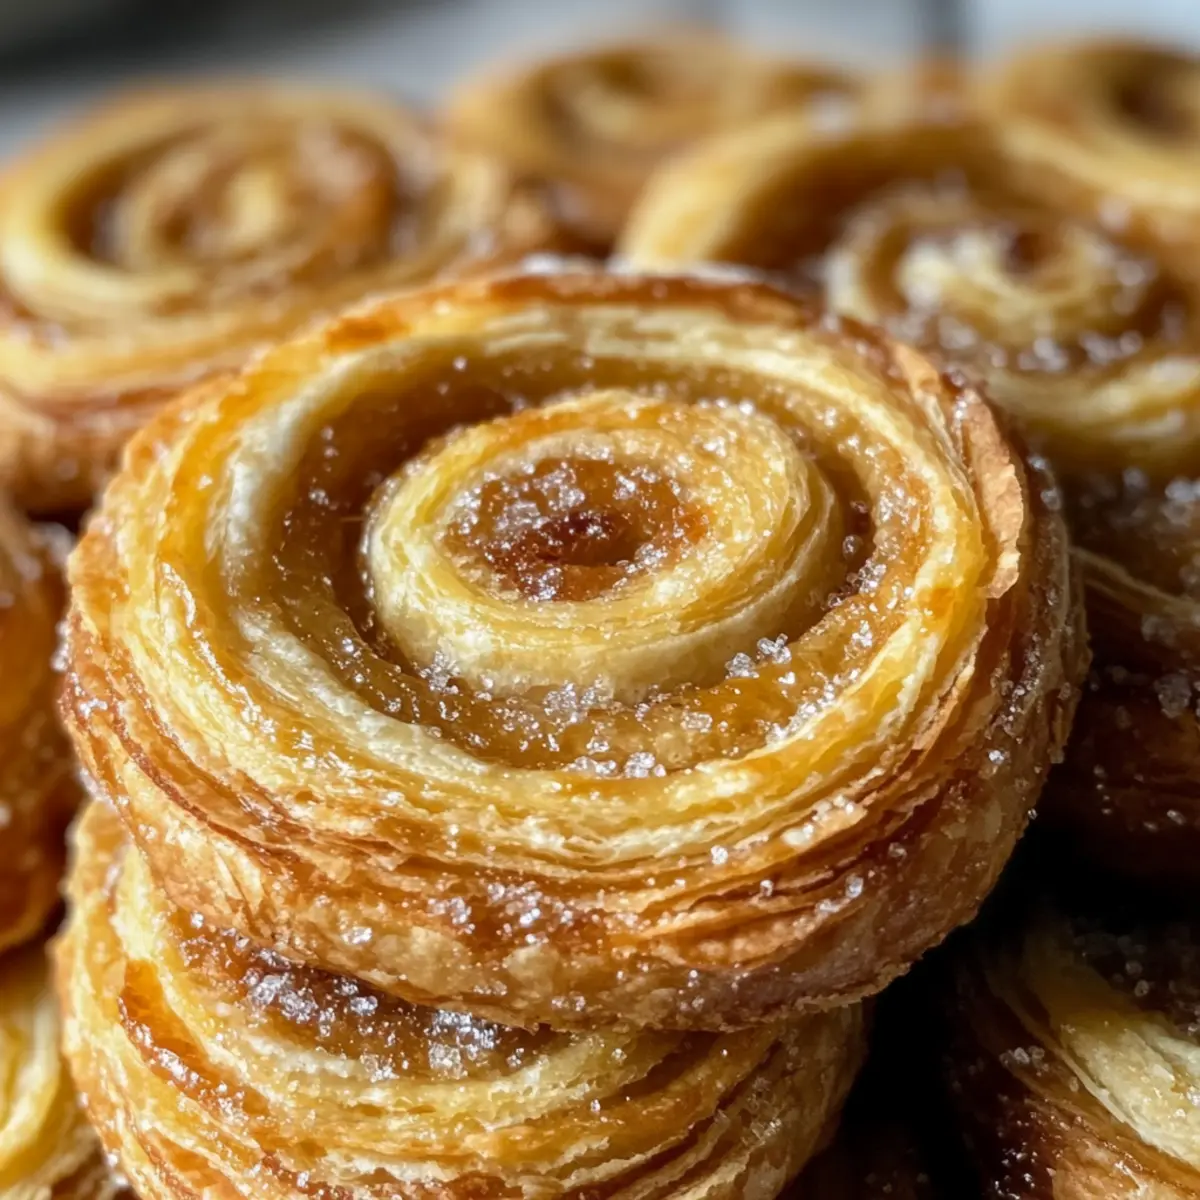
As I gazed at the delicate layers of the gluten-free palmier I had just pulled from the oven, the light caramelization danced like golden rays. These delightful pastries might seem fancy, but they come together effortlessly, making them perfect for snacking or a light dessert. With just gluten-free puff pastry and sugar, you can recreate the essence of French patisserie in your own kitchen. Not only are they a great option for those with dietary restrictions, but they’re also incredibly quick to whip up—perfect for an impromptu gathering or a cozy afternoon treat. What’s your favorite way to dress up a simple pastry? Let’s dive into this delicious gluten-free palmier recipe!
Why are gluten-free palmiers so special?
Crunchy, Sweet Perfection: These gluten-free palmiers deliver a delightful crunch that’s impossible to resist. Easy to Make: With just two main ingredients, you’ll have these treats ready with minimal hassle. Versatile Option: Customize them with spices or chocolate to suit your taste. Impressive Presentation: Their elegant shape makes them perfect for entertaining or special occasions. Serve alongside a cup of coffee or tea, just like at a French café! You’ll find this recipe to be a great addition, especially if you want to explore more delicious gluten-free options through our healthy dessert ideas.
Gluten Free Palmier Ingredients
For the Pastries
• Gluten Free Puff Pastry – Essential for creating those delightful flaky layers; consider making your own if you have the time!
• ¾ cup Granulated Sugar (or Turbinado/Demerara Sugar) – Adds sweetness and a lovely caramelization; swapping with alternative sugars can change the flavor slightly.
For the Flavor
• Pinch of Cinnamon – Enhances the flavor profile; feel free to omit or substitute with nutmeg or cardamom for a different twist.
Enjoy making these gluten-free palmiers as a special treat or snack that everyone can savor!
Step‑by‑Step Instructions for Gluten Free Palmier
Step 1: Prepare the Pastry
Begin by removing your gluten-free puff pastry from the refrigerator to allow it to reach room temperature, which should take about 20–30 minutes. This step is crucial as it makes the dough easier to work with. While it warms up, gather your workspace: a clean countertop and some flour to prevent sticking.
Step 2: Roll Out the Dough
Once the pastry is at room temperature, generously flour your counter and sprinkle sugar over it. Using a rolling pin, roll the dough into a rectangle about ⅛ inch thick, ensuring you periodically sprinkle more sugar to prevent sticking. The sugar will enhance the caramelization and sweetness when you bake your gluten-free palmiers.
Step 3: Fold the Pastry
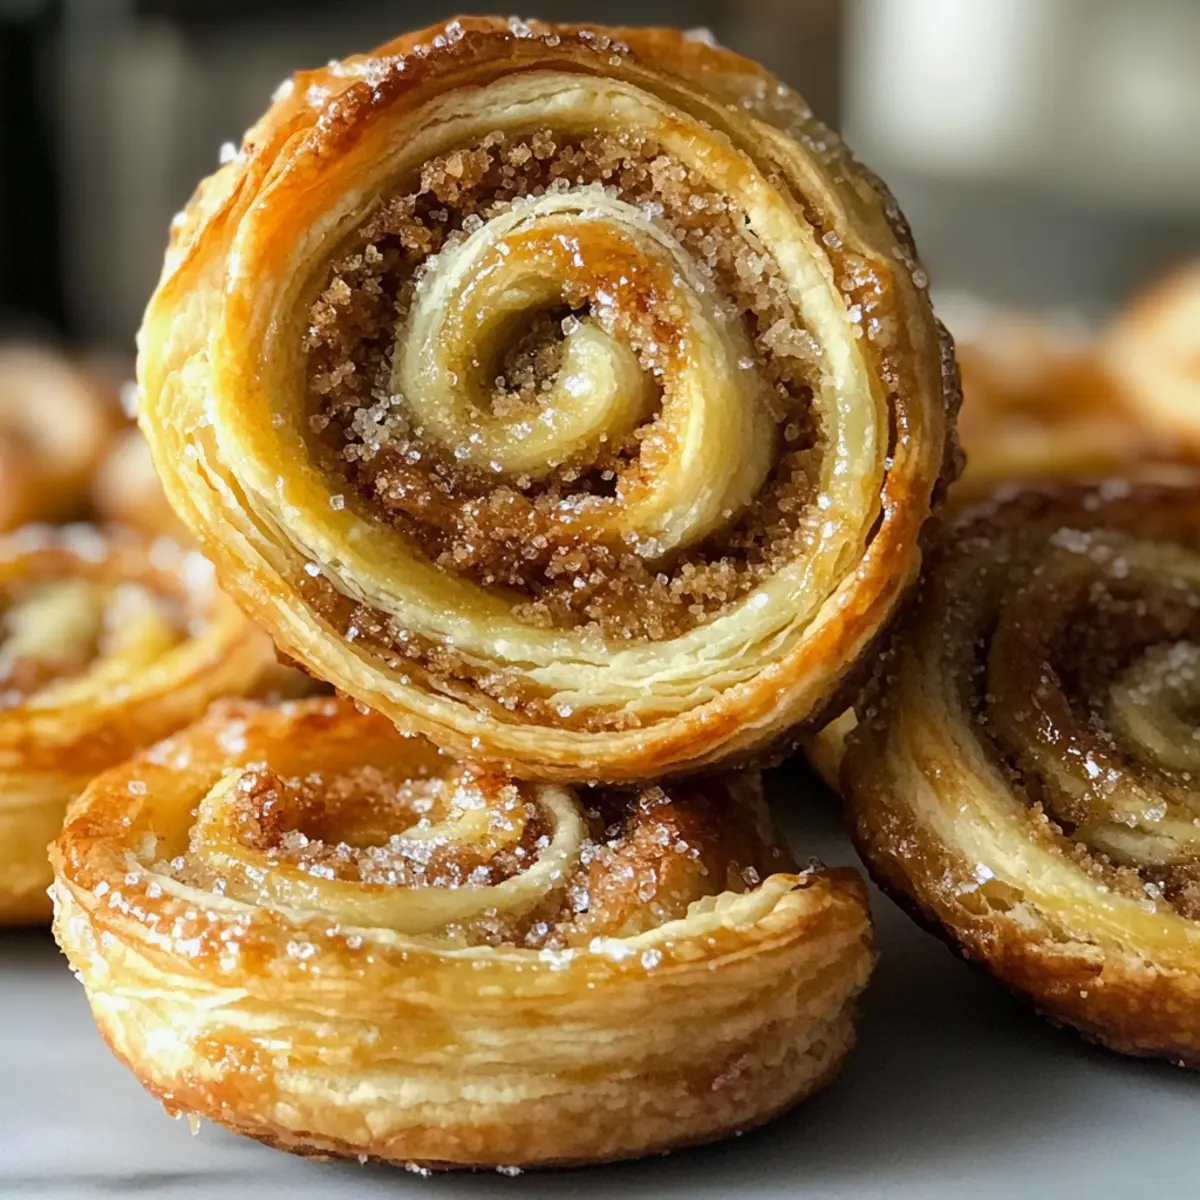
Now, it’s time to create those signature layers! Fold the pastry in half lengthwise, then take each side and fold towards the center, leaving a small gap down the middle. Finally, fold one side over the other to create a log shape. This folding technique is key to achieving the flaky texture of your gluten free palmier.
Step 4: Chill the Dough
Wrap the folded pastry tightly in plastic wrap and chill it in the refrigerator for 30–60 minutes. Chilling helps maintain the dough’s structure, making it less sticky and easier to slice later. You’ll want the dough firm but not frozen, ready for the next step of baking.
Step 5: Preheat the Oven
While the dough chills, preheat your oven to 400°F (200°C). This ensures that once your gluten-free palmiers are ready to bake, the oven will be hot enough to create that beautiful golden color and crisp texture. Prepare a parchment-lined baking sheet for the pastries.
Step 6: Slice the Pastry
After chilling the dough, unwrap it and use a sharp knife to slice it into ½-inch thick pieces. You should see the lovely layers formed by your folds. Arrange these slices on your prepared baking sheet, ensuring they have enough space apart for expansion while baking.
Step 7: Sugar the Slices
Dip both sides of each slice into extra sugar, ensuring they’re well-coated. This sugary exterior will caramelize during baking, giving your gluten free palmier its classic crunchy texture. Place the sugar-coated slices back on the parchment-lined baking sheet, spaced evenly apart to allow for airflow.
Step 8: Bake to Perfection
Place the baking sheet in your preheated oven and bake the palmiers for 20 minutes. After this time, carefully flip each pastry using tongs or a spatula, then bake for an additional 10 minutes, or until they are beautifully golden brown and aromatic. Watch closely to avoid burning!
Step 9: Cool and Enjoy
Once the palmiers are perfectly baked, remove them from the oven and allow them to cool on the baking sheet for a few minutes. This cooling stage lets the caramelized sugar set, giving your gluten free palmier its delightful crunch. Transfer to a wire rack and savor them warm or at room temperature.
Make Ahead Options
These delightful gluten-free palmiers are perfect for meal prep, saving you precious time on busy weeknights! You can prepare the gluten-free puff pastry ahead of time, wrapping it tightly in plastic wrap and refrigerating for up to 24 hours. Additionally, if you want to slice them in advance, simply stack the sugar-coated pieces on a baking sheet lined with parchment paper, cover with plastic, and refrigerate for up to 3 days. Just remember to let them sit at room temperature for a few minutes before baking to ensure a perfect rise and golden finish. This way, you can enjoy fresh, flaky gluten-free palmiers with minimal effort whenever a craving strikes!
Storage Tips for Gluten Free Palmier
Room Temperature: Store leftover palmiers in an airtight container at room temperature for up to 3 days to maintain their crunch and flavor.
Freezer: For longer storage, freeze the baked palmiers in a single layer on a baking sheet. Once frozen, transfer them to a sealed bag, where they can last up to 2 months.
Reheating: To enjoy your gluten-free palmier once frozen, simply reheat in a preheated oven at 350°F (175°C) for about 5–7 minutes until warm and crisp.
What to Serve with Crunchy Gluten-Free Palmiers
Indulge your senses with complementary flavors and textures that will elevate your tasty pastries into a full meal experience.
- Fresh Fruit Salad: A mix of seasonal fruits adds a refreshing sweetness that balances the crispy richness of the palmiers. The juiciness of ripe berries or citrus provides a lovely contrast.
- Rich Chocolate Ganache: Drizzled or served on the side, this luscious ganache brings a decadent, velvety element, enhancing the flavor experience of your palmiers. A divine pairing for chocolate lovers!
- Creamy Vanilla Yogurt: The smooth creaminess of yogurt creates a luscious dip, while its slight tanginess perfectly complements the sweet, crunchy pastries for a delightful balance.
- Aromatic Coffee: A hot cup of freshly brewed coffee is a classic pairing to accentuate the buttery notes of the palmiers, making it a perfect indulgence any time of day.
- Herbal Tea: Enjoy a light herbal or floral tea to cleanse the palate between bites, enhancing the pastry’s sweetness with refreshing herbal notes. A calming choice for a cozy afternoon.
- Lemon Sorbet: The bright and zesty flavors of lemon sorbet provide a refreshing contrast to the sweet, crunchy pastries, creating an exciting taste experience. It’s a palate cleanser that brings vibrancy to the table!
- Chocolate-Covered Strawberries: Juicy strawberries dipped in chocolate offer a luxurious and romantic touch to your dessert spread while pairing beautifully with the sweet palmiers.
- Fizzy Sparkling Water: A bubbly drink enhances the lightness of your meal and cleanses the palate, allowing the flavors of both the palmiers and any sweet accompaniments to shine.
- Buttercream Frosting: For those with a sweet tooth, a small side of rich buttercream adds an indulgent element, perfect for dipping your palmiers or as a lavish topping.
Let these delightful offerings guide your next gathering, creating a memorable experience for you and your guests!
Gluten Free Palmier Variations
Feel free to let your creativity shine as you customize these delightful gluten-free palmiers!
-
Dairy-Free: Use a non-dairy butter substitute in place of traditional butter for an equally flaky texture that everyone can enjoy.
-
Choco-Filled: Spread a layer of chocolate hazelnut spread before rolling for a decadent twist that adds a rich, sweet flavor.
-
Nutty Delight: Incorporate finely chopped nuts, like almonds or pistachios, between the layers for added crunch and a nutty aroma that lingers on the palate.
-
Cinnamon Twist: Instead of just a pinch, sprinkle a generous layer of cinnamon sugar for an irresistible spiced sweetness that can warm up any chilly day.
-
Herbal Infusion: Add a teaspoon of dried lavender or rosemary to your sugar for a fragrant, herbal note that elevates these pastries to a gourmet treat.
-
Sweet & Salty: Sprinkle flaky sea salt on top right after baking, creating a beautiful contrast that makes every bite a delightful surprise.
-
Fruit Flavored: Add a layer of fruit preserves or fresh fruit slices, such as strawberries or raspberries, before rolling, introducing a tangy sweetness that pairs beautifully with the sugar.
-
Vegan Friendly: Replace the eggs with a flax or chia seed mixture for an egg-free version that doesn’t compromise on flavor or texture.
Each variation brings its own unique charm, allowing you to explore diverse flavors and textures! Thinking of more scrumptious recipes? Check out our easy baking tips for a sweet inspiration!
Expert Tips for Gluten Free Palmier
• Dough Chilling: Keep your gluten-free puff pastry chilled to avoid stickiness, making it much easier to roll and cut.
• Sugar Coating: Generously coat both sides of your palmier slices in sugar before baking to achieve that signature caramelization.
• Watch the Oven: Monitor closely while baking, especially during the flipping stage to prevent burning; each oven may vary slightly.
• Storage Secrets: For the best texture, enjoy your palmiers the same day they are made; store leftovers in an airtight container to keep crisp.
• Flavor Variations: Don’t hesitate to experiment with spices! Adding cinnamon, nutmeg, or even chocolate will give your gluten free palmier a unique twist.
Gluten Free Palmier Recipe FAQs
How do I select the best gluten-free puff pastry?
Absolutely! When choosing gluten-free puff pastry, look for brands that list whole grain or specific gluten-free flours as their first ingredient. It’s also wise to check for freshness—avoid any packages nearing their expiration date. If you’re feeling adventurous, making your own can be a fun alternative, providing you full control over ingredients!
What’s the best way to store leftovers?
For storing your gluten-free palmiers, keep them in an airtight container at room temperature for up to 3 days. This method helps maintain their crunchiness. If you want to keep them longer, consider freezing the baked palmiers. Just ensure they’re frozen in a single layer on a baking sheet first before transferring to a sealed bag, where they can last for up to 2 months.
Can I freeze gluten-free palmiers before baking?
Definitely! If you want to prepare palmiers ahead of time, wrap the formed and sliced dough tightly in plastic wrap and freeze it. When you’re ready to bake, you can take the dough out and let it thaw in the refrigerator overnight before baking. Bake as directed, adding a couple of extra minutes to the baking time since they’ll be cold.
What should I do if my palmiers don’t puff up?
Very! If your gluten-free palmiers don’t puff up during baking, it may be due to the dough being too warm or not rolled out evenly. To troubleshoot, ensure you chill the dough adequately both before slicing and after forming. Also, check that you’re using a high-quality gluten-free puff pastry, as some brands may not rise as well.
Are gluten-free palmiers safe for everyone?
Yes, however, always double-check that all ingredients are gluten-free, especially if others are gluten-sensitive or have allergies. Furthermore, consider that by using specific sugars, you may want to ensure they are safe for anyone with other dietary restrictions, such as diabetes or specific allergies. Always adjust based on your needs and preferences!
Delightful Gluten Free Palmier Recipe That's Easy to Make
Ingredients
Equipment
Method
- Prepare the Pastry: Remove gluten-free puff pastry from the refrigerator to reach room temperature for about 20–30 minutes.
- Roll Out the Dough: Flour your counter and sprinkle sugar over it. Roll the dough into a rectangle about ⅛ inch thick.
- Fold the Pastry: Fold the pastry in half lengthwise, then fold each side towards the center and then fold into a log shape.
- Chill the Dough: Wrap the folded pastry tightly in plastic wrap and chill in the refrigerator for 30–60 minutes.
- Preheat the Oven: Preheat your oven to 400°F (200°C) and prepare a parchment-lined baking sheet.
- Slice the Pastry: Use a sharp knife to slice the chilled dough into ½-inch thick pieces.
- Sugar the Slices: Coat both sides of each slice in extra sugar and place them on the baking sheet.
- Bake to Perfection: Bake for 20 minutes, flip the palmiers, and bake for an additional 10 minutes until golden brown.
- Cool and Enjoy: Let the palmiers cool for a few minutes, then transfer to a wire rack.