

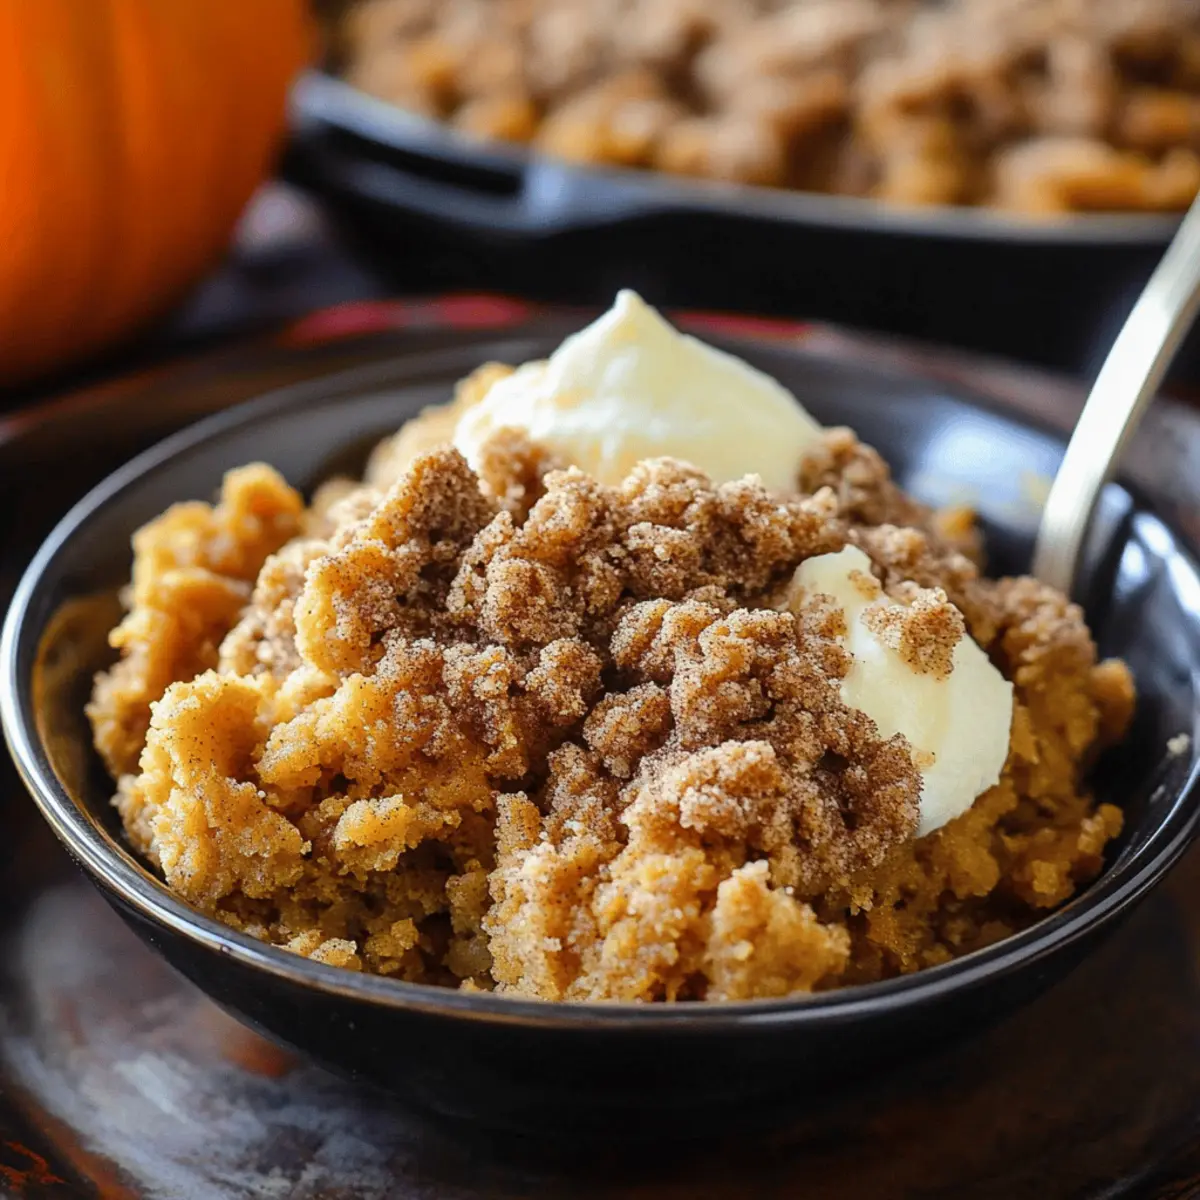
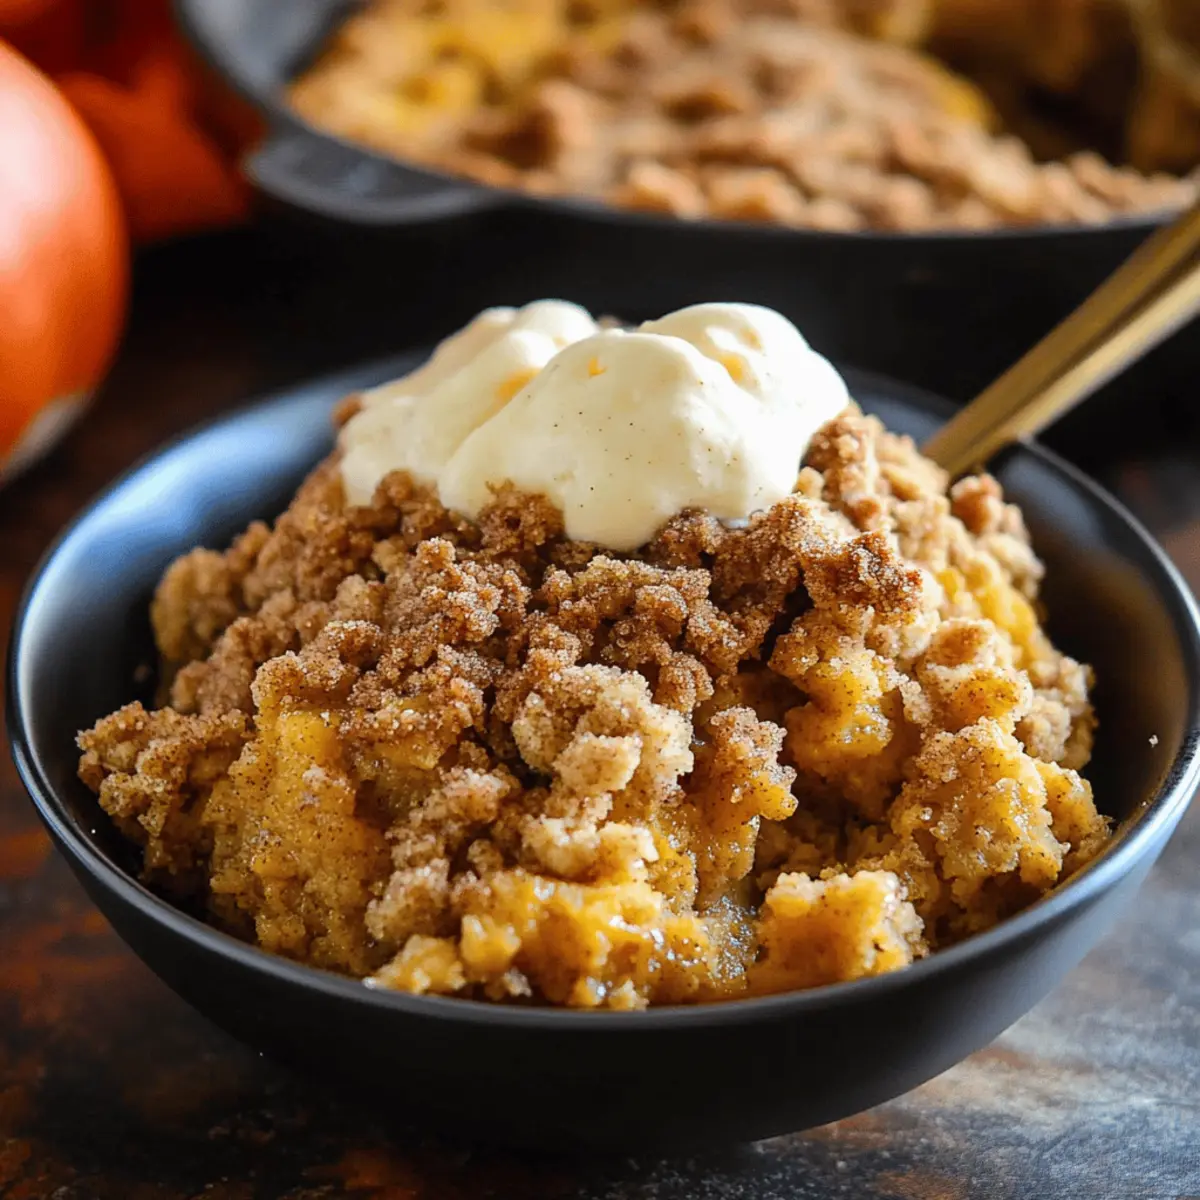
As the air turns crisp and the leaves paint themselves in vibrant hues, a sense of warmth and comfort calls us back to the kitchen. My Warm Pumpkin Crisp with Cinnamon Streusel Topping combines nostalgia and ease, making it the ultimate fall dessert. Imagine digging into a smooth, creamy pumpkin filling that sings with seasonal spices, topped with a golden, crunchy streusel that adds the perfect textural contrast. This easy pumpkin dessert not only brings your loved ones together but also transforms any gathering into a cozy celebration—especially when served warm with a scoop of ice cream! Curious to know how to create this heartwarming treat in your own home? Let’s dive in!
Why is Pumpkin Crisp a Fall Favorite?
Warm, Creamy Filling: The luscious pumpkin filling provides a delightful base that’s rich and flavorful, perfect for capturing the essence of autumn.
Crunchy Topping: The cinnamon streusel adds a satisfying crunch that contrasts beautifully with the creamy pumpkin, making every bite a textural delight.
Ease of Preparation: With simple ingredients and straightforward steps, this easy pumpkin dessert is designed for everyone, from novice bakers to seasoned chefs.
Crowd-Pleasing Gem: Serve it at gatherings or family dinners, and watch as it quickly becomes the star of the show, appealing to both young and old alike.
Versatile and Customizable: Feel free to swap in dairy-free alternatives or add nuts for extra texture, making this dessert adaptable to various dietary preferences. Don’t forget to check out my Rhubarb Crisp Sweet for another delightful dessert option!
Pumpkin Crisp Ingredients
For the Pumpkin Filling
• Pumpkin puree – Use canned, pure pumpkin puree for the best flavor; avoid pumpkin pie filling which is pre-sweetened.
• Granulated sugar – Sweetens the filling; brown sugar can be used for a richer flavor.
• Large eggs – Binds the filling and adds richness; egg substitutes can be considered but may alter texture.
• Pumpkin pie spice – Enhances the flavor with warm notes; can substitute with a mix of cinnamon, nutmeg, and cloves.
• Salt – Balances sweetness and enhances flavor; essential, do not omit.
• Vanilla extract – Adds depth and aroma to the filling; pure vanilla extract is preferred for best flavor.
• Heavy cream – Creates a rich, creamy texture in the filling; can substitute with coconut cream for a dairy-free option.
For the Streusel Topping
• All-purpose flour – Forms the base for the streusel; whole wheat flour can be used for a healthier option.
• Granulated sugar (for streusel) – Sweetens the topping; brown sugar can also be used for deeper flavor.
• Cinnamon – Provides warmth and spice; increase for a more pronounced flavor.
• Salt (for streusel) – Enhances flavor; keep it minimal to avoid overpowering sweetness.
• Unsalted butter (melted) – Adds richness and helps create a crumbly texture; can substitute with plant-based butter for a dairy-free version.
This Pumpkin Crisp recipe awaits your culinary touch—let’s bring warmth and deliciousness to your table!
Step‑by‑Step Instructions for Pumpkin Crisp
Step 1: Preheat the Oven
Begin by preheating your oven to 375°F (190°C). While the oven warms up, generously butter a 12-inch cast iron skillet or a medium casserole dish, ensuring every inch is covered for easy release after baking. This step sets you up for perfectly baked Pumpkin Crisp as the filling needs a warm environment to set beautifully.
Step 2: Mix the Pumpkin Filling
In a large mixing bowl, whisk together the pumpkin puree, granulated sugar, large eggs, pumpkin pie spice, salt, and vanilla extract until the mixture is completely smooth and well combined. This should take about 2-3 minutes of vigorous whisking. Once blended, the mixture will have a rich, vibrant color, desire able for your creamy Pumpkin Crisp filling.
Step 3: Incorporate the Heavy Cream
Slowly pour in the heavy cream while continuing to whisk the filling. This will enhance the luxurious texture of your Pumpkin Crisp. Ensure that the cream is fully integrated into the pumpkin mixture, creating a beautifully creamy filling. After this step, carefully pour the mixture into the prepared skillet, ensuring even distribution for consistent baking.
Step 4: Prepare the Streusel Topping
In a separate medium bowl, whisk together the all-purpose flour, granulated sugar, cinnamon, and a pinch of salt. Stir in the melted unsalted butter until the mixture becomes crumbly, resembling damp sand. This streusel topping will add that delightful crunch we love in Pumpkin Crisp. Make sure the texture is coarse to ensure a nice contrast to the soft filling.
Step 5: Assemble the Crisp
Evenly distribute the streusel topping over the creamy pumpkin filling in the skillet, ensuring the mixture is fully covered. This layer should be thick enough to bring that satisfying crunch to each bite of the Pumpkin Crisp. Take a moment to admire your creation before it heads into the oven!
Step 6: Bake the Pumpkin Crisp
Place the skillet in the preheated oven and bake for 40-45 minutes. Keep an eye on your Pumpkin Crisp; it’s done when the filling is set and the topping is golden brown. If the topping browns too quickly, you can cover it loosely with foil to avoid burning while the filling finishes cooking.
Step 7: Cool and Serve
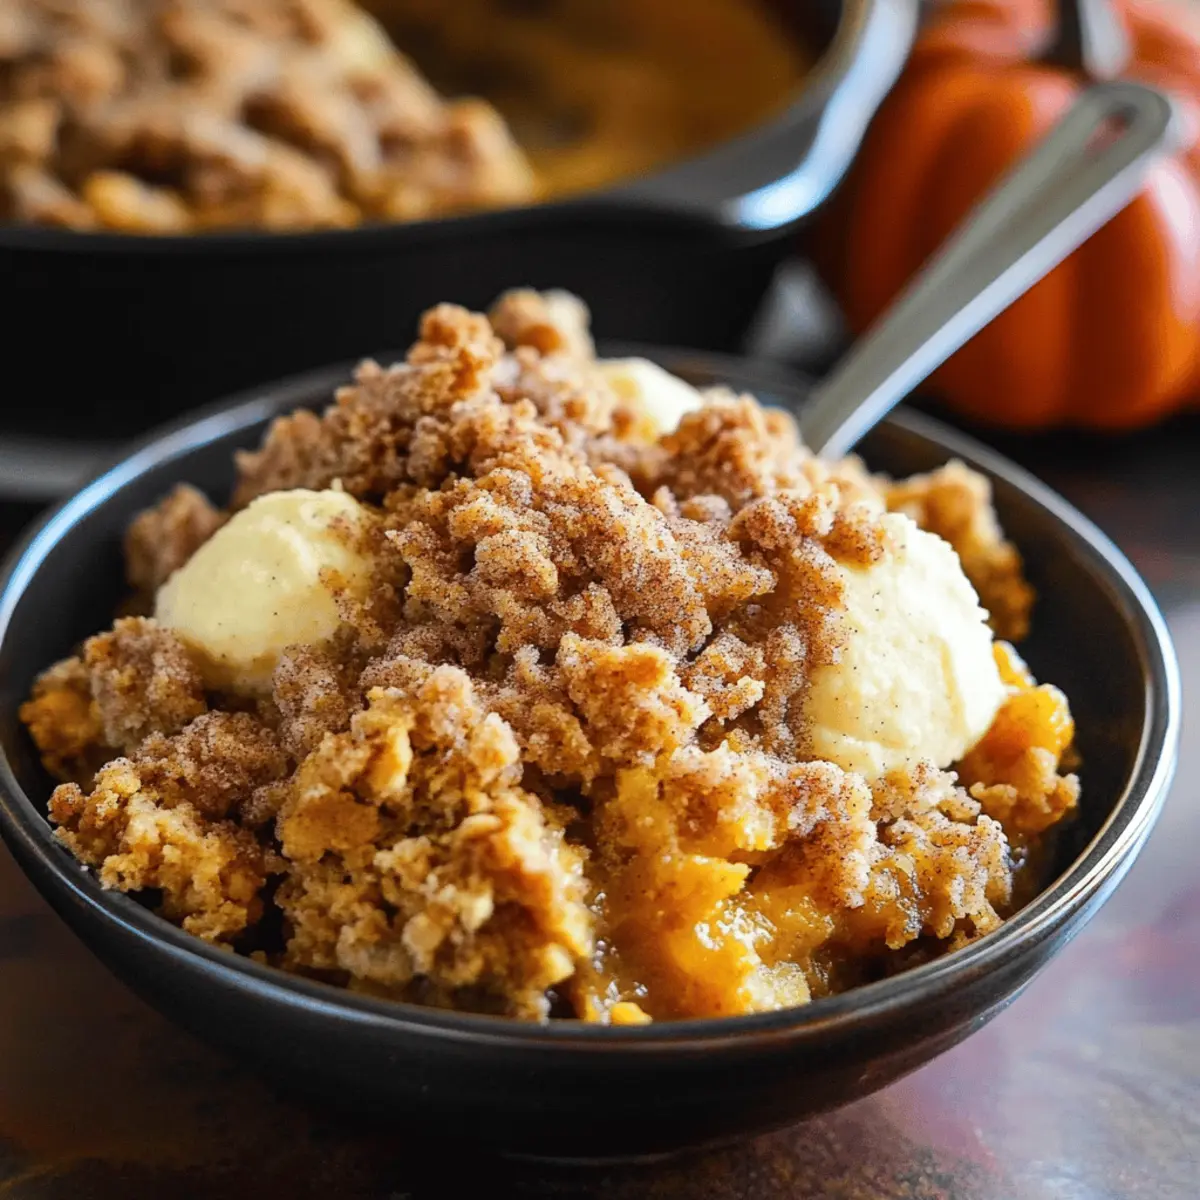
Once baked, remove the Pumpkin Crisp from the oven and let it cool for about 10 minutes. This cooling time allows the filling to firm up slightly for easier serving. Dish it out while still warm, ideally alongside a scoop of vanilla ice cream or a dollop of whipped cream for a truly delightful experience.
How to Store and Freeze Pumpkin Crisp
Fridge: Store any leftover pumpkin crisp in an airtight container in the refrigerator for up to 5 days. Allow it to cool completely before sealing to maintain freshness.
Freezer: For longer storage, wrap the pumpkin crisp tightly in plastic wrap and then in aluminum foil. It can be frozen for up to 2 months. Thaw in the fridge overnight before reheating.
Reheating: To enjoy your pumpkin crisp warm again, simply microwave individual servings for 30-60 seconds, or reheat in a preheated oven at 350°F (175°C) for about 10-15 minutes, until heated through.
Pumpkin Crisp Variations & Substitutions
Customize your pumpkin crisp to delight every layer of flavor and texture with delicious swaps and enhancements!
-
Dairy-Free: Use coconut cream or plant-based butter to make this pumpkin crisp suitable for dairy-free diets. The coconut cream lends a lovely richness without compromising flavor.
-
Nutty Delight: Toss in some chopped pecans or walnuts into your streusel topping for added crunch and flavor. The earthy notes of nuts pair beautifully with pumpkin and spice.
-
Gluten-Free: Substitute all-purpose flour with a gluten-free blend for the streusel topping. This enables everyone to enjoy your delicious creation without worry!
-
Spice it Up: Add a pinch of cayenne pepper or ginger for a hint of warmth that elevates the dish. This spice contrast makes each bite even more exciting!
-
Oat-Streusel Twist: Mix rolled oats with your streusel ingredients for a heartier texture. Oats add a delightful chewiness that complements the smooth pumpkin filling.
-
Cinnamon Sugar Finish: Dust the baked crisp with a mix of cinnamon and powdered sugar before serving for an extra sweet touch. It not only enhances presentation but also adds a sweet finishing flavor.
-
Serving Variation: Serve with a dollop of whipped cream flavored with maple syrup for a decadent twist. This elevates the pumpkin crisp experience with every creamy bite.
Feel free to explore these wonderful options that can enhance your warm Pumpkin Crisp! And if you’re looking for yet another delightful dessert to add to your repertoire, consider trying my enriching Rhubarb Crisp Sweet—a fruit-forward twist that shines in any season. Happy baking!
Expert Tips for Pumpkin Crisp
-
Use Pure Pumpkin: Always choose canned, pure pumpkin puree instead of pumpkin pie filling for the best flavor and to avoid excess sugar.
-
Check for Doneness: Make sure the filling is set in the center before removing the pumpkin crisp from the oven; a slight jiggle is normal as it will firm while cooling.
-
Cool Before Serving: Allow your Pumpkin Crisp to cool for about 10 minutes after baking; this helps the filling set and makes it easier to serve.
-
Customize Toppings: Feel free to add nuts or oats to the streusel for added texture and flavor; just ensure they’re evenly mixed for consistent crunch.
-
Storage Tip: Leftovers can be stored in the refrigerator for up to 5 days. Simply reheat in the microwave for a quick treat!
-
Serve Warm: For the ultimate experience, serve your Pumpkin Crisp warm with a scoop of ice cream; the contrast of temperatures is simply heavenly!
What to Serve with Warm Pumpkin Crisp with Cinnamon Streusel Topping
There’s nothing quite like gathering around the table to share a cozy meal that elevates your warm pumpkin crisp experience to new heights.
-
Vanilla Ice Cream: The creamy richness of vanilla ice cream beautifully complements the warm, spiced flavors of the pumpkin crisp, enhancing every delightful bite.
-
Whipped Cream: A fluffy dollop of whipped cream adds a light and airy texture, perfectly balancing the dense, creamy filling below with a touch of sweetness.
-
Caramel Sauce: Drizzle warm caramel sauce over the pumpkin crisp for an indulgent twist that adds a luscious sweetness and enhances the autumn flavors in each spoonful.
-
Spiced Apple Cider: Enjoy a warm mug of spiced apple cider alongside your crisp. The cider’s sweet, fruity notes echo the spices in the crisp, creating a harmonious autumn pairing.
-
Pecan Pie Bars: For those who love a little variety, serving pecan pie bars brings forward another classic fall dessert that pairs wonderfully with the pumpkin crisp’s flavors.
-
Chai Latte: A steaming cup of chai latte offers aromatic spices that resonate with the pumpkin crisp, making each sip a cozy complement to your dessert.
-
Pumpkin Spice Latte: Keep the pumpkin theme alive with a pumpkin spice latte, its creamy texture and perfect sweetness enhancing the delightful pumpkin flavors.
-
Cranberry Sauce: A spoonful of tart cranberry sauce can cut the richness of the crisp, adding a refreshing contrast that elevates your dessert experience.
-
Chopped Nuts: Offer a side of toasted pecans or walnuts to sprinkle on your warm pumpkin crisp. Their crunch adds an additional texture that well complements the smooth filling.
Make Ahead Options
These Pumpkin Crisp components are perfect for busy home cooks looking to save time! You can prepare the pumpkin filling and the streusel topping separately up to 48 hours in advance. Simply mix the pumpkin filling as directed and refrigerate it in an airtight container. For the streusel, combine the dry ingredients and melted butter, then store it in the fridge as well. When you’re ready to serve, pour the chilled pumpkin filling into the prepared skillet, top it with the chilled streusel, and bake as instructed. This strategy ensures that your Pumpkin Crisp will be just as delicious and fresh, allowing you more time to enjoy the company of loved ones!
Pumpkin Crisp Recipe FAQs
How do I select the best pumpkin for my Pumpkin Crisp?
Absolutely! For the best flavor, use canned, pure pumpkin puree rather than pumpkin pie filling, which comes pre-sweetened. Check the label—look for “100% pumpkin” for that rich, authentic taste. If using fresh pumpkins, select those that are firm, with a smooth skin and no dark spots. Sugar pumpkins or pie pumpkins are preferred for their sweetness and creaminess.
How should I store leftovers of my Pumpkin Crisp?
Very! Store any leftover pumpkin crisp in an airtight container in the refrigerator for up to 5 days. Make sure to allow it to cool completely before sealing to maintain the crisp’s freshness. Simply reheat portions in the microwave or oven when you’re ready for another slice!
Can I freeze Pumpkin Crisp?
Absolutely! You can freeze your pumpkin crisp for up to 2 months. First, allow it to cool completely, then wrap it tightly in plastic wrap followed by aluminum foil to prevent freezer burn. When you’re ready to enjoy it, thaw in the refrigerator overnight and reheat in the oven at 350°F (175°C) for about 10-15 minutes, or enjoy it cold as a treat!
What if my Pumpkin Crisp topping gets too brown while baking?
No worries! If you notice the topping browning too quickly during baking, simply cover the crisp loosely with aluminum foil. This will allow the filling to continue cooking through without burning the top. Keep checking it until the filling is set and the topping is beautifully golden.
Can I make Pumpkin Crisp ahead of time?
Very! You can prepare the pumpkin filling and streusel topping ahead of time. Simply store them separately in the refrigerator for up to 48 hours. When you’re ready to bake, combine them in your prepared dish and pop in the oven for a warm, fresh dessert that’s perfect for any gathering!
Is this recipe safe for those with allergies?
Be cautious! If you or your guests have allergies, be sure to check your ingredient labels. Common allergens include eggs and heavy cream, but you can easily substitute with egg replacers and a dairy-free cream alternative. Always consult your guests if they have any specific dietary concerns!
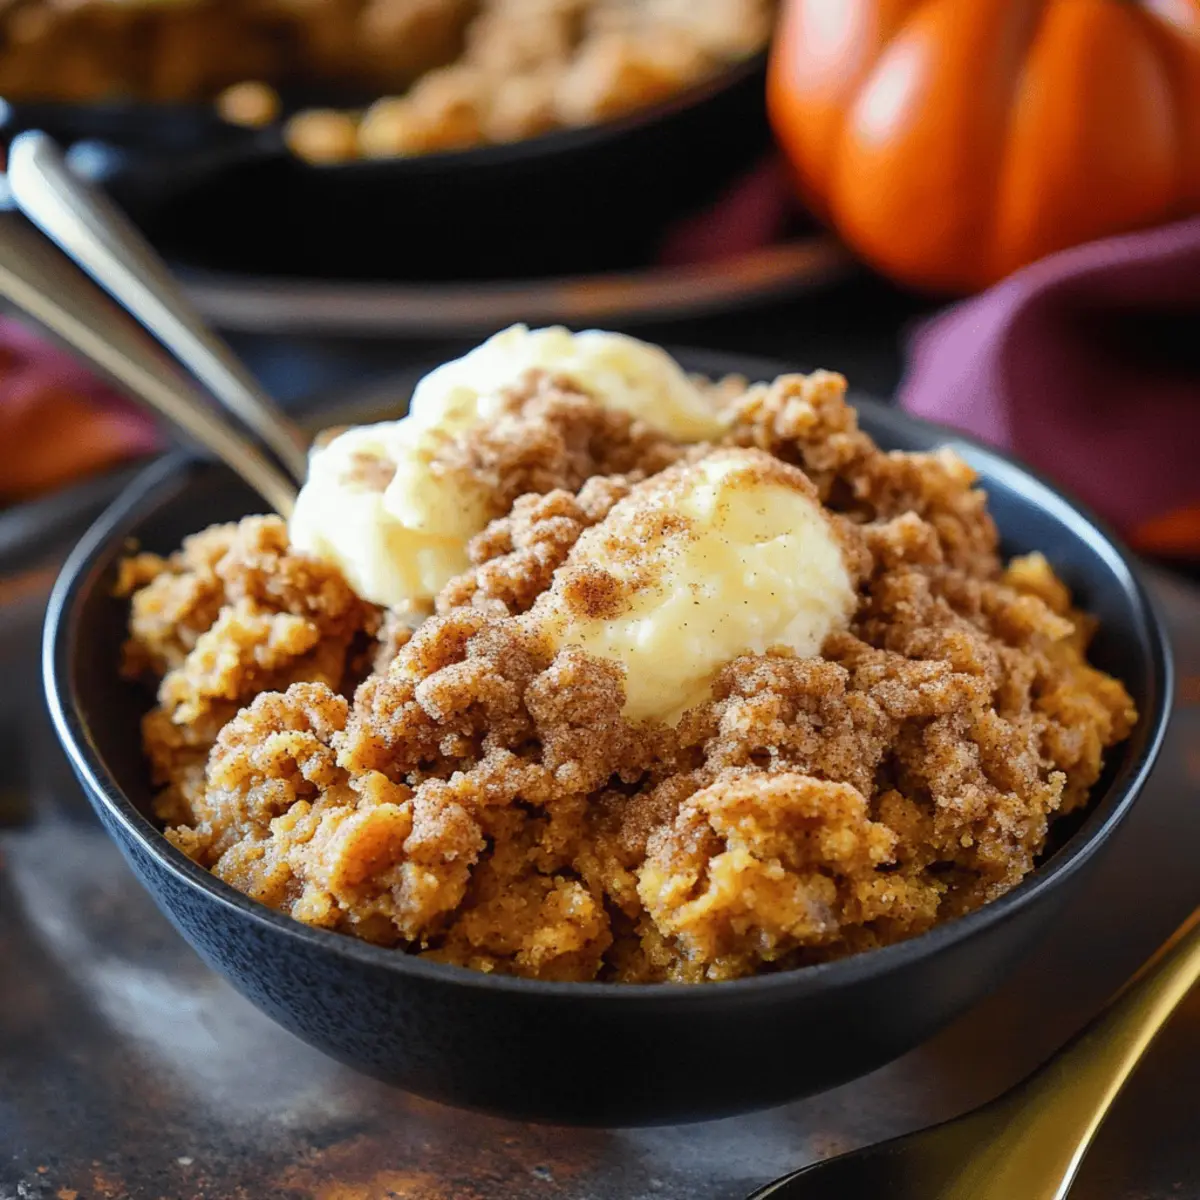
Delightful Pumpkin Crisp with Warm Cinnamon Topping
Ingredients
Equipment
Method
- Preheat your oven to 375°F (190°C) and butter a 12-inch cast iron skillet or medium casserole dish.
- In a large mixing bowl, whisk together the pumpkin puree, granulated sugar, eggs, pumpkin pie spice, salt, and vanilla extract until smooth.
- Slowly pour in the heavy cream while whisking until fully integrated and creamy. Pour into the prepared skillet.
- In a separate bowl, whisk together the flour, granulated sugar, cinnamon, and salt. Stir in melted butter until crumbly.
- Evenly distribute the streusel topping over the pumpkin filling in the skillet.
- Bake in the preheated oven for 40-45 minutes until filling is set and topping is golden brown.
- Let cool for about 10 minutes before serving warm, preferably with ice cream or whipped cream.